A beginner-friendly walkthrough of Cricut Design Space: Canvas navigation, Upload and Text tools, Operation settings, and how to understand the Layers panel ...
Maker Vinyl
Updated October 17, 2026
The Ultimate Cricut Glossary: Essential Crafting Terms
New to Cricut and vinyl crafting? Decode must-know terms like SVG, weld, kiss cut, weeding, transfer tape, offset, bleed, and Print Then Cut so you can craft confidently in Design Space.

Harper Davis
Harper Davis is a lifelong DIY enthusiast and cutting-machine expert who loves helping beginners conquer Cricut Design Space. With over six years of experience running a custom vinyl shop, she shares practical tutorials, material guides, and creative inspiration.
If Cricut tutorials ever made you feel like everyone else got a secret vocabulary list except you, welcome to my favorite kind of fix: a plain-English glossary you can keep open while you craft. I started cutting vinyl out of pure frustration (shoutout to the lopsided baby shower onesies that sent me down this rabbit hole), and I remember exactly how confusing terms like weld, kiss cut, and bleed sounded at first.
Bookmark this page. The goal is simple: help you understand the words so you can make better choices in Design Space, waste less vinyl, and actually enjoy the process.
Design Space basics
These are the terms you will see constantly inside Cricut Design Space and in beginner tutorials.
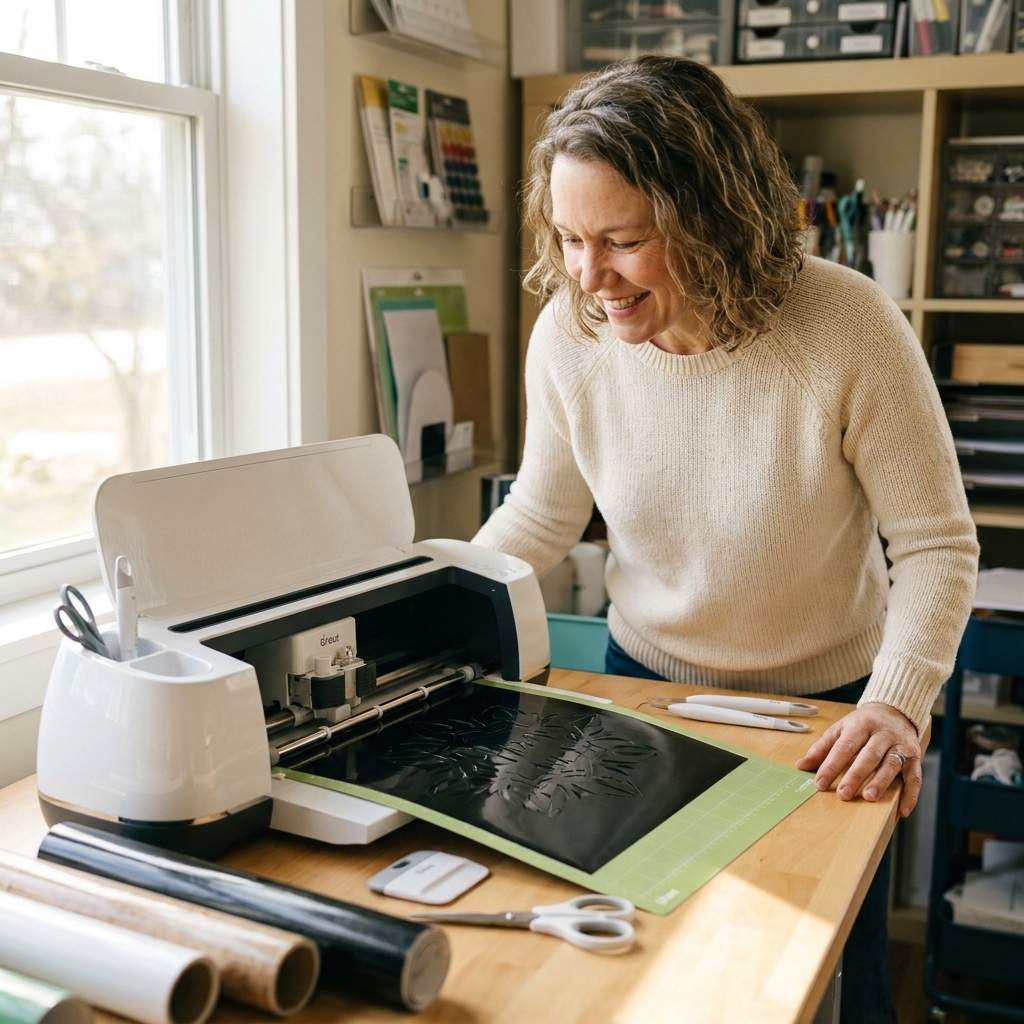
1) Canvas
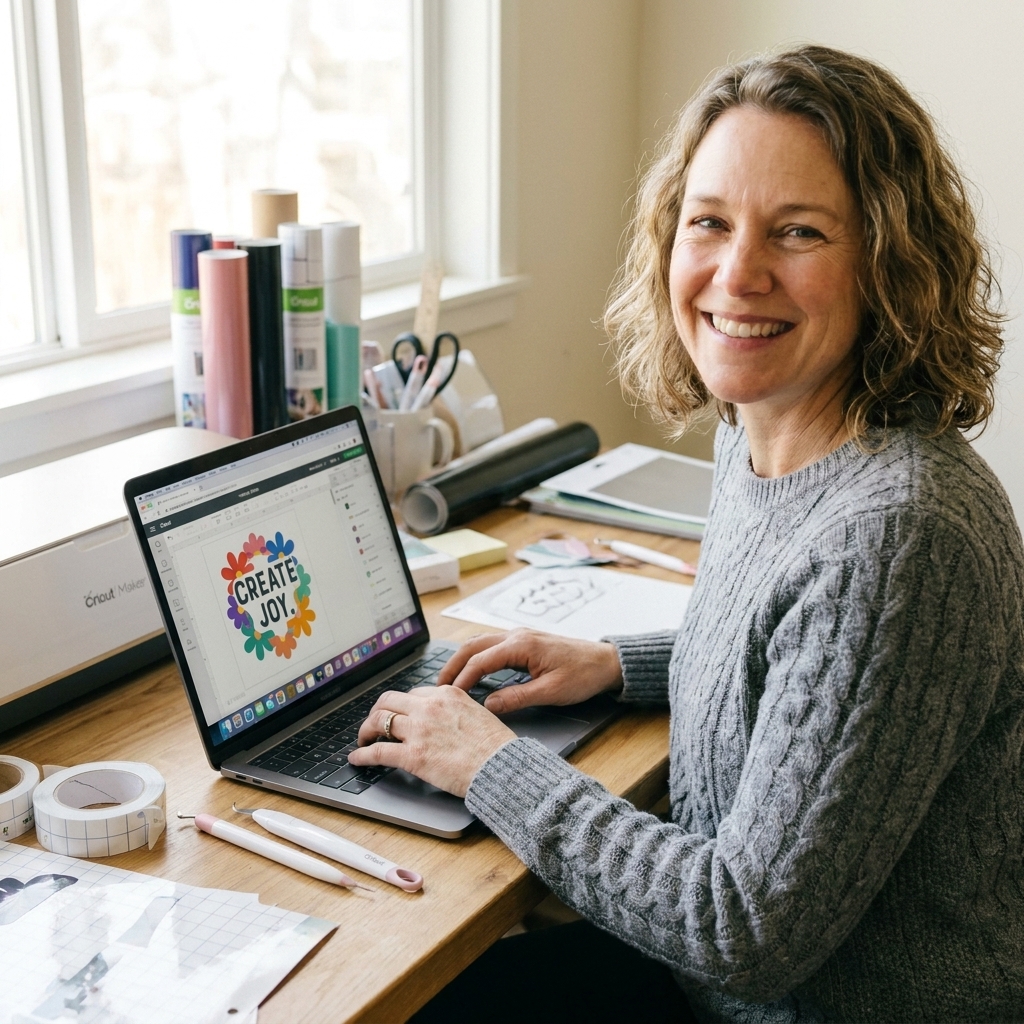
The main workspace in Design Space where you build and arrange your project before you hit Make It.
2) Project
Your saved design file in Design Space. It can include multiple layers, multiple mats, and multiple operations (like cut plus draw).
3) Mat
A virtual page in Design Space that represents what will be placed on one physical cutting mat. When you click Make It, you are looking at your mat previews.
4) Operation
The action Cricut will perform on a layer: Cut, Print Then Cut, Draw, Score, Foil, Deboss, Engrave, and more (options vary by machine).
5) Linetype
An older term you will still hear that basically means the same thing as Operation.
6) Layer
One piece of your design. Each color of vinyl is usually a separate layer. Text, shapes, and images can all be layers.
7) Group
Keeps multiple items together on the Canvas so they move and scale as a unit, but it does not force them onto the same mat position when you cut.
8) Attach
Locks the position of items together for cutting (or drawing) exactly as you arranged them on the Canvas. This is the button that stops Design Space from rearranging your layout.
9) Flatten
Turns multiple layers into a single Print Then Cut layer. After you Flatten, Design Space treats it like one printable sticker, so the pieces inside will not cut separately anymore.
10) Weld
Combines overlapping shapes into one single shape. Most commonly used to make script fonts cut as one connected word.
11) Slice
Cuts one shape out of another using overlapping layers. Slice typically works when you select two layers at a time, and it is great for cutouts and knockouts (like cutting letters out of a rectangle so the background shows through). If Slice is greyed out, double-check that you only have two items selected and they are not hidden, attached, or part of a multi-selection that Design Space will not slice.
12) Contour
Lets you hide parts of a cut file. It is especially handy with layered SVGs or multi-part images where you only want certain pieces.
13) Offset
Creates an outline around your design. People use Offset for sticker borders, shadow layers on HTV, and chunky outlines around text.
14) Kerning
The spacing between letters. If your script font looks too spaced out, kerning is the issue. In Design Space you can adjust letter spacing, then Weld if needed.
15) Curve
A text tool that bends text into an arc. Great for mug decals, round signs, and badge-style designs.
File types and image terms
If you have ever downloaded a file bundle and wondered what you are supposed to upload, this section will save you.
16) SVG
Scalable Vector Graphic. The gold-standard cut file for Cricut because it stays crisp at any size and imports as separate layers when it is built that way.
17) PNG
A raster image file often used for Print Then Cut (stickers, printable iron-on, printable vinyl). PNGs can have transparent backgrounds.
18) JPG or JPEG
A common photo file type. Usually not ideal for cutting because it is pixel-based and does not support transparency as cleanly as PNG.
19) DXF
A vector file type sometimes used for cutting, especially outside the Cricut world. DXF files may import with limitations compared to SVG.
20) Vector
Artwork built with paths and points, not pixels. Vectors can be resized without losing quality.
21) Raster
Artwork made of pixels (like photos). If you enlarge raster art too much, it can look blurry or jagged.
22) Resolution (DPI)
Dots per inch. Higher DPI generally means sharper prints. This matters for Print Then Cut, not regular cutting.
23) Transparent background
There is no background color, just your design. Great for stickers and prints where you do not want a white box around the image.
Cutting and sticker terms
These are the words that pop up when you start making decals, labels, and stickers.
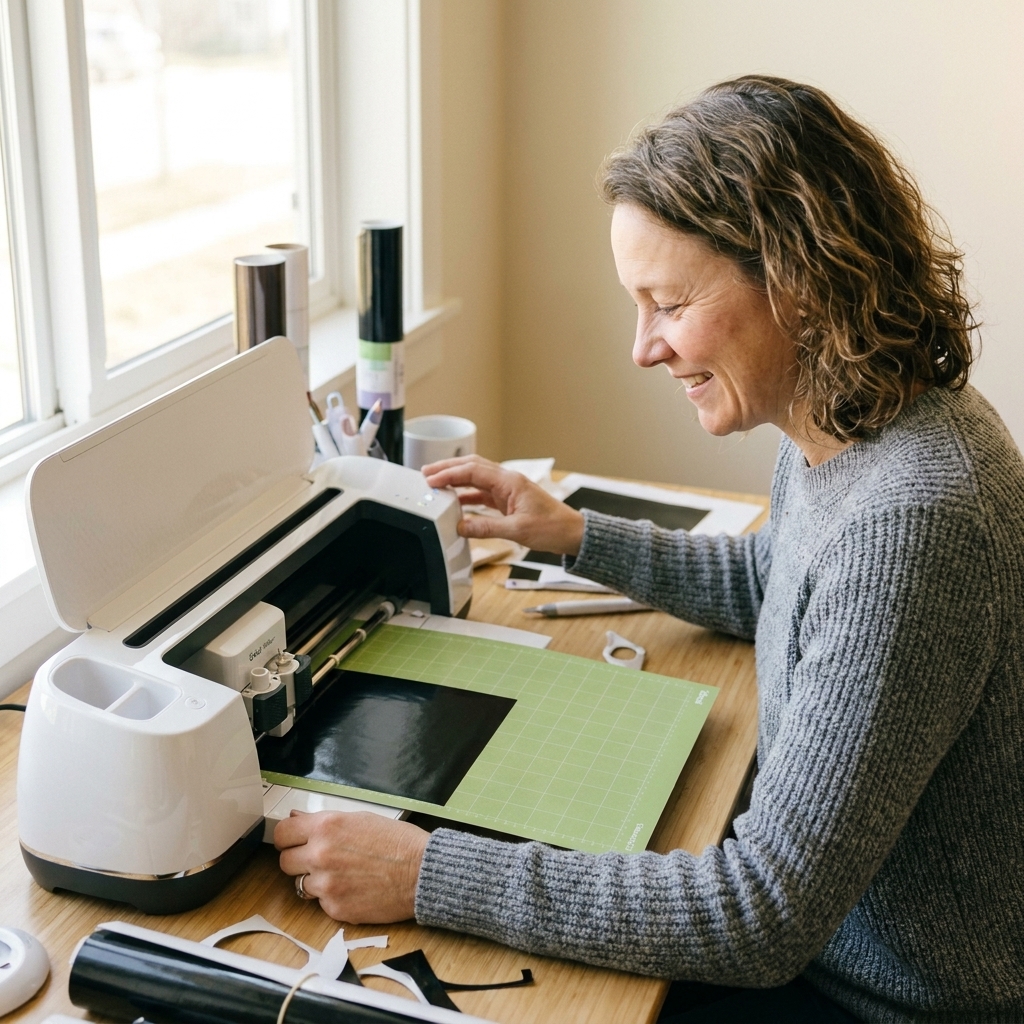
24) Basic Cut
A standard cut where the Cricut cuts your material directly (vinyl, cardstock, HTV, and so on). If you upload a PNG and it is trying to cut every edge instead of printing, Basic Cut is usually why.
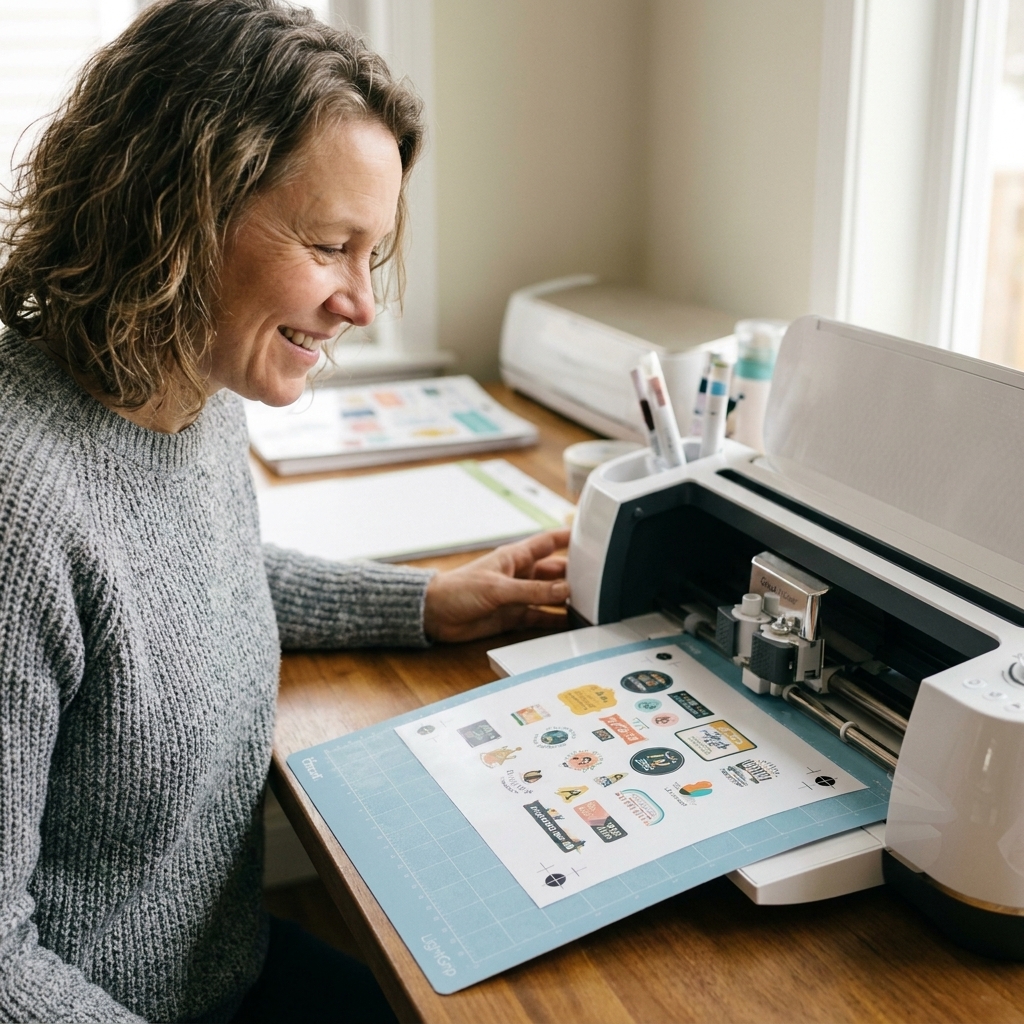
25) Kiss cut
A cut that goes through the top layer (like sticker paper) but not through the backing. Kiss cuts let you peel stickers off a sheet cleanly.
26) Die cut
A cut that goes all the way through the material and its backing. Die-cut stickers come out as individual pieces.
27) Cut settings
The material selection and pressure settings that tell your Cricut how hard to cut. You can use presets or create a custom material setting.
28) Pressure
How firmly the blade presses down while cutting. Too much pressure can slice through backing or mats. Too little can leave pieces connected.
29) Multi-cut
When the machine makes more than one pass on the same cut line. This is common for thicker materials and helps get clean cuts.
30) Calibration
A setup step that helps your Cricut cut precisely, especially for Print Then Cut where it must line up with the printed guides.
31) Print Then Cut
A Cricut workflow where you print your design on a printer first, then the Cricut cuts around it. This is how most stickers are made.
32) Bleed
An optional setting in Print Then Cut that adds a tiny extra edge of color around your design so you do not get white slivers if the cut is slightly off.
33) Registration marks
The black printed corner guides and border around a Print Then Cut page. Your Cricut scans them to know where to cut.
34) Mirror
Flips your design horizontally before cutting. You almost always need to mirror HTV because it is cut in reverse then flipped onto the shirt, but always check your specific material instructions (especially for specialty or printable products).
Vinyl and applying terms
This is where a lot of beginners get tripped up, especially with transfer tape and the whole shiny side down thing.
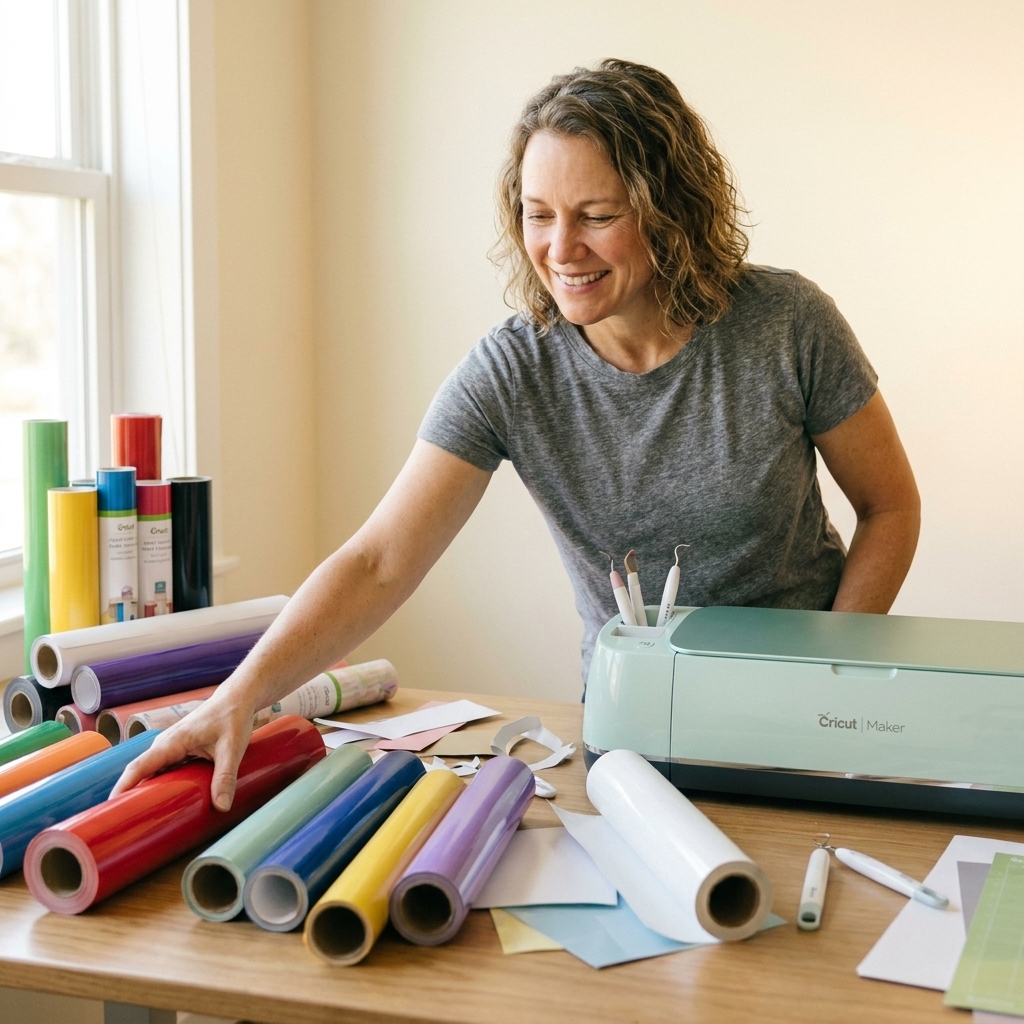
35) Permanent vinyl
Adhesive vinyl meant for long-term use on hard surfaces like tumblers, signs, and car decals. It is water-resistant, but not dishwasher-proof forever in real life.
36) Removable vinyl
Adhesive vinyl with a less aggressive adhesive. Great for wall decals, temporary labels, and projects you may want to peel off later.
37) HTV (heat transfer vinyl)
Vinyl designed for fabric. It has a heat-activated adhesive and comes on a clear carrier sheet. You cut it (usually mirrored), weed it, then press it with heat.
38) Carrier sheet
The clear (or sometimes frosted) plastic sheet attached to HTV. It holds your design in place while you press it onto fabric.
39) Transfer tape
A sticky tape used to lift adhesive vinyl off its backing and place it onto your project. Not used for HTV.
40) Weeding
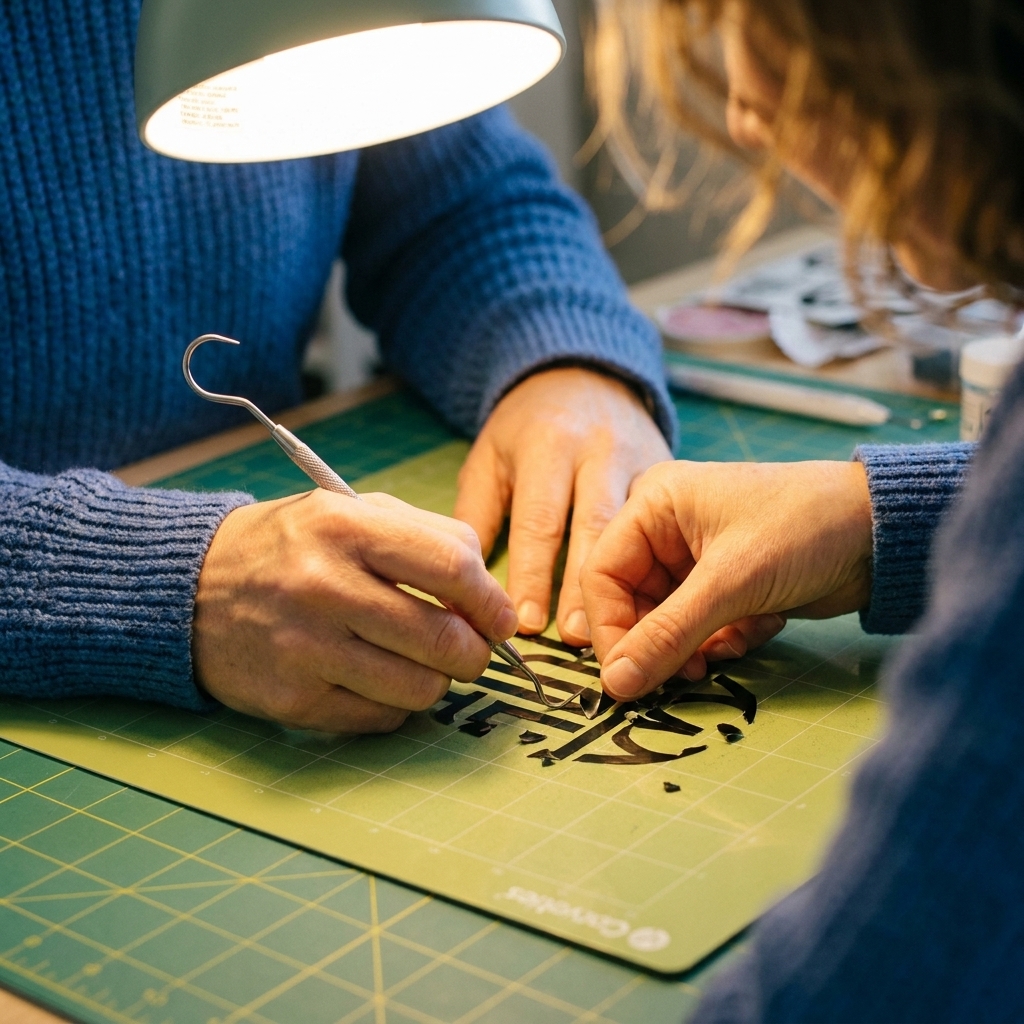
Removing the extra vinyl you do not want, leaving only your design. This is the part where good lighting and patience pay off.
41) Weed box
A simple box or border you add around your design so you can weed faster and with less tugging. It helps keep tiny letters from lifting and makes scraps easier to manage.
42) Burnish
Rubbing firmly over vinyl or transfer tape (usually with a scraper or squeegee) to help the adhesive grab and reduce bubbles.
43) Brayer
A small roller you use to press material onto a mat evenly. It is especially helpful for cardstock, fabric, and anything that loves to lift at the corners.
44) Cold peel vs. warm peel
Instructions for when to remove the carrier sheet after pressing HTV (or foil). Cold peel means wait until it is cool. Warm peel means peel while it is still warm. If you peel at the wrong time, you can lift your design or get weird edges, so this one matters.
Mats and blades
If you have ever wondered why your cut is perfect one day and a shredded mess the next, the mat and blade combo is often the plot twist.
45) Mat types
Cricut mats come in different grip strengths, like LightGrip, StandardGrip, and StrongGrip. LightGrip is great for paper that tears easily. StandardGrip is the everyday workhorse. StrongGrip is for heavier stuff that needs extra hold.
46) Blade types
The Fine-Point Blade is the most common for vinyl and cardstock. Deep-Point is for thicker materials. Rotary and Knife Blades are for specific machines and materials, so if a tutorial name-drops one of these, double-check your machine compatibility before you buy anything.
Scoring and tools
47) Score
A Score operation makes fold lines in paper or cardstock without cutting through. It typically requires a Scoring Stylus or Scoring Wheel, and which one you can use depends on your machine.
Mini cheat sheet
- Making a car decal? Permanent vinyl + transfer tape.
- Making a wall quote? Removable vinyl + transfer tape.
- Making a shirt? HTV + mirror your design (most of the time) + use the carrier sheet, not transfer tape.
- Making stickers? Print Then Cut + consider bleed + calibrate if cuts are off.
Quick FAQ
Do I need to Weld every script font?
Not always, but often. If you can see gaps between letters or the word is made of separate pieces, welding prevents weird splits and makes weeding easier.
Why did Design Space rearrange my design on the mat?
Because Group is for the Canvas only. Use Attach to keep your layout exactly the same when you cut.
Why did my sticker sheet cut through the backing?
That is a pressure issue. Switch to a lighter sticker paper setting, reduce pressure, or use a custom material. You want a kiss cut, not a die cut.
Is transfer tape the same as the clear sheet on HTV?
Nope. That clear sheet is the carrier sheet and it stays with the HTV until after pressing. Transfer tape is for adhesive vinyl only.
One last tip
When you hit a term you do not recognize, pause and look it up before you cut. Most beginner mistakes are not you are bad at Cricut problems, they are vocabulary problems. Once the words click, the projects get a whole lot less intimidating.
If you want, tell me what you are trying to make (shirt, tumbler, sticker sheet, sign) and what material you are using. I can help you translate the tutorial language into the exact buttons to click.