A beginner-friendly guide to removable, permanent, and iron-on vinyl for Cricut. Learn which vinyl to choose, how to apply it, and how to avoid common mistakes.
Maker Vinyl
Updated October 17, 2026
7 Common Cricut Beginner Mistakes and How to Avoid Them
Stop wasting vinyl. Here are 7 beginner Cricut mistakes (like forgetting to mirror HTV or cutting into your mat) plus quick fixes and prevention tips.

Harper Davis
Harper Davis is a lifelong DIY enthusiast and cutting-machine expert who loves helping beginners conquer Cricut Design Space. With over six years of experience running a custom vinyl shop, she shares practical tutorials, material guides, and creative inspiration.
If you are new to Cricut, let me save you a little heartache: most “bad cuts” are not because you bought the wrong machine. They happen because of a tiny setting, a skipped step, or a material mismatch. I started this whole vinyl life out of pure frustration, and I have ruined plenty of iron-on and sticker paper so you do not have to.
Below are the seven beginner mistakes I see the most in Cricut Design Space and at the cutting mat, plus exactly how to avoid each one.
1) Forgetting to mirror iron-on (HTV)
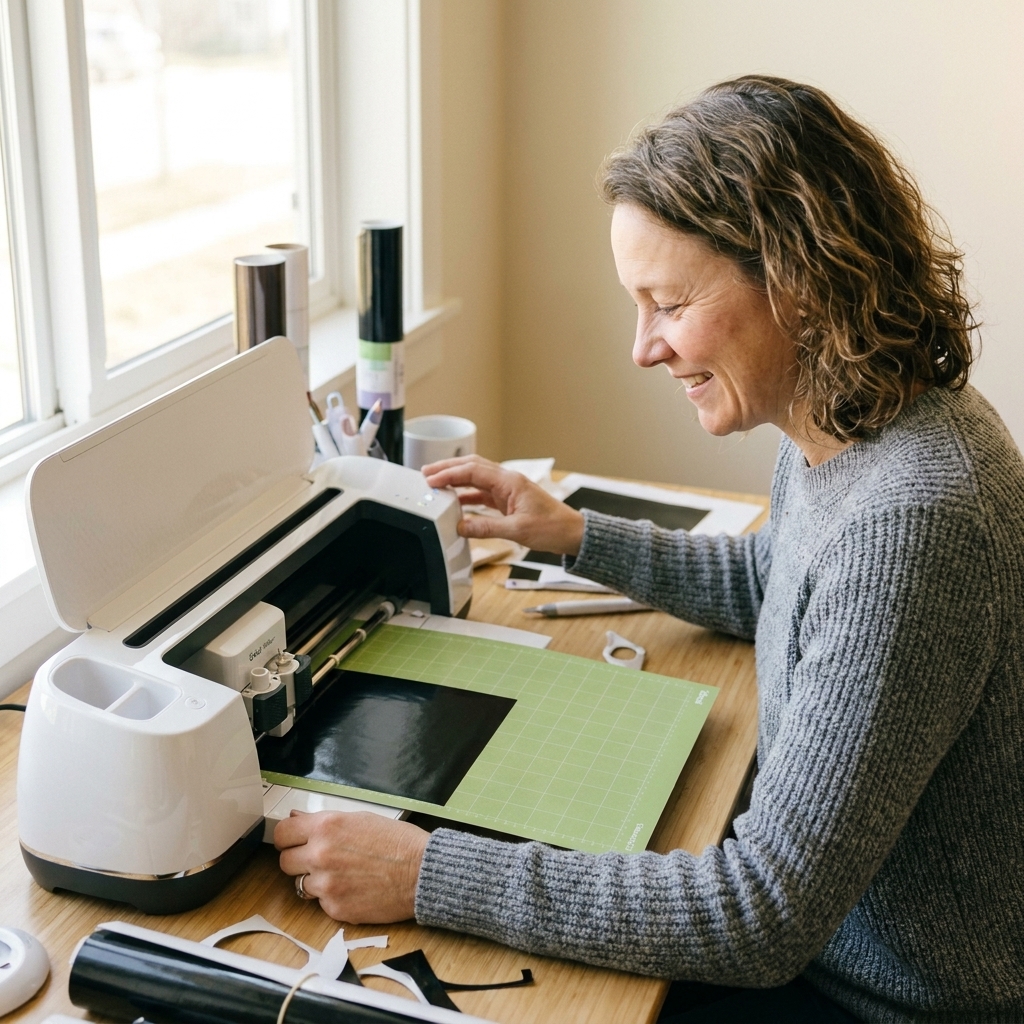
This is the classic. You cut your design, weed it perfectly, then realize the text is backwards or the image faces the wrong way. If it is iron-on vinyl (HTV) that goes on fabric, it usually needs to be mirrored because you are cutting it from the back.
How to spot it before you waste vinyl
- If it has a clear carrier sheet (shiny clear layer on top) and the dull side is the adhesive, you are working with HTV and you should mirror in most cases.
- If you are placing the material “shiny side down” on the mat, that is another mirror clue.
- Any text on a shirt should look backwards on your mat preview.
Exactly how to avoid it
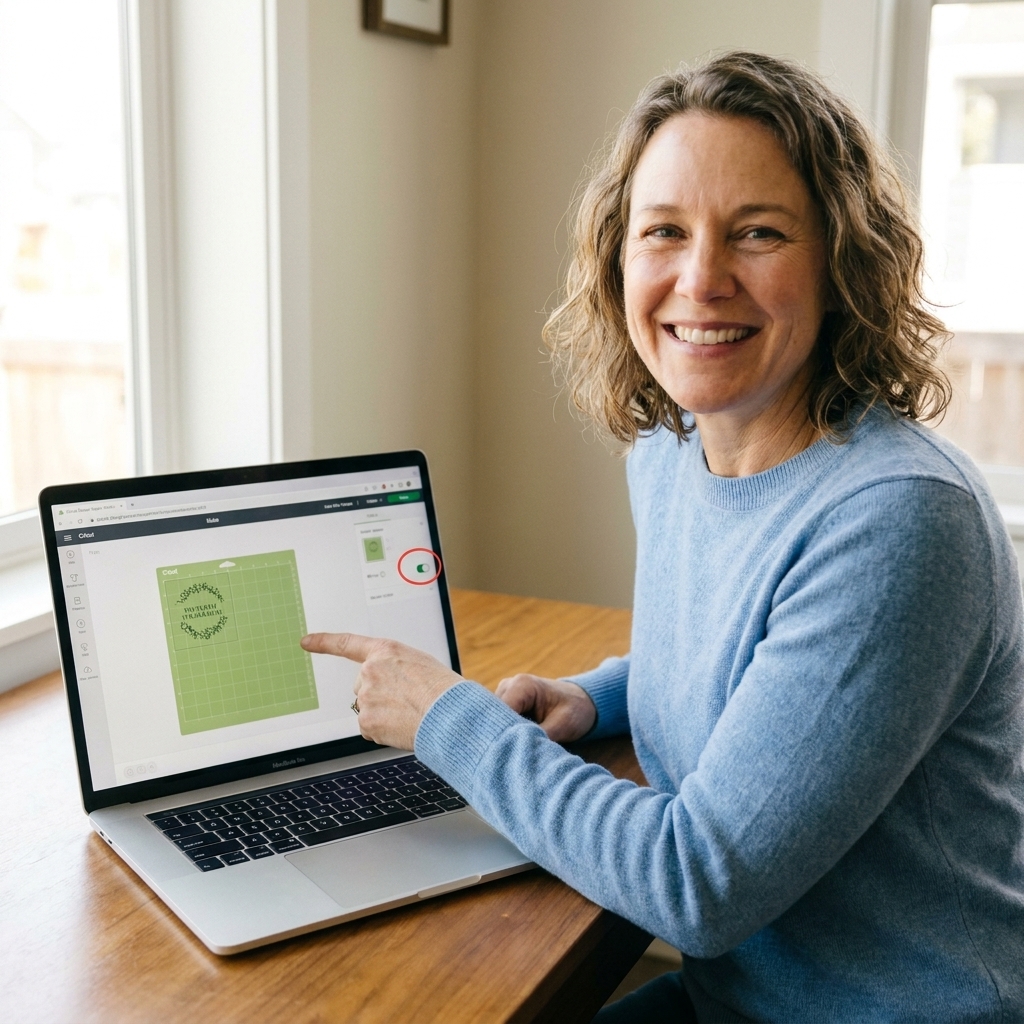
- In Design Space, after clicking Make, turn Mirror on for the mat.
- If you use multiple mats, double check Mirror did not toggle off when you changed sizes or materials.
- Create a habit: say it out loud. “Iron-on, mirror on.” It sounds silly, but it works.
If you already cut it (quick rescue)
- Simple shapes can sometimes be flipped when applied as a “reverse” look, but text usually cannot.
- If your design is symmetrical, you might get lucky. Otherwise, save it for practice weeding.
2) Choosing the wrong material setting
The material setting can affect blade pressure, number of passes, and sometimes the speed. When the setting is wrong, you either barely kiss-cut the vinyl (and it will not weed cleanly), or you cut through the backing and turn your project into confetti.
Signs your setting is off
- Hard to weed, small pieces lifting or tearing: likely not deep enough.
- Backing is sliced on adhesive vinyl or HTV carrier sheet is cut: likely too deep.
- Ragged edges on cardstock: often too much pressure or a dull blade.
Exactly how to avoid it
- Start with the closest preset: Permanent Vinyl, Premium Vinyl, Iron-On, Cardstock, etc.
- Use More pressure only after a successful test cut attempt.
- When trying a new brand, do a tiny test: put a small star or your initials in an empty corner of the mat and cut it first.
My go-to test cut routine
- Place a 0.5 inch star near the corner of your design.
- Cut.
- Weed just the star and a small border. If it weeds cleanly without cutting the backing, you are good.
3) Cutting into the mat
A fresh mat is not cheap, and neither is the deep sigh when your machine scores it like a tiny lawnmower. Most mat damage comes from using too much pressure, a worn blade housing, or using the wrong mat and trying to “make it work” with extra pressure.
Exactly how to avoid it
- Do not compensate for a dull blade by cranking pressure to More. Replace the blade instead.
- Match the mat to the material: LightGrip for paper, StandardGrip for vinyl and many medium materials, StrongGrip for thicker stuff that really needs it.
- Make sure you are using the right blade for the job. Most vinyl uses a Fine-Point blade. Thicker materials may need a Deep-Point blade, and fabric on a Maker often does best with the Rotary blade.
- Load your mat straight and support it as it feeds in. A drooping mat can catch and drag.
If your mat is already cut up
- Minor scoring is usually fine. Keep using it for larger shapes where tiny details are not critical.
- If material starts slipping in the scored area, rotate where you place your material so cuts happen on “fresh” zones.
4) Putting vinyl on the wrong side
Printable materials and some specialty vinyls love to trick beginners because the correct side is not always obvious. Print on the wrong side and you waste an entire sheet instantly.
Exactly how to avoid it
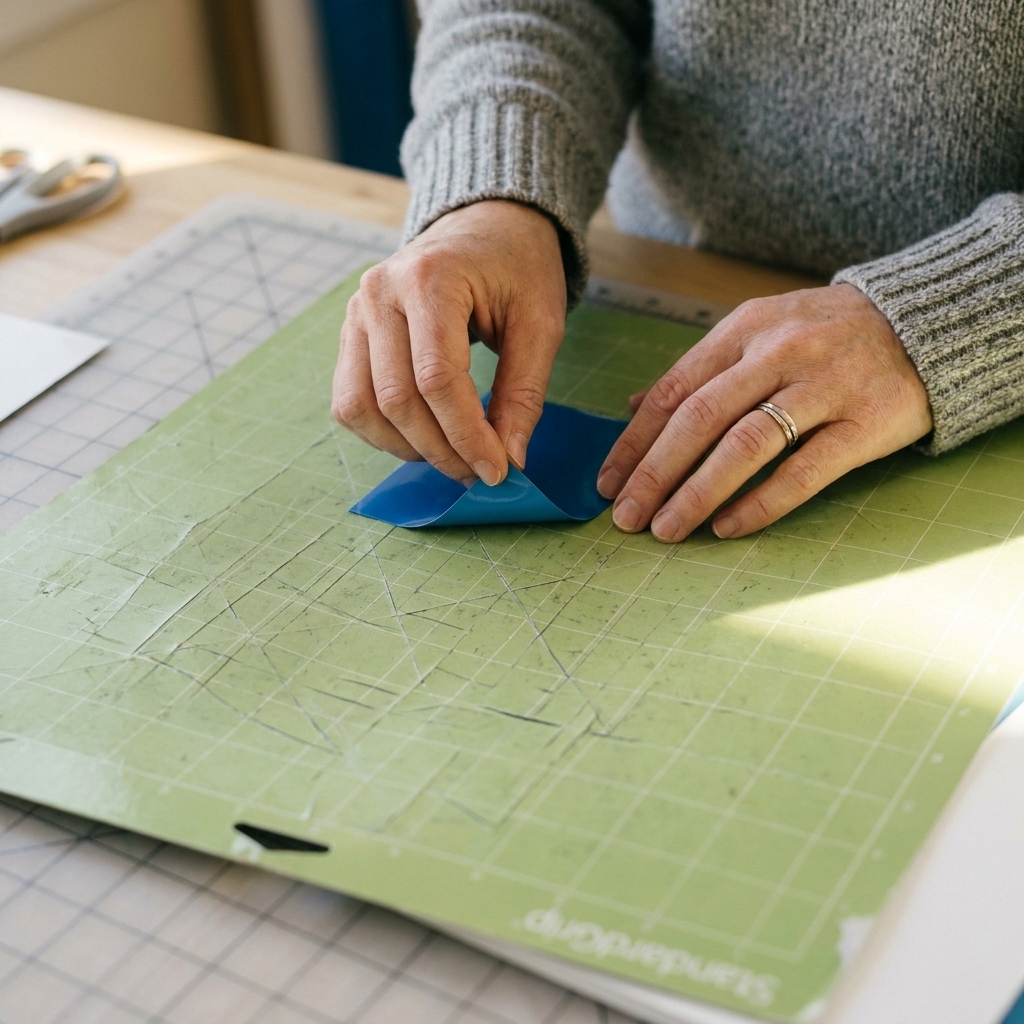
- Before you do anything, find the “front” and mark the back lightly with pencil in a corner.
- For sticker paper and printable vinyl: the printable side is usually brighter white and feels slightly different, often smoother.
- For HTV: the carrier sheet faces down on the mat, and you cut from the dull side.
- For adhesive vinyl: the colored vinyl faces up on the mat, backing paper faces down.
Printable projects: two extra checks
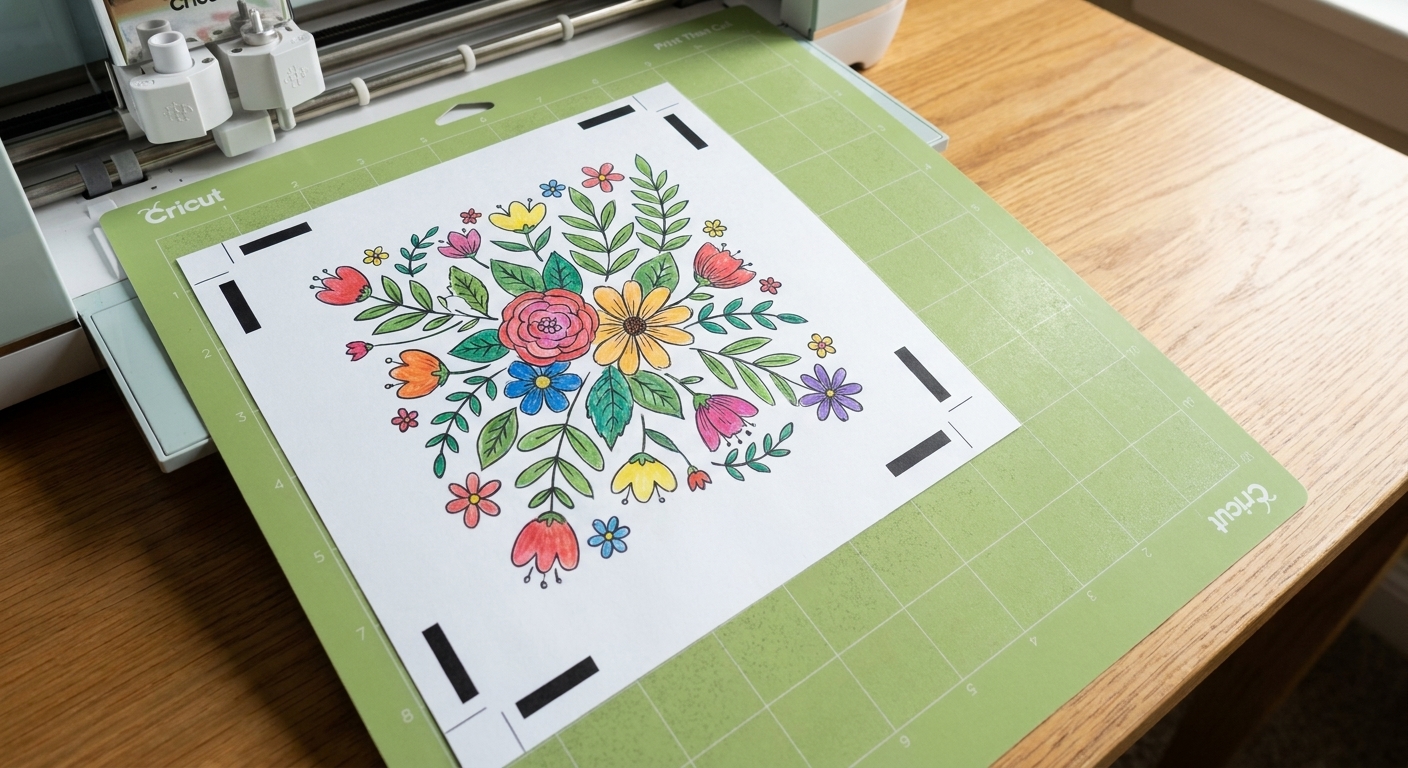
- In Design Space, be sure you selected Print Then Cut for your design.
- Do not trim off registration marks. Let the machine read them.
If Print Then Cut is acting weird
- Run Print Then Cut calibration if your cuts are consistently off.
- Good lighting matters. If your machine is struggling to read the marks, reduce glare and aim for even light (not direct sunlight on glossy paper).
5) Skipping sizing and measurements
Design Space makes it easy to eyeball size, which is exactly why beginners end up with a 10 inch logo on a toddler tee. Measuring sounds boring until you are re-cutting everything at midnight.
Exactly how to avoid it
- Measure the blank first: usable width and height of the area you want to decorate.
- In Design Space, turn on a basic square and size it to your available space. Use it as a sizing guide behind your design.
- For shirts, fold the shirt in half and press a crease. That center crease is your best friend for alignment later.
Quick rule of thumb for adult shirt fronts
- Many full front adult designs land in the 9 to 11 inch wide range, but always measure your specific shirt size and style.
6) Not cleaning the blank
This one feels unfair because your project can look perfect at first, then start lifting at the edges a day later. Oils from hands, lint, fabric softener residue, and dust can all weaken adhesion.
Exactly how to avoid it
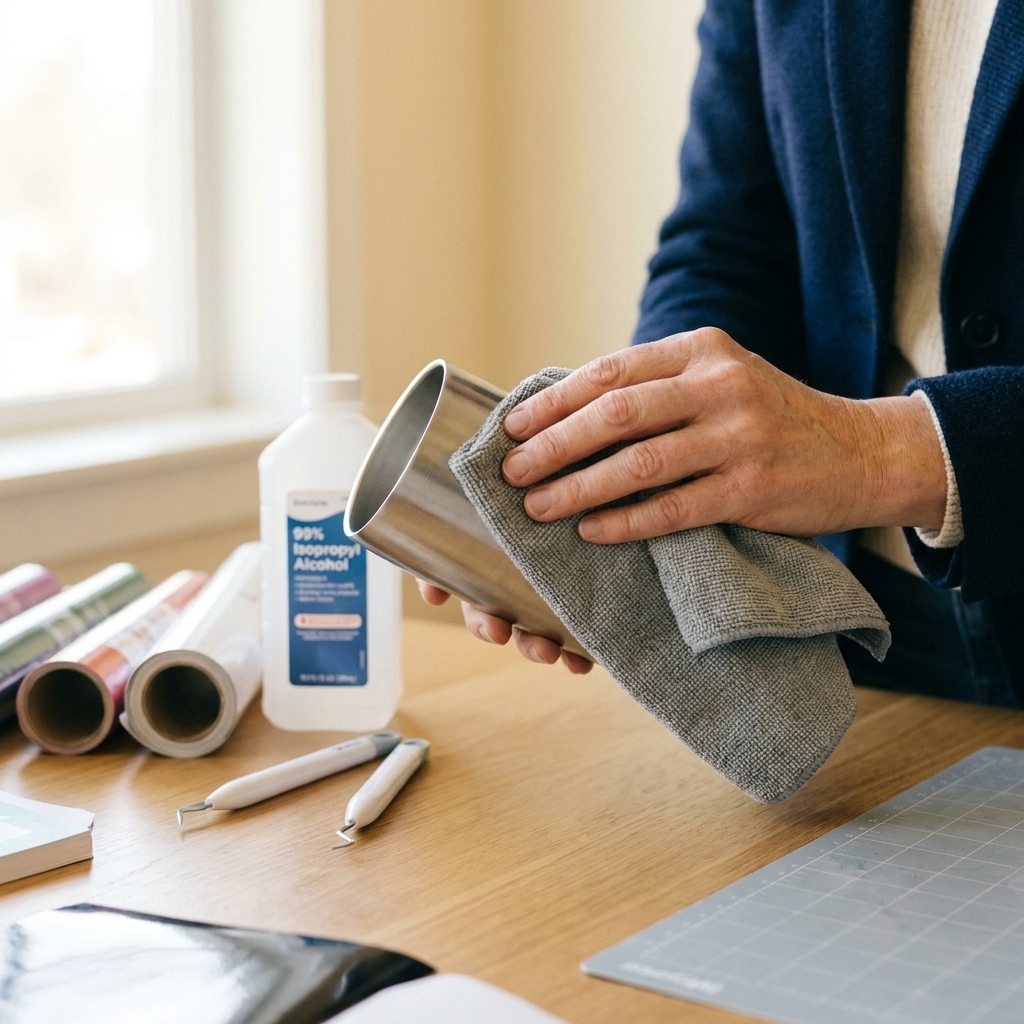
- For hard surfaces (mugs, tumblers, signs): wipe with isopropyl alcohol (70% or 91% both work) and let it fully dry. If your item has a delicate finish (some plastics, coatings, or painted surfaces), test in a small spot first.
- For shirts: pre-press the shirt 5 to 10 seconds to remove moisture and wrinkles.
- Avoid touching the adhesive side of vinyl as much as possible after weeding.
Bonus: choose the right vinyl type
- Use permanent adhesive vinyl for drinkware and outdoor items. For best results, let it cure 24 to 72 hours before heavy handling, and hand-wash when you can.
- Use removable vinyl for temporary labels or wall decals where you want clean removal.
7) Rushing weeding and transfer tape
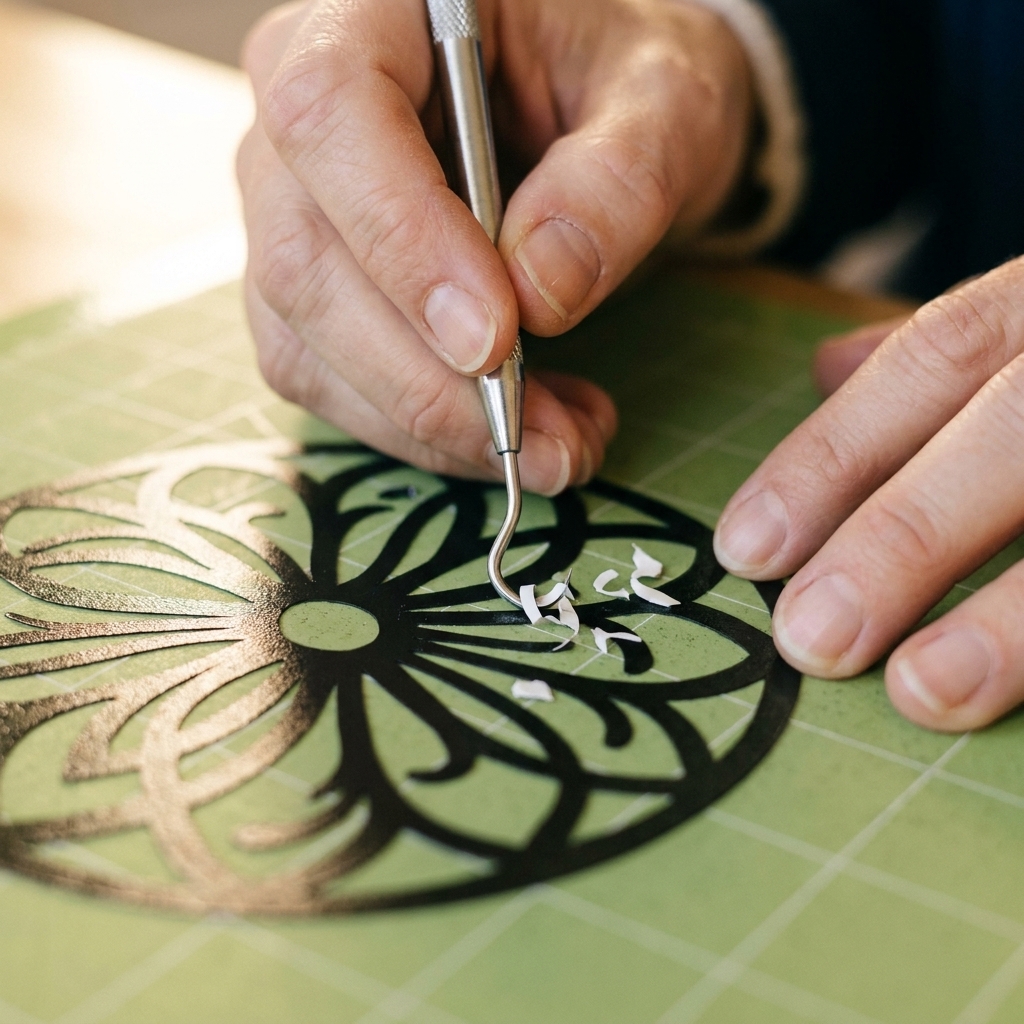
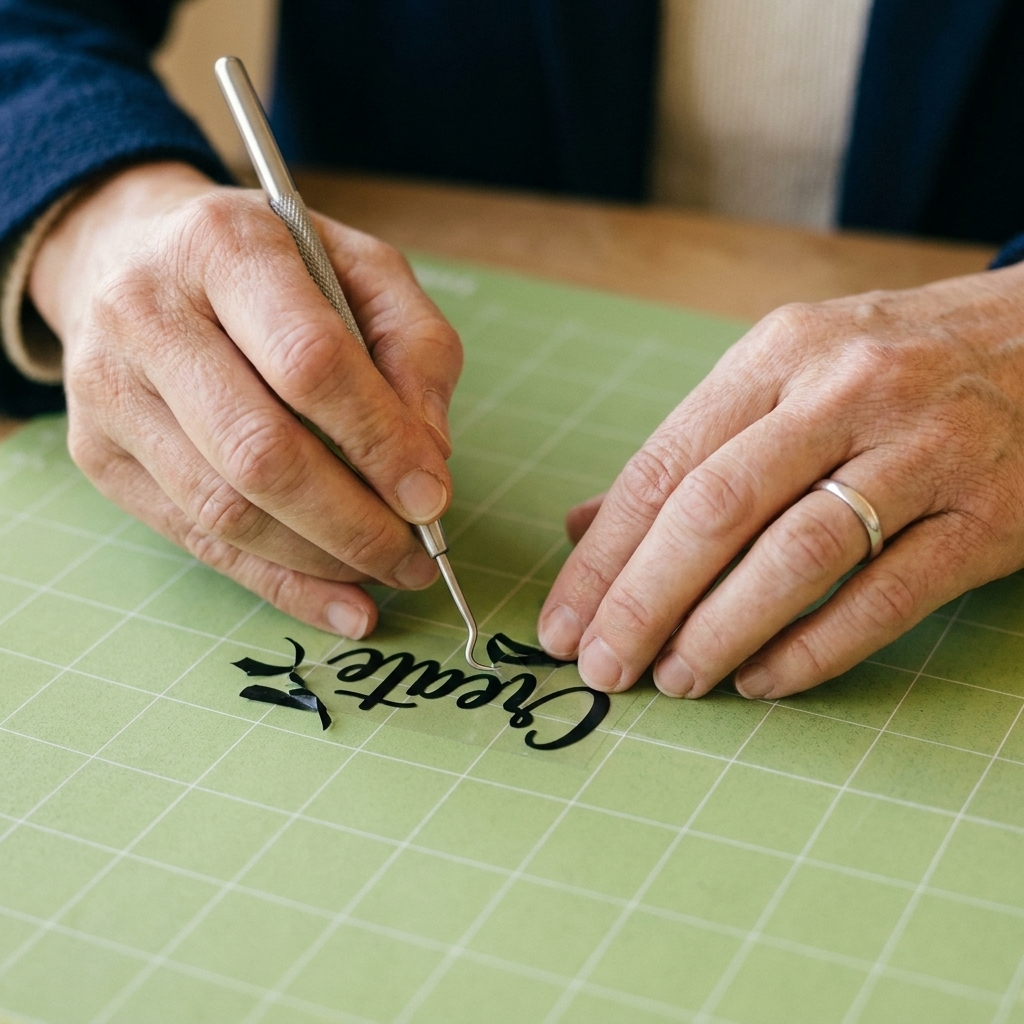
Weeding is where beginners get discouraged fast. Tiny letters lift, dots on i’s disappear, and the whole design stretches. The good news is weeding gets easier with a few habits and the right tape.
Exactly how to avoid it
- Use a light box or a bright window to see cut lines clearly.
- Weed slowly and keep your vinyl low and flat, pulling back on itself at a low angle.
- For tiny details, use the reverse weeding method: apply transfer tape first, then weed away the excess while everything is supported.
- Match transfer tape tack to your vinyl. Some textured or glitter vinyls need stronger tack, while delicate decals do better with standard or even less tack.
Transfer tape troubleshooting
- Vinyl will not lift off the backing: burnish more, peel the backing away from the tape (not the tape away from the backing), and try a slightly stronger tack tape.
- Vinyl will not release onto the surface: burnish on the surface, peel the tape back slowly at a sharp angle, and try a lower tack tape next time.
Two Design Space gotchas
If you have ever stared at your mat preview thinking, “Why is it cutting like that?” it is usually one of these.
Attach before you cut
Design Space likes to rearrange things to save material. That is great until you need your layout to stay exactly where you put it (like names lined up, or a multi-color design you are layering).
- Select your design pieces, then click Attach so the spacing stays put on the mat.
- Attach is also your friend for keeping small items from scattering across the mat preview.
Flatten is only for Print Then Cut
This one trips up almost everyone. If you flatten a design, it turns into a printable image.
- Use Flatten when you want Print Then Cut.
- For regular vinyl cutting, keep layers as Basic Cut, and use Weld when you need overlapping pieces to become one clean shape.
My quick pre-cut checklist (steal this)
- Right operation? Basic Cut vs Print Then Cut.
- Right size? Measured the blank, confirmed width and height.
- Right material setting? Closest preset selected, test cut planned for new brands.
- Mirror? On for HTV (most of the time).
- Right mat and blade? Clean mat, sharp blade, correct grip, correct blade type.
- Material placed correctly? Shiny or dull side oriented correctly.
- For Print Then Cut? Calibration done if needed, registration marks clear, lighting not glaring.
If you want the most beginner-friendly upgrade you can make, it is this: slow down and do the 20-second checklist. It saves more vinyl than any “hack” ever will.
FAQ
How do I know if I should use removable or permanent vinyl?
Use permanent for mugs, tumblers, outdoor signs, and anything that will get handled or washed. Use removable for temporary labels, seasonal decor, and wall decals where you may want to reposition or remove it more cleanly.
Why is my Cricut tearing vinyl when I weed?
Usually it is one of three things: the cut is not deep enough, your blade is dull, or your design is too tiny for that vinyl type. Try a test cut with slightly more pressure, swap to a fresh blade, and consider simplifying super-small text or using a higher-quality vinyl for fine details.
Why did my HTV peel up after pressing?
Common causes are not enough heat, not enough pressure, pressing for the wrong time, or applying on fabric that still has moisture. Pre-press the shirt, confirm your heat source temperature, press with firm pressure, and follow the exact temperature and peel instructions for your specific HTV brand (warm peel vs cold peel varies).