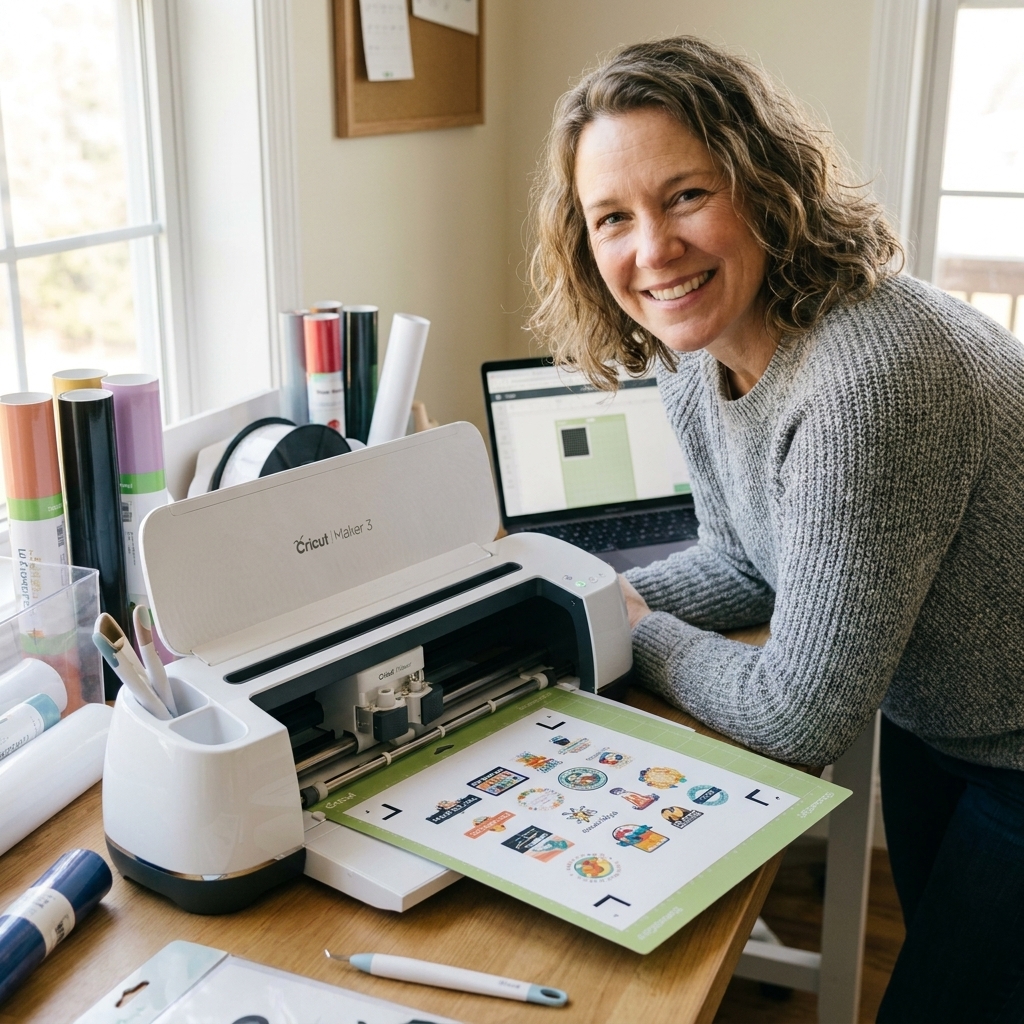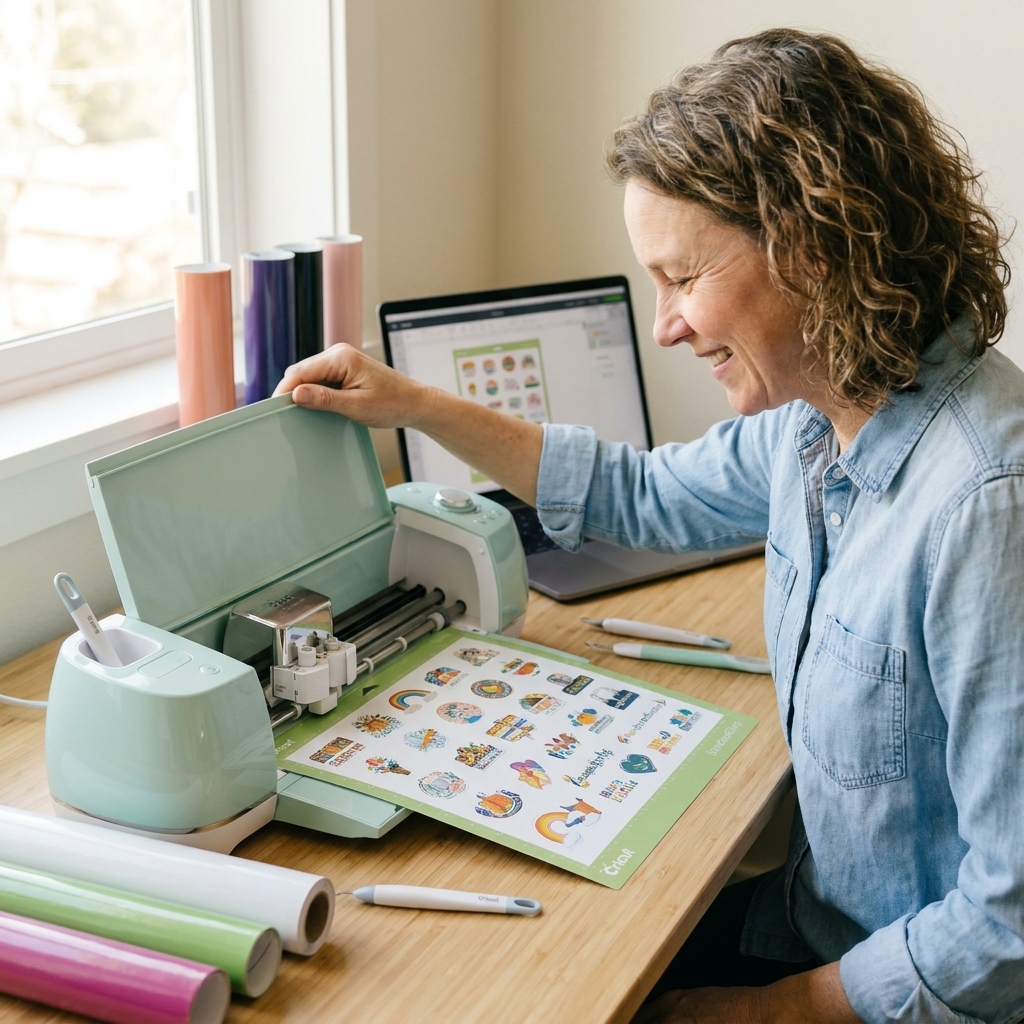
A beginner-friendly, start-to-finish tutorial for Cricut Print Then Cut sticker sheets, including kiss-cut vs die-cut, size limits, borders, calibration, set...
Maker Vinyl
Updated October 17, 2026
First Print Then Cut Stickers with a Cricut
Make your first Print Then Cut stickers with Cricut Design Space, step by step. Learn calibration, bleed, print settings, and how to cut cleanly without wasting supplies.

Harper Davis
Harper Davis is a lifelong DIY enthusiast and cutting-machine expert who loves helping beginners conquer Cricut Design Space. With over six years of experience running a custom vinyl shop, she shares practical tutorials, material guides, and creative inspiration.
If you have ever stared at Cricut Design Space thinking, “Okay, but how do I get the machine to cut around what I printed?”, you are in the right place. Print Then Cut can feel a little magical the first time it works, and a little maddening when it does not. I have been there, wasting sticker paper and talking to my printer like it can hear me.
In this walkthrough, I will show you exactly how to calibrate, set up your file, print correctly, and cut cleanly so your very first sticker sheet looks like you bought it from a shop.
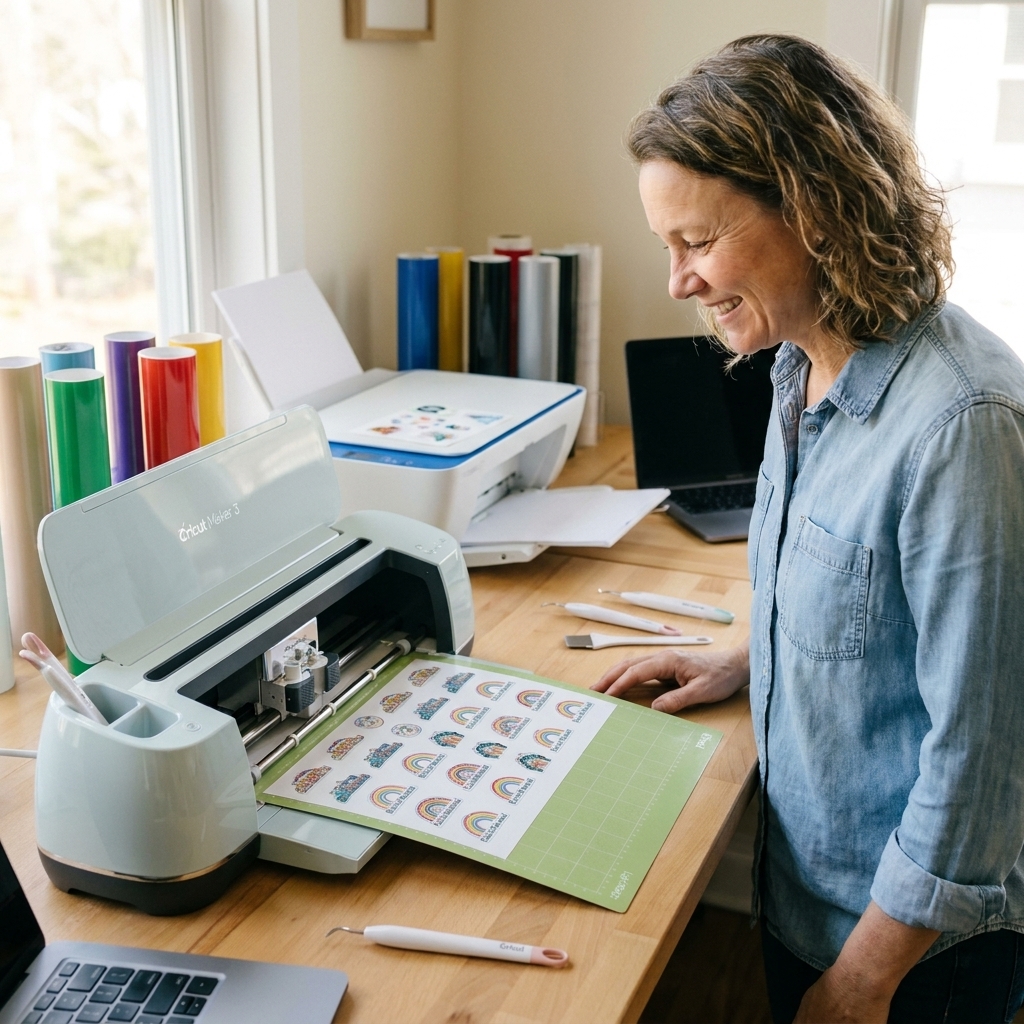
What Print Then Cut does
Print Then Cut is for projects where you print a full-color design on your home printer, then your Cricut scans the printed sensor marks and cuts precisely around each design.
It is perfect for:
- Planner stickers and sticker sheets
- Product labels
- Die-cut stickers for water bottles (with the right materials and laminate)
- Printable heat transfer (for dark or light fabrics, using the correct printable HTV)
It is not the same as “Cut” projects, where the Cricut cuts vinyl or cardstock without printing first.
Before you start
Hardware
- A Cricut machine that supports Print Then Cut (commonly Explore Air 2, Explore 3, Maker, Maker 3, Joy Xtra, and Venture). Standard Joy does not do Print Then Cut. Cricut updates features over time, so it is worth double-checking Cricut’s current compatibility list if you are unsure.
- An inkjet printer is the most common choice for stickers. Laser can work for some printable materials, but always check your sticker paper directions.
Supplies
- Printable sticker paper (matte is easiest for beginners)
- LightGrip (blue) mat for most sticker paper, or StandardGrip (green) if your paper is heavier
- Brayer (optional but helpful for consistent cutting)
- Scraper or squeegee for smoothing paper down
- Fine-point blade in good condition
Optional but recommended
- Clear laminate to protect stickers (helps with water resistance and scratch resistance)
- Sharp scissors or a paper trimmer for trimming sheets after cutting
Beginner tip: Start with matte sticker paper and no laminate for your first run. Glossy finishes and laminates can be trickier because they reflect light during scanning.
My three non-negotiables: Calibrate first, print at 100% scale (no “fit to page”), and keep glare off the sensor marks.
Step 1: Calibrate
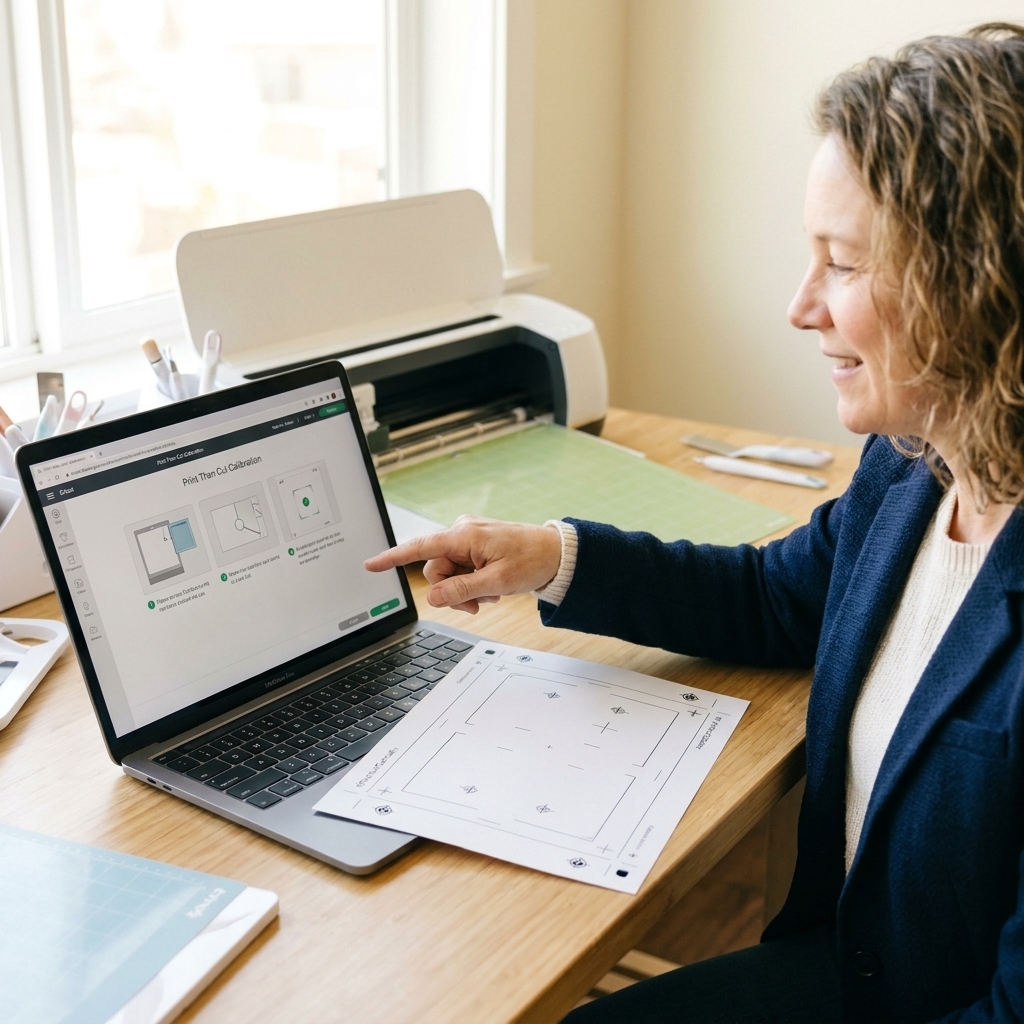
If you do one “unsexy” thing today, let it be calibration. Calibration aligns your Cricut’s sensor reading with where the blade cuts. It works best when it is paired with correct printing at true size.
You should calibrate:
- Before your first Print Then Cut
- After a firmware update
- If your cuts are consistently offset
- If you change machines
How to calibrate in Design Space
- Open Cricut Design Space.
- Go to Settings (menu varies by device), then find Calibration.
- Select Print Then Cut.
- Design Space will prompt you to print a calibration sheet. Print it on plain printer paper.
- Place the sheet on your mat exactly as shown, then let the Cricut scan and cut the calibration lines.
- Answer the on-screen questions carefully. You are telling Cricut which cut lines are most centered.
My calibration rule: Do not eyeball from across the room. Get close, use good lighting, and take your time. One rushed click can mean a whole sheet of stickers cut a little “off” later.
Step 2: Set up your design
You can make stickers from your own artwork, a PNG you purchased, or shapes and text you build directly in Design Space.
Option A: Upload a PNG (most common)
- Click Upload in Design Space.
- Choose your file. A PNG with a transparent background is easiest.
- Select Print Then Cut Image when prompted.
- Save it and add it to your Canvas.
Option B: Turn a JPG into a cut-out sticker
If your image has a background, you will use the background remover tools during upload. For beginners, keep it simple: high contrast images are easier to clean up.
Add a white border (offset)
A white border helps stickers look professional and hides tiny cut imperfections.
- Select your sticker image.
- Use Offset.
- Choose a small offset (start around 0.05 in to 0.08 in).
- Set the offset layer color to white.
- Flatten the image and offset together (more on Flatten next).
Important: If you want Cricut to cut around what you printed, the printable pieces must be Flattened into a single Print Then Cut layer. Attach is not the same.
Flatten vs Attach
This is the part I wish someone had tattooed on my crafting brain in year one:
- Flatten turns your design into a single Print Then Cut printable layer.
- Attach holds positions for cutting, but it does not convert your design to Print Then Cut.
When to use Flatten
- Any time you have text and shapes you want printed as one sticker
- Any time you add an offset and want it printed together
- Any time you are making a sticker sheet
When to use Attach
- To keep multiple stickers arranged on the page exactly how you want before printing
My workflow for sticker sheets: Build each sticker and Flatten the printable pieces inside it. Then arrange all stickers on the page and Attach the full layout so Design Space does not shuffle everything at the last second.
Step 3: Build a sheet that fits
Print Then Cut has a limited printable area because the machine needs space for the sensor marks. The maximum area can vary by paper size (Letter vs A4) and Cricut updates, so treat the on-screen boundary as the final authority.
To avoid surprises:
- Keep designs away from the very edges of your page.
- Use Make It early to preview placement.
- If something is too big, resize and try again.
Beginner tip: If Design Space suddenly rearranges your stickers on the page, it usually means you forgot to Attach your arranged layout.
Step 4: Print correctly
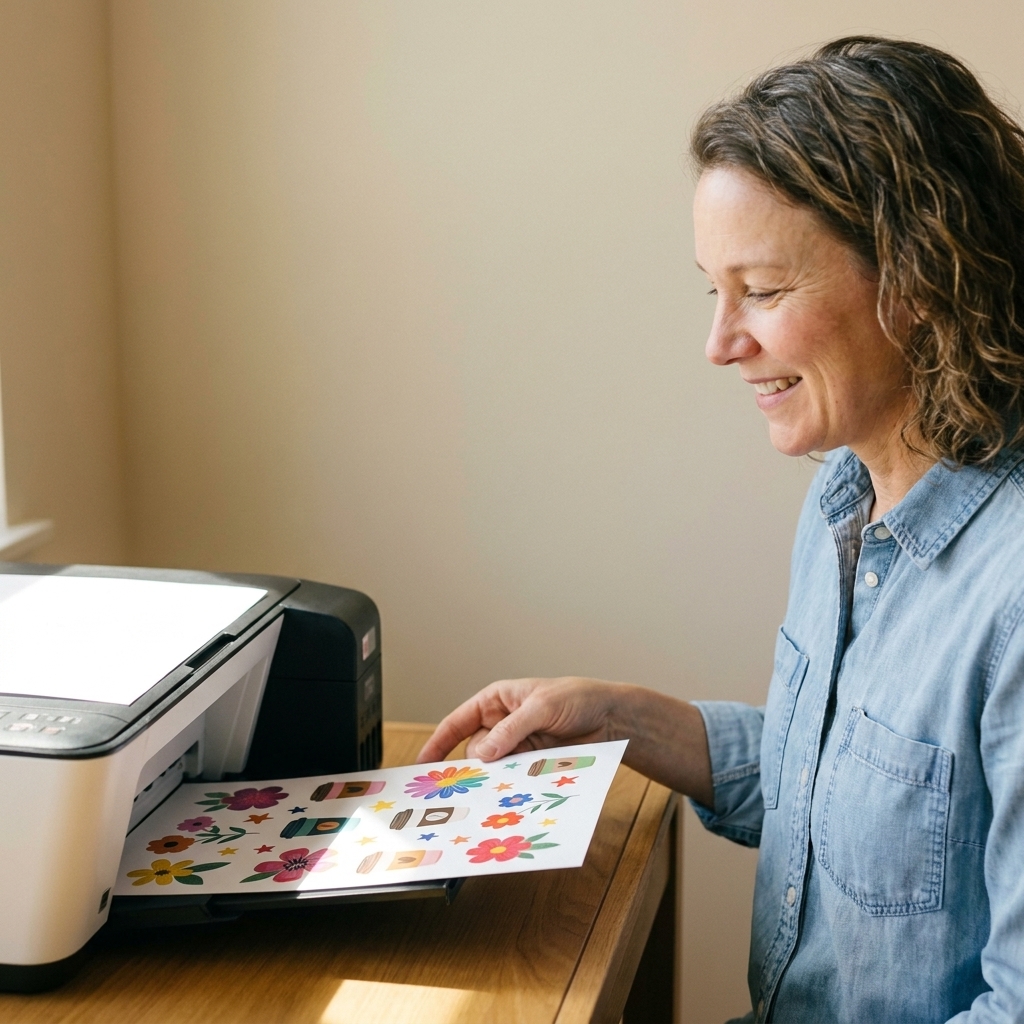
Use the right print settings
When you click Make It and go to Print, Design Space sends the job to your printer, but your printer driver settings control quality and scaling.
Look for settings like:
- Best or High Quality
- Photo or Presentation Paper Matte (match to your sticker paper type)
- Scale 100% (do not “fit to page”)
- Borderless OFF (recommended, because borderless modes can crop or subtly rescale the print, which can throw off cuts)
Turn this on: If you see a checkbox like Use System Dialog in the print screen, use it. It gives you access to your printer’s real settings.
Bleed: on or off?
Design Space often includes a Bleed toggle in the Print Then Cut dialog. Bleed slightly expands the printed ink beyond the cut line to help hide tiny misalignments.
- Turn Bleed on for most full-bleed stickers (artwork that goes right up to the edge).
- Turn Bleed off if you have a crisp white border and you notice a fuzzy halo around the edge.
Let ink dry
Sticker paper loves to smear if you touch it too soon. I give most sheets 10 to 20 minutes before I put them on the mat, especially if the design is dark or saturated.
Color reality check: Screens and printers never agree perfectly. Choosing the correct paper type in your printer settings and printing at high quality usually helps.
Step 5: Put the sheet on the mat
- Use a clean LightGrip mat (less lint means better cuts).
- Place the sheet in the top-left corner, aligned straight.
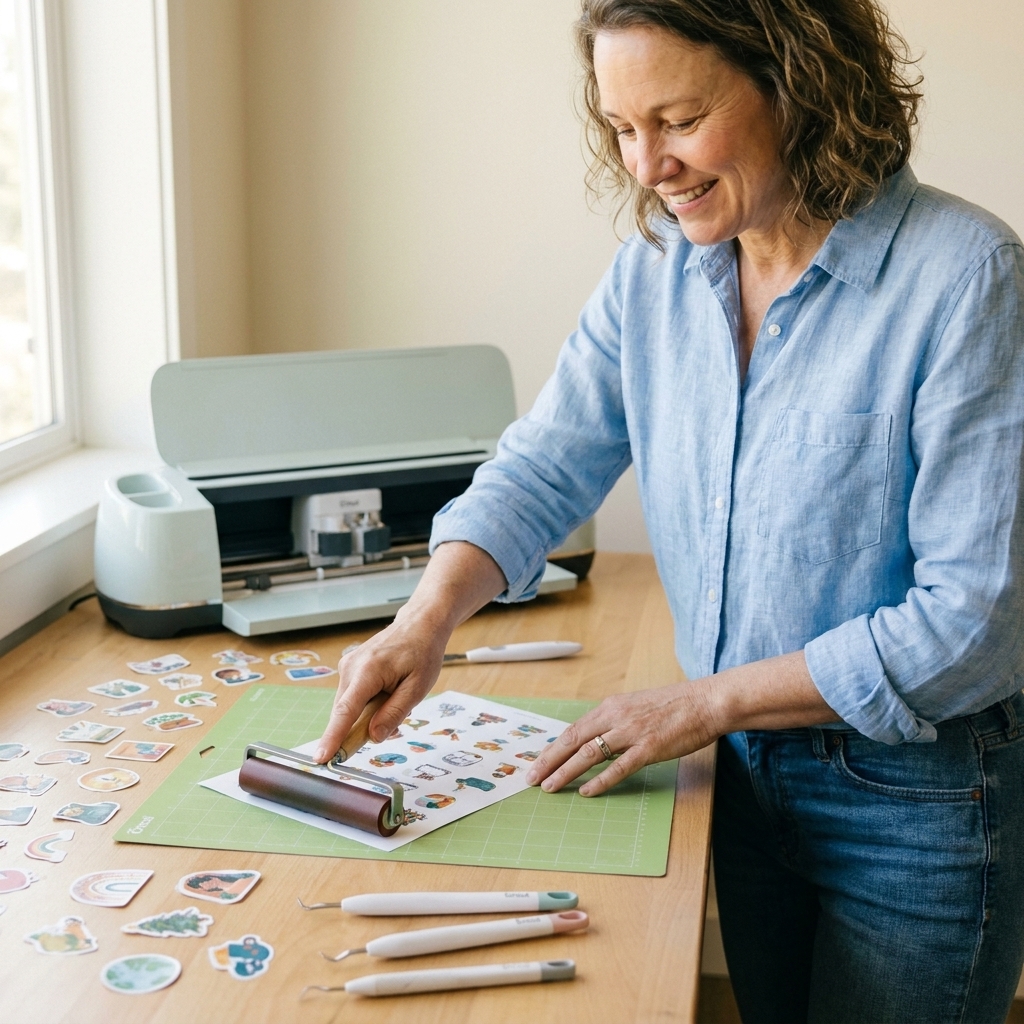
- Burnish with a scraper or roll with a brayer.
My messy craft room confession: If your mat is extra sticky, tap it with a clean cotton shirt first. Sticker paper can tear when you remove it later if the mat grip is too aggressive.
Step 6: Cut your stickers
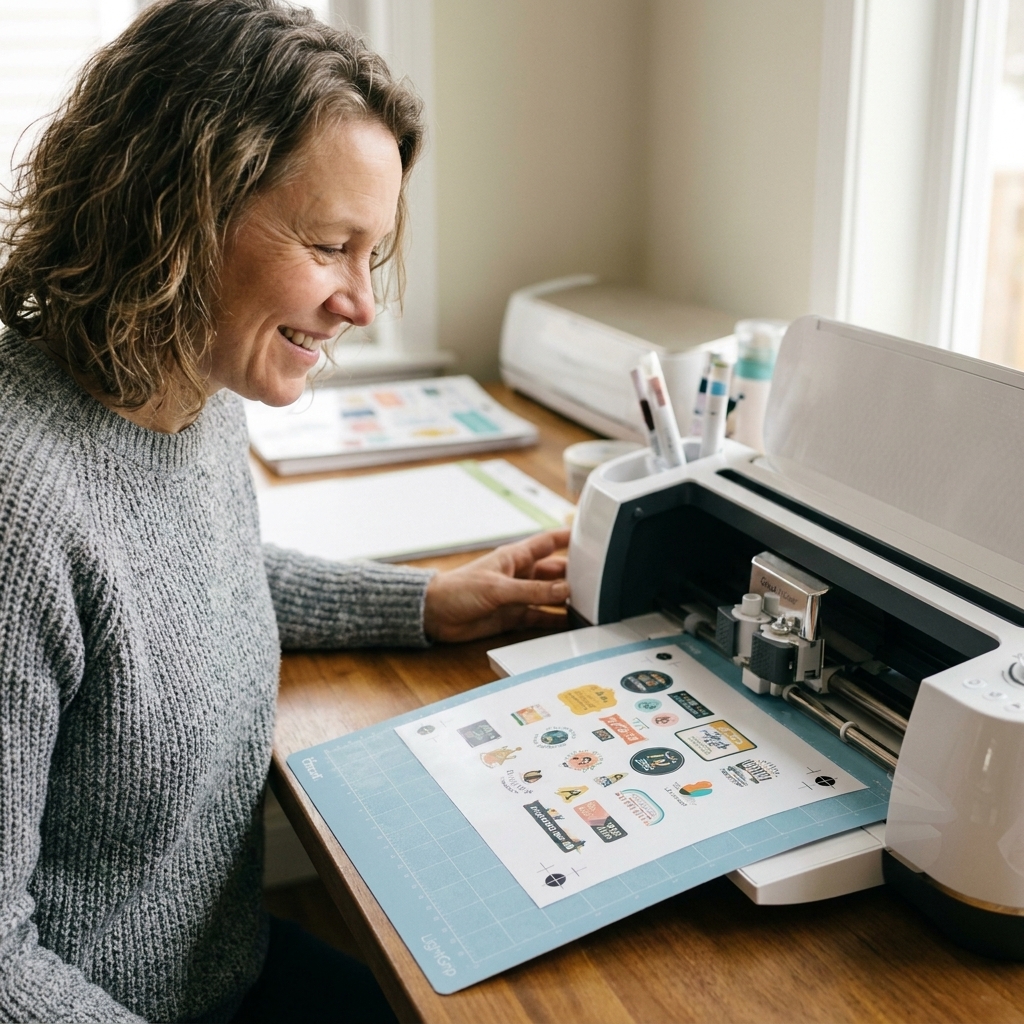
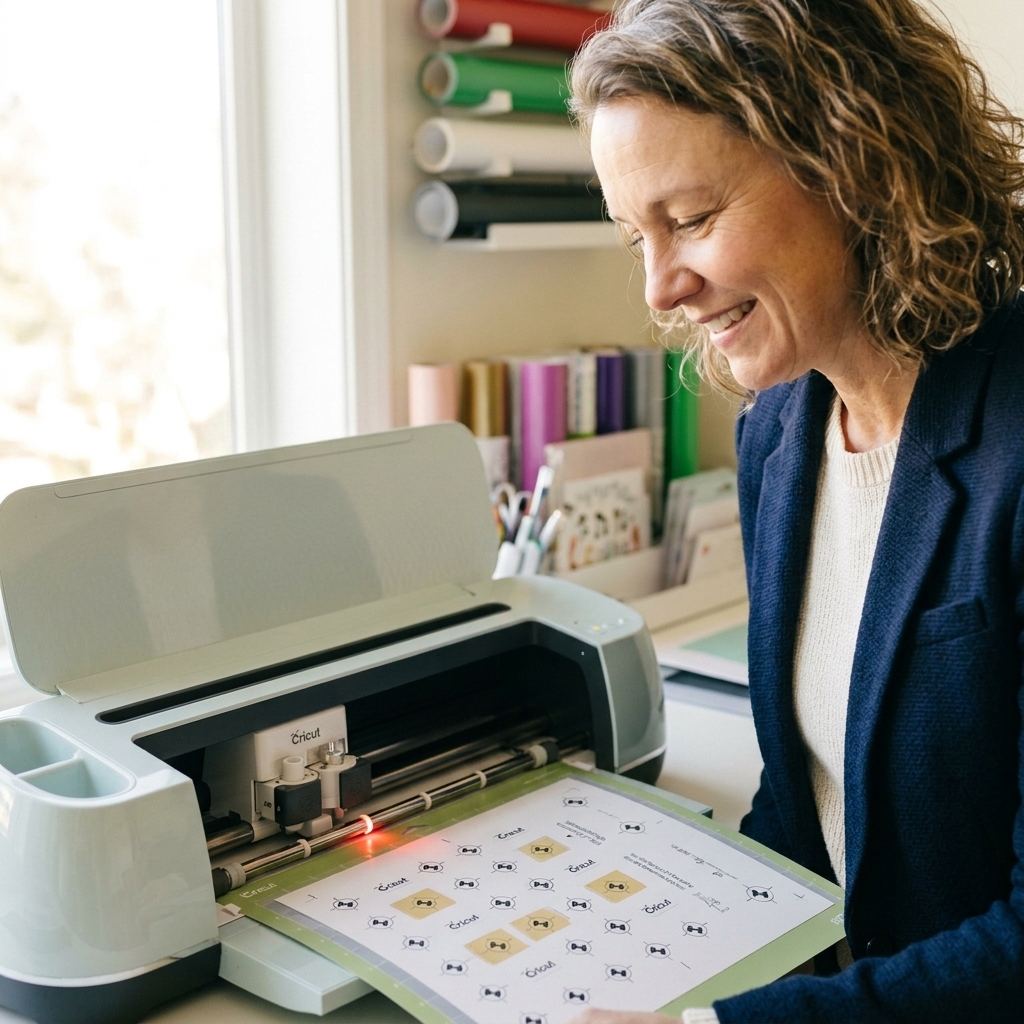
Load the mat, let the Cricut scan the sensor marks, and choose your cut setting.
Kiss-cut vs die-cut
- Kiss-cut cuts through the sticker layer but not the backing. This is what you want for sticker sheets.
- Die-cut cuts all the way through the sticker and backing. This is what you want for individual stickers you hand out or sell as singles.
Material settings that work for beginners
Settings vary by brand, printer, and laminate. Start here and adjust from there:
- Matte sticker paper, no laminate: try a “sticker paper” setting, or a lighter setting (many people use washi-style settings) if you want kiss-cuts.
- Sticker paper with laminate: you often need more pressure. Consider a heavier “sticker” setting and test first.
The best habit you can build: Add one tiny “test sticker” to a bottom corner of your sheet (something you do not mind sacrificing). Check the cut, then continue with confidence on the rest of the sheet.
Optional: Add laminate
If you want more durable stickers, laminate is a game-changer. It also adds a layer of complexity because shiny surfaces can reflect the sensor light.
How to laminate
- Print your sticker sheet.
- Let it dry.
- Apply a clear self-adhesive laminate sheet smoothly, working from one side to the other.
- Burnish well to reduce bubbles.
If the sensor marks will not scan
- Use matte laminate instead of glossy if possible.
- Make sure your room lighting is not creating glare on the sheet.
- Clean the sensor area gently (dust can interfere).
- Close the lid fully and avoid direct overhead light shining into the machine.
Real-life tip: If a laminated sheet will not scan, I reprint on matte sticker paper and try again to confirm it is a glare issue, not a calibration issue.
Unload without curling
Sticker sheets love to curl if you peel them the wrong way.
- When the cut finishes, unload the mat.
- Flip the mat upside down.
- Peel the mat away from the sticker sheet slowly while holding the sheet flat against the table.
This keeps your sheet flatter and helps prevent your kiss-cuts from lifting.
Troubleshooting
My cut is offset
- Recalibrate Print Then Cut.
- Make sure you printed at 100% scale (no “fit to page”).
- Do not trim off the sensor marks.
It will not read the sensor marks
- Use matte sticker paper or matte laminate.
- Reduce glare and harsh lighting.
- Make sure the page is placed straight on the mat.
- Check that your print is not smudged over the marks.
My stickers are tearing when I lift them
- Your cut pressure is too high for kiss-cuts. Choose a lighter material setting.
- Use a sharper blade.
- Make sure the sheet is adhered smoothly to the mat.
My kiss-cuts are not deep enough
- Increase pressure slightly or use “More” pressure in Design Space if available.
- Try a setting designed for slightly thicker materials.
- Replace or clean your blade.
My cuts look fuzzy
- Replace the blade (sticker paper dulls blades faster than you think).
- Check for debris in the blade housing.
- Use a cleaner mat so the sheet does not shift.
Harper’s sanity saver: When something goes wrong, change one thing at a time. If you change calibration, material setting, and paper brand all at once, you will never know what actually fixed it.
A simple first project
If you want a foolproof first run, do this:
- Choose 6 to 12 simple PNG stickers (or make circles with text).
- Add a small white offset to each.
- Flatten each sticker.
- Arrange them into a neat sheet and Attach the full layout.
- Print on matte sticker paper with high quality settings at 100% scale.
- Kiss-cut using a lighter sticker paper style setting.
Once you nail that, you can level up to laminate, die-cuts, and glossy finishes.
FAQ
Do I have to use Cricut printable sticker paper?
No. You can use many brands. The key is matching your printer type and choosing a cut setting that fits the thickness. Start with matte sticker paper for fewer headaches.
Can I make waterproof stickers with Print Then Cut?
You can make more water-resistant stickers by using a weatherproof sticker paper plus laminate, but truly waterproof and dishwasher-safe results usually require specialty materials and careful testing. For water bottles, I recommend laminate at minimum and hand-washing.
Why do I see black corner marks around my print?
Those are Cricut’s sensor marks (often shown as four black corner brackets). The Cricut sensor reads them so it knows exactly where to cut. Do not crop them off.
Can I Print Then Cut from an iPad?
Yes, but printing options can be more limited depending on your printer and the app. If you can, do your first Print Then Cut from a desktop or laptop so you have full access to print quality settings.
Can I sell stickers I make?
You can sell stickers you design yourself. If you are using purchased artwork, fonts, or bundles, check the license to confirm commercial use is allowed.
You are closer than you think
Print Then Cut is one of those Cricut skills that feels intimidating until you do it once, and then suddenly you are making labels for everything you own. Calibrate, print at 100%, start with matte paper, and keep your first sheet simple. After that, you can experiment like a mad scientist with laminate, glitter sticker paper, and die-cuts.
If you want, tell me what Cricut model you have and what sticker paper you are using, and I will suggest a starting cut setting to test.