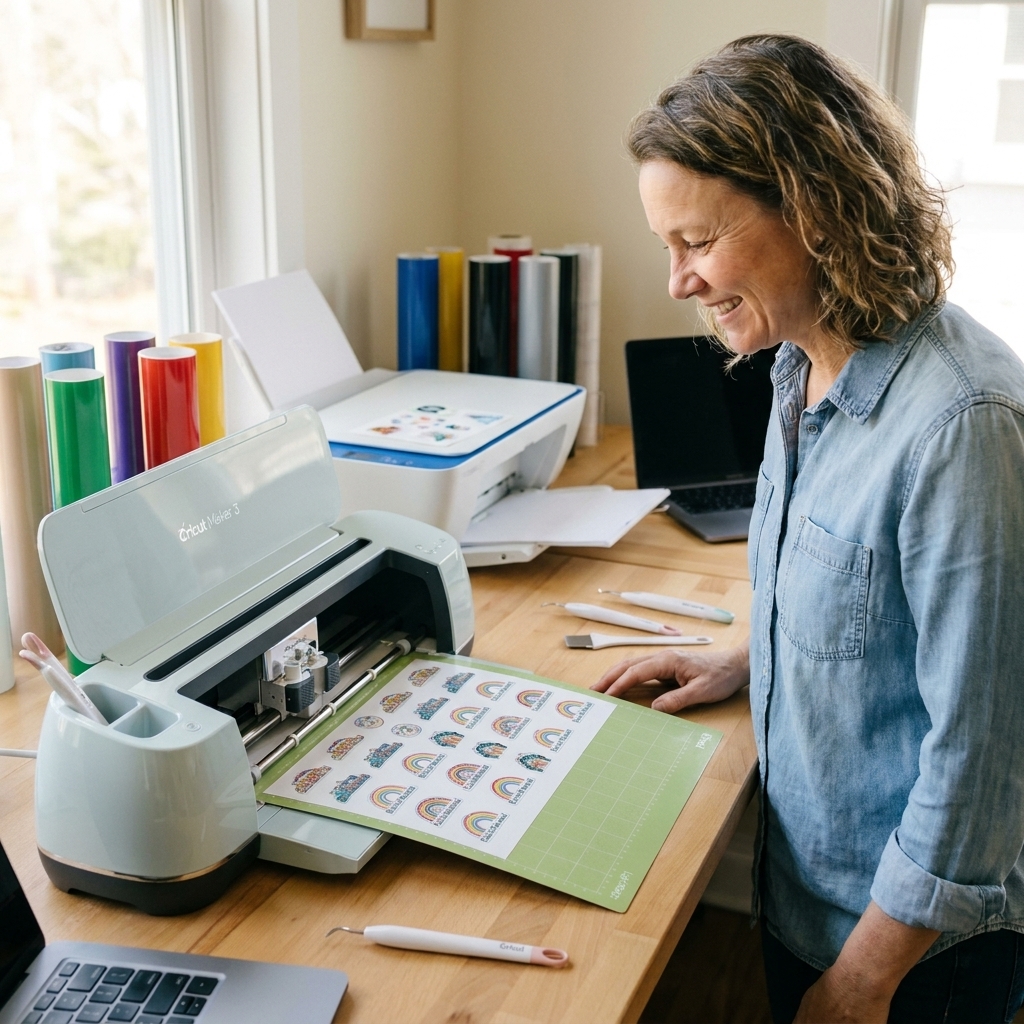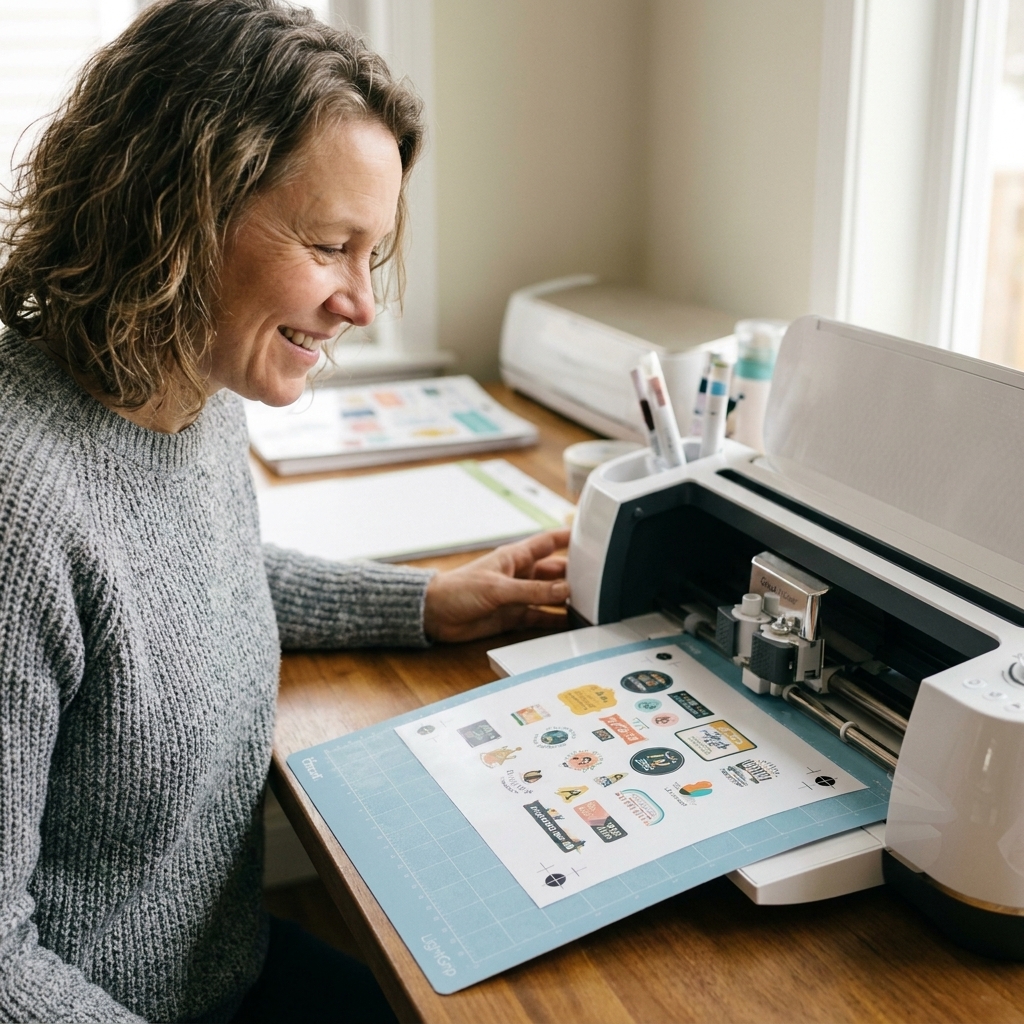
A beginner-friendly, start-to-finish tutorial for Cricut Print Then Cut sticker sheets, including kiss-cut vs die-cut, size limits, borders, calibration, set...
Maker Vinyl
Updated October 17, 2026
Fix Cricut Print Then Cut Sensor Errors
Cricut can’t read your Print Then Cut lines? Fix sensor errors fast with lighting tweaks, glossy paper hacks, calibration steps, printer scaling checks, and mat loading tips that actually work.

Harper Davis
Harper Davis is a lifelong DIY enthusiast and cutting-machine expert who loves helping beginners conquer Cricut Design Space. With over six years of experience running a custom vinyl shop, she shares practical tutorials, material guides, and creative inspiration.
If you have ever watched your Cricut glide over the registration box, pause, and then hit you with a sensor error, you are not alone. Print Then Cut is amazing when it works, and a total mood-killer when it doesn’t.
The good news: most “cannot read the cut sensor marks” problems come down to a few usual suspects: glare (hello glossy paper), lighting (too bright, too dim, or flickery), print scaling or low-ink marks (the box is the wrong size or too faint), or calibration (the machine is slightly off and needs recalibrating). Less often, it is a software or connection hiccup.
This guide walks you through the exact fixes I use in my vinyl shop when stickers are due and the sensor decides to be dramatic.
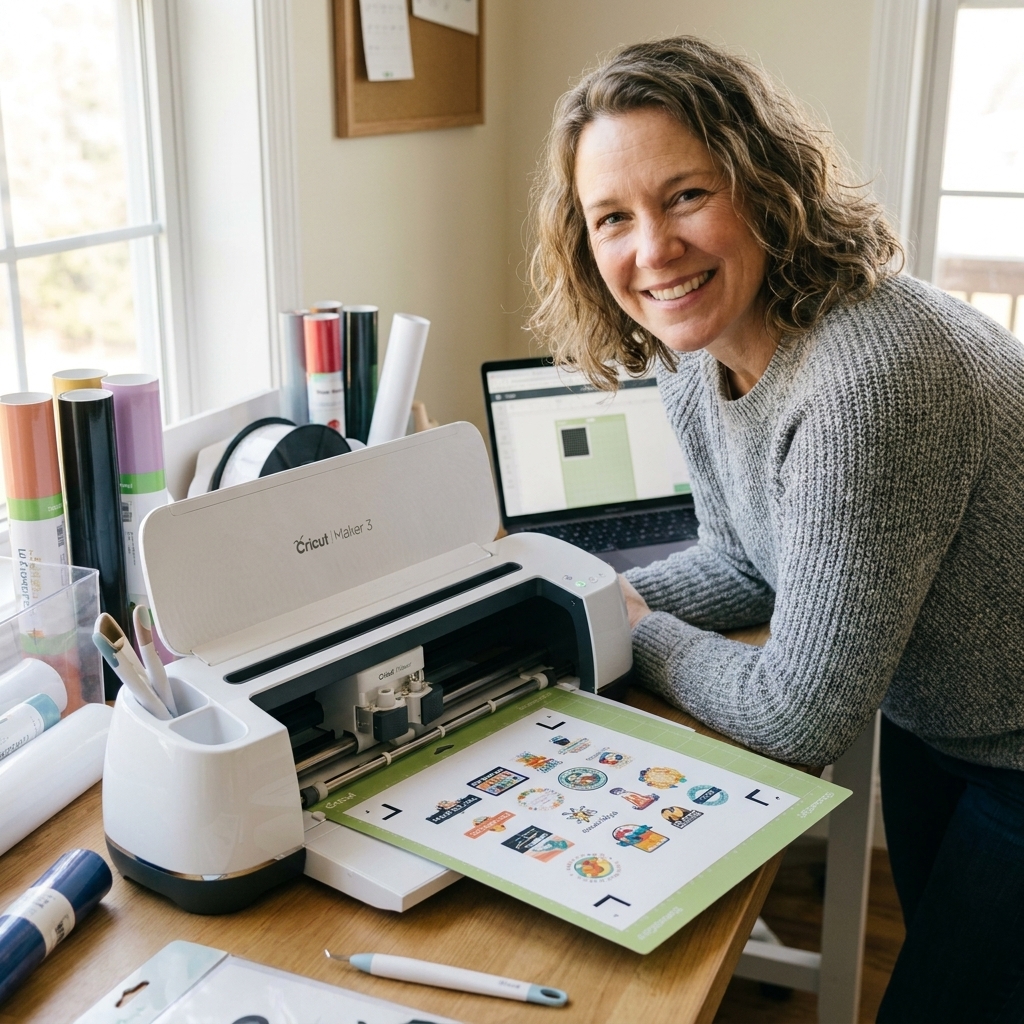
First: Identify the sensor error you are getting
Cricut words these a few different ways, but they usually point to the same scanning problem:
- Cannot read the cut sensor marks
- Print Then Cut sensor error
- Registration marks not detected
- Machine cannot read the lines
Before you change anything, check these two quick details:
- Are you doing Print Then Cut (printed sheet) or Cut Only (vinyl)? This guide is for Print Then Cut.
- Did you print at “Actual Size” (100%)? If it scaled even a little, the sensor can fail because the box is the wrong size.
Quick win checklist (do these before you reprint)
If I could stand next to you in your craft room and do the fastest rescue possible, this is the order I would try.
1) Turn off bright overhead lights and direct sun
Glare is the enemy, especially on glossy paper or laminate. If the light is bouncing off your sheet, the sensor can struggle to see the black registration lines.
- Close blinds if sunlight is hitting the machine.
- Turn off harsh ceiling lights aimed at the Cricut.
- If you need light, use a lamp positioned to the side, not directly above the paper.
2) Clean the sensor area gently
Dust happens, especially if you cut cardstock or glitter vinyl. Use a soft, dry microfiber cloth and wipe around the sensor area. Avoid spraying anything on the machine.
3) Check mat alignment and page placement
- Place the printed sheet in the top left corner of the mat and press it down firmly, especially along the edges.
- Make sure the mat is loaded straight. If it feeds in crooked, the scan can fail.
4) Reduce glare fast with matte tape (use with care)
If you printed on glossy sticker paper or laminated your sheet, adding matte transparent tape over the black registration lines only can dull the shine enough for the sensor to read them.
- Use matte Scotch tape or matte removable tape.
- Lay it smoothly with no wrinkles or bubbles.
- Keep tape only on the black marks. Avoid covering the white margin around the box.
Quick caution: This is a common craft-room workaround, not an official Cricut method. Test it on one sheet first, make sure the tape is fully stuck down (so it can’t lift during the cut), and stop if you notice residue or shifting.
If you only have regular shiny tape, skip it. Shiny tape can make glare worse.

Fix #1: Glossy paper and laminate
Glossy printable vinyl, glossy sticker paper, and laminated sheets are notorious for sensor errors because they reflect light. If your sheet looks shiny when you tilt it, treat it like a glare-risk project.
Option A: Matte tape on the registration lines
This is the fastest rescue and often works immediately if glare is the only issue.
- Apply matte tape just on the black box and corner marks.
- Burnish lightly with a scraper so it lies flat.
- Reload and try again.
Option B: Switch to matte or satin laminate
If you laminate sticker sheets, matte laminate is usually the most reliable for Print Then Cut. Glossy laminate plus bright lighting is basically a sensor error invitation.
Option C: Create a “matte window” on glossy laminate
If you already laminated glossy, you can sometimes rescue the sheet by placing matte tape over the registration lines on top of the laminate. Smooth and flat is the goal.
Option D: Reprint on matte material for sanity
I love a good hack, but if you are wasting more time than the project is worth, reprint on matte sticker paper or printable vinyl and save the glossy for other projects.
Fix #2: Lighting problems
Cricut sensors like consistent, even light. They hate glare, shadows, and flicker.
What to avoid
- Direct sunlight across the sheet
- LED strips shining into the machine
- Flickering bulbs (some LEDs flicker in a way cameras notice)
- Harsh overhead glare on glossy paper
What to try instead
- Move the machine so the sensor area is not under a bright hotspot.
- Use a lamp aimed at the workspace, not straight at the shiny sheet.
- Cut at night with controlled lighting if daytime sun is the issue.
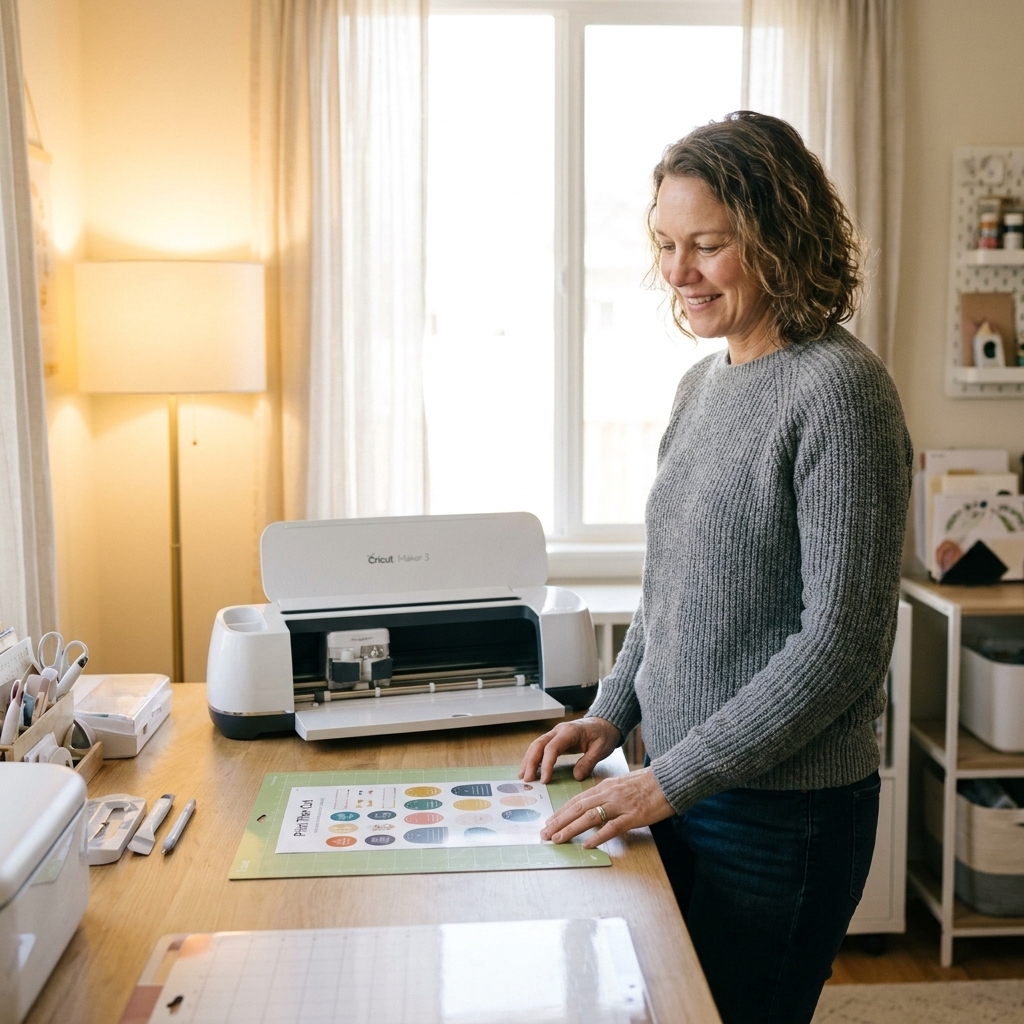
If your Cricut is near a window, try rotating it 90 degrees so the light does not reflect straight back at the sensor.
Fix #3: Calibration
If you are getting repeated sensor errors, or your machine reads the marks but your cuts are drifting, calibration is your best friend.
When you should calibrate
- You changed printers or printer settings recently
- You updated Design Space
- You have not calibrated in a long time
- You are cutting detailed sticker sheets and the cut line is slightly off
How to calibrate Print Then Cut
Open Design Space and sign in.
Go to the menu and look for Calibration. On many desktop versions it is Menu > Calibration. (If you do not see it, check Menu > Settings, since wording and placement can shift by version.)
Select Print Then Cut calibration.
Print the calibration sheet from Design Space. For best results, use a fresh calibration sheet from your current Design Space version.
Place the sheet on a mat, load it straight, and follow the prompts to choose which line is cut best.
Repeat if needed until the cut lines land cleanly where they should.
My best calibration tip: Print using the same printer, paper type, and quality settings you use for your real stickers. Calibration is only as good as the print setup you actually craft with.
Fix #4: Printer settings that break registration
Even if your artwork looks fine, the sensor depends on the registration box being the right size and printed clearly. Most scaling problems happen in the printer dialog, not on the canvas.
Do this when you print
- Scale: 100% / Actual Size (never “Fit to Page”)
- Print quality: Normal or High so the black lines are solid
- Borderless printing: Off if your printer tries to crop or resize
- Print from Design Space (avoid printing from screenshots, exported PDFs, or anything that can sneak in resizing)
Watch for these gotchas
- “Shrink to printable area” options in your printer driver
- Printing from a preview window that auto-resizes
- Low-ink black cartridges that make the lines look gray
If the black box looks faint or streaky, replace ink or run a nozzle check. Sensors like bold, clean lines.
Fix #5: Mat, rollers, and loading issues
Sometimes the sensor error is not really about the marks. It is about the sheet moving or sitting unevenly during the scan.
Check these
- Use the right mat grip: LightGrip is often better for thin sticker paper. StandardGrip is great for heavier paper, printable vinyl, and many laminated sheets. The goal is flat, secure, and easy to remove without curling.
- Brayer it down: A brayer helps the sheet lay perfectly flat, which is huge for laminated pages.
- Flatten curls: If your sheet was rolled or your laminate causes curl, gently reverse-roll it for a moment before placing it on the mat.
- Clean the mat: Little bits of paper dust can create bumps that change how the sheet sits.

Fix #6: Stay within size limits
If your design is too large, Design Space may rearrange or scale in ways that make scanning less reliable. Print Then Cut size limits vary by machine and by paper size (Letter vs A4), and they have changed over time.
My rule: keep your sticker layout comfortably inside the allowed Print Then Cut area shown after you click Make It. If you are pushing the maximum, shrink the design slightly and reprint. That tiny reduction can improve scan reliability, especially with thick laminate and curled pages.
Fix #7: Software and connection basics
If you have done the glare, mat, and print checks and it is still failing, treat it like a quick tech reset. These little glitches are more common after updates, Bluetooth hiccups, or long crafting sessions.
- Force-quit Design Space and reopen it.
- Power-cycle the Cricut: turn it off, unplug for 30 seconds, plug back in.
- Check for updates in Design Space and run a firmware update if prompted.
- Switch connection: if you are on Bluetooth, try USB (or re-pair Bluetooth).
- Try a different USB port and avoid hubs if possible.
- Clear cache (desktop): If Design Space gets buggy, clearing cache can help. Cricut’s steps vary by operating system, so follow the current Cricut Help instructions for your computer.
What not to do
- Do not redraw or “improve” the registration box by hand unless your print is truly faint. Uneven edges and shiny marker spots can confuse the sensor.
- Do not trim your page close to the marks or cut off the white margin.
- Do not let tape overlap into the white space around the marks.
- Do not print on very dark or strongly colored materials and expect perfect reads. If you must, use white sticker paper or keep a clean white margin around the registration box so the contrast stays high.
My step-by-step rescue plan
Cancel the cut before it tries again and risks chewing your sheet.
Turn off overhead lights and block direct sun.
Reload the same sheet perfectly straight on the mat, brayer it if possible.
If the paper is glossy or laminated, add matte tape over the registration marks (flat, smooth, no wrinkles).
Try again.
If it still fails, do the software reset steps (quit, power-cycle, update) and try once more.
If it reads but cuts off, calibrate Print Then Cut and then reprint your project.
If you are laminating, switch to matte laminate for the next run.
This sequence saves the most projects with the least wasted material in my experience.
Troubleshooting by symptom
It scans forever and then errors out
- Reduce glare and adjust lighting
- Wipe dust near the sensor
- Make sure the sheet is flat and not curled
- Confirm the black marks are bold (no streaky ink)
It reads the marks but cuts slightly off
- Run Print Then Cut calibration
- Make sure you printed at Actual Size
- Use the same printer settings every time
- Check that the sheet is stuck down evenly (no lift at corners)
It works on matte paper but fails on glossy or laminated
- Matte tape over registration marks (test first)
- Switch to matte laminate
- Use side lighting instead of overhead
It started happening after an update
- Recalibrate Print Then Cut
- Restart Design Space and power-cycle the Cricut
- Reprint the sheet from the current version of Design Space
- Update firmware if prompted
FAQ
Can I use a black marker to darken the registration lines?
I avoid it unless the lines are truly faint from low ink. Marker can create shiny spots, uneven edges, or bleed into the paper. If you do it, use a matte black marker, keep the edges crisp, and do not thicken the lines.
Do I have to reprint, or can I reuse the same sheet?
You can often reuse the same printed sheet if the issue is glare or lighting. If you changed printer settings, resized anything, printed from a different dialog, or the sheet got bent, reprint for best results.
Does the color of my table or mat matter?
Not usually. What matters is that the printed sheet is flat, the marks are bold, and there is no glare. That said, extreme reflections from a glass tabletop or mirrored surface near the machine can contribute, so move to a matte surface if you suspect reflections.
Why does it work sometimes and fail other times?
Lighting changes throughout the day, and glossy materials amplify those differences. The same setup at 10 a.m. can behave differently at 4 p.m. when the sun shifts. Small shifts in mat loading angle can also be enough to trigger a scan fail on pickier materials.
Wrap-up: Get your Cricut scanning again
Print Then Cut sensor errors feel personal, but they are usually fixable with a few environment tweaks, correct print scaling, and one solid calibration session. If you take nothing else from this guide, remember this: glare control and true 100% printing solve most problems.
If you want, tell me what machine you have (Explore Air 2, Maker, Maker 3, Joy Xtra, or Venture), what material you printed on (glossy sticker paper, printable vinyl, laminated sheet), and what the error message says. I can help you narrow it down without sacrificing another full sheet of stickers.