A beginner-friendly guide to removable, permanent, and iron-on vinyl for Cricut. Learn which vinyl to choose, how to apply it, and how to avoid common mistakes.
Maker Vinyl
Updated October 17, 2026
10 Essential Cricut Tools and Accessories Every Beginner Actually Needs
Skip the clutter and buy what you’ll truly use. These 10 Cricut essentials (mats, weeding tools, scrapers, and more) will save your vinyl, your time, and your sanity.

Harper Davis
Harper Davis is a lifelong DIY enthusiast and cutting-machine expert who loves helping beginners conquer Cricut Design Space. With over six years of experience running a custom vinyl shop, she shares practical tutorials, material guides, and creative inspiration.
I still remember my first “simple” vinyl project: custom onesies for my niece’s baby shower. I had a secondhand cutting machine, a dream, and exactly zero clue why my vinyl kept tearing, my transfer tape kept bubbling, and my cuts looked like a toddler chewed them. If you’re staring at Cricut’s tool aisle thinking, Do I really need all this? you’re in the right place.
Here are the 10 Cricut tools and accessories I’d buy again in a heartbeat for vinyl, HTV, and everyday crafts, plus the beginner traps that can absolutely wait.
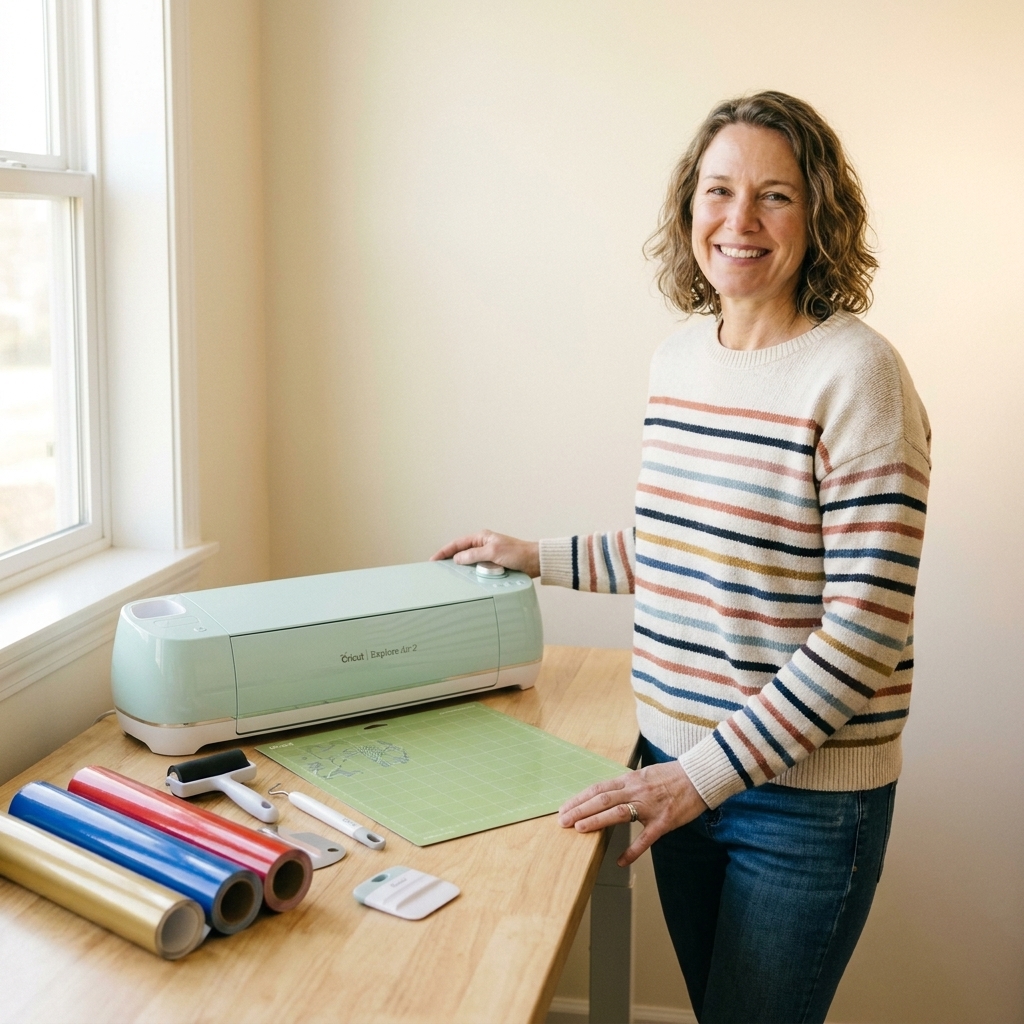
What “essential” means
My definition of essential is simple: tools that (1) prevent wasted material, (2) make your cuts and transfers more consistent, and (3) get used on most projects, not just one niche craft.
If you mainly make vinyl decals and shirts, you don’t need a drawer full of specialty gadgets on day one. Start with the core gear below, then add upgrades once you hit a real pain point.
1) StandardGrip mat (green)
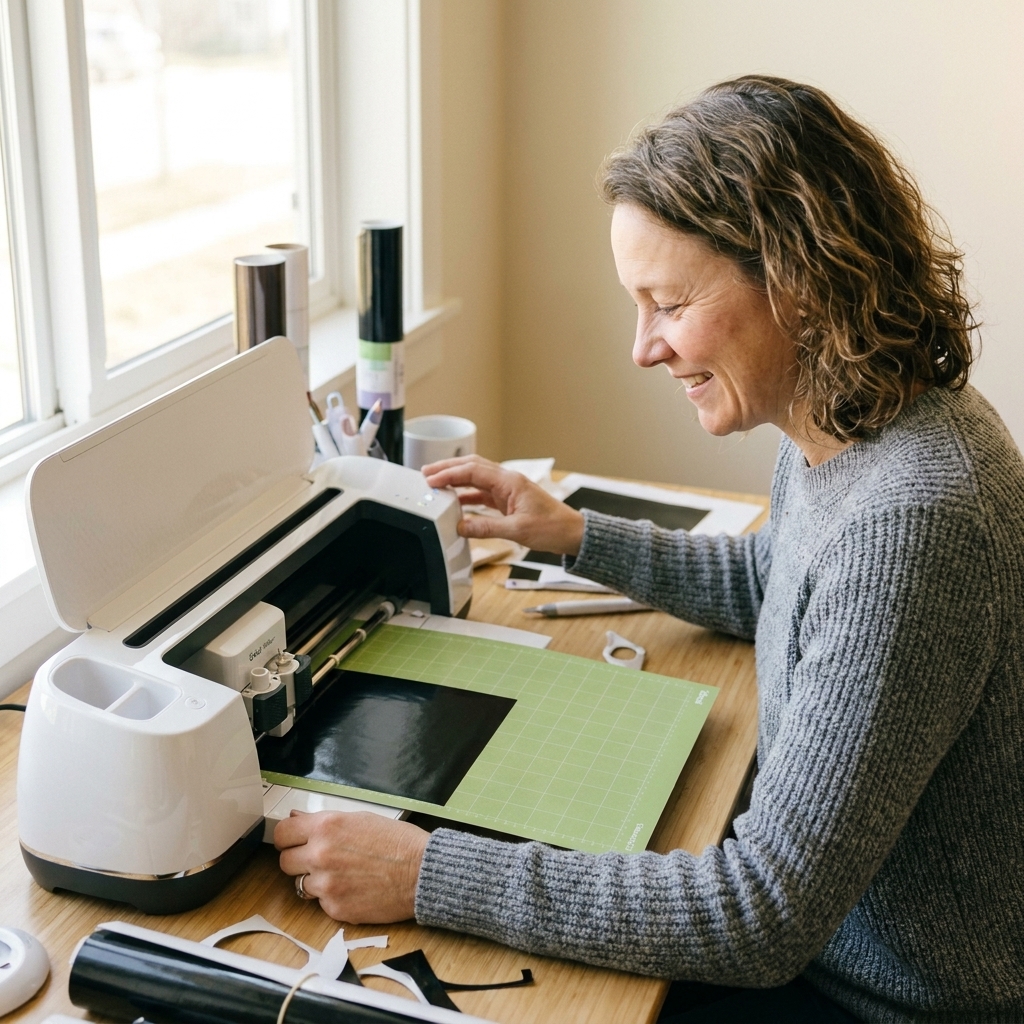
If you buy only one mat to start, make it the StandardGrip. It’s the workhorse for most beginner materials: permanent vinyl, removable vinyl, thin sticker paper, cardstock, and more.
Beginner tips
- Keep the clear cover sheet. Put it back on after every use to keep dust and pet hair from ruining your next cut.
- Flip the mat to remove paper. Turn the mat upside down and gently peel the mat away from the project. This helps prevent curling.
- Spot clean gently. If it gets fuzzy, some crafters lightly rinse with lukewarm water and a tiny bit of dish soap, then air dry. Keep it gentle because heavy washing and scrubbing can reduce tack.
2) LightGrip mat (blue)
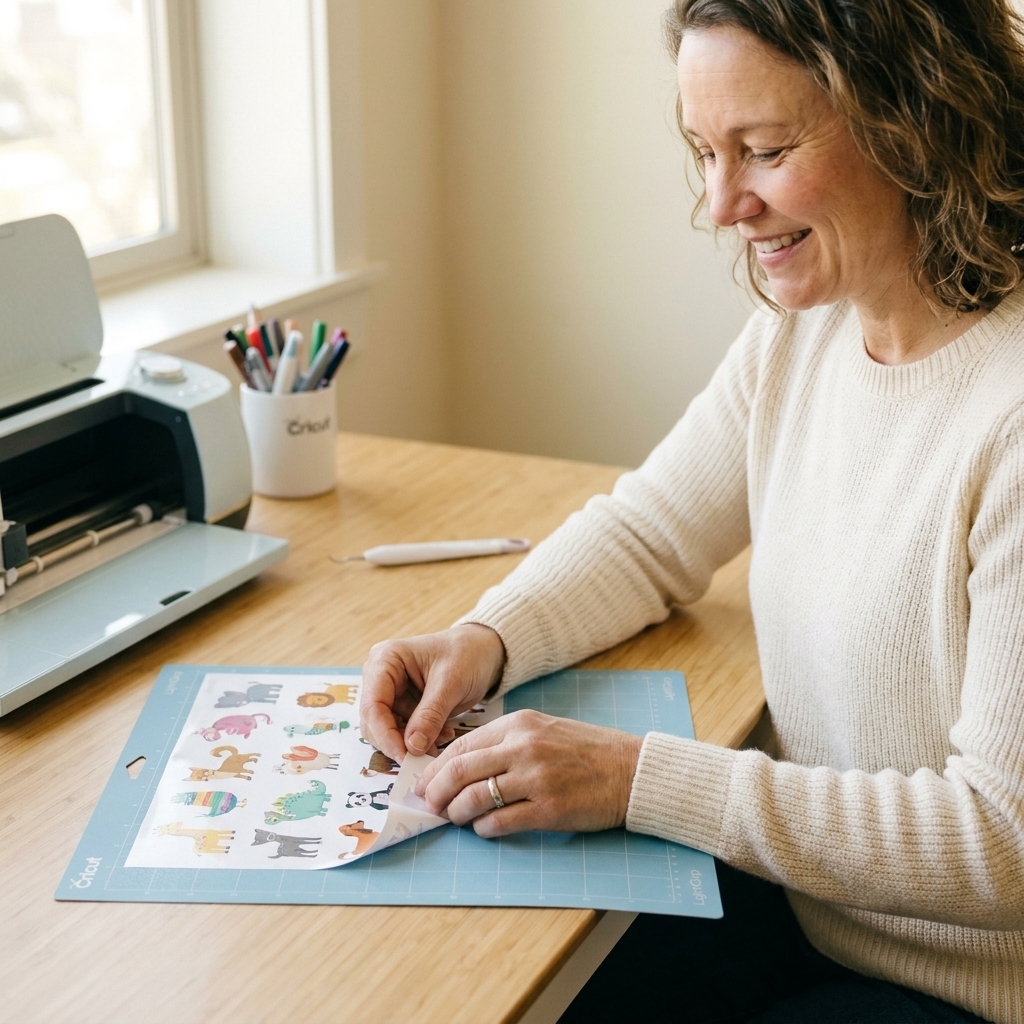
Once you start cutting sticker paper, printer paper, vellum, or thin cardstock, a LightGrip mat saves you from the heartbreak of tearing corners and crinkling your print-then-cut sheets.
I use my blue mat constantly for sticker projects because it releases paper more cleanly than the green mat.
3) Weeding tool (hook)
Weeding is the part nobody warns you about until you’re squinting at tiny letters at midnight. A simple hooked weeding tool is the difference between a clean decal and a shredded mess.
What it’s for
- Removing the extra vinyl around your design
- Lifting small centers like the inside of an O, A, R, or tiny script text
- Fixing little cut imperfections without restarting
Tip: If you do a lot of small text, add a bright desk lamp or crafting light to your workspace. Not technically a Cricut tool, but absolutely a sanity saver.
Optional add-on: A pair of tweezers can be surprisingly helpful for grabbing tiny bits cleanly, especially with intricate vinyl.
Quick safety note: Weed away from your hand and keep fingers out of the “stab zone.” These tools are small but pointy for a reason.
4) Scraper tool
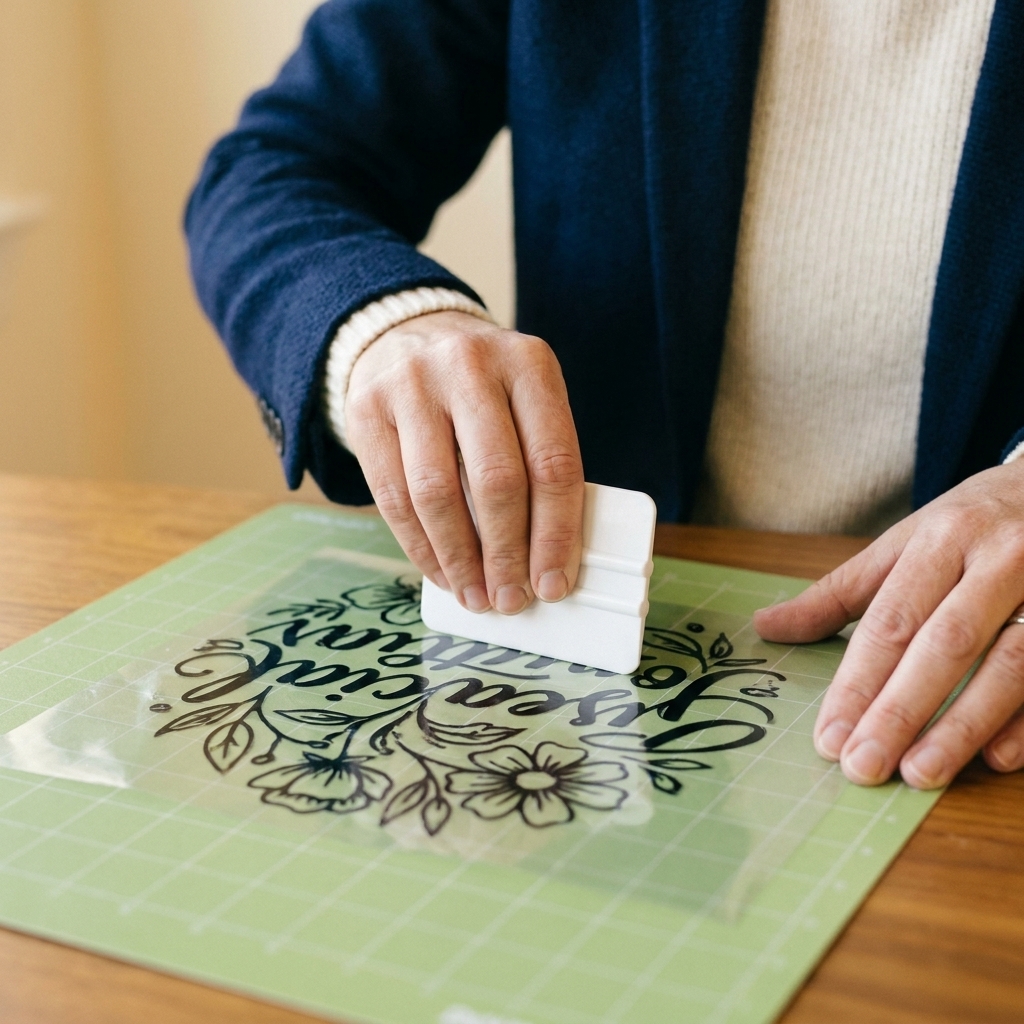
A scraper looks simple, but it’s one of the biggest quality upgrades for beginners. It helps you burnish vinyl smoothly so it adheres properly to transfer tape and then to your final surface.
You’ll use it for
- Burnishing transfer tape onto vinyl (and vinyl onto a project)
- Smoothing bubbles out of decals
- Cleaning tiny scraps off your mat quickly
If you’re battling bubbles or pieces that won’t lift with transfer tape, a scraper plus firm, even pressure usually fixes it.
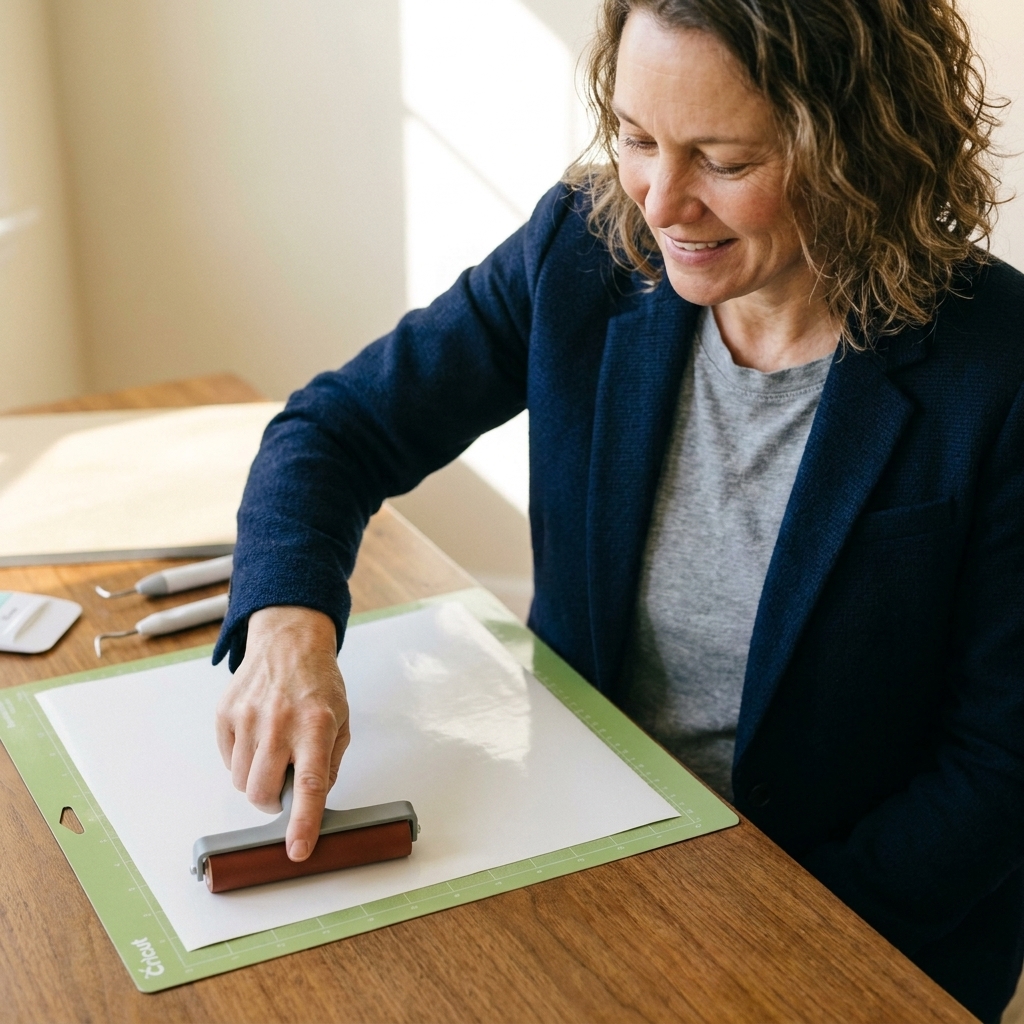
5) A brayer
If your material ever lifts while cutting, shifts mid-cut, or you get incomplete cuts in random spots, a brayer is your new best friend. It’s a little roller that presses your material evenly onto the mat so the blade can do its job.
When it matters most
- Sticker paper and printable vinyl
- Thin cardstock
- Intricate cuts where any lifting causes tearing
6) Fine-point blade (plus a spare)
Your Cricut likely came with a fine-point blade, and it’s the blade you’ll use for most beginner materials. What you need as a beginner is not a fancy blade collection. It’s a backup blade so a dull blade doesn’t ruin a project right before a birthday party.
Signs it’s time to swap
- You’re getting ragged edges on vinyl
- Intricate designs start tearing during weeding
- You have to run cuts twice more often than usual
Pro habit (optional, but helpful): Keep one blade for paper and one blade for vinyl if you do both. Paper dulls blades faster, and your vinyl cuts will show it.
7) Transfer tape (light to standard tack)
Transfer tape is how you move adhesive vinyl from the backing paper to your final surface without stretching, warping, or losing tiny details.
How to choose
- Start with light to standard tack. Super sticky transfer tape can be frustrating when you’re learning because it may not release cleanly.
- Use clear grid tape for alignment. It makes centering decals way easier.
- Keep a scrap piece nearby. You can “de-stick” overly tacky tape by pressing it to your shirt or a clean towel once.
One exception: Glitter vinyl (and some textured specialty vinyl) often needs strong-grip transfer tape to pick up cleanly.
Important: Transfer tape is for adhesive vinyl, not HTV. Heat transfer vinyl uses a clear carrier sheet already attached.
8) A real weeding surface
You don’t need a fancy craft room, but you do need a safe, consistent surface for cutting and weeding. My favorite beginner setup is a self-healing cutting mat (the kind used for sewing and rotary cutting).
Why it helps
- Protects your table from blade nicks and glue
- Gives you a grippy, flat space for trimming
- Makes measuring and squaring projects easier
If you’re short on space, even a dedicated plastic tray or lap desk works. The key is having a “vinyl zone” where little scraps don’t migrate into dinner.
9) Sharp scissors
I know, I know. Scissors feel too basic to make an essentials list. But sharp scissors prevent so many beginner headaches: jagged edges, crooked trims, and fighting with thick carrier sheets.
What you’ll cut with them
- Trimming vinyl and transfer tape to size (save material, save money)
- Clipping into corners for better alignment on curved surfaces
- Cutting away excess HTV carrier before pressing
My rule: One pair for crafting only. Do not let anyone in your house use them to open Amazon boxes.
10) HTV helpers
If you plan to make shirts, onesies, tote bags, or sweatshirts, you’ll want two inexpensive helpers that dramatically improve results.
Pressing pillow or firm pressing pad
Buttons, seams, zippers, and thick hems create uneven pressure. A pressing pillow or firm pad helps level out the surface so your HTV adheres evenly.
Heat-resistant tape
This holds layered HTV or small pieces in place so they don’t shift when you set your heat press or iron down. It’s also amazing for keeping names straight on jersey backs.
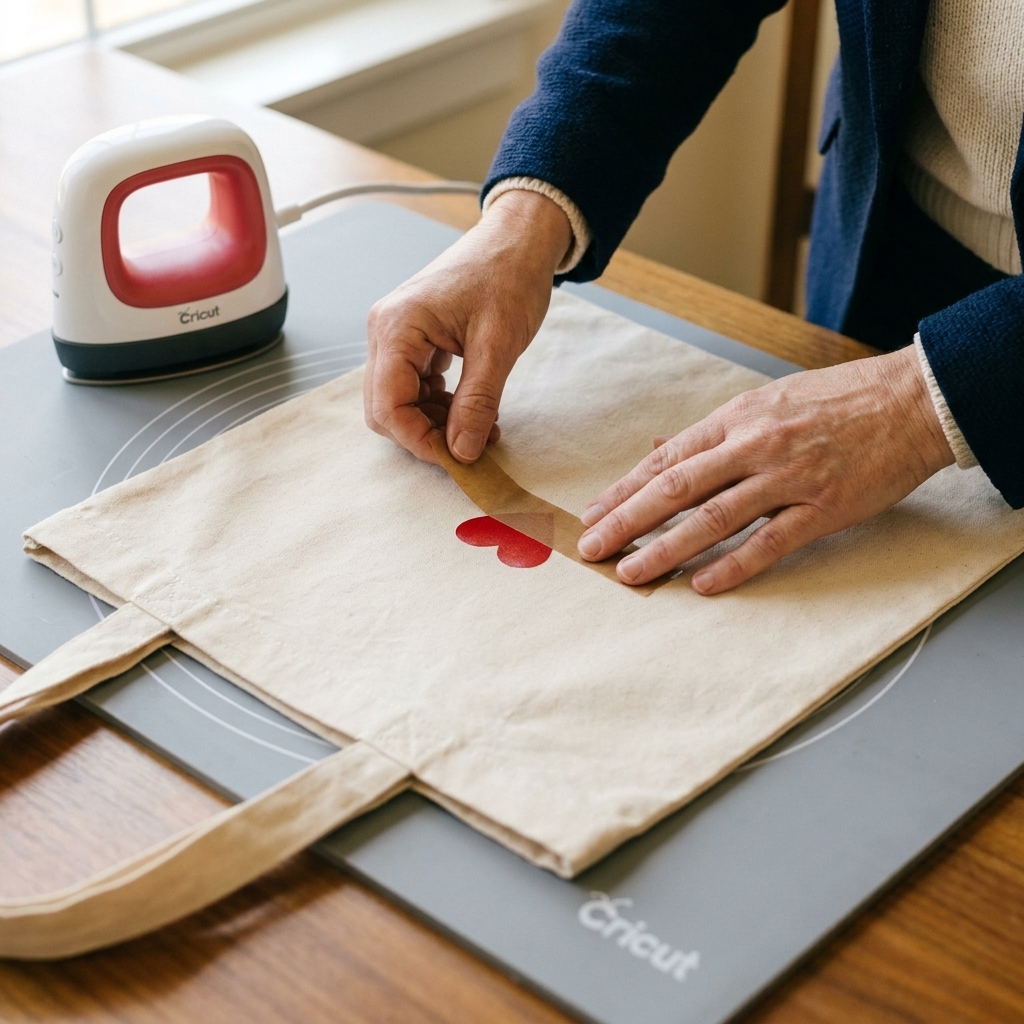
Don’t forget the heat source
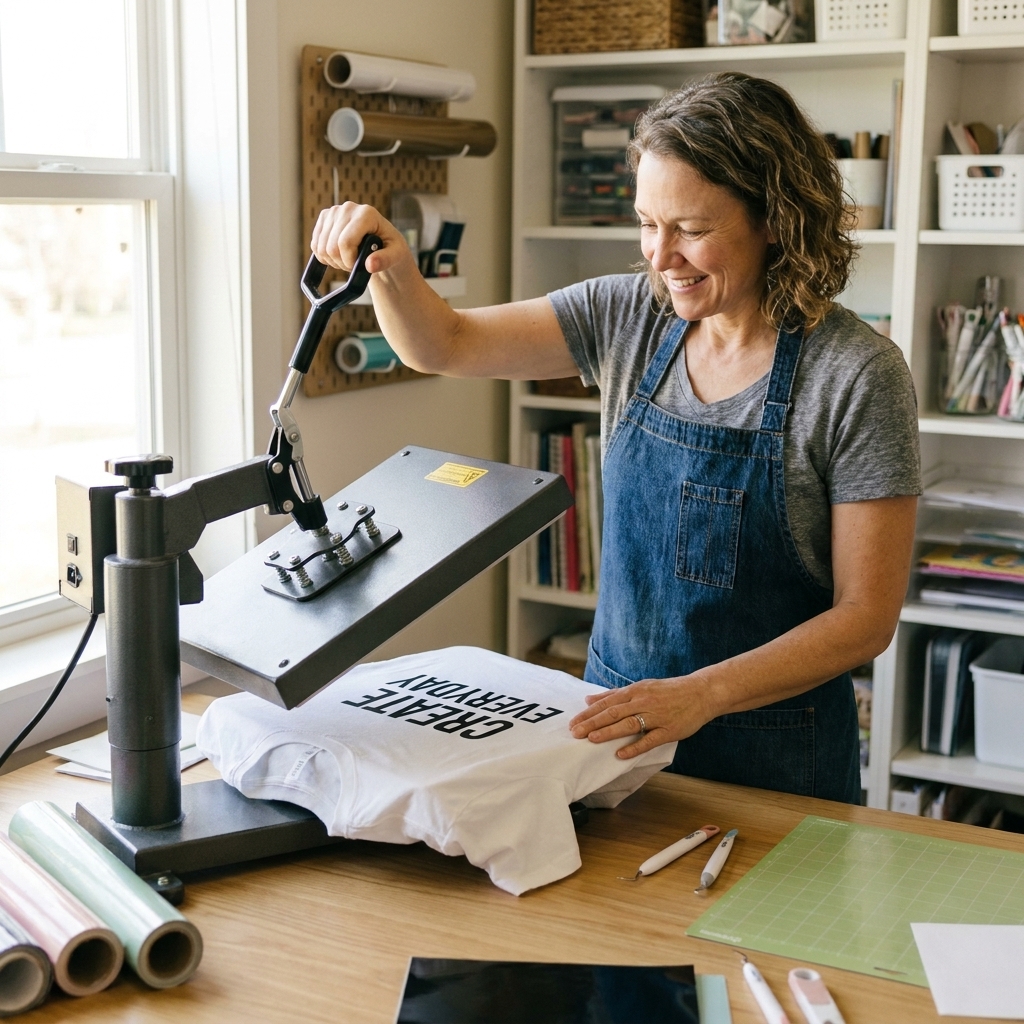
If you’re doing HTV, you need a reliable heat source. A heat press makes life easier, but you can absolutely start with a household iron if you’re careful.
- Use a hard, flat surface. Skip the ironing board. Too much padding steals pressure and heat.
- Follow your HTV brand settings. Time, temperature, and pressure vary by brand and material.
- Press with steady, firm pressure. This is where a pressing pad and heat-resistant tape really earn their keep.
What to skip for now
I’m not anti-tool. I’m anti-buying-a-tool-because-it-looked-cute-on-a-video. Here are common purchases you can wait on until you know you need them:
- Every single mat in every grip. Start with StandardGrip and add LightGrip when you do paper or stickers. StrongGrip is useful, but it’s not usually a day-one need.
- Specialty blades. Knife blade, rotary blade, engraving, debossing, perforation, wavy blade, and friends are awesome, but only once you’re doing those materials regularly.
- Weeding “kits” with 10 tools. A hook tool (and maybe tweezers) is plenty for most beginners.
- Branded everything. Off-brand brayers, scrapers, and scissors can work beautifully. Spend where it impacts results, like good vinyl or a consistent heat setup.
Beginner shopping list
If you want a simple cart that won’t leave you with a drawer of regret, start here:
- StandardGrip mat (green)
- LightGrip mat (blue)
- Weeding tool (hook)
- Scraper
- Brayer
- Fine-point blade + one spare
- Light to standard tack transfer tape
- Self-healing cutting mat (or dedicated craft surface)
- Sharp craft scissors
- Pressing pillow or firm pad + heat-resistant tape (if doing HTV)
Beginner FAQs
Do I need the Cricut tools bundle?
Not always. Bundles are convenient, but you may end up paying for tools you won’t use yet. If the bundle includes a scraper and a weeding tool at a good price, it can be worth it. Just avoid bundles packed with duplicates or specialty items you do not understand yet.
What’s the difference between a scraper and a brayer?
A scraper burnishes vinyl and transfer tape and helps smooth decals. A brayer presses your material down onto the cutting mat evenly to prevent lifting during cutting. If you cut sticker paper, the brayer is a game changer.
How many mats do I need?
Two is a sweet spot for beginners: one StandardGrip and one LightGrip. If you craft a lot, having a second StandardGrip mat is handy so you can keep going while one mat gets cleaned or de-fuzzed.
Can I use an iron instead of a heat press for HTV?
Yes, you can get great results with an iron if you use a hard surface (not an ironing board), firm pressure, the right temperature, and enough time. Always check your HTV brand’s pressing instructions because settings can vary more than you’d think.
One last pep talk
You don’t need a giant tool wall to make gorgeous projects. You need a few reliable basics, a little patience, and permission to learn without blowing through a whole roll of vinyl.
If you build your starter kit around mats, a weeding tool, a scraper, and good pressing support, you’ll avoid most of the beginner “why is this happening” moments and you’ll actually enjoy the process. And when you’re ready to add fancy tools, you’ll do it because they solve a real problem, not because they looked fun in someone else’s cart.