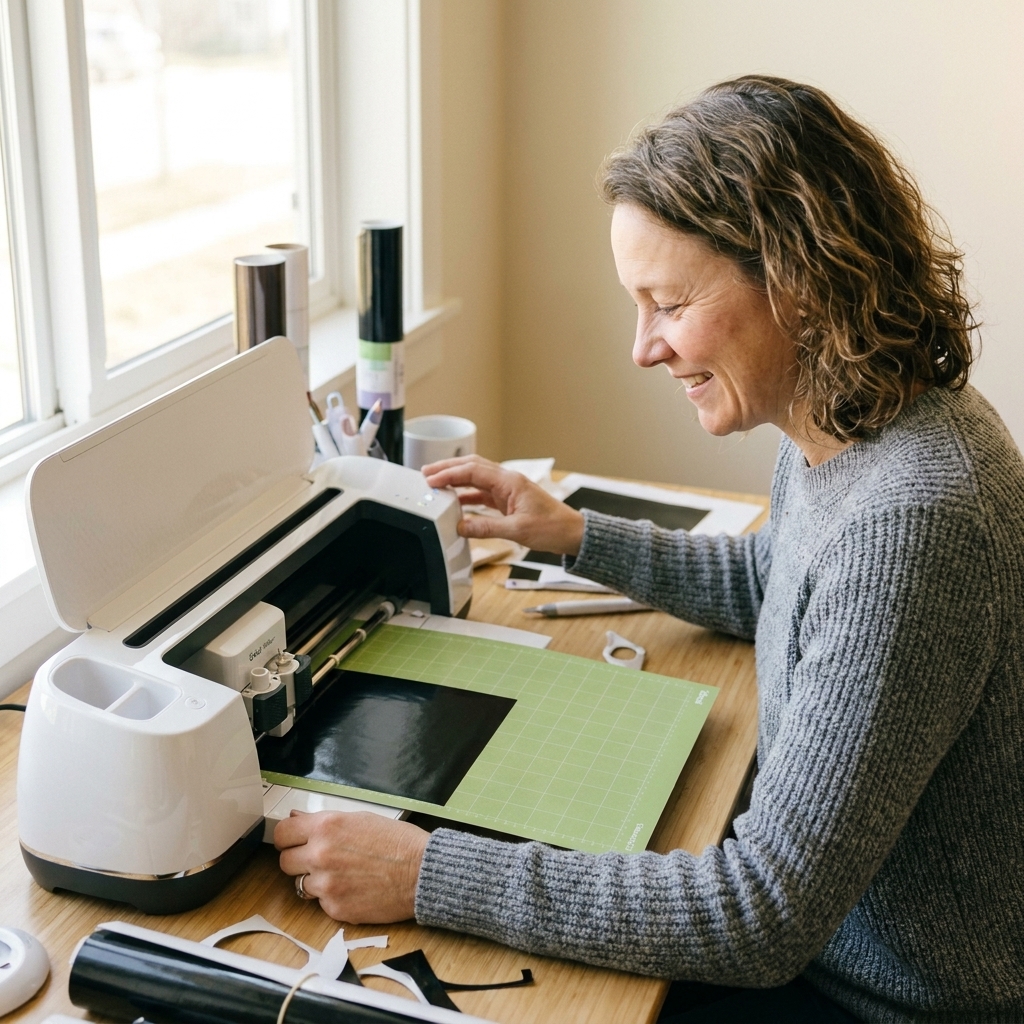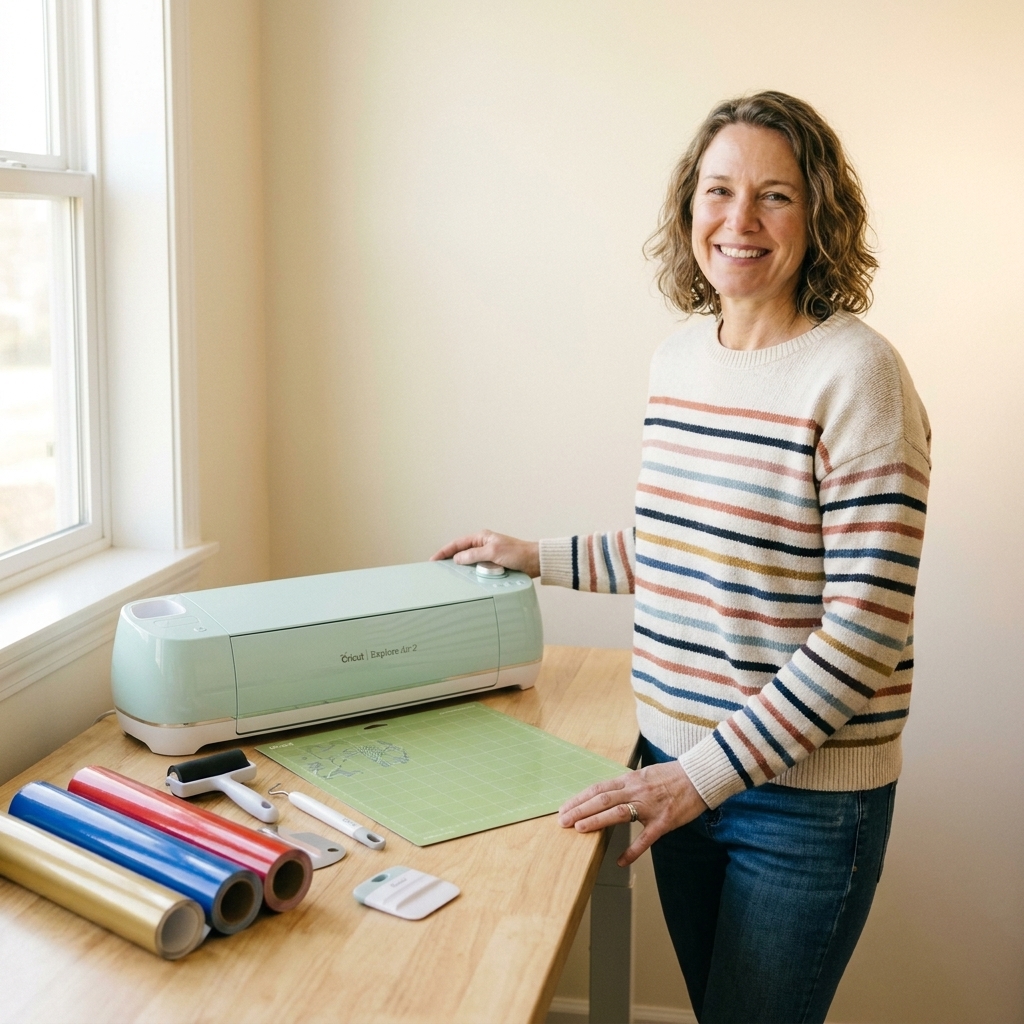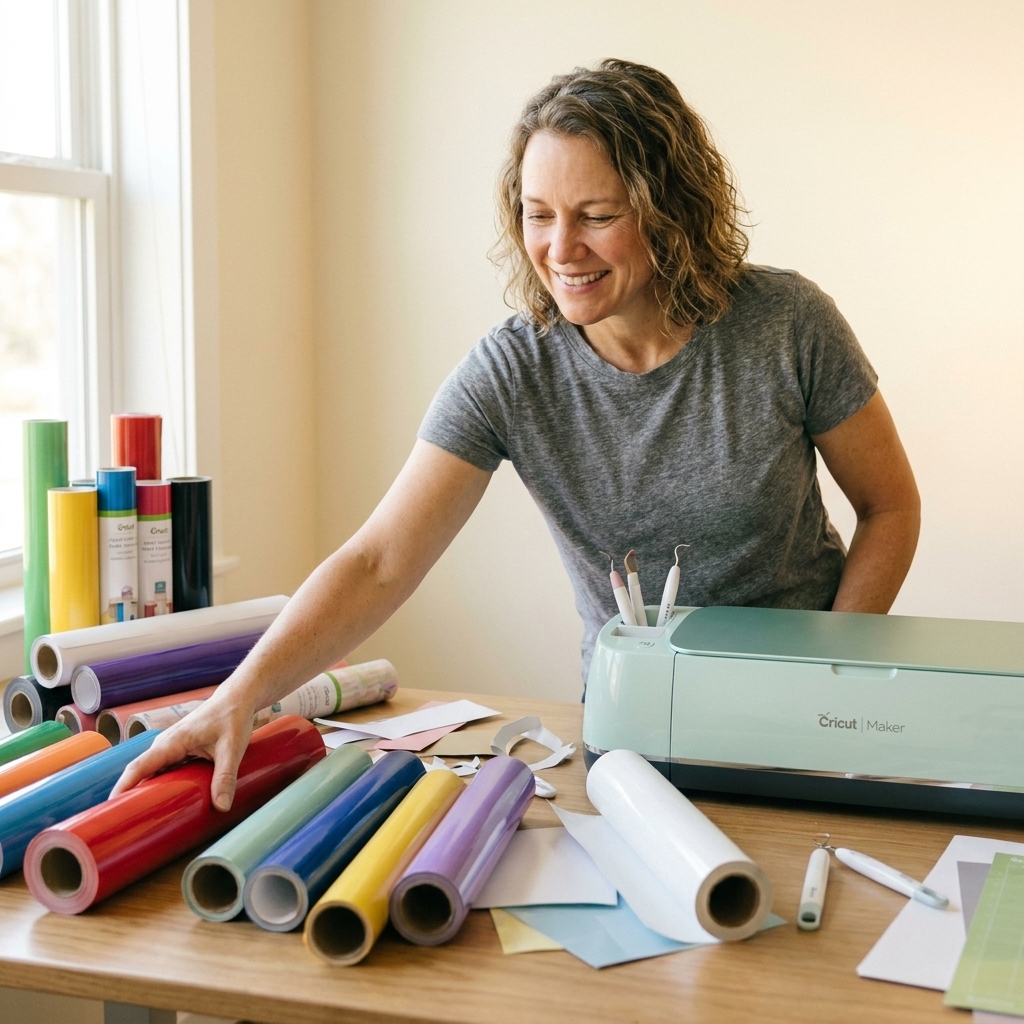
A beginner-friendly guide to removable, permanent, and iron-on vinyl for Cricut. Learn which vinyl to choose, how to apply it, and how to avoid common mistakes.
Maker Vinyl
Updated October 17, 2026
Make Your First Iron-On Vinyl T-Shirt
A beginner-friendly Cricut tutorial for making your first custom T-shirt with iron-on vinyl: design, cut, weed, and press HTV onto cotton without wasting materials.

Harper Davis
Harper Davis is a lifelong DIY enthusiast and cutting-machine expert who loves helping beginners conquer Cricut Design Space. With over six years of experience running a custom vinyl shop, she shares practical tutorials, material guides, and creative inspiration.
If you have ever stared at a blank T-shirt and a brand-new roll of iron-on vinyl like it is about to personally embarrass you, welcome. I have been there. My first real win with HTV happened after a few very crunchy fails, and now I want you to get the good part (a shirt you actually want to wear) on your first try.
This step-by-step guide walks you through the full process: choosing a design, setting up Cricut Design Space, cutting, weeding, and pressing onto a cotton shirt. I will also point out the tiny beginner gotchas that cause most ruined shirts.
Quick safety note: Heat presses and EasyPresses get seriously hot. Keep kids and pets out of the pressing zone, and do not touch the hot plate or base until it is fully cooled.
What you need
You do not need a fancy setup to make a great shirt. You do need the right basics and a little patience.
Supplies
- Cotton T-shirt (100% cotton is the easiest for beginners)
- Iron-on vinyl (HTV) in your color of choice
- Cutting machine (Cricut Maker, Explore, or Joy models that support HTV)
- StandardGrip cutting mat (green)
- Fine-Point blade
- Weeding tool (or a hook tool, tweezers, or a pin pen)
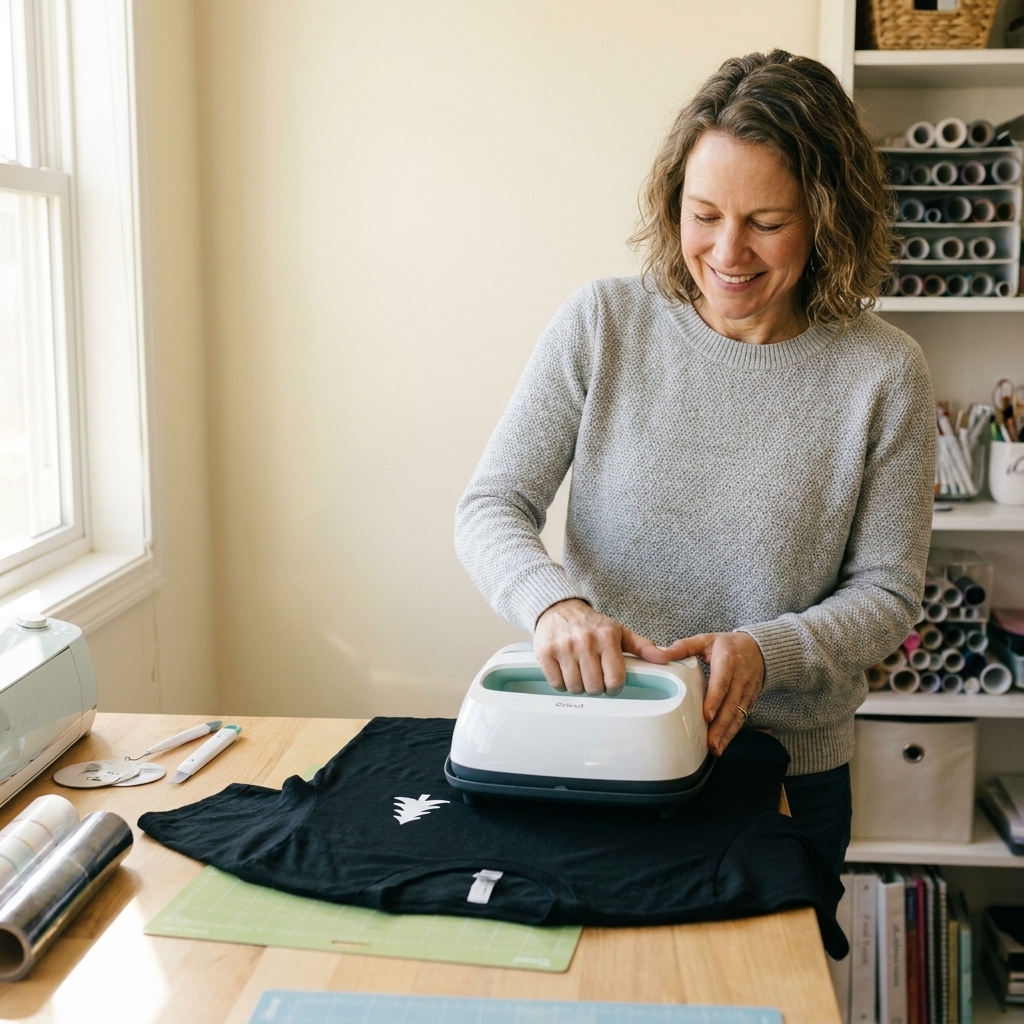
- Heat press or Cricut EasyPress (a household iron can work, but it is less consistent)
- Heat-resistant pressing mat (or a firm pressing surface)
- Cover sheet (use the one your HTV brand recommends; parchment paper or butcher paper often works when compatible)
- Lint roller (seriously, do not skip this)
- Heat-resistant tape (optional, helpful for small designs)
- Measuring tape or ruler
Nice-to-have
- Brayer to help your HTV stick to the mat evenly
- Heat gun for quick wrinkle relaxer (optional). If you use one, keep it moving, hold it several inches away, and test on a scrap first. Cotton can scorch fast.

Step 1: Pick a simple design
For your first shirt, keep it simple. You want to practice the process, not wrestle a design with 37 tiny dots and hairline-thin script.
- Best first designs: bold words, simple shapes, chunky monograms, basic icons
- Avoid for now: super thin fonts, distressed textures with lots of tiny islands, micro-details under about 0.25 inches
Size tip: A typical full-front adult design is about 9 to 11 inches wide. A left-chest design is often 3 to 4 inches wide. These are common starting ranges, not laws of physics. Youth sizes, smalls, and 2XLs all change the math, so measure once and adjust to your shirt and design.
Step 2: Set up in Design Space
Create and size your design
- Open Cricut Design Space and start a new project.
- Add your text or image.
- Set the size (use the width box for quick sizing).
- If you are doing multiple colors or layers, keep each color as a separate layer for now.
Mirror your design
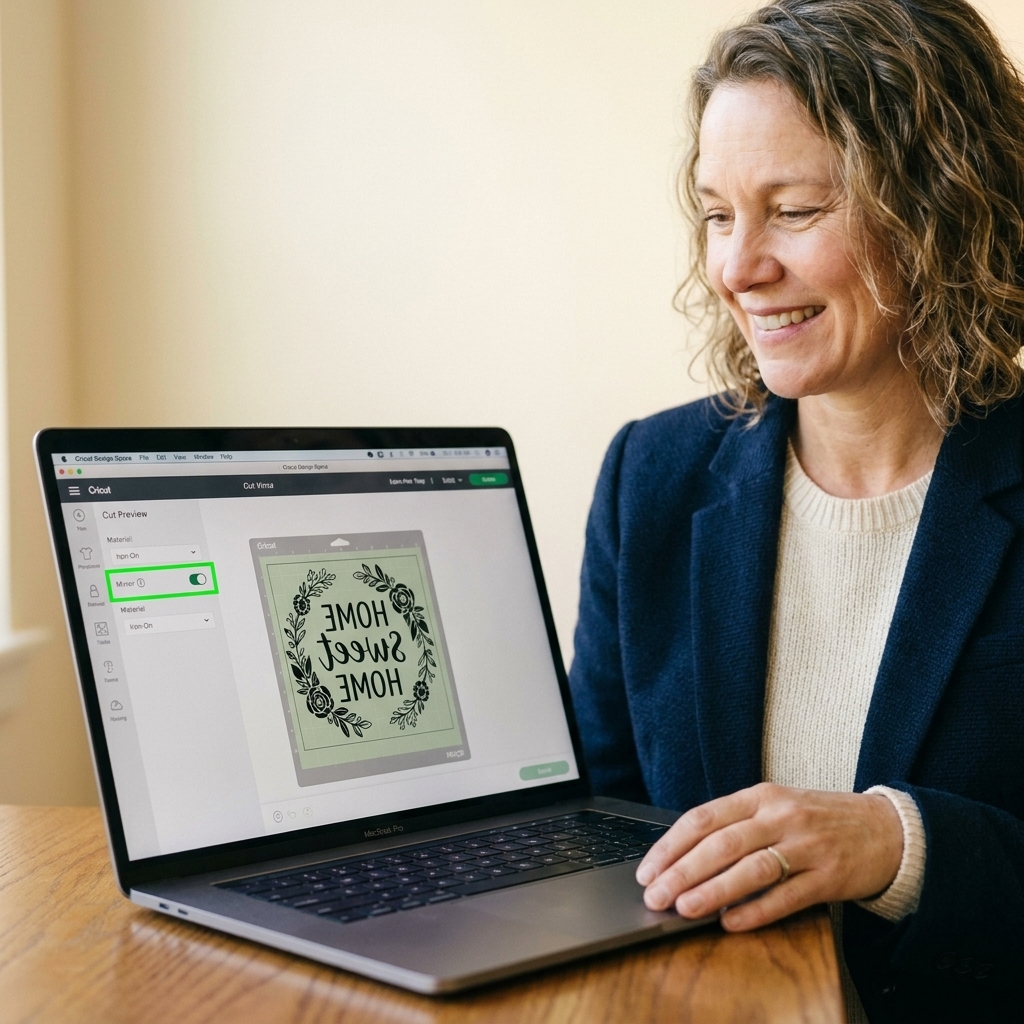
HTV is cut from the back, so your design must be mirrored or it will end up backwards on the shirt.
- Click Make It.
- Toggle Mirror to On for every mat that contains iron-on vinyl.
If you are cutting multiple mats, double-check Mirror on each one.
Step 3: Put HTV on the mat
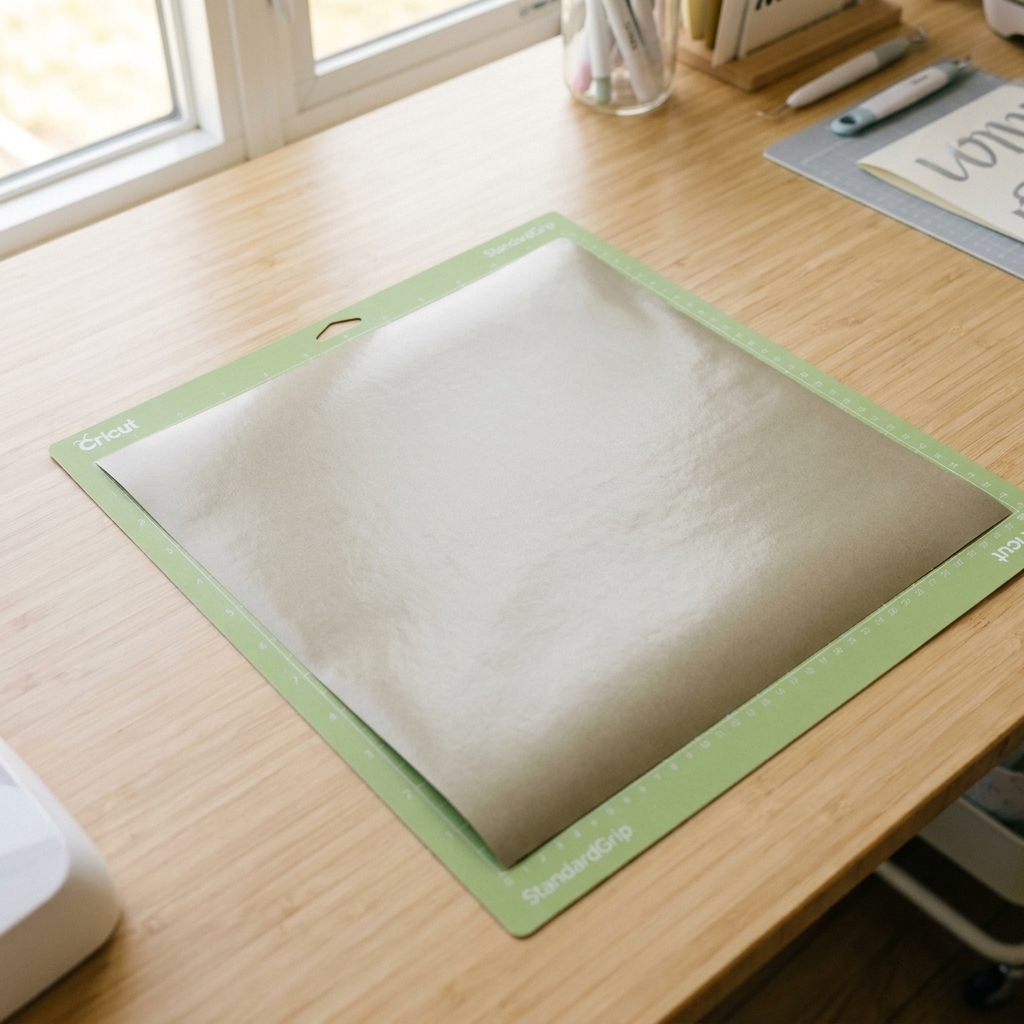
Iron-on vinyl has a clear carrier sheet on one side and the vinyl itself on the other. You want to cut the vinyl layer, not the carrier sheet.
- Place HTV shiny side down on the mat.
- The dull side (the vinyl side) faces up and gets cut.
- Press it down firmly. A brayer helps, but your hands work too.
Quick check: If you can see a glossy, clear sheet facing up, flip it over.
Not sure which side is shiny? Some brands are subtle. Look for the side that feels slicker like plastic (carrier) versus the side that feels more like vinyl. When in doubt, do a small test cut in a corner first.
Step 4: Cut the HTV
- Load your mat into the Cricut.
- Select your material setting. If you see a specific setting for your vinyl type, use it. Otherwise, start with an Iron-On or Everyday Iron-On setting.
- Press Go to cut.
Do a test cut
If you are using a new brand of HTV, doing a quick test cut in a corner can save a whole sheet. You want the blade to cut the vinyl cleanly but not slice through the carrier sheet.
How to tell it is right: You can weed away the vinyl easily, and the clear carrier stays in one piece.
Step 5: Weed the design
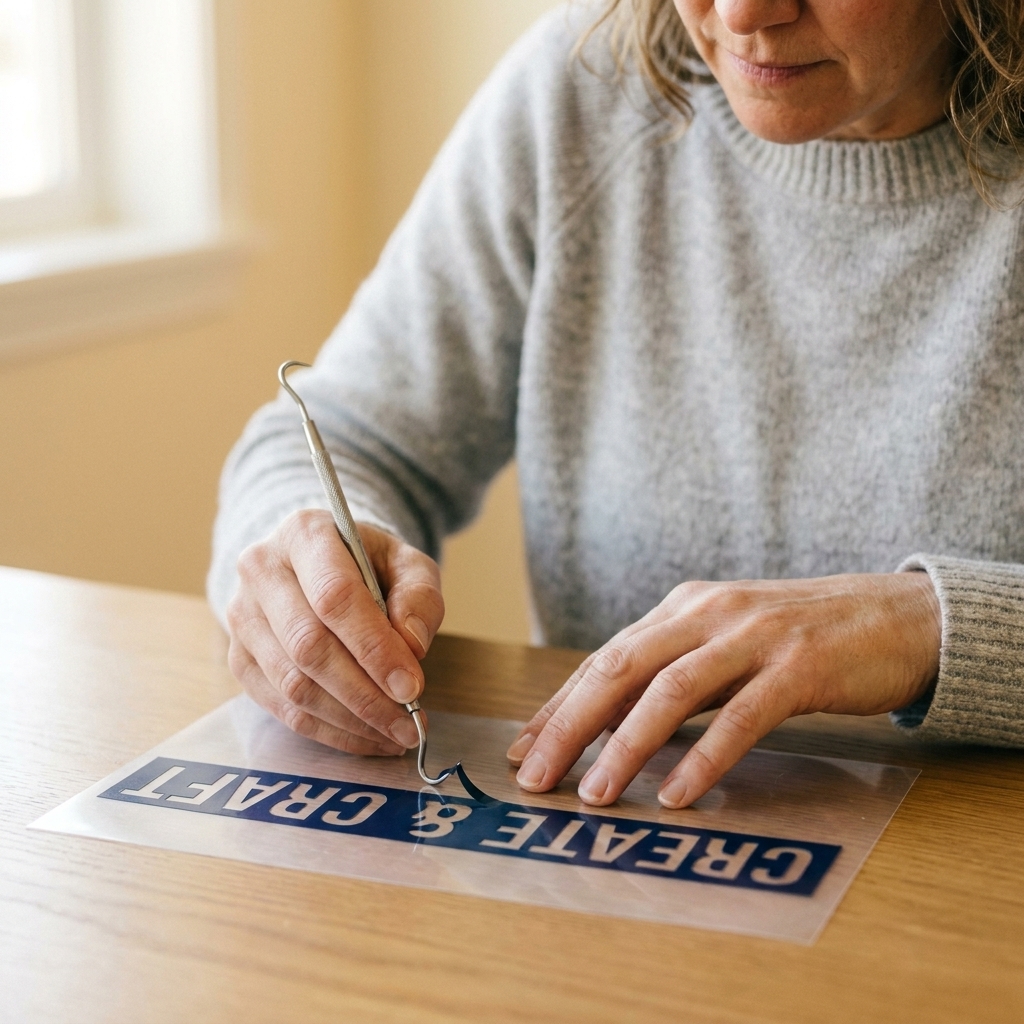
Weeding is removing the pieces you do not want. Put on a show, grab your weeding tool, and go slow.
My weeding routine
- Trim away extra vinyl around the design (save scraps for small projects).
- Start from an outer corner and peel the negative space back slowly.
- Use your tool to pop out inner pieces (like the centers of letters).
- Hold the carrier sheet down with your other hand so you do not lift the design.
Beginner tip: If your design is lifting, you can burnish it down with a scraper tool or your fingernail before continuing.
Step 6: Prep the shirt
This is where long-lasting shirts are made. The goal is a smooth, lint-free surface.
- Prewash is optional, and you will hear different opinions. Some blanks have sizing or coatings, and prewashing can help remove that. The tradeoff is shrink: if you apply vinyl first and the shirt shrinks on the first wash, that stress can shorten the decal's life. If you do prewash, do not use fabric softener.
- Lint roll the area where the design will go.
- Pre-press the shirt for 5 to 10 seconds to remove moisture and wrinkles.
- Slide a pressing pillow or folded towel inside the shirt if there are thick seams or if you are pressing near collars. You want a flat pressing zone.
Step 7: Place the design
Take an extra minute here. Crooked designs are the number one thing people notice from across the room.
Easy placement tricks
- Fold the shirt lightly in half to find center, then unfold.
- For a full-front design: a common starting point is about 3 inches down from the collar. Adjust up or down based on shirt size and design height.
- For left-chest designs: a common starting point is about 3 inches down from the collar and 3 inches from the center line, but shift it to suit the shirt size (especially youth and extended sizes).
Once you like the placement, smooth the carrier sheet down so it sits flat with no bubbles. If it is a small design, a little heat-resistant tape can keep it from drifting while you press.
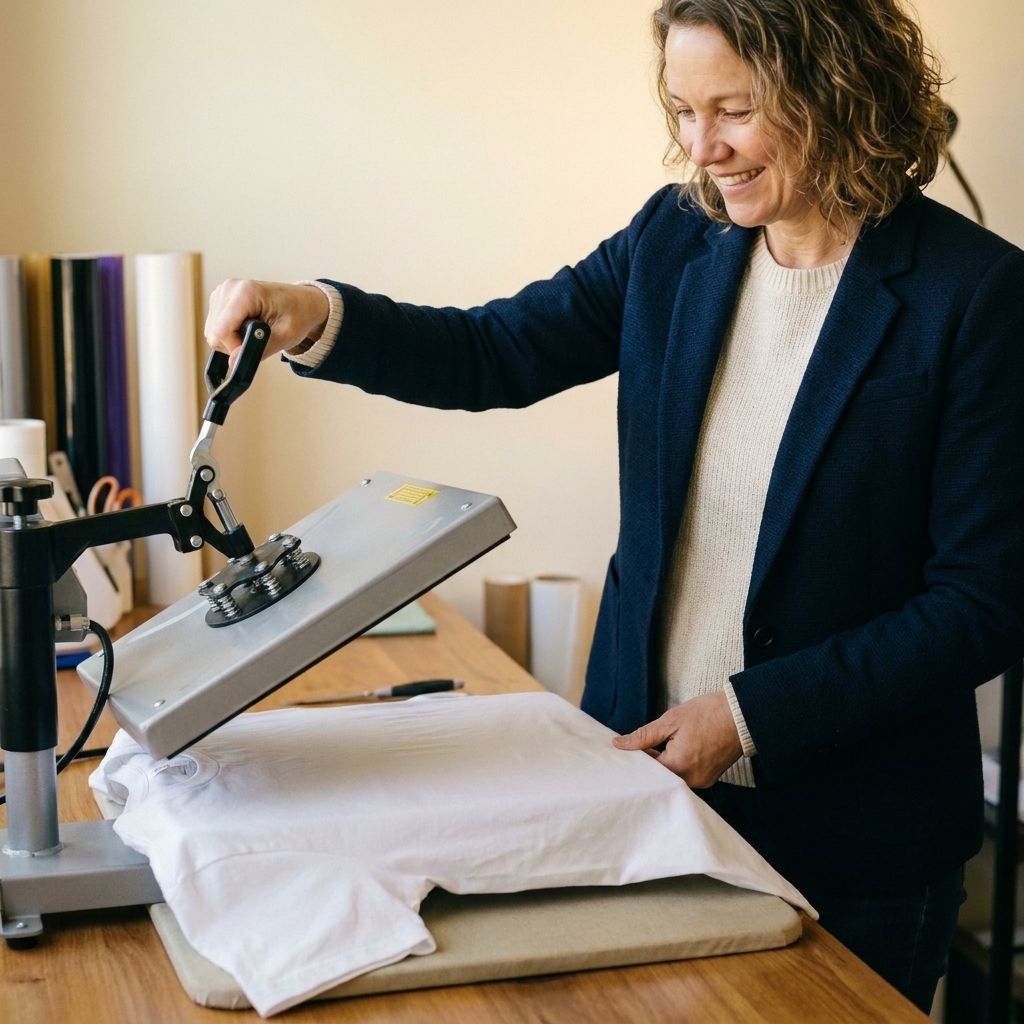
Step 8: Press the HTV
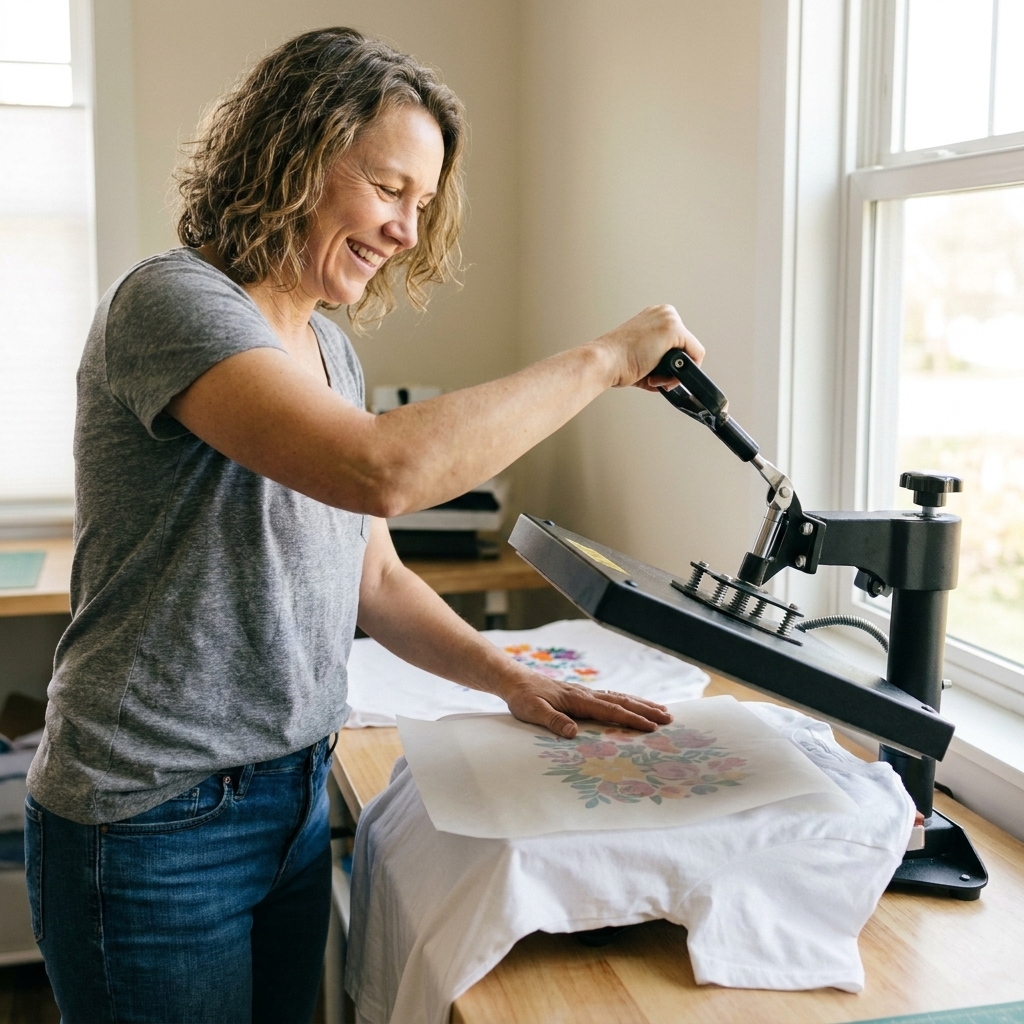
Every brand has slightly different time and temperature recommendations, so always check the package first. Standard everyday HTV is pretty consistent, but specialty types (glitter, foil, flock, holographic, puff, and anything labeled heat-sensitive) can be pickier.
Pressing steps
- Set your heat press or EasyPress to the temperature recommended for your HTV and fabric.
- Use the brand-recommended cover sheet (often the included sheet). If your brand allows it, parchment paper or butcher paper can work as a cover layer too.
- Press with firm, even pressure for the recommended time. Do not slide the press around.
- Lift straight up.
- Let it cool or peel warm depending on your HTV instructions.
Warm peel vs cold peel
- Warm peel: You remove the clear carrier while it is still warm.
- Cold peel: You wait until it is fully cool before peeling.
Corner test: Before you fully peel, lift one corner first. If the vinyl even thinks about lifting, lay the carrier back down and press again for a few seconds with firm pressure.
Step 9: Final press
After the carrier sheet is removed, I like to do a quick finishing press.
- Cover the design with your cover sheet (or parchment or butcher paper if your vinyl allows it).
- Press for 5 to 10 seconds with medium-firm pressure.
This helps the vinyl settle into the fabric and smooths out any slight edges. It is a small step that makes a big difference.
Care instructions
- Wait 24 hours before washing if possible.
- Turn the shirt inside out before washing.
- Wash cold to warm on a gentle cycle.
- Avoid bleach and avoid fabric softener if you can.
- Tumble dry low or hang dry. Skip high heat.
- Do not dry clean.
- Do not iron directly on the vinyl. If you must, iron from the inside or use a pressing cloth.
Troubleshooting
My vinyl is not sticking
- Not enough pressure. Press firmer and make sure your surface is not squishy.
- Not enough heat or time. Re-press with a cover sheet on top.
- You peeled too soon for a cold-peel vinyl. Let it cool, then try again.
- Lint or moisture under the design. Lint roll and pre-press next time.
My design looks melted or shiny
- Too hot or pressed too long. Reduce temperature or time next project.
- You pressed directly on the vinyl without a cover sheet. Always use a cover layer.
I cut through the carrier sheet
- Your cut pressure is too high or your blade is very sharp. Use a lighter setting or less pressure.
- Make sure you are using the correct material setting for HTV.
My cut did not go through the vinyl
- Your blade may be dull or you need more pressure.
- Your vinyl might not be stuck down flat to the mat.
The shirt looks wrinkly around the design
- You likely pressed over a seam or a thick area. Use a pressing pillow or reposition the shirt so the design area is perfectly flat.
- Pre-press longer to remove moisture and wrinkles before applying HTV.
First project ideas
- A bold single word on the front (think: “MAMA”, “COACH”, “LAKE”)
- A small left-chest icon with a bigger back design later
- A kid shirt with a big shape and a name on top
- A team or event shirt with a clean block font
If you make your first shirt and something feels off, keep the shirt. Seriously. That “first try” shirt becomes your best teacher, and it is weirdly motivating to see how fast you level up.
Quick FAQ
Can I use a household iron?
Yes, but it is harder to get consistent pressure and temperature. If you use an iron, turn off steam, press in sections with firm pressure, and avoid sliding. You may need to press longer than a heat press would.
Do I need transfer tape for iron-on vinyl?
No. HTV comes with its own clear carrier sheet, and that acts like built-in transfer tape.
What shirts work best?
Start with smooth, 100% cotton tees. Cotton-poly blends (like 50/50) often work well too. Performance fabrics and 100% polyester can require different settings and can be more prone to scorching or press marks, so check your vinyl and shirt recommendations before you commit.
Should I layer iron-on vinyl?
You can, but for your very first shirt I recommend a single layer. Once you are comfortable, layering is totally doable with quick tack presses for the lower layers.