Learn how to design, cut, weed, and press iron-on vinyl (HTV) onto a cotton shirt using Cricut Design Space, plus my best beginner tips for clean, long-lasti...
Maker Vinyl
Updated October 17, 2026
Adhesive Vinyl vs. HTV: What to Use When
New to Cricut? Learn the difference between adhesive vinyl and heat transfer vinyl (HTV), plus removable vs. permanent vinyl, best uses, tools, and beginner tips.

Harper Davis
Harper Davis is a lifelong DIY enthusiast and cutting-machine expert who loves helping beginners conquer Cricut Design Space. With over six years of experience running a custom vinyl shop, she shares practical tutorials, material guides, and creative inspiration.
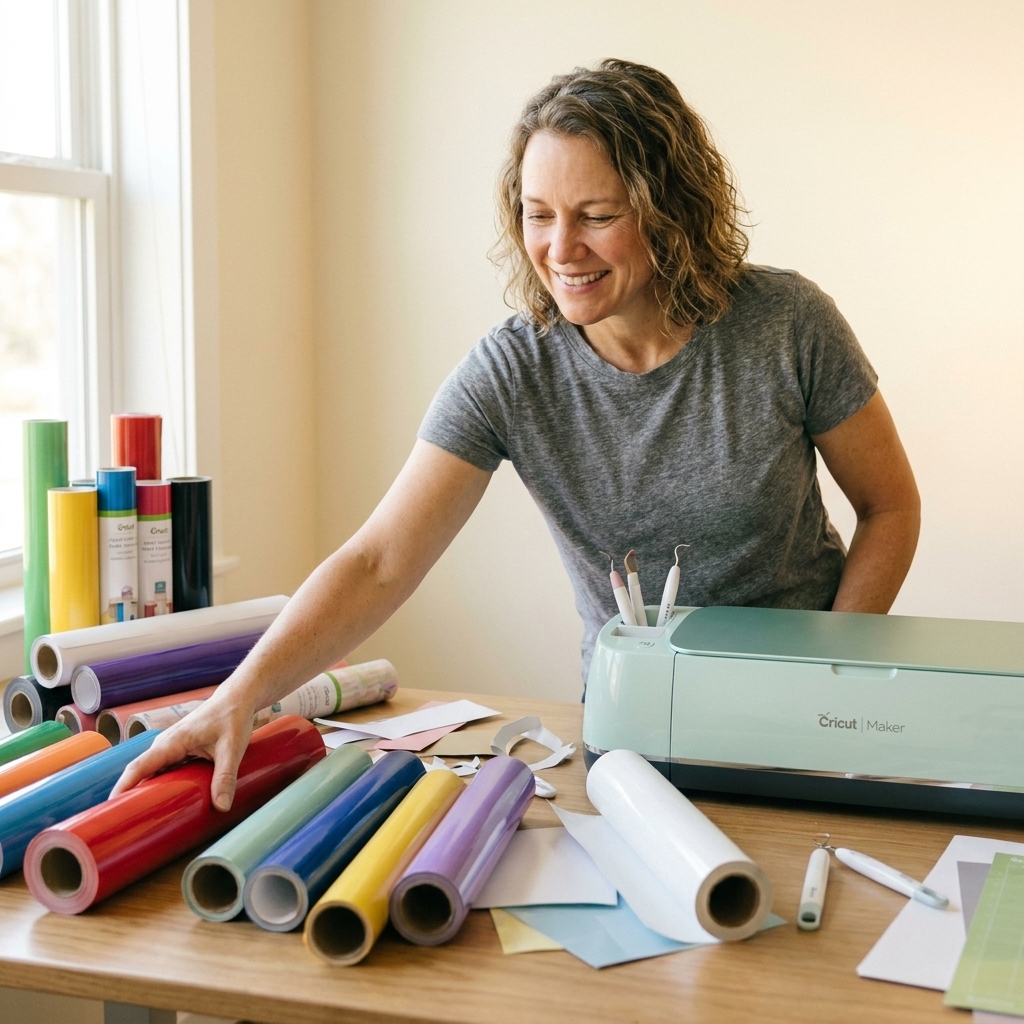
If you have ever stared at a rainbow wall of vinyl rolls and thought, “Okay, but which one do I actually need?”, you are in the right place. Adhesive vinyl and heat transfer vinyl (HTV, also called iron-on) are built for totally different jobs. Once you learn what each one is designed to stick to, choosing stops feeling like a guess.
I started cutting vinyl out of pure frustration, after a disastrous attempt at custom onesies for my niece’s baby shower. I wasted materials, fought bubbles, and learned the hard way that the “wrong” vinyl is basically a crafting trap. So let’s save you the headache.
The simplest difference
Adhesive vinyl
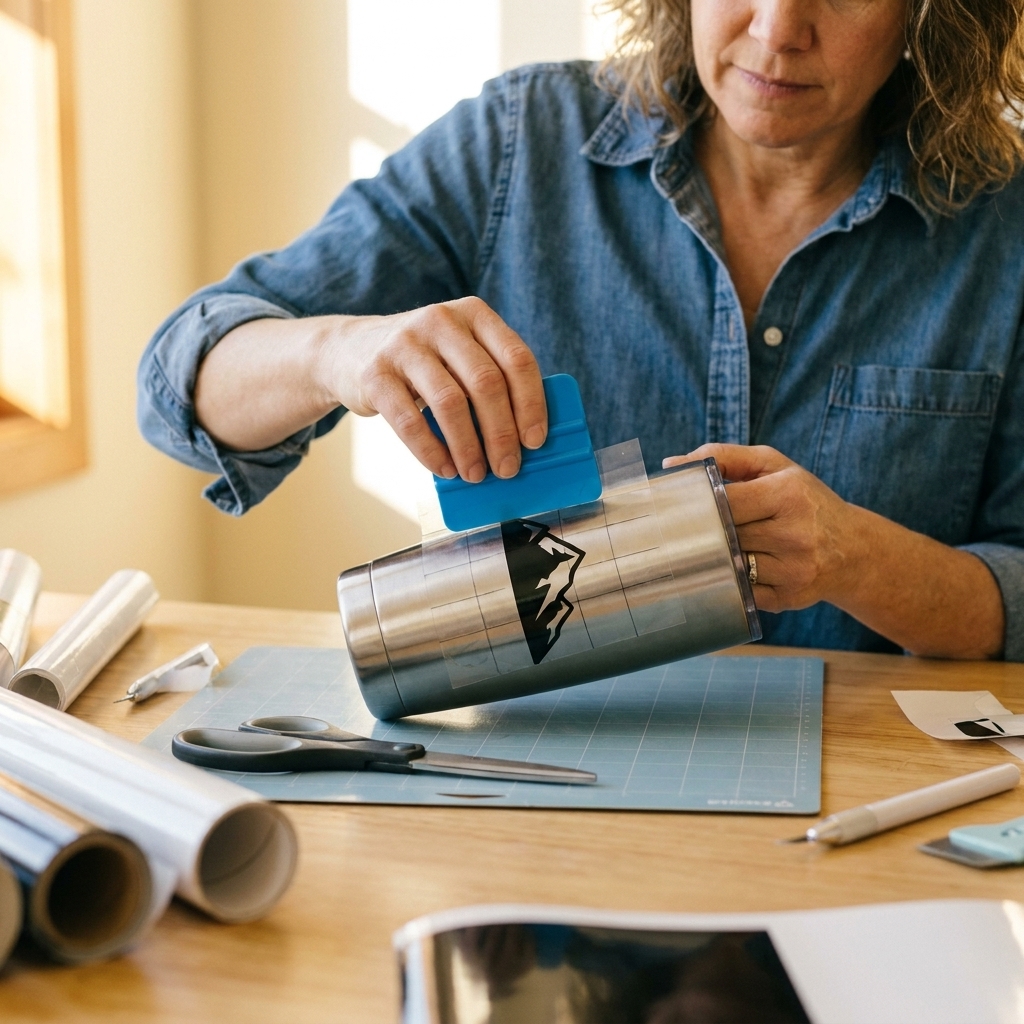
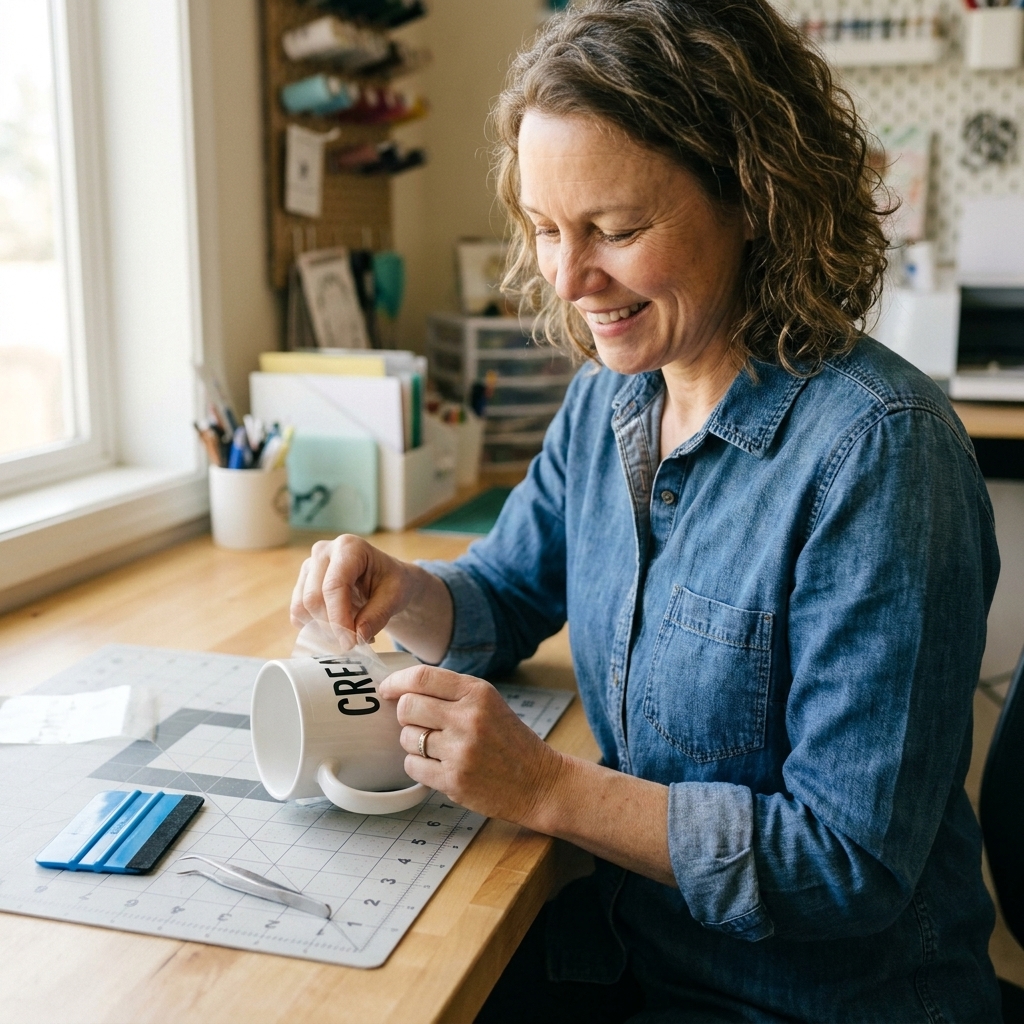
Adhesive vinyl is sticky-backed vinyl that you apply like a big, fancy sticker. You cut it, weed it, use transfer tape to lift it, then stick it to a hard surface.
- Best for: mugs, tumblers, signs, glass, mirrors, plastic bins, notebooks, phone cases
- Applied with: pressure (burnishing), not heat
- Main tools: transfer tape, scraper/squeegee
Heat transfer vinyl (HTV / iron-on)
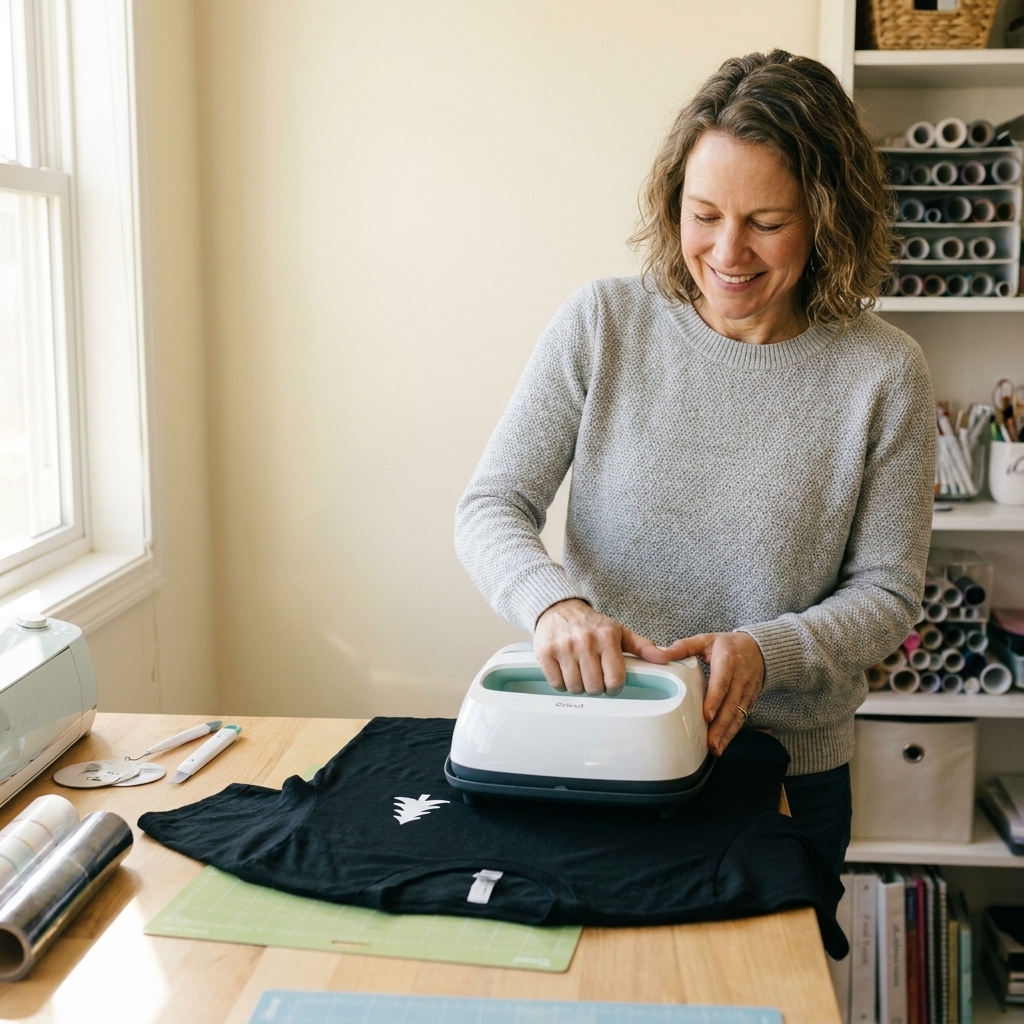
HTV has a heat-activated adhesive. You cut it (usually mirrored), weed it, and press it onto fabric or other heat-safe surfaces.
- Best for: t-shirts, sweatshirts, tote bags, onesies, fabric hats, tea towels
- Applied with: heat + pressure
- Main tools: heat press or Cricut EasyPress, pressing mat, parchment or cover sheet
Quick rule: If it is fabric, think HTV. If it is hard and smooth, think adhesive vinyl. There are exceptions though: some non-fabric blanks can take HTV (like faux leather, wood, and some paper crafts), and some “hard” items like drinkware have durability limits with standard adhesive vinyl depending on washing and heat.
Adhesive vinyl types
“Adhesive vinyl” is really a family of products. The two you will see most often are removable and permanent. Both can look identical on the roll, so always check the label.
Removable vinyl
Removable vinyl is designed to come off cleanly later. It is my favorite for first-time projects because it gives you a little more forgiveness during placement and it is perfect for things you may update seasonally.
- Common uses: wall quotes, temporary labels, holiday decor, party signage, planner decals
- Finish options: matte and glossy are common
- Good to know: “Removable” does not mean “repositionable.” Once it touches down, lifting it can stretch or wrinkle the vinyl.
Permanent vinyl
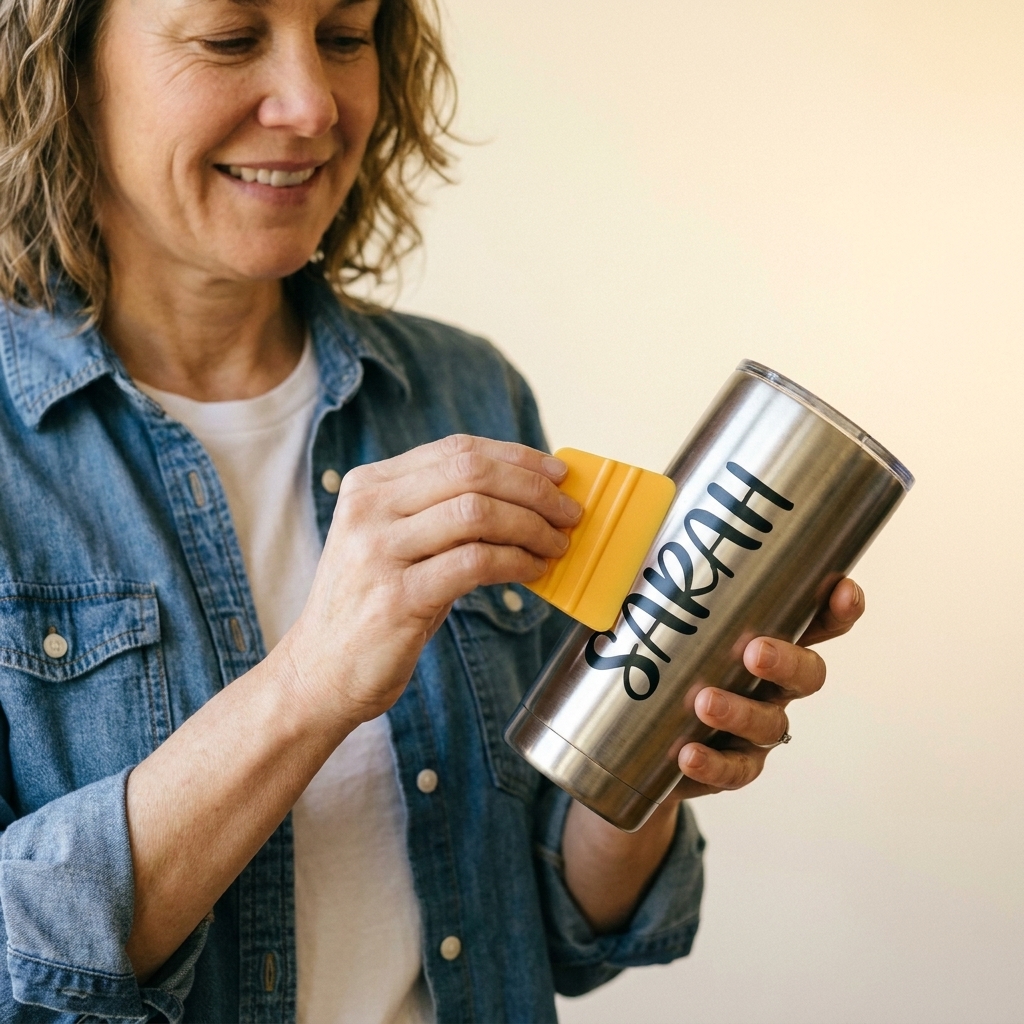
Permanent vinyl uses a stronger adhesive and is meant for longer-term use. It is the go-to for tumblers, outdoor signs, and anything that will be handled a lot.
- Common uses: water bottles, mailboxes, car decals, outdoor decor, pantry labels
- Good to know: Most permanent vinyl is water-resistant once fully adhered, but durability varies by brand, surface, and how the item is used.
- Reality check: “Permanent” does not mean “never comes off.” It just means it is harder to remove and more likely to leave residue.
- Drinkware note: Adhesive vinyl on mugs and tumblers is primarily decorative. For best results, avoid microwaves, long soaks, and dishwashers when you can. Handwashing is usually the safest bet.
- Durability alternatives: If you want a design that is truly built for heavy, repeated dishwasher cycles, methods like sublimation (on poly-coated blanks) or UV DTF (durability varies by vendor and care) may be a better fit.
Outdoor vinyl
Some brands label certain permanent vinyl lines as “outdoor.” Typically, that means improved durability and UV resistance. It is still adhesive vinyl, just formulated to handle weather better.
Other adhesive vinyl you might see
Once you are past the basics, you will run into specialty options like printable vinyl, stencil vinyl, and holographic or textured vinyl. They are still adhesive vinyl, but they can behave differently. Textured materials often need stronger transfer tape, and printable vinyl has its own rules for ink and sealing.
HTV basics
HTV comes in a lot of finishes, and beginners often assume they all press the same way. They do not. Always check the time, temperature, and peel instructions for your specific brand and finish.
Smooth HTV
This is the everyday iron-on most people start with. It cuts and weeds nicely, and it layers well (with brand-specific rules).
- Best for: tees, totes, kids clothing, team shirts
- Beginner win: easy to weed, especially with larger designs
Glitter and metallic HTV
Glitter HTV is thicker. It can be slightly trickier to cut if your blade is dull, and it often does not layer the same as smooth HTV.
- Best for: statement words, simple logos, bold shapes
- Tip: do a small test cut when you switch finishes
Patterned HTV
Patterned HTV is adorable and also the fastest way to get confused. Some patterned HTV uses a different pressing temperature, a different peel (hot, warm, or cold), or comes with a specific carrier sheet you press with. In other words, do not assume it behaves like your standard smooth iron-on.
- Tip: keep the packaging or save the product link so you can double-check peel temp and timing later
Stretch, flock, glow, and more
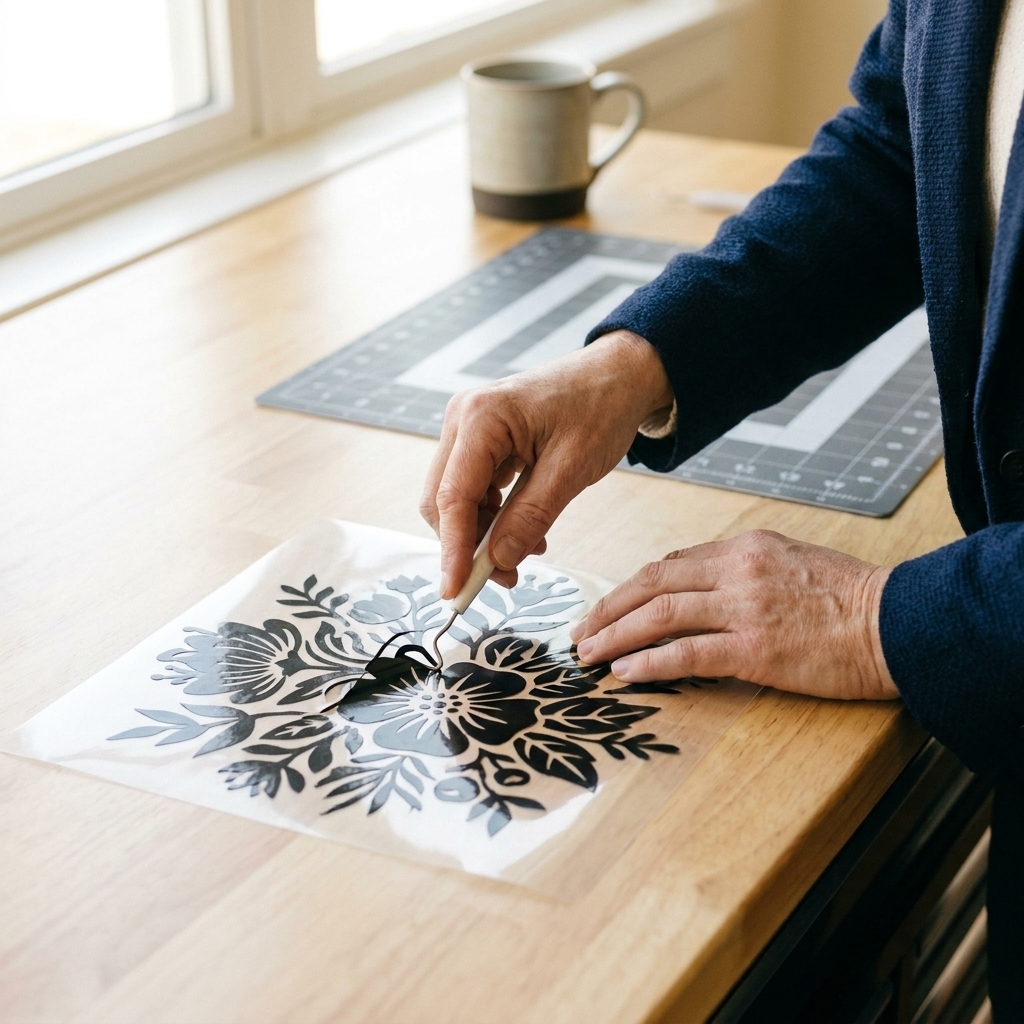
Stretch HTV is great for athleticwear. Flock feels velvety. Glow-in-the-dark and reflective vinyl can be super fun, but they often prefer specific cut settings and may not layer like smooth HTV.
Fabric note
Most standard HTV works beautifully on cotton and cotton-poly blends. If you are pressing on nylon, water-resistant jackets, or anything with a slick coating, you will usually need specialty HTV made for that fabric.
How to choose
When you are standing in your craft room holding a blank, ask these questions:
- Is it fabric? Use HTV.
- Is it a hard surface? Use adhesive vinyl.
- Will it be washed a lot? HTV for clothing. Permanent adhesive vinyl for hard items, but plan to handwash when possible.
- Will it live outdoors? Outdoor-rated permanent adhesive vinyl is your best bet.
- Do I need it to come off later? Removable adhesive vinyl.
If you want the fast answer for the most common beginner projects:
- T-shirt: HTV
- Canvas tote bag: HTV
- Ceramic mug decal: permanent adhesive vinyl (handwash for best life)
- Wall quote: removable adhesive vinyl
- Mailbox numbers: outdoor permanent adhesive vinyl
- Notebook label: removable or permanent, depending on whether you will change it later
Application basics
Adhesive vinyl overview
- Clean the surface with isopropyl (rubbing) alcohol and a lint-free cloth. It is the most consistent prep. Many cleaners, including some glass cleaners, can leave additives behind.
- Cut and weed your design.
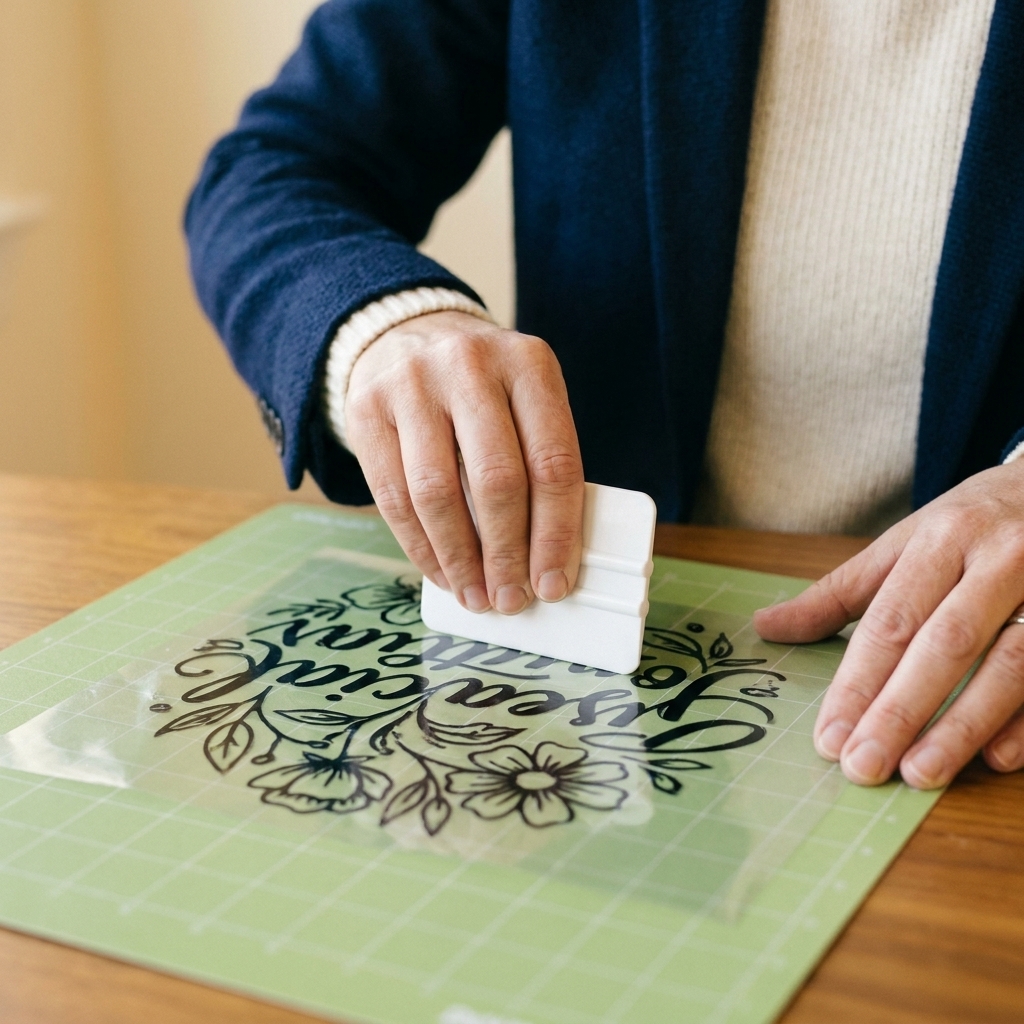
- Apply transfer tape (standard for most vinyl, strong grip for glitter and textured vinyl).
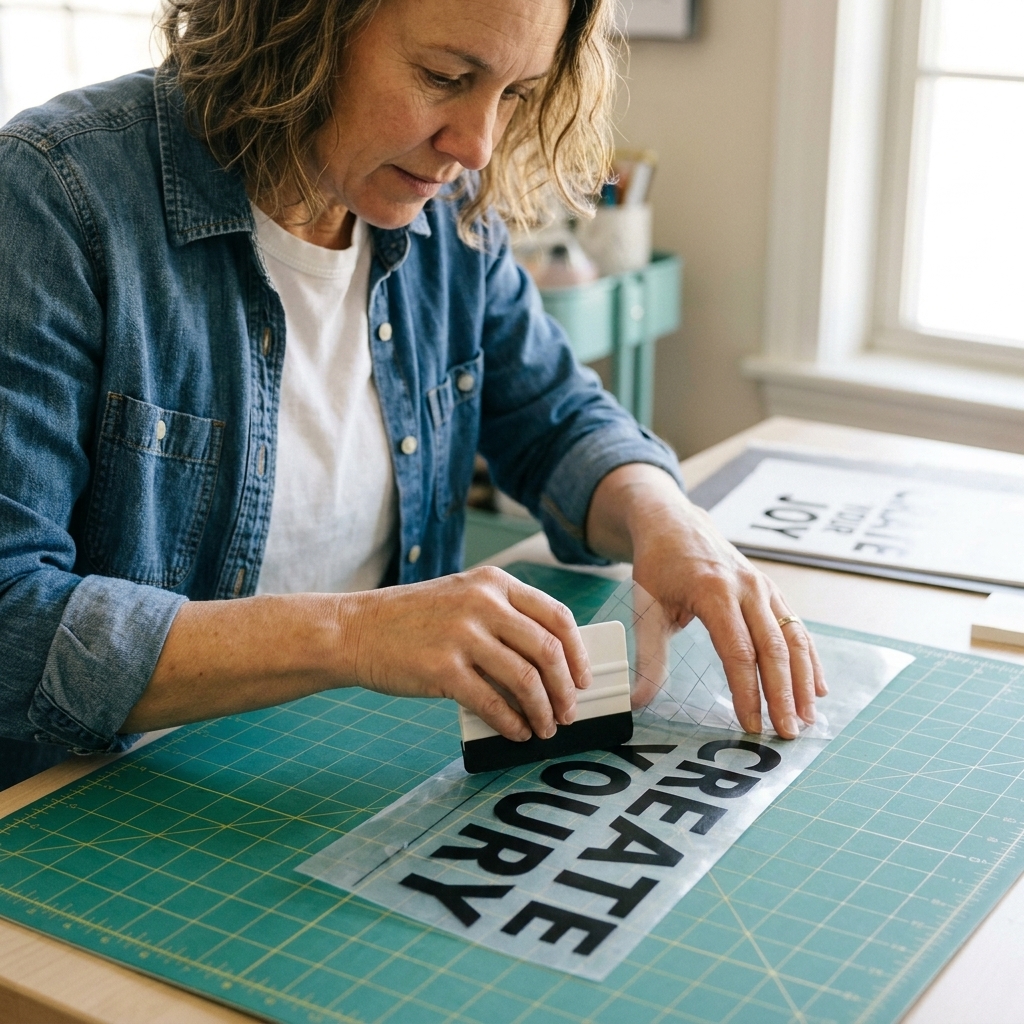
- Burnish firmly with a scraper, especially on small details.
- Peel the transfer tape slowly back over itself, not straight up.
HTV overview
- Mirror your design before cutting. Most standard HTV is cut carrier-side down, but specialty HTV and printable products can differ, so check your brand.
- Weed carefully and keep tiny centers in place.
- Pre-press the fabric for a few seconds to remove moisture and wrinkles.
- Press with firm, even pressure at the recommended temp and time.
- Peel warm or cool based on the product directions.
My beginner tip: If you are using an iron, slow down. You need consistent heat and real pressure. A heat press or EasyPress is just easier to get repeatable results.
Beginner mistakes
Mistake: using adhesive vinyl on a shirt
Adhesive vinyl is not made for fabric. It will feel stiff, it can crack, and it will usually start peeling quickly.
Fix: Use HTV for garments and fabric blanks.
Mistake: forgetting to mirror HTV
If you cut HTV without mirroring, your design will be backward.
Fix: In Cricut Design Space, toggle Mirror on the cut screen every time you use HTV. I still say it out loud: “Mirror for shirts.”
Mistake: applying adhesive vinyl to a dirty surface
Oils from hands, dust, or residue from cleaners can cause lifting edges and poor adhesion.
Fix: Clean with isopropyl (rubbing) alcohol, let it dry, then apply.
Mistake: not enough pressure
Adhesive vinyl needs good burnishing. HTV needs firm press pressure.
Fix: For adhesive vinyl, burnish from the center out. For HTV, use a solid pressing surface and apply consistent pressure for the full press time.
Mistake: tiny details on the wrong vinyl
Super thin lines and tiny script can be difficult in thicker glitter HTV or cheap adhesive vinyl.
Fix: Thicken your font, simplify your design, or choose a vinyl that weeds cleanly. A fresh blade and a test cut also help a ton.
Settings and tools
Exact settings vary by brand, thickness, and even color, so think of this as a starting point. My rule is simple: if I open a new roll and it looks or feels different, I run a test cut before I commit.
Adhesive vinyl
- Blade: Fine-Point blade for most adhesive vinyl
- Mat: LightGrip mat is often enough for standard vinyl on a backing sheet
- Setting: Start with a vinyl preset in Design Space, then adjust pressure if you are not cutting cleanly
HTV
- Blade: Fine-Point blade for most HTV
- Mat: StandardGrip mat is common because HTV can be a little floppier
- Setting: Use an iron-on preset that matches your material type when available
My must-do: Always run a small test cut when you open a new brand or a specialty finish. A 10-second test cut can save a whole roll of “why is this not weeding?”
FAQ
Can I use permanent vinyl on mugs and tumblers?
Yes. Use permanent adhesive vinyl on smooth, clean surfaces. Let it fully adhere before washing, following your brand’s guidance. Many crafters aim for 24 to 72 hours. For longest life, handwash and avoid long soaking.
Can I layer adhesive vinyl?
You can, but it is usually better to design as a single layer when possible. Layering can add thickness at the edges and make lifting more likely, especially on curved items. If you do layer, burnish well and keep overlaps minimal.
Can I layer HTV?
Often, yes, but it depends on the finish and brand. Smooth HTV usually layers well. Glitter HTV often needs to be the top layer. Always check your product’s guidance.
What is transfer tape and do I need it?
Transfer tape is used for adhesive vinyl to lift the design off the backing and place it on your project. You do not use transfer tape for HTV, because HTV already has a clear carrier sheet built in.
Why is my adhesive vinyl not sticking?
Most common causes are residue on the surface, not enough burnishing, or using removable vinyl when you needed permanent. Clean with isopropyl (rubbing) alcohol, re-burnish, and consider switching vinyl type if the project will be handled often.
Why is my HTV peeling after washing?
Usually it is not enough heat, not enough pressure, pressing on a soft surface, or peeling at the wrong time (warm vs. cool peel). Re-press using the correct settings with a cover sheet, and make sure you are pressing on a firm surface.
Cheat sheet
- Hard surfaces: adhesive vinyl + transfer tape
- Fabric: HTV + heat
- Temporary decor: removable vinyl
- Tumblers, outdoor signs, frequently handled items: permanent (or outdoor) vinyl, plus realistic expectations about washing and wear
- When in doubt: test cut, and test stick on a scrap surface first
If you tell me what you are making and what blank you are using, I can recommend the best vinyl type and a no-stress application plan.