A beginner-friendly, step-by-step glitter tumbler tutorial: surface prep, clean decal application (even intricate designs), and sealing tips for stainless st...
Maker Vinyl
Updated October 17, 2026
Permanent Vinyl on Mugs and Tumblers
Learn how to size, cut, weed, and apply permanent adhesive vinyl to curved mugs and tumblers with Cricut Design Space, transfer tape, and simple tricks that prevent bubbles and peeling.

Harper Davis
Harper Davis is a lifelong DIY enthusiast and cutting-machine expert who loves helping beginners conquer Cricut Design Space. With over six years of experience running a custom vinyl shop, she shares practical tutorials, material guides, and creative inspiration.
If you have ever stared down a curved mug and thought, “How am I supposed to get this decal on straight without wrinkling the vinyl?” you are in the right place. Permanent adhesive vinyl is my go-to for drinkware decals because it is affordable, crisp-looking, and beginner-friendly once you learn a couple curve-saving tricks.
Below, I will walk you through the whole process: measuring and sizing, cutting and weeding, transfer tape, alignment on curves, and the little details that make decals last longer.
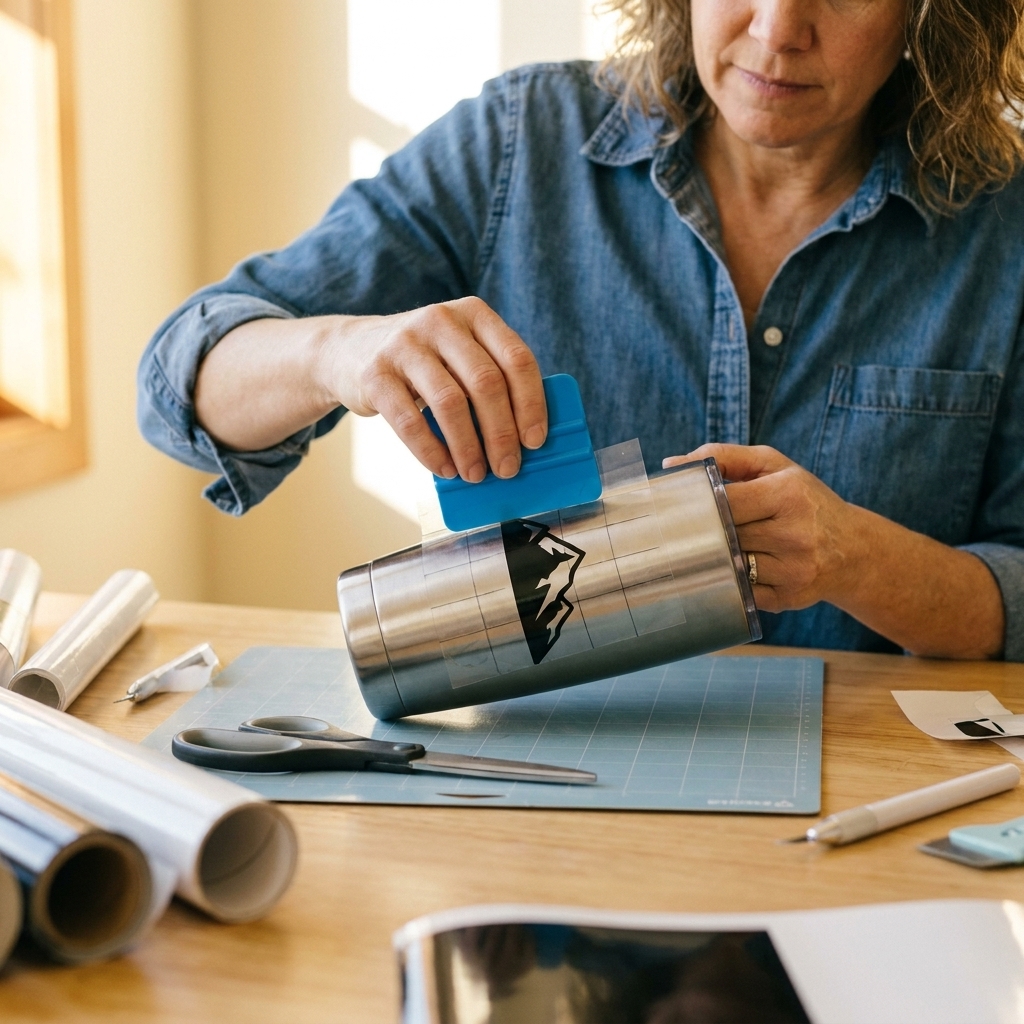
What permanent vinyl can and cannot do
Permanent vinyl is an adhesive vinyl made for long-term adhesion (think Oracal 651 style). Many permanent vinyls are rated for outdoor use, but it varies by brand and finish, so it is smart to check the label if durability matters. Either way, it sticks well to smooth, hard surfaces like stainless steel, acrylic, and glazed ceramic, which makes it great for decals on the outside of mugs and tumblers.
Use permanent vinyl for
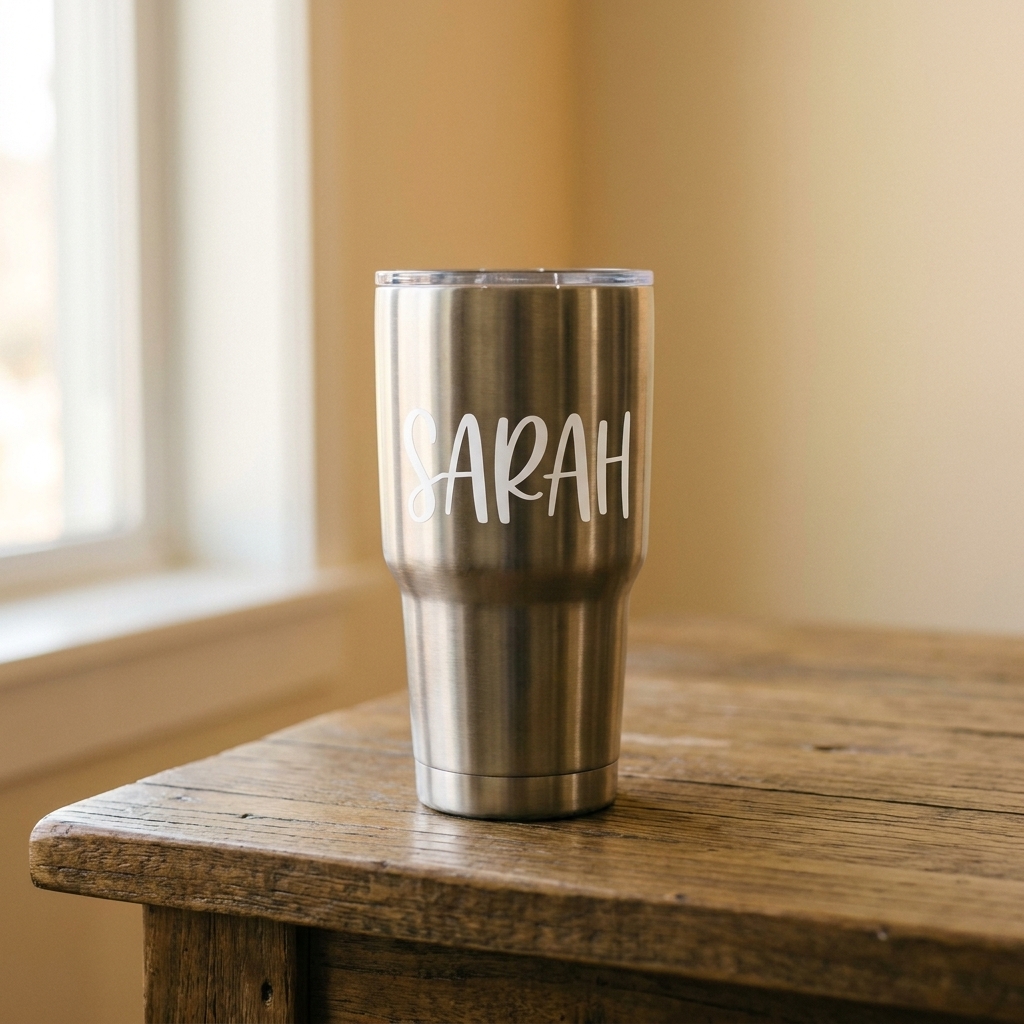
- Name decals on stainless tumblers
- Simple quotes on ceramic mugs (outside only)
- Business logos on water bottles (hand-wash recommended)
- Layered designs when you want multiple colors
Avoid permanent vinyl for
- Inside surfaces where liquid sits
- Lip-contact zones like rims or anywhere mouths touch
- Areas that get constant abrasion like the bottom ring that scrapes tables
- Highly textured or powder-coated finishes unless you test first
- Soft-touch, rubberized, or silicone-coated surfaces (vinyl usually fails here)
- Dishwasher “guarantees”. Some people get away with it, but I do not promise it.
Quick reality check: Permanent vinyl is water-resistant, not indestructible. If you want the toughest finish, you are usually looking at sublimation, engraving, or a properly cured epoxy resin process. For most everyday crafters, though, permanent vinyl plus good surface prep is the sweet spot.
Supplies you will need
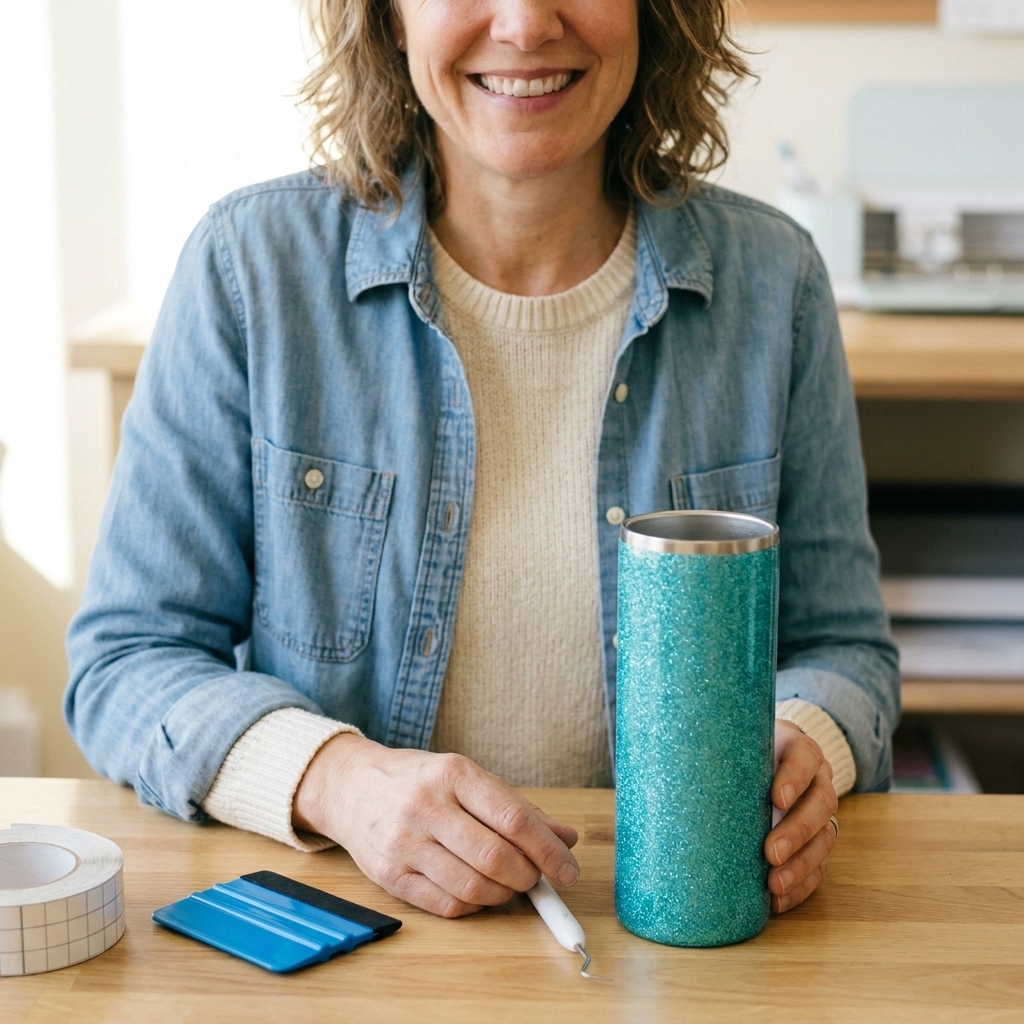
- Cricut machine (Explore, Maker, or Joy) and a StandardGrip mat (or Smart Vinyl if you are cutting matless)
- Permanent adhesive vinyl in your color of choice
- Transfer tape (clear or paper). For most decals, I prefer clear transfer tape so I can see alignment on a curve.
- Weeding tools (hook, tweezers) and a scraper/squeegee
- Small scissors (for trimming transfer tape and cutting relief slits if needed)
- Measuring tape or flexible ruler
- Lint-free cloth and isopropyl alcohol (70% or higher)
- Painter’s tape (optional but very helpful for placement)
Step 1: Pick the spot and measure
Curved drinkware is sneaky because it looks like a simple rectangle area, but tapering changes everything. A decal that looks perfect flat on your screen can warp when wrapped around a cup.
Choose your decal location
- Front center: Most common for names and monograms.
- Opposite the handle (mug): My default for right-handed and left-handed friendly placement.
- Near the top: Looks cute, but watch for the drinking rim and hand contact.
Measure usable space
Use a flexible measuring tape and measure the width and height of the area where your decal will go. On tapered tumblers, measure where the decal will sit, not the widest part of the cup.
If measuring on a curve makes your brain short-circuit, do this instead: wrap a strip of painter’s tape around the cup at the exact height you want the decal, mark where the tape overlaps, then peel it off and measure that length. That is your usable “wrap width” at that spot.
My beginner-safe sizing rule: Make your design slightly smaller than you think you need. Leaving breathing room around the edges makes curves much easier and looks more professional.
Step 2: Size in Design Space
In Design Space, set your design to the width you measured, then adjust height as needed while keeping proportions locked for most designs.
Typical sizing ranges
- Standard coffee mug (outside): 2.5 to 3.5 inches tall is a common range depending on the design and the mug’s straight-sided area.
- Skinny tumbler: 2.5 to 4 inches tall usually looks balanced, but tumbler tapers vary a lot.
- Large quote decal: Keep it shorter and longer rather than super tall, especially on tapered cups.
Do a quick paper test
This saves vinyl. Cut your design from printer paper (or even just a rectangle the same size), tape it to the cup, and make sure it looks right from a normal viewing distance. If it looks a hair too big on paper, it will feel huge in vinyl.
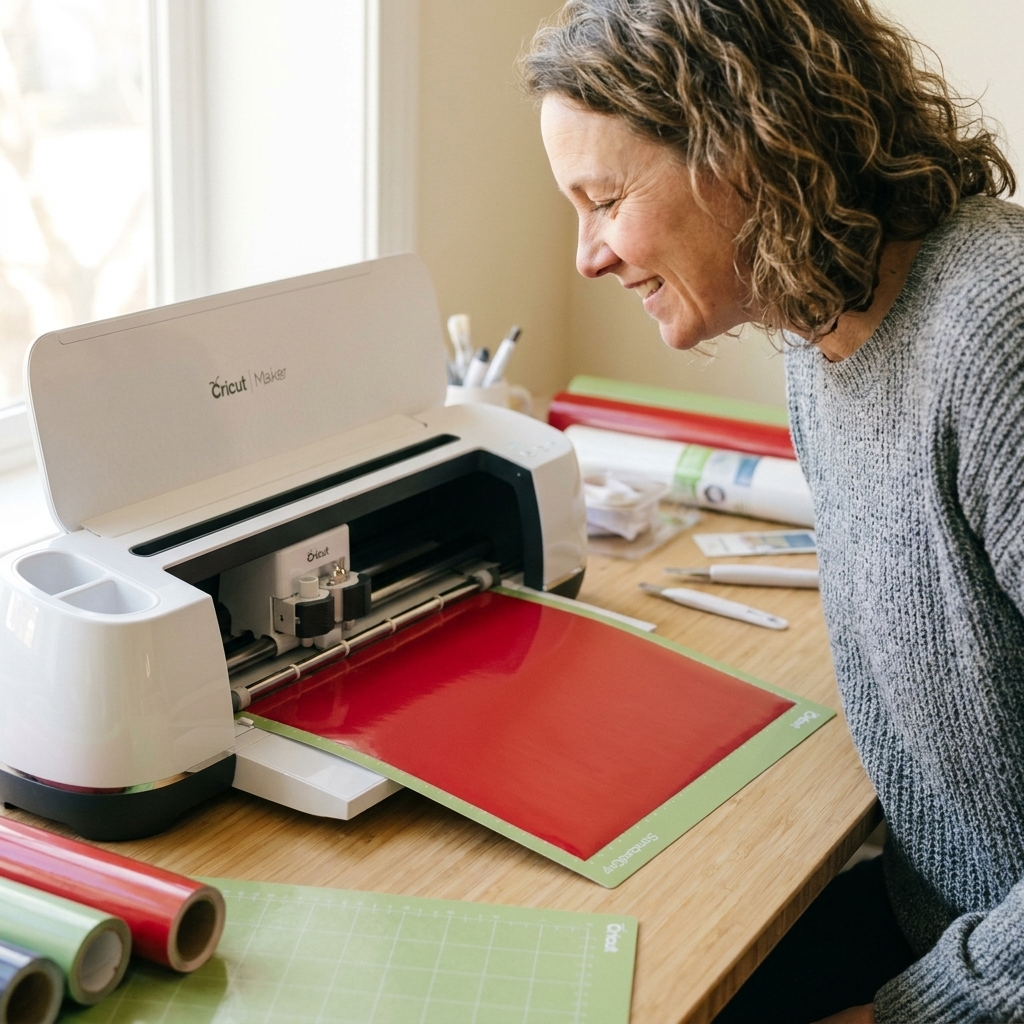
Step 3: Cut your vinyl
Load your vinyl so the backing is down on the mat and the vinyl side is up. Brayer it down if your mat is older or your craft room is as lint-happy as mine.
Recommended cut settings
- Cricut brand Premium Vinyl: “Premium Vinyl” setting usually works well.
- Oracal 651 style vinyl: Start with “Premium Vinyl” or “Permanent Vinyl” and do a small test cut if it is a new brand.
- Tiny details: Use a little more pressure only if your test cut shows incomplete cuts. Too much pressure can make weeding a nightmare.
Always do a test cut when you switch brands or colors. Metallics, glitter, and textured finishes can behave differently.
Step 4: Weed cleanly
Weeding is where a lot of beginners accidentally stretch vinyl or lose tiny dots. My biggest tip is simple: go slow and use good lighting.
Weeding tips
- Trim around your design first so you are not wrestling a giant sheet.
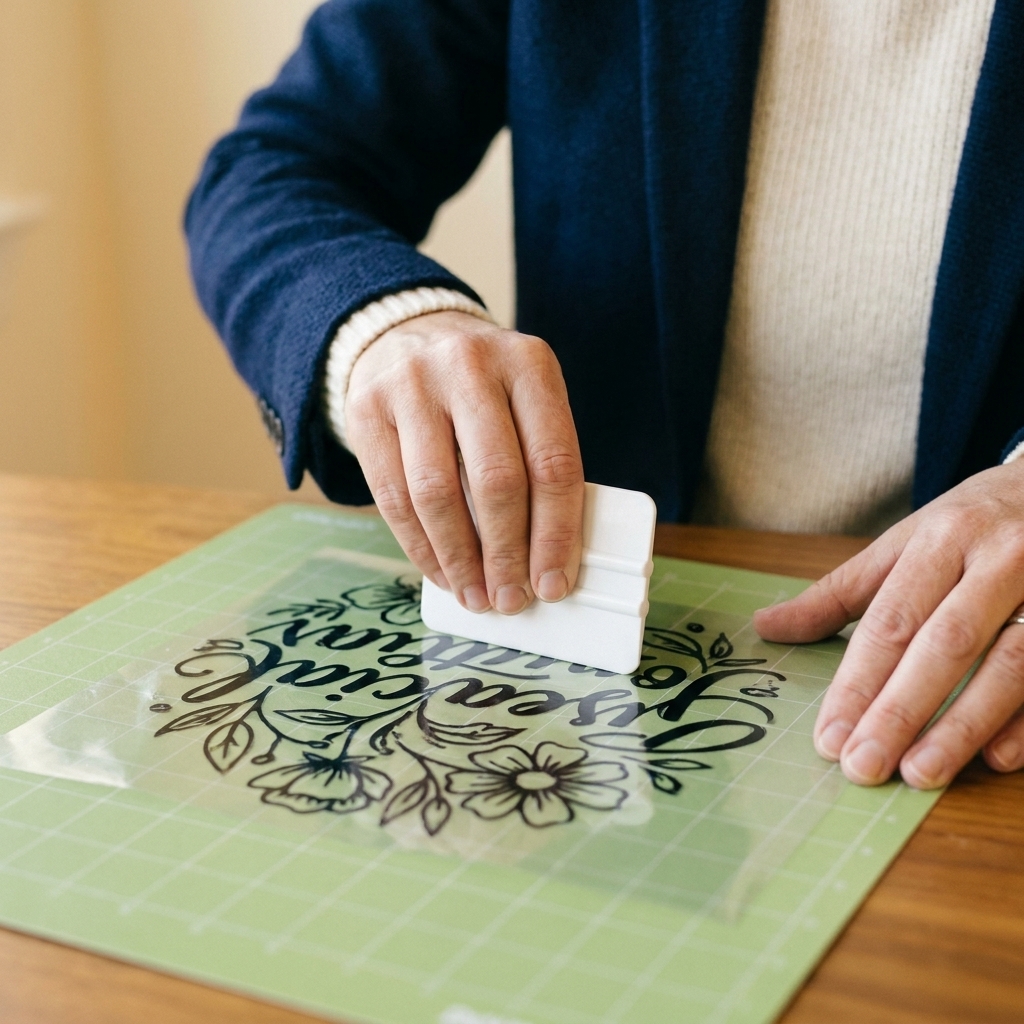
- Reverse weed for small text: apply transfer tape first, then weed the excess vinyl away while the letters stay supported.
- Keep the vinyl flat. If you lift it and bend it, skinny letters can curl.
- Save your centers (the inside of O, A, R). I park them on the vinyl backing until I am sure I got them all.
Step 5: Transfer tape for curves
Cut a piece of transfer tape slightly larger than your decal. Lay it down from one side to the other and burnish firmly with a scraper.
Which transfer tape should you use?
- Clear transfer tape: Great for alignment on tumblers and mugs because you can see through it.
- Paper transfer tape: Awesome for large decals because it is more forgiving, and it can be less stretchy than some clear tapes. The tradeoff is you cannot see placement as easily.
Pro tip: If your vinyl will not lift onto the transfer tape, burnish again, then flip the whole thing face down and peel the backing away from the vinyl at a sharp angle. Think “backing off the decal,” not “decal off the backing.”
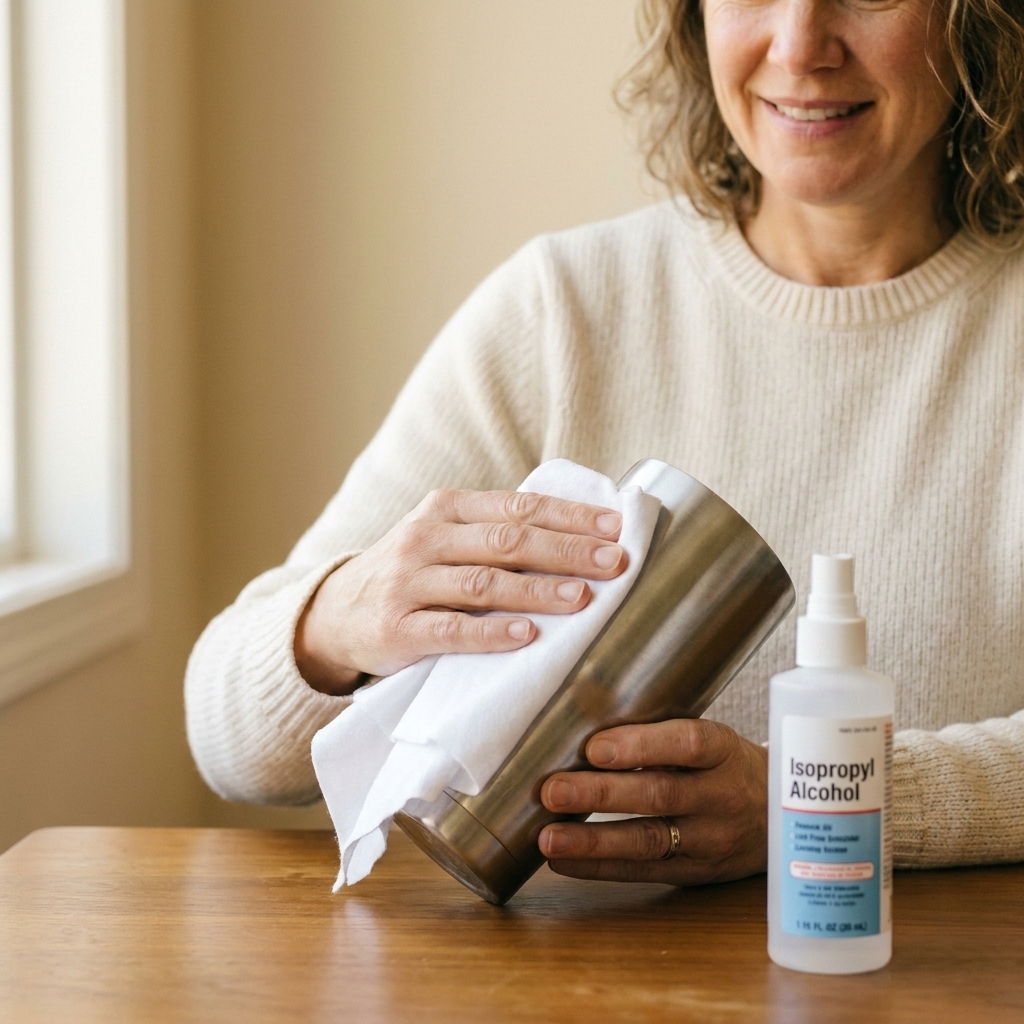
Step 6: Prep the surface
Even brand-new cups can have factory oils, fingerprints, or invisible residue that makes vinyl lift early.
Surface prep checklist
- Wash with dish soap and water, then dry fully.
- Wipe the application area with isopropyl alcohol using a lint-free cloth.
- Let it air dry for a minute. Alcohol flashes off fast.
- Avoid touching the cleaned area with your fingers.
If your tumbler is powder-coated or textured: Permanent vinyl may not bond well. You can still try it, but test a small decal first and give it 24 to 48 hours before you declare it a success.
Step 7: Apply vinyl on a curve
This is the method I use in my shop when I want clean results fast.
The hinge method
Position the decal (still on its backing paper) on the cup where you want it.
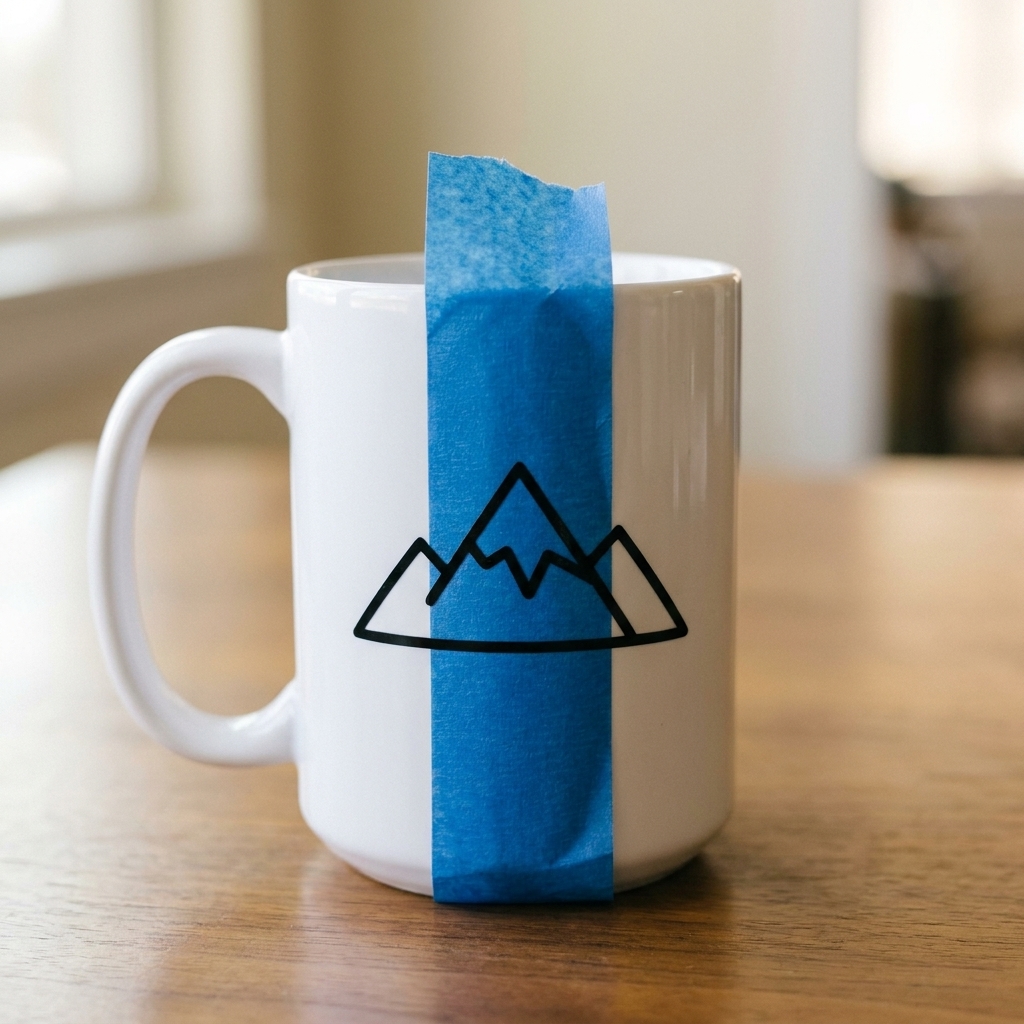
If you want extra insurance against crooked placement, add a quick guide: a thin strip of painter’s tape as a level line, using the rim (or the bottom curve) as your reference.
Use a small piece of painter’s tape across the top edge of the decal to create a hinge.
Flip the decal up on the hinge, then peel the backing off, making sure the vinyl stays on the transfer tape.
Starting at the center, lay the decal down slowly onto the cup, pressing outward as you go.
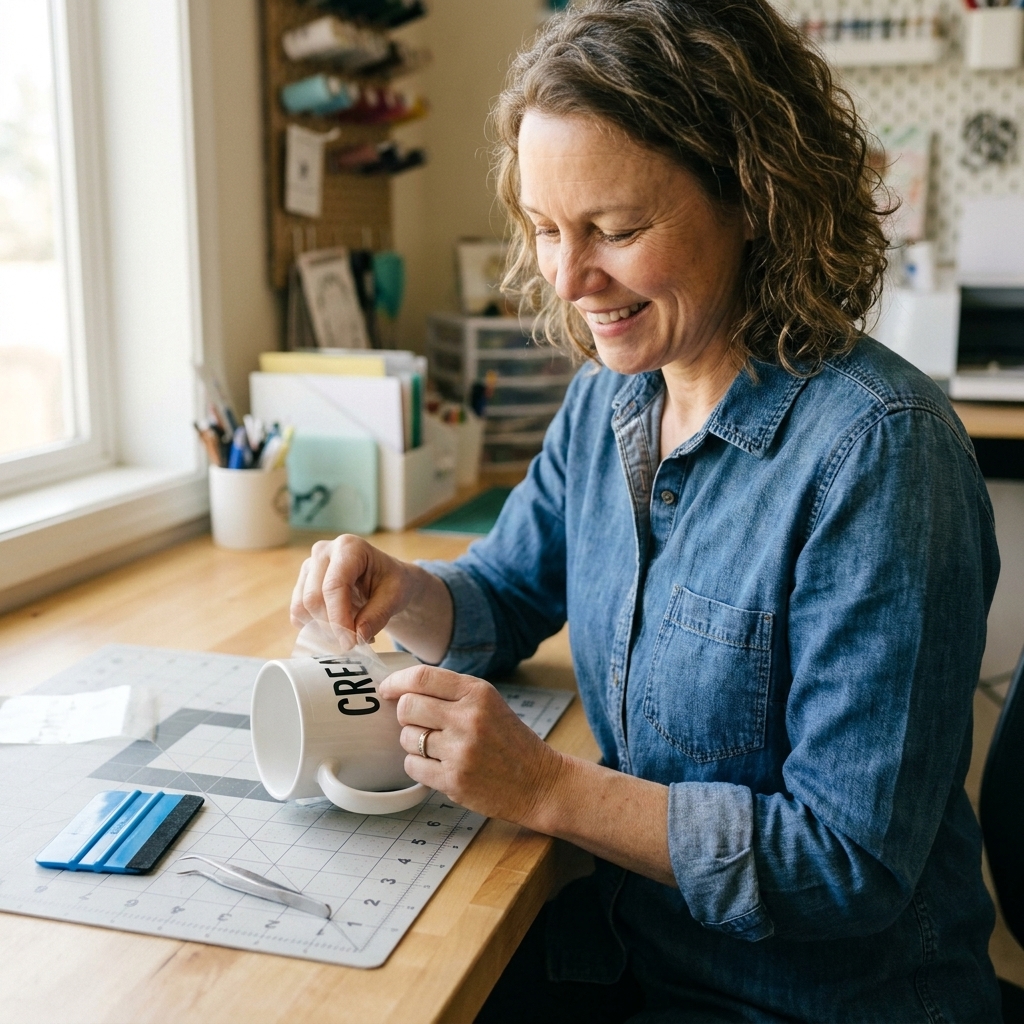
Burnish firmly with your fingers first, then a scraper. On round surfaces I like to burnish with my thumb in small strokes because you can feel bubbles forming.
Peel the transfer tape off slowly at a sharp angle, almost folding it back onto itself. If a piece lifts, lay the tape back down and burnish again.
Curve tips
For tapered tumblers
Taper means the top circumference is larger than the bottom. If your design is tall, the bottom of the decal has to travel a shorter distance than the top, which can cause wrinkles.
- Keep designs shorter (less vertical height) to reduce distortion.
- Use relief slits in the transfer tape only: tiny snips around the outer edge of the transfer tape (not into your design) help it flex around the curve.
- Apply from the middle out and go slow. Do not try to wrap the whole decal at once.
For mugs with handles
- Align using the handle as your reference point. Many people like the design centered opposite the handle.
- Avoid the extreme curve right near the handle if your decal is large. That area is tricky and gets handled more.
For very large decals
- Use the center-tack approach: tack down the center first, then smooth left and right.
- Consider paper transfer tape because it can be less stretchy than some clear tapes.
Aftercare
Vinyl adhesive builds strength over time. You can usually handle the cup right away, but I suggest giving it time before heavy use.
- Wait time: 24 hours before washing is a good rule of thumb. 48 to 72 hours is even better if you can.
- During cure time: Avoid extreme heat or cold, and do not leave a freshly-decaled cup in a hot car. Temperature and humidity can affect how quickly adhesive settles in.
- Washing: Hand wash gently. Avoid soaking for long periods.
- Avoid: Dishwasher heat cycles, abrasive scrubbers, and harsh cleaners.
If you want extra durability, you can use a sealer that is intended for drinkware exteriors and labeled food-safe once fully cured. Keep any sealer away from the rim and inside of the cup, and always test on a spare cup first since some clear coats can yellow, peel, or react with vinyl.
Troubleshooting
My vinyl will not stick
- Clean again with alcohol. Oils are the usual culprit.
- Check the finish. Some powder-coated tumblers are too textured, and soft-touch or rubberized coatings are notorious for rejects.
- Make sure you are using permanent vinyl, not removable.
I have bubbles under the decal
- Very small bubbles may lessen over 12 to 24 hours as the adhesive settles.
- For stubborn bubbles, you can prick with a fine pin and smooth outward gently.
- Next time, apply slower and burnish from the center out.
Letters lift when I remove transfer tape
- Peel the tape back at a sharper angle, slower.
- Burnish more before peeling, especially on small text.
- If it is cold in your craft space, warm the cup slightly with your hands. Room-temperature surfaces tend to behave better than ice-cold stainless.
My decal looks crooked
- Use painter’s tape hinges and measure from reference points (top rim, bottom curve, handle).
- Use a simple tape guide line to keep things level.
- Trust the cup, not your eyes. Some tumblers have optical illusions from their shape or finish.
Easy project ideas
- Name + small icon on a stainless tumbler
- Monogram on a coffee mug (opposite the handle)
- “Est.” year wedding party tumblers
- Simple one-color teacher gift with a clean script font (not too thin)
FAQ
Is permanent vinyl actually permanent on drinkware?
It is “permanent” in the sense that it is meant for long-term adhesion and is harder to remove than removable vinyl. With proper prep and hand washing, it can last a long time, but heat, dishwashers, and heavy scrubbing can shorten its life.
Can I microwave a mug with permanent vinyl on it?
I do not recommend microwaving vinyl-decorated drinkware. Even when the vinyl is on the outside only, repeated heat can soften adhesive and shorten the life of the decal. If someone chooses to microwave anyway, keep vinyl away from any lip-contact area, and never microwave mugs with metallic finishes or metallic vinyl elements.
Should I seal permanent vinyl on tumblers?
You do not have to. Sealing can help in some cases, but it can also introduce peeling or cloudiness if the product is not compatible. If you seal, use a product intended for drinkware exteriors, follow cure times exactly, and keep sealers away from rims and interiors.
Can I use Cricut Joy for tumblers?
Yes. Joy can cut smaller decals beautifully, and Smart Vinyl can be convenient for quick projects. The same curve and transfer tape tips apply.
One last pep talk
Your first curved-surface decal might take you a couple tries, and that is completely normal. Use the paper test, clean the surface like you mean it, and apply slowly. Once you nail that first smooth tumbler decal, you are going to want to label every cup in your kitchen, and I support you.