A beginner-friendly, step-by-step guide to applying permanent vinyl on curved drinkware: sizing, cutting, weeding, transfer tape, alignment, and aftercare ti...
Maker Vinyl
Updated October 17, 2026
Glitter Tumbler Tutorial With Cricut Vinyl Decals
Make a sparkling glitter tumbler you will actually love using. Learn how to prep stainless steel, apply detailed Cricut vinyl decals, and seal everything for a smooth, durable finish.

Harper Davis
Harper Davis is a lifelong DIY enthusiast and cutting-machine expert who loves helping beginners conquer Cricut Design Space. With over six years of experience running a custom vinyl shop, she shares practical tutorials, material guides, and creative inspiration.
If you have ever tried to make a glitter tumbler and ended up with bumps, peeling vinyl, or glitter that sheds like a stressed-out craft room cat, you are in the right place. This is my go-to method for a smooth, sparkly stainless steel tumbler with Cricut vinyl decals that stay put.
We are going to cover the whole process: prep, glitter, decal application (including tiny details), and sealing. I will also share the little “vinyl shop” habits that prevent 90% of tumbler heartbreak.
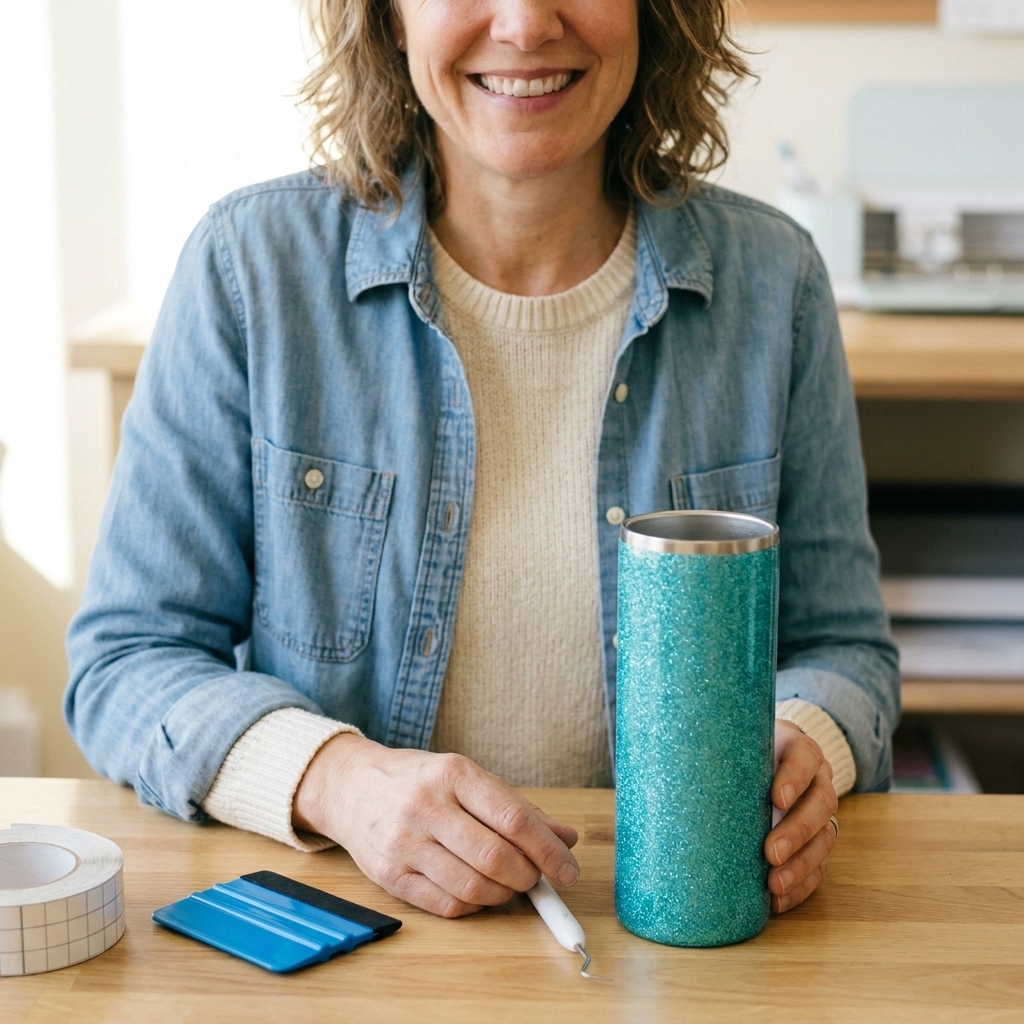
What you need
You can make this project with different brands, but the categories matter. If you swap something, match the purpose, not just the name.
Supplies
- Stainless steel tumbler (straight or skinny styles are easiest to decal)
- Fine or extra-fine craft glitter (chunky glitter is harder to smooth)
- Glitter adhesive made for crafts or a tumbler-friendly water-based glue/sealer used as adhesive (results vary by product, so test first)
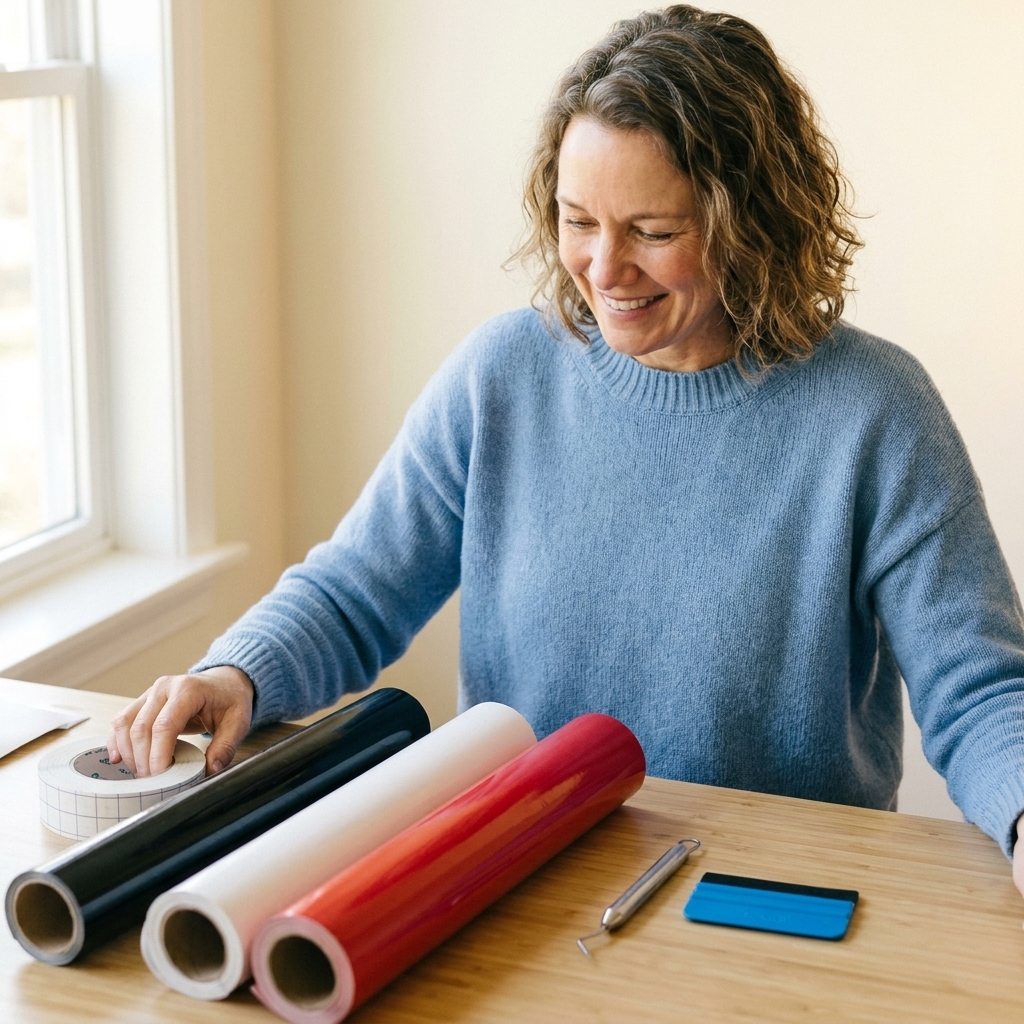
- Permanent adhesive vinyl for decals (Oracal 651 style vinyl, or Cricut Premium Permanent)
- Transfer tape (standard grip for most permanent vinyl, strong grip only if you must)
- Sealer/top coat that is compatible with stainless steel and glitter (see sealing notes below)
- Isopropyl alcohol (70% or 91%) and lint-free wipes
- Painter’s tape to mask off the rim and bottom
- Disposable gloves (optional but helpful)
Tools
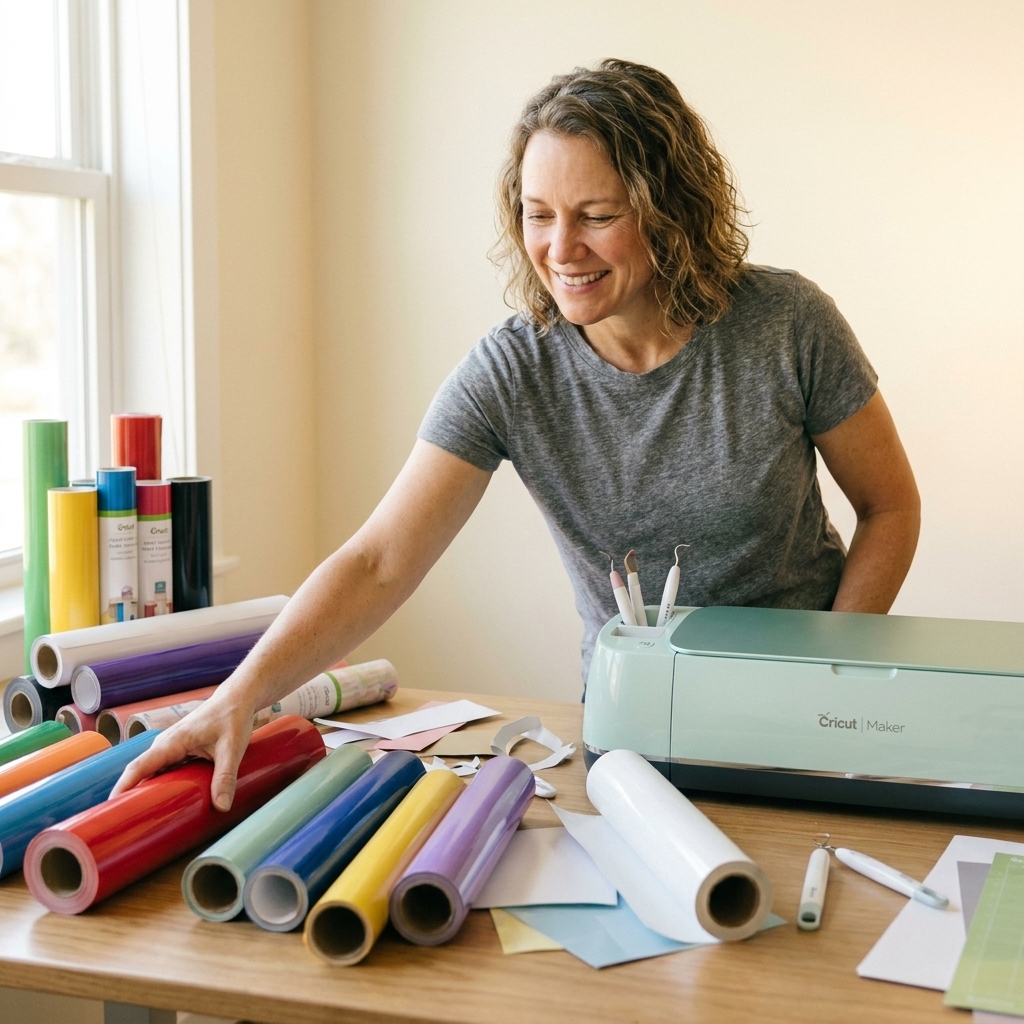
- Cricut machine (Joy, Explore, Maker all work)
- StandardGrip mat
- Fine-point blade
- Weeding tools
- Squeegee/scraper or an old gift card
- Soft measuring tape or a ruler
- Foam brush or soft brush for adhesive
- Turner (optional but makes sealing smoother)
Before you start: choose your order
This is the biggest decision that changes how your tumbler feels in your hand.
- Option A: Seal glitter first, then add vinyl on top (my usual choice). Your decal sits on a smoother surface and looks crisp. You can stop here or add one light top coat over the decal if your sealer allows it.
- Option B: Add vinyl onto glitter, then seal over everything. This can protect the decal edges more, but it can also create a “buried” look and you need a very compatible top coat so the vinyl does not lift.
In this tutorial we will do Option A because it is friendlier for beginners and intricate decals.
Step 1: Prep the tumbler
Prep is not the fun part, but it is the part that makes your tumbler last.
1) Wash and dry
Wash the tumbler with dish soap and warm water to remove oils and manufacturing residue. Dry completely.
2) Lightly scuff (optional but recommended)
If your tumbler is very slick or coated, lightly scuff with a fine sanding sponge. You are not trying to remove color. You are just giving the surface a little tooth for grip.
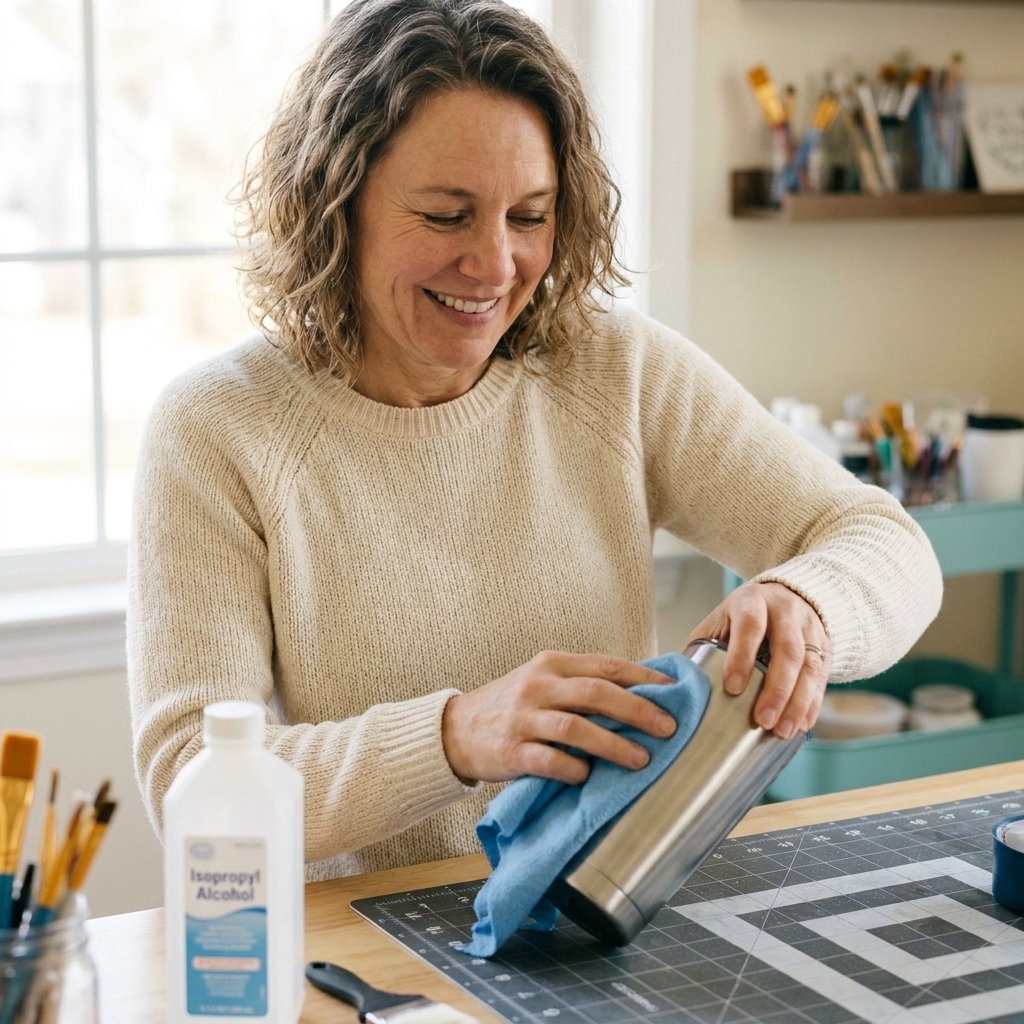
3) Clean with alcohol
Wipe down the tumbler with isopropyl alcohol and a lint-free wipe. Let it air dry. Do not touch the surface after this, your fingerprints are basically tiny oil slicks.
4) Mask off the rim and bottom
Use painter’s tape to keep glitter and sealer out of areas that touch your mouth or that need to sit flat.
Quick safety note: Many craft sealers and epoxies are not rated food-safe. Keep them off the drinking rim and follow the manufacturer’s guidance for anything that might contact lips.
Step 2: Add adhesive and glitter
Work in thin, even layers. Thick adhesive is the fastest route to drips, bumps, and frustration.
1) Apply adhesive
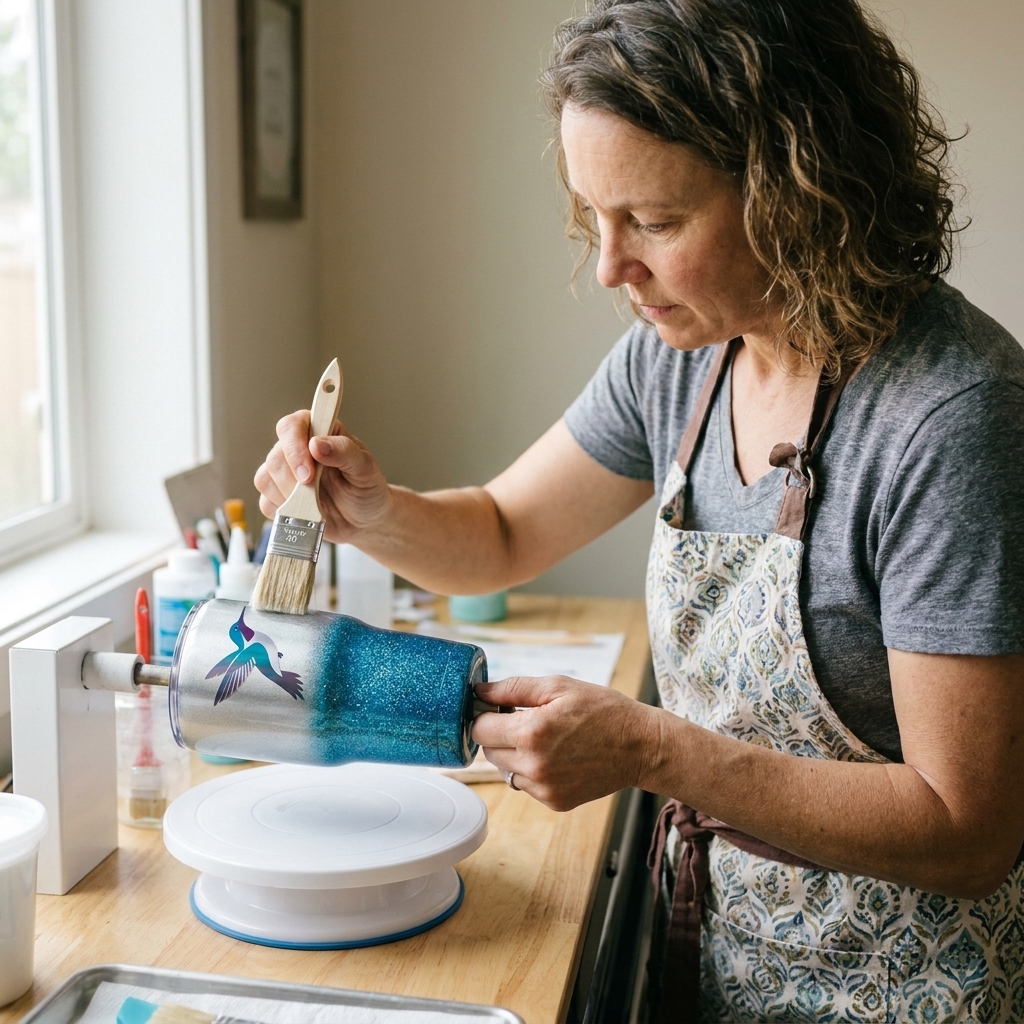
Using a foam brush, apply a thin, even coat of adhesive over the area you want glittered. Rotate the tumbler as you go.
Product note: A true glitter adhesive is the easiest route. Some makers use water-based craft glues or water-based sealers as adhesive, but not all formulas behave the same (dry time, clarity, and hold can vary). If you are trying a new product, do a small test area first.
2) Add glitter generously
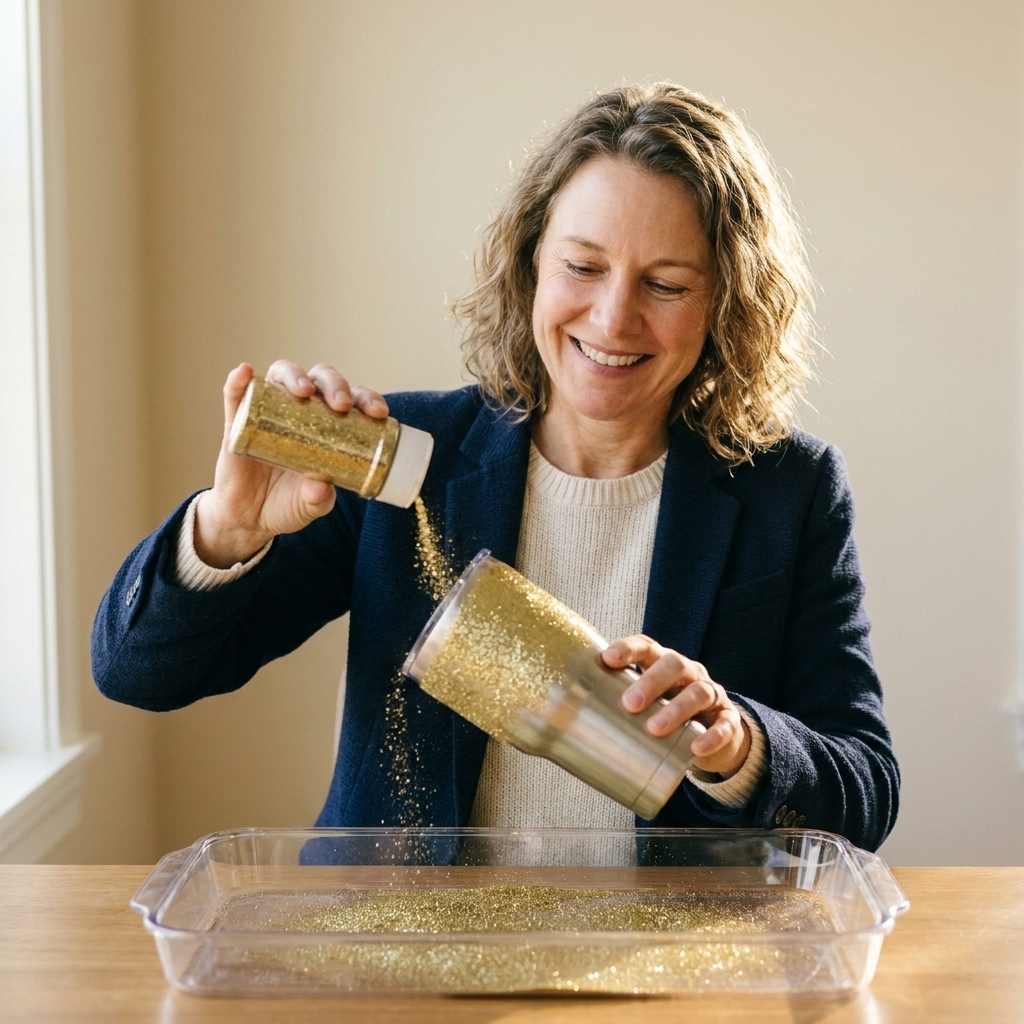
Hold the tumbler over a tray or paper plate and pour glitter over it until you do not see wet spots. Gently tap off excess.
3) Let it dry fully
Dry time depends on your adhesive and humidity. If it feels tacky, wait longer. Rushing here leads to glitter sliding when you seal.
4) Do a second coat if needed
If you see thin coverage, repeat adhesive and glitter for a second layer. Two thin coats look smoother than one heavy coat.
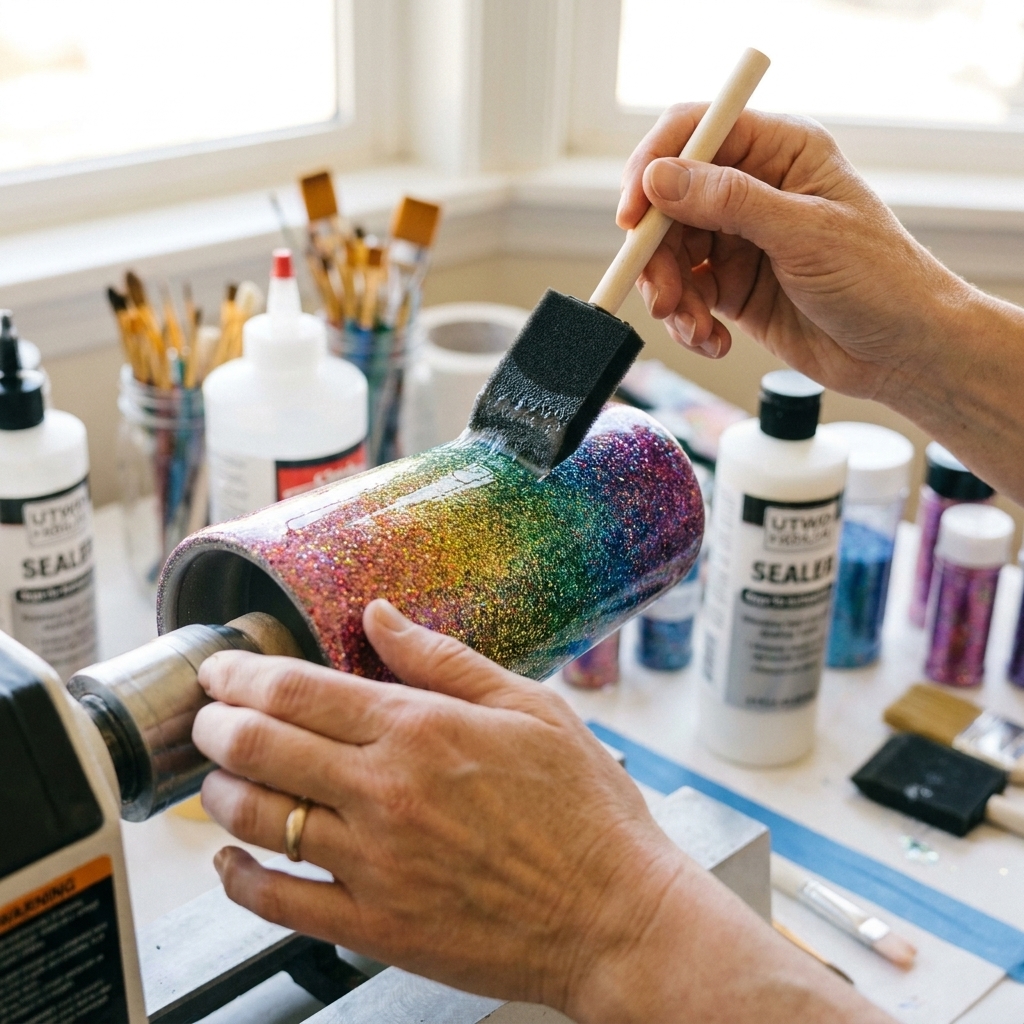
Step 3: Seal the glitter smooth
This is where the magic happens. The goal is a surface that feels as smooth as possible before vinyl touches it.
Choose your finish
Not all sealers play nicely with vinyl. If you are unsure, test on a spare cup or a hidden area first.
- Water-based clear coats are popular because they are low odor and beginner-friendly, but they can take multiple coats to get smooth. Many makers use a water-based polyurethane as a smoother.
- Spray clear coats can work for some glitter layers, but they are the easiest to over-spray into drips or cloudiness if you go heavy. Light coats are key.
- Epoxy/resin finishes can create a super glassy look, but they require careful measuring and a controlled setup.
Epoxy safety essentials: Use gloves and eye protection, work in good ventilation, and wear the appropriate respirator for your products and conditions. Also keep an eye on temperature and humidity, because epoxy can stay tacky or cure unevenly if your space is too cold or too humid.
Whatever you choose, follow the manufacturer’s cure times. “Dry to the touch” is not the same as “cured.” Vinyl applied too early can trap moisture and cause lifting later.
Sealing steps
First coat: Apply a thin coat over the glitter. Rotate as you go to prevent drips.
Dry: Let it dry completely.
Light sand (optional): If you feel sharp glitter points, lightly sand when fully dry. Then remove dust with a slightly damp lint-free cloth (or a tack cloth that is compatible with your finish) and let the surface dry fully before the next coat.
Repeat: Add additional thin coats until the texture is comfortable to the touch and looks even.
Vinyl-friendly habit: Once your smooth coats are cured, avoid touching the surface where the decal will go. Skin oils can make even great vinyl act like it has commitment issues.
Step 4: Measure and design your decal
Intricate decals look expensive when they fit the tumbler perfectly. Two quick measurements save so much re-cutting.
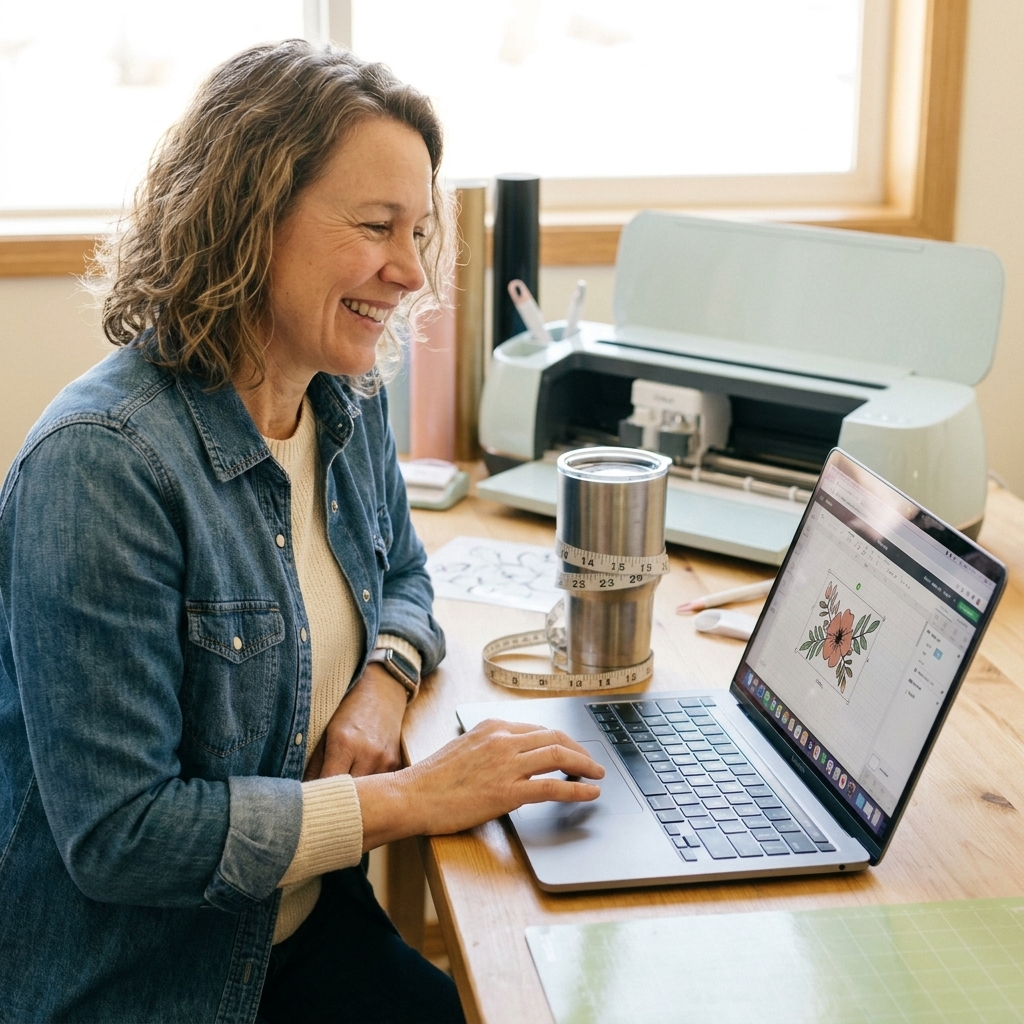
1) Measure your usable area
- Height: Measure between your taped-off rim area and the bottom boundary.
- Width: Wrap a soft measuring tape around the tumbler where the decal will sit. If you do not have one, wrap a strip of paper around, mark the overlap, and measure that length.
Pro tip: Reduce your design width by about 0.25 to 0.5 in (6 to 13 mm) so it does not wrap too close to the seam where your eyes notice overlap.
2) Set up in Design Space
- Create your text or upload your SVG.
- Size it using your measurements.
- For layered designs, use Weld for script fonts if needed and Attach to hold spacing in place.
- Mirror is not needed for permanent adhesive vinyl. Mirror is for HTV.
Step 5: Cut and weed the vinyl
Cut settings
Use a permanent vinyl setting that matches your material. If you are using a new-to-you brand, cut a small test shape first. Intricate details usually do better with less pressure than you think, especially on thinner vinyl.
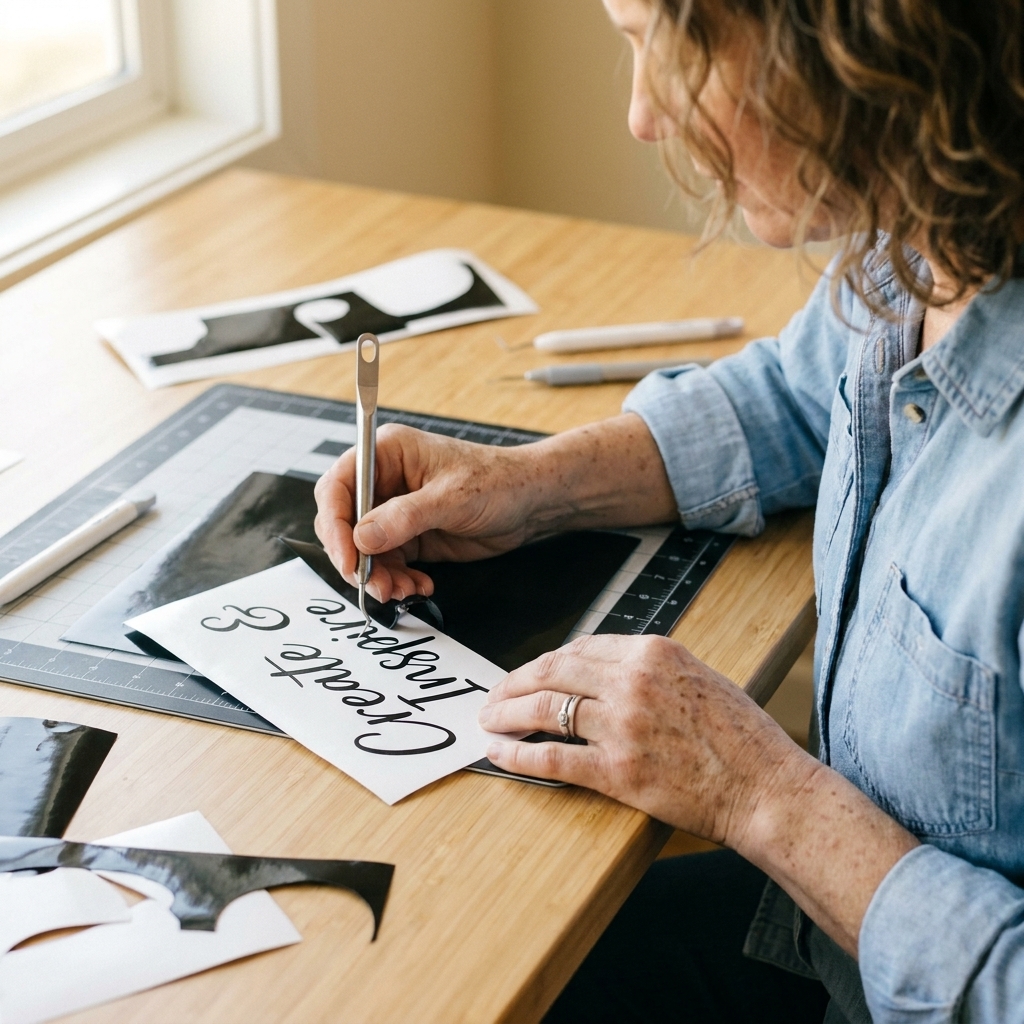
Weeding tips
- Work under bright light.
- Use a sharp weeding tool and lift slowly.
- If your design is very delicate, weed while the vinyl is still on the mat for extra stability.
- Keep centers of letters (like a, e, o) in place and double-check before moving on.
Step 6: Apply transfer tape
Transfer tape is where most beginners accidentally stretch a gorgeous decal into a weird, wavy mess. Slow and steady wins.
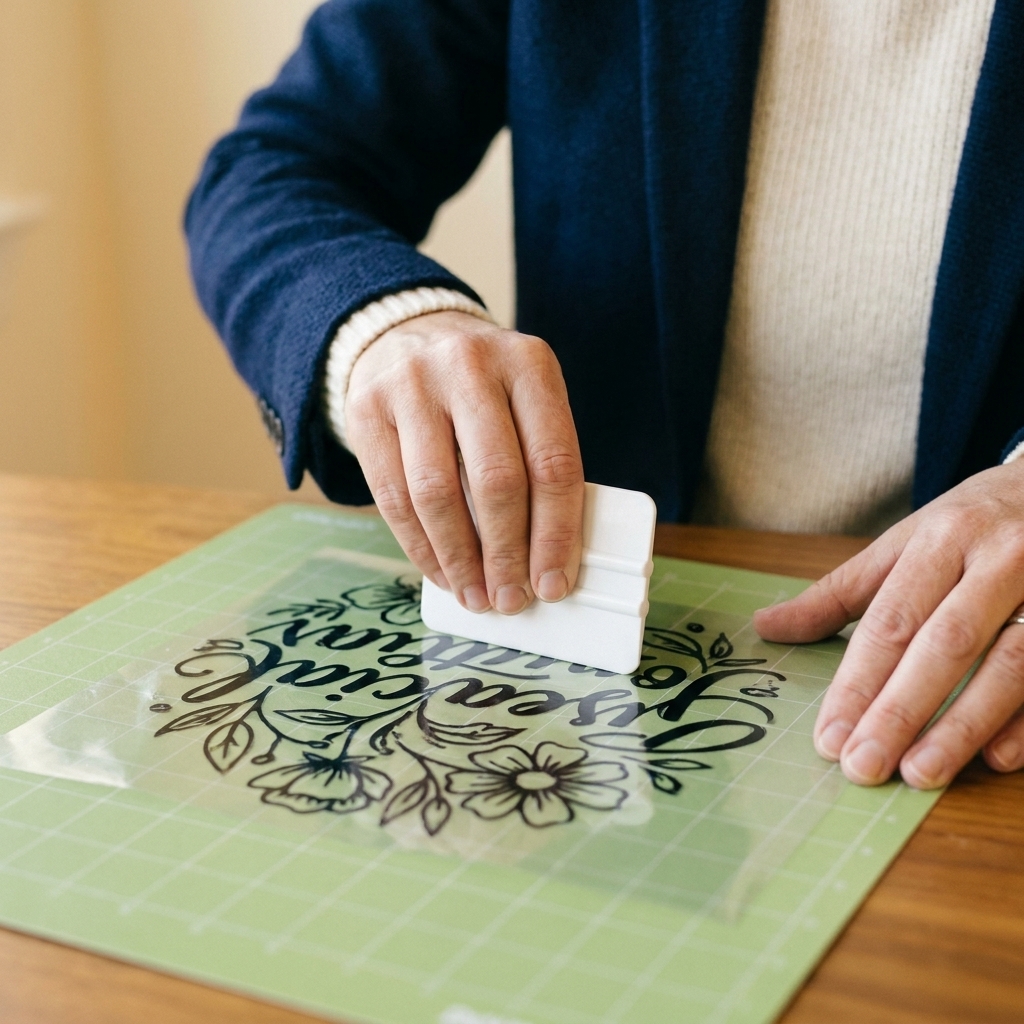
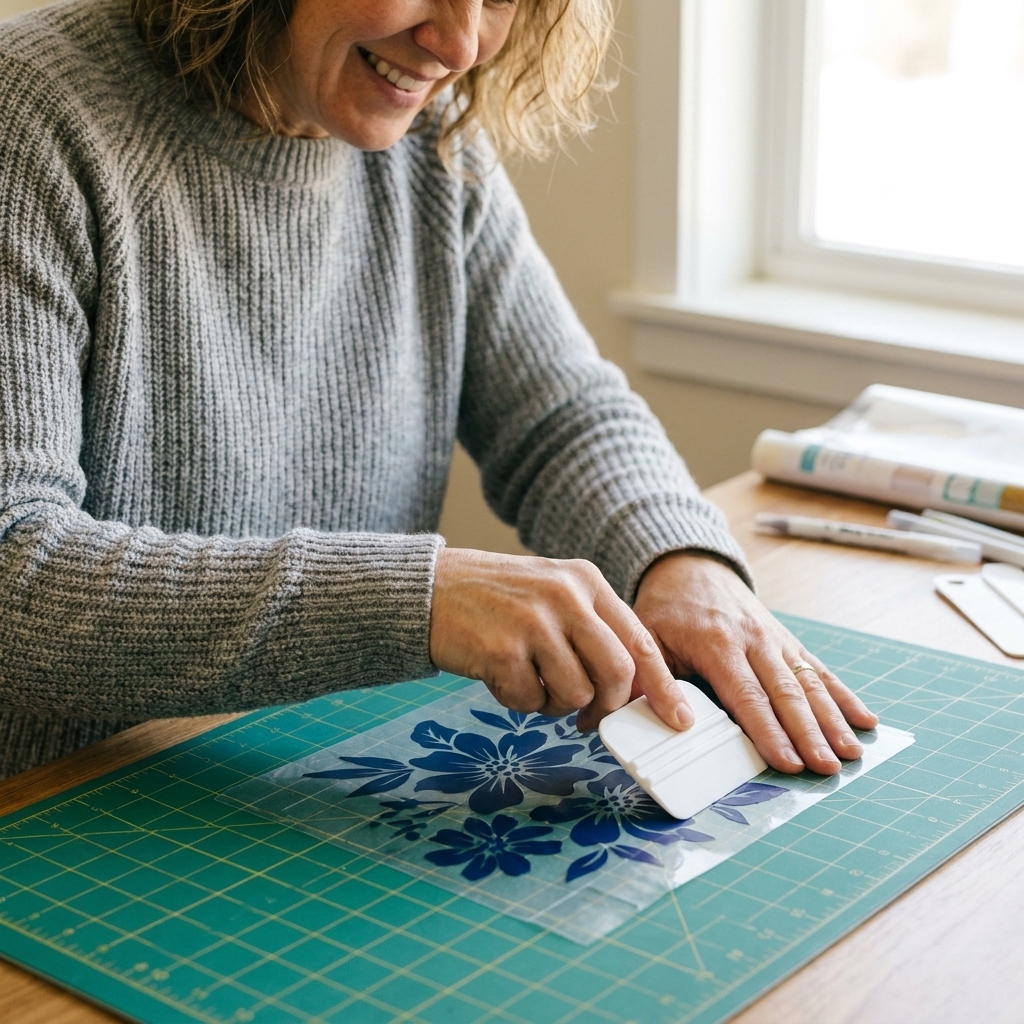
1) Burnish the decal first
Before you even touch transfer tape, burnish the vinyl onto its backing paper with a scraper.
2) Use the hinge method
Cut a piece of transfer tape slightly larger than your design.
Lay it down from one side to the other, smoothing as you go.
Burnish again, firm but not aggressive.
3) Peel the backing slowly
Flip your decal face-down and peel the backing away from the vinyl at a low angle. If vinyl stays stuck to the backing, lay it back down and burnish again.
Step 7: Place the decal
This is the moment. Take your time. You get one “looks perfectly straight” shot, and I want you to love it.
1) Mark a center guide (optional but so helpful)
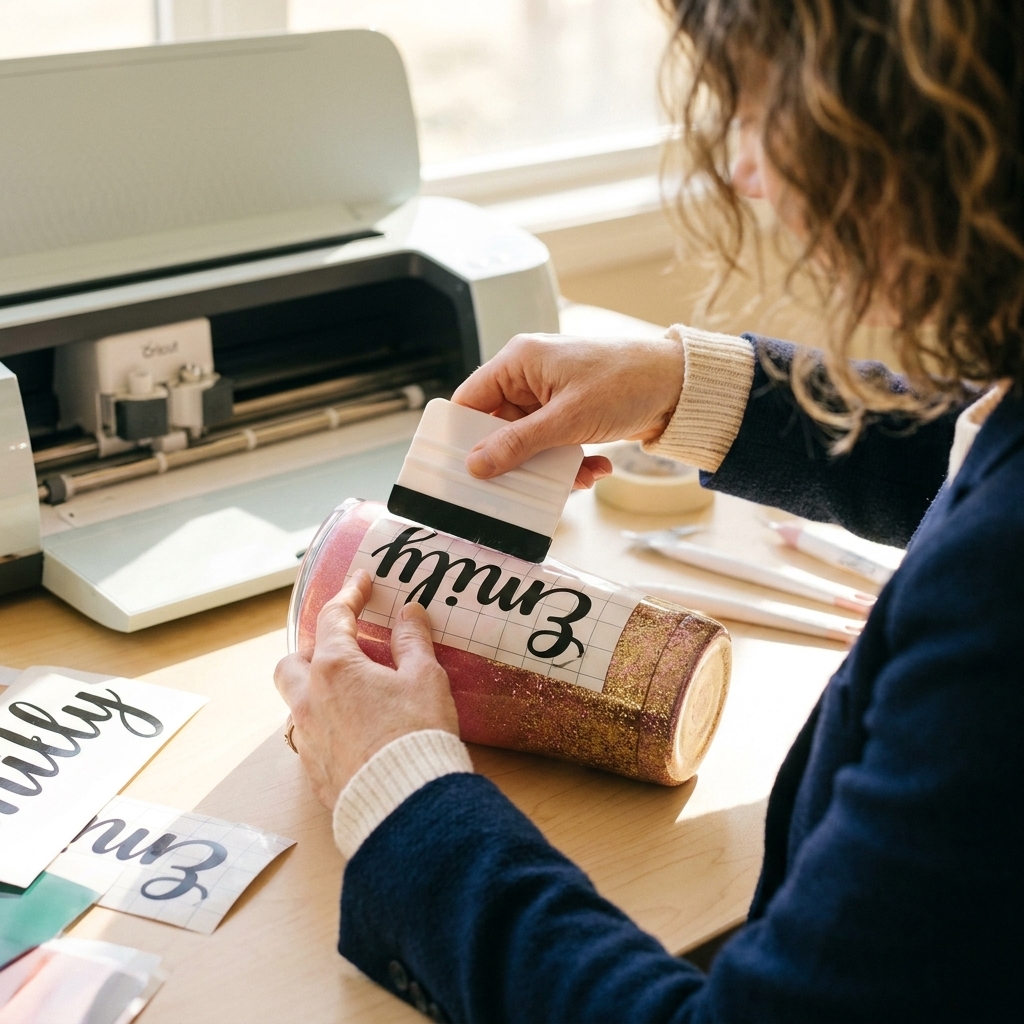
Use a small piece of painter’s tape as a temporary vertical guide line (top to bottom). If your tumbler has a visible seam, decide whether you want that seam to be the back, then place your design opposite it so the front looks clean and intentional.
2) Tack the decal lightly first
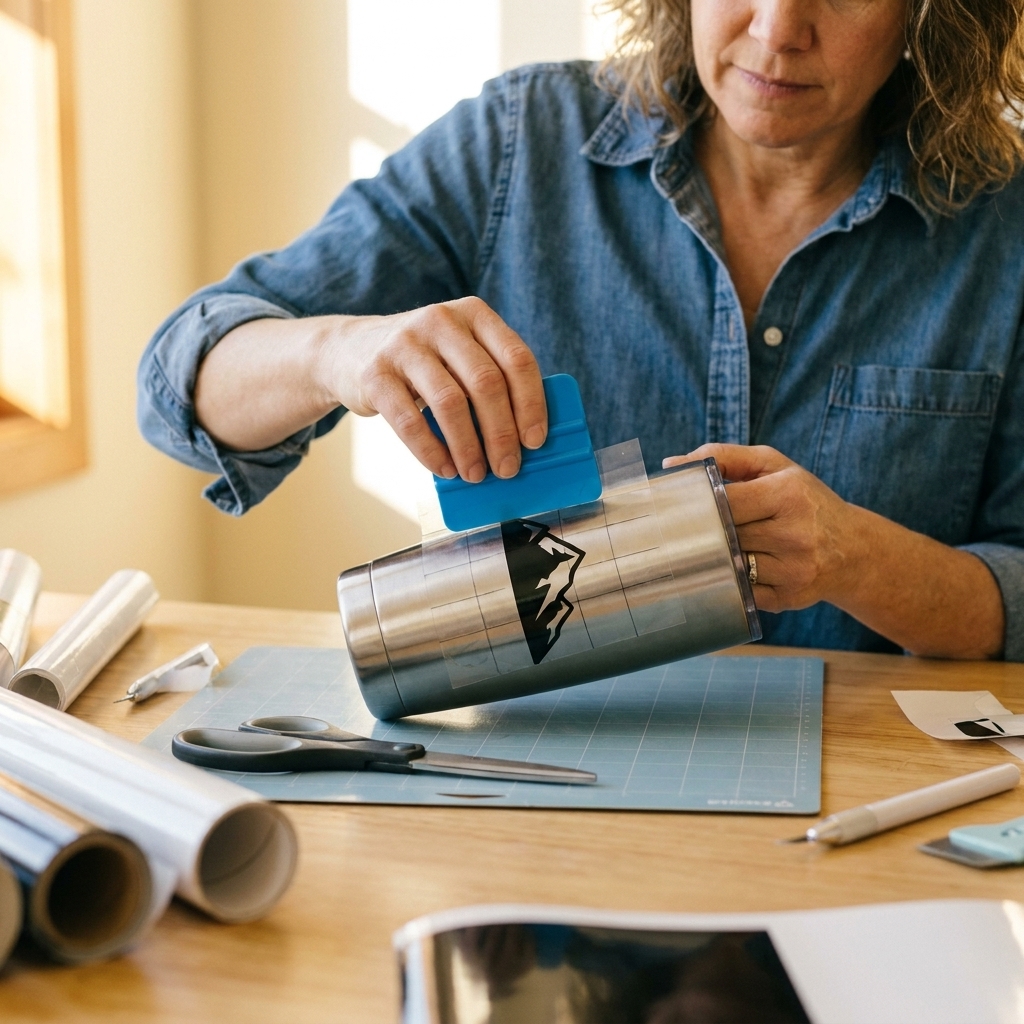
Hover the decal in place, then tack down the center area first. Work outward to the edges. This reduces bubbles and wrinkles, especially on slightly tapered cups.
3) Burnish in sections
Burnish from the middle out, rotating the tumbler as you go. Keep your pressure even.
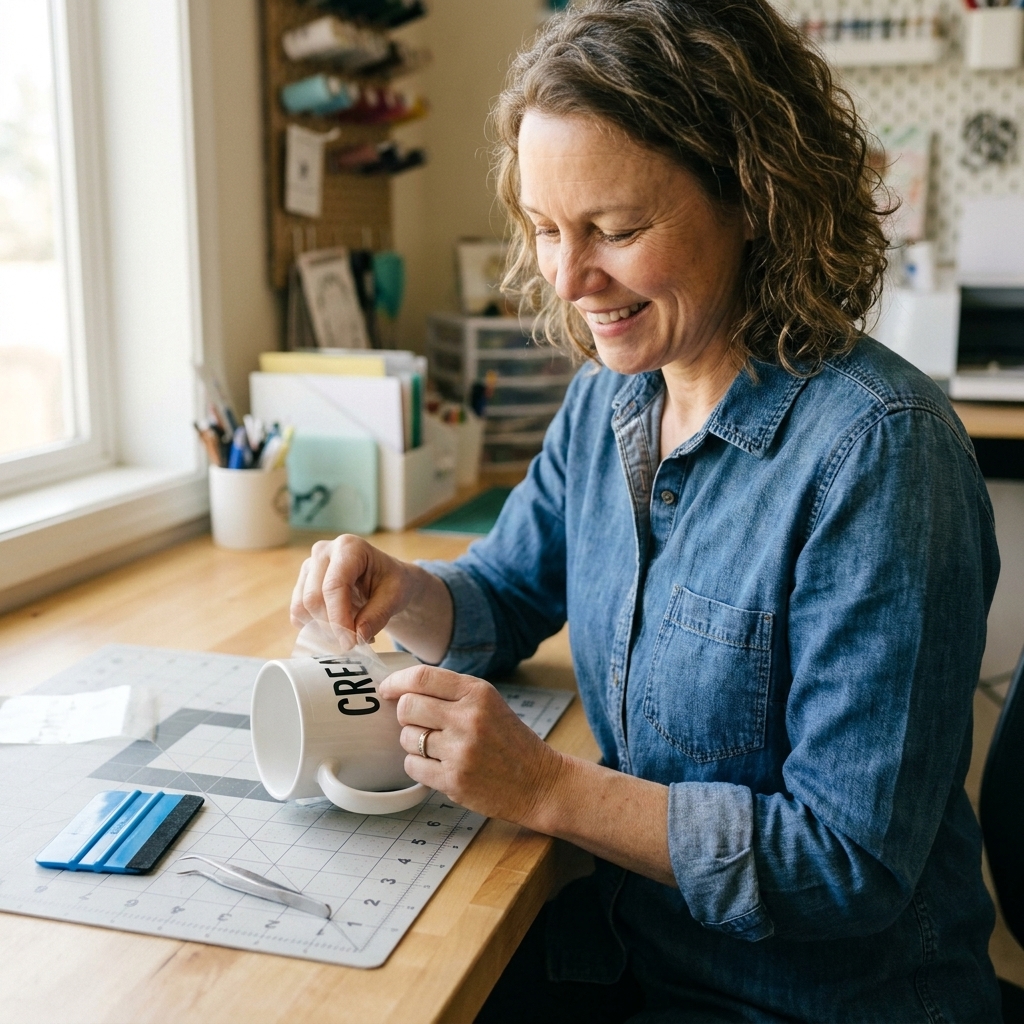
4) Remove transfer tape correctly
Peel the transfer tape back on itself at a very low angle. If a piece lifts, press it back down, burnish that spot, and try again.
Step 8: Top coat over vinyl (optional)
If this tumbler is mostly for home, you can often leave the decal unsealed as long as it is on a properly cured smooth coat. For tumblers that will live in cupholders, bags, and the general chaos of everyday life, a compatible top coat can help protect the edges.
Real-life expectation check: With Option A (vinyl on top), the decal can still catch at the edges if it is constantly rubbed by a bag zipper or cupholder. A gentle life and hand washing go a long way.
Compatibility matters
Some clear coats can cause vinyl to wrinkle, bubble, or lift. The safest approach is to:
- Let the vinyl sit for 24 to 72 hours before top coating so the adhesive can bond (timing varies by vinyl and top coat, so test if you can).
- Apply a very light first coat, almost like a mist or skim coat, and let it dry.
- Build up with additional light coats instead of one heavy coat.
If you are using epoxy/resin, make sure your vinyl is fully adhered and burnished. Pay extra attention to small tips on script fonts.
Cure time and care
This is where patience pays you back. Even the prettiest tumbler will scratch if it has not cured long enough.
- Let it cure fully according to your sealer or epoxy instructions.
- Hand wash only. Many makers recommend hand washing even for epoxy tumblers, because dishwashers can still wreck vinyl edges and some clear coats over time.
- Avoid soaking for long periods.
- Do not scrub over decal edges with abrasive sponges.
- Store carefully for the first week while everything finishes hardening.
Troubleshooting
My vinyl will not stick
- Most common cause: the surface is not fully cured. Wait longer.
- Wipe gently with alcohol to remove oils, then let dry.
- Make sure you used permanent vinyl, not removable.
- If the surface is still too textured, add another smoothing coat of sealer before trying again.
I have bubbles under the decal
- Burnish from the center outward.
- For tiny stubborn bubbles, you can poke with a very fine pin and burnish flat.
My decal looks wrinkled
- This happens on tapered tumblers when the decal is too tall or too wide for the curve.
- Resize smaller or use a design with more breaks (like separated letters) so it can flex.
Glitter still feels rough
- Use finer glitter next time for a smoother finish.
- Add more thin coats of sealer, letting each dry fully.
- Light sand between coats once fully dry, then wipe clean and let dry before recoating.
Easy decal ideas
- Name in a bold script with a small heart or star
- Monogram with a thin circle border
- Short phrase in a clean sans serif font (less weeding, super crisp)
- Layered vinyl (two colors) on a smooth sealed base for pop
- Tone-on-tone permanent vinyl on matching glitter for a subtle luxury look
Quick FAQ
Can I use removable vinyl?
You can, but I do not recommend it for something that will be handled and washed. Permanent vinyl holds up better.
Do I have to seal a glitter tumbler?
If you want it to stop shedding and feel comfortable in your hand, yes. Glitter without a proper top coat is basically guaranteed mess.
Can I skip sanding the tumbler?
Sometimes, yes, especially on already coated tumblers. But a light scuff plus alcohol wipe is my most reliable combo for adhesion.
What transfer tape is best for intricate decals?
Start with standard grip. If your vinyl will not lift, bump up to a stronger tape, but use the least aggressive option that works so you do not distort small details.
Wrap-up
A glitter tumbler is one of those projects that feels intimidating until you do it once, then you suddenly want to glitter everything that holds liquid. Focus on thin layers, full cure times, and slow decal placement, and you will end up with a tumbler that looks store-bought in the best way.
If you make one, I hope you celebrate it like a win, because it is. And if something goes sideways, it is not you. Tumblers are just… picky. You have got this.