A beginner-friendly, step-by-step guide to applying permanent vinyl on curved drinkware: sizing, cutting, weeding, transfer tape, alignment, and aftercare ti...
Maker Vinyl
Updated October 17, 2026
Transfer Tape Without Bubbles or Wrinkles
Stop fighting transfer tape. Learn a foolproof method for applying transfer tape to adhesive vinyl without bubbles, wrinkles, or lost letters, plus fixes for the most common mistakes.

Harper Davis
Harper Davis is a lifelong DIY enthusiast and cutting-machine expert who loves helping beginners conquer Cricut Design Space. With over six years of experience running a custom vinyl shop, she shares practical tutorials, material guides, and creative inspiration.
If transfer tape makes you feel like you are wrestling a clingy plastic tablecloth, you are not alone. I have run a vinyl shop for years, and I still swear the tiniest decal can humble you fast when the tape grabs crooked, wrinkles, or traps bubbles right over your prettiest letters.
The good news: you do not need magic hands. You need the right prep, the right angle, and a repeatable method that forces the air out as you go. This is the exact routine I use when I want clean transfers without wasting vinyl.
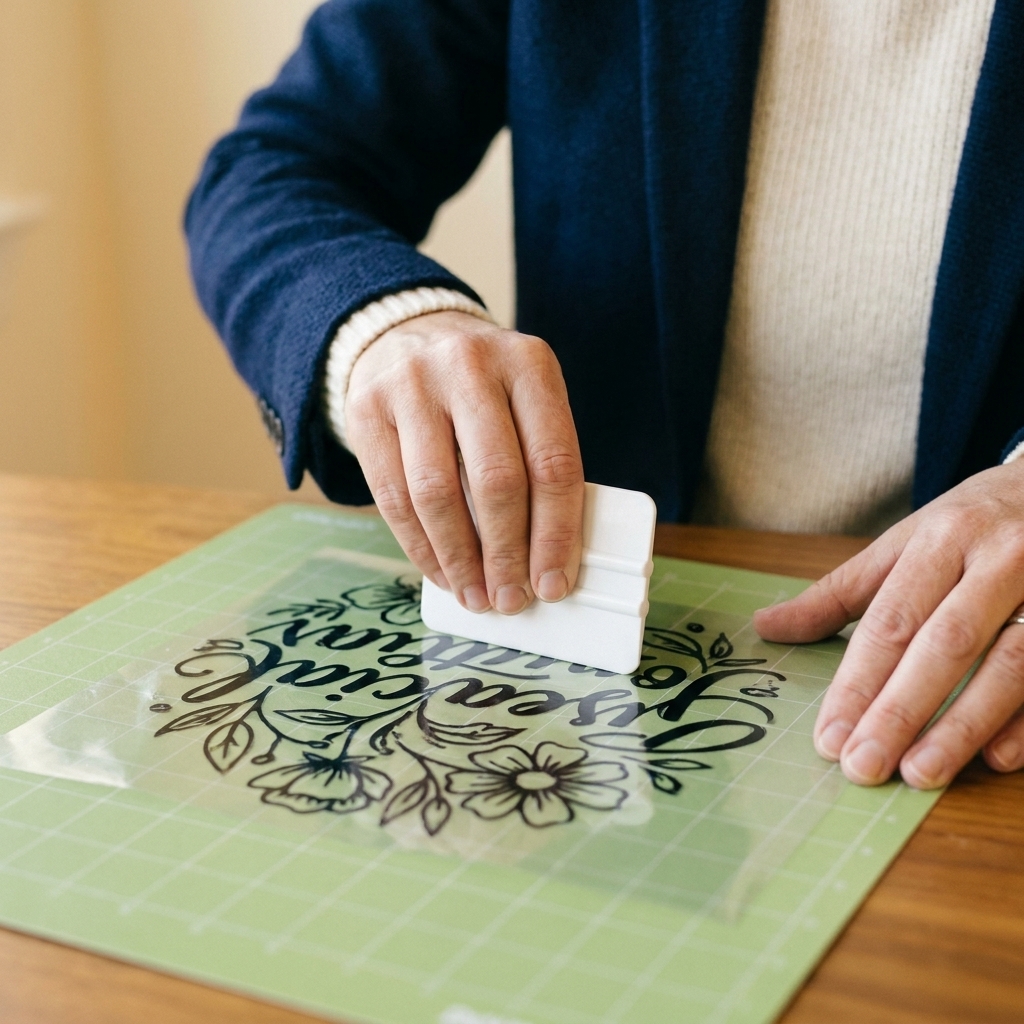
Why transfer tape bubbles and wrinkles
Most bubble and wrinkle issues come from one of these:
- Dropping the tape flat onto the vinyl, trapping air underneath.
- Starting crooked and trying to correct mid-way, which creates creases.
- Too much tack for your vinyl finish, especially on glitter or textured permanent vinyl.
- Dust and tiny vinyl bits on the tape or the decal surface.
- Not enough burnishing pressure, so parts stick while other areas float and wrinkle.
The method below prevents all of those by controlling contact point and pressure.
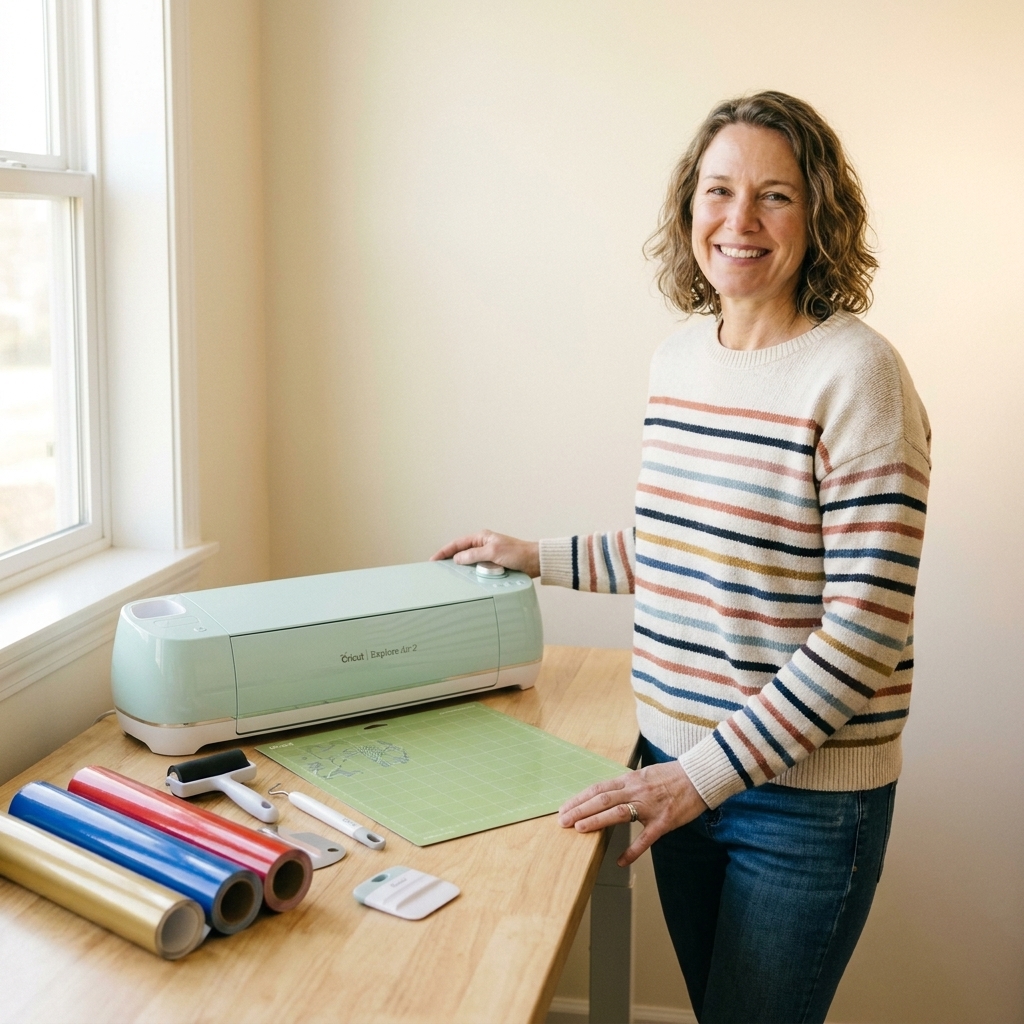
What you need (and what actually matters)
- Transfer tape: clear grid tape is easiest for alignment, but paper tape can be great for matte vinyl. Use what matches your project.
- Squeegee or scraper: a real plastic scraper, an old gift card, or a felt-edged squeegee.
- A clean, flat surface: table, glass, or a clean cutting mat.
- Scissors or trimmer: to cut tape slightly larger than your design.
- Optional: a lint roller for your work surface and a piece of clean cardstock for practicing the motion.
The big game-changer is not the brand. It is the hinge and the low-angle squeegee pass.
The foolproof method (no bubbles, no wrinkles)
Step 1: Weed and flatten your decal
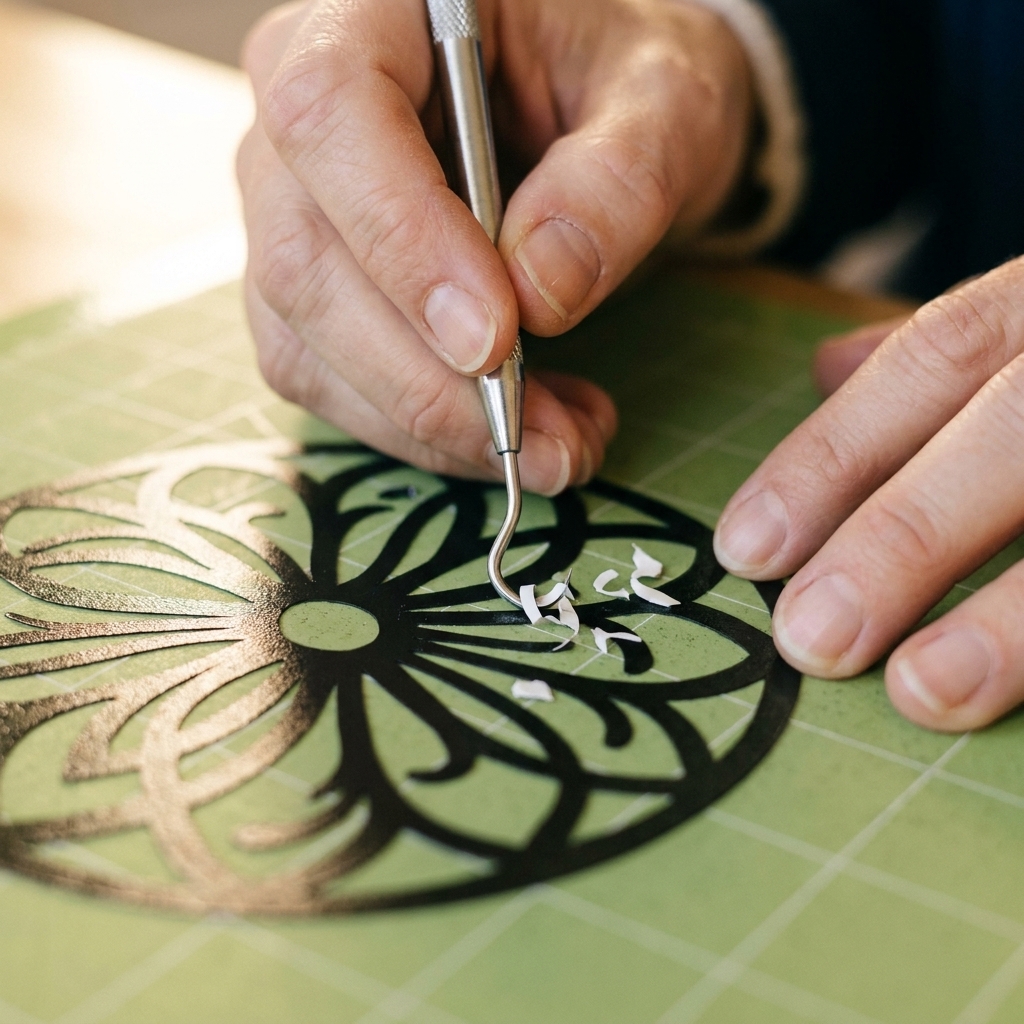
After weeding, leave your decal on its backing. Run your scraper over the vinyl on the backing paper first. This helps the vinyl fully adhere to the liner so it does not lift when the tape goes on.
If your design has lots of skinny text, burnish in multiple directions: up and down, side to side, and diagonals.
Step 2: Cut transfer tape to size
Cut a piece of tape that is about 1 inch larger than your design on all sides. Too small and you will fight edges lifting. Too large and you are managing floppy tape that loves to wrinkle.
Step 3: Make a tape hinge
Most transfer tape has a paper liner on the back. Keep that liner on for now.
Lay the transfer tape over your decal and align it where you want it (liner side down, tape side up). Because the liner is still on, nothing grabs yet, and you can nudge it into position without stress.
When it looks good, tape one long edge of the transfer tape down to the table using a strip of regular masking tape. Now your transfer tape is attached like a flap.
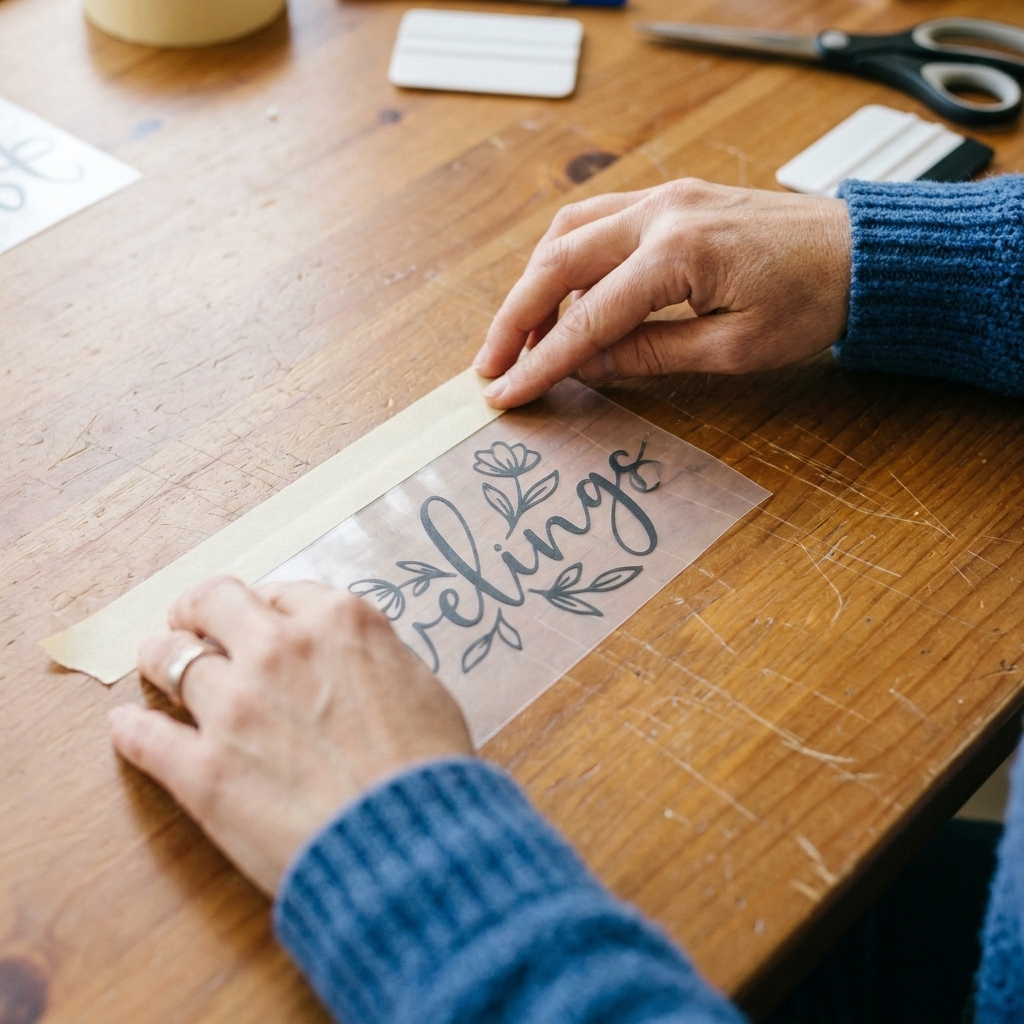
Step 4: Peel the liner and roll the tape down
Lift the transfer tape up using the hinge, like opening a book. With it lifted, peel the paper liner off the transfer tape so the sticky side is exposed.
Then, starting near the hinged edge, begin lowering the tape back down slowly.
Here is the bubble-proof part:
- Hold your scraper at a low angle (almost flat).
- Use firm, steady pressure.
- Work from the hinged edge toward the opposite edge in overlapping passes.
- Let the tape touch down only where you have just burnished.
You are basically forcing the air out ahead of the contact line. If you keep the tape slightly lifted and only allow it to meet the vinyl under the scraper, bubbles have nowhere to hide.
Step 5: Burnish again, then flip and burnish the back
Once the tape is fully applied, burnish the front thoroughly. Then flip the whole decal over and burnish the back of the liner too. This two-sided burnish is what makes small centers of letters (like a, e, o) behave.
Step 6: Let the vinyl release correctly
When you are ready to lift the vinyl off the backing, peel the backing paper away from the vinyl slowly at a sharp angle (almost folding it back on itself). If anything stays stuck to the liner, stop and burnish that spot again from the front and the back.
My no panic fixes for bubbles and wrinkles
If you see a bubble forming mid-application
- Stop immediately. Do not keep squeegeeing over it.
- Lift the transfer tape back up just past the bubble (thanks, hinge).
- Re-apply using the low-angle scraper, overlapping passes.
If the tape is already fully down and you have a small bubble, you can often work it to the edge with firm burnishing strokes. For stubborn tiny bubbles, poking a micro-hole with a fine pin and burnishing outward can help, but I treat that as a last resort for decals where perfection is not critical.
If the tape wrinkles
Wrinkles usually mean the tape touched down too quickly or at an angle.
- Lift the tape back up slowly.
- Pull it gently taut (do not stretch hard, especially with clear tape).
- Re-lay using the hinge and short, controlled squeegee passes.
If the wrinkle has a hard crease, you may need a fresh piece of tape. Creased tape loves to re-crease in the exact same spot.
If letters lift with the tape before you are ready
This is usually a burnish issue or a too-tacky tape issue.
- Burnish the vinyl onto the liner again before applying tape.
- Try a lighter tack tape, or de-tack your tape by sticking it to a clean cotton shirt once.
- Peel the liner away from the vinyl at a sharp angle, not straight up.
Picking the right transfer tape for your vinyl
Transfer tape is not one-size-fits-all. If your tape feels wrong, it probably is for that specific vinyl finish.
Clear grid tape
- Best for: easy alignment, layered decals, placing names straight.
- Watch for: very sticky versions can be aggressive on delicate vinyl, and sometimes on wall decals where you want a gentler release.
Paper transfer tape
- Best for: matte permanent vinyl, larger decals, and situations where you want less static and an easier release.
- Watch for: you cannot see through it, so alignment takes a little more care.
Glitter or textured vinyl
Glitter vinyl often needs stronger transfer tape because the surface is bumpy. If your normal tape will not pick it up, switch to a stronger grip tape made for glitter vinyl or use a more aggressive paper tape and burnish like you mean it.
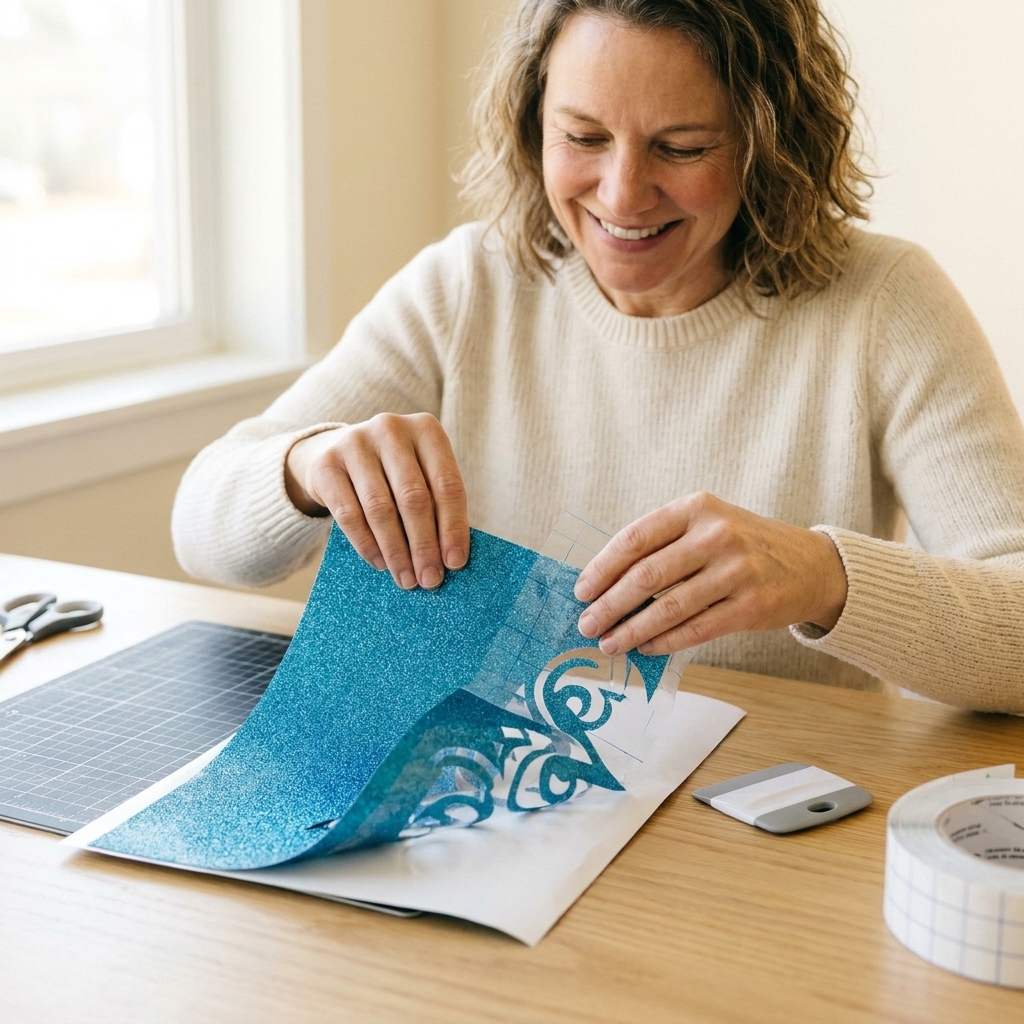
The squeegee motion that works
If you take only one thing from this article, make it this:
- Do not drop the tape flat.
- Keep a moving contact line.
- Push air out in overlapping passes.
I burnish in short strokes, about 3 to 6 inches at a time, overlapping each pass by about a third. I also aim slightly from the center out toward an edge, especially on big decals. That gives air an exit route.
Common situations
Large decals
- Use the hinge method every time.
- Work from the center out to the left edge, then center out to the right edge.
- Do not try to cover the whole thing in one giant swipe.
Super small text
- Burnish the vinyl onto the liner first, then apply tape.
- After taping, flip and burnish the back.
- Peel the liner away slowly at a sharp angle.
Wall decals
Gentler is better. A too-tacky tape can pull paint or stretch thin vinyl during placement. Consider a medium or light tack tape, burnish well, and take your time removing the tape from the wall. Peel the transfer tape back on itself at a low angle.
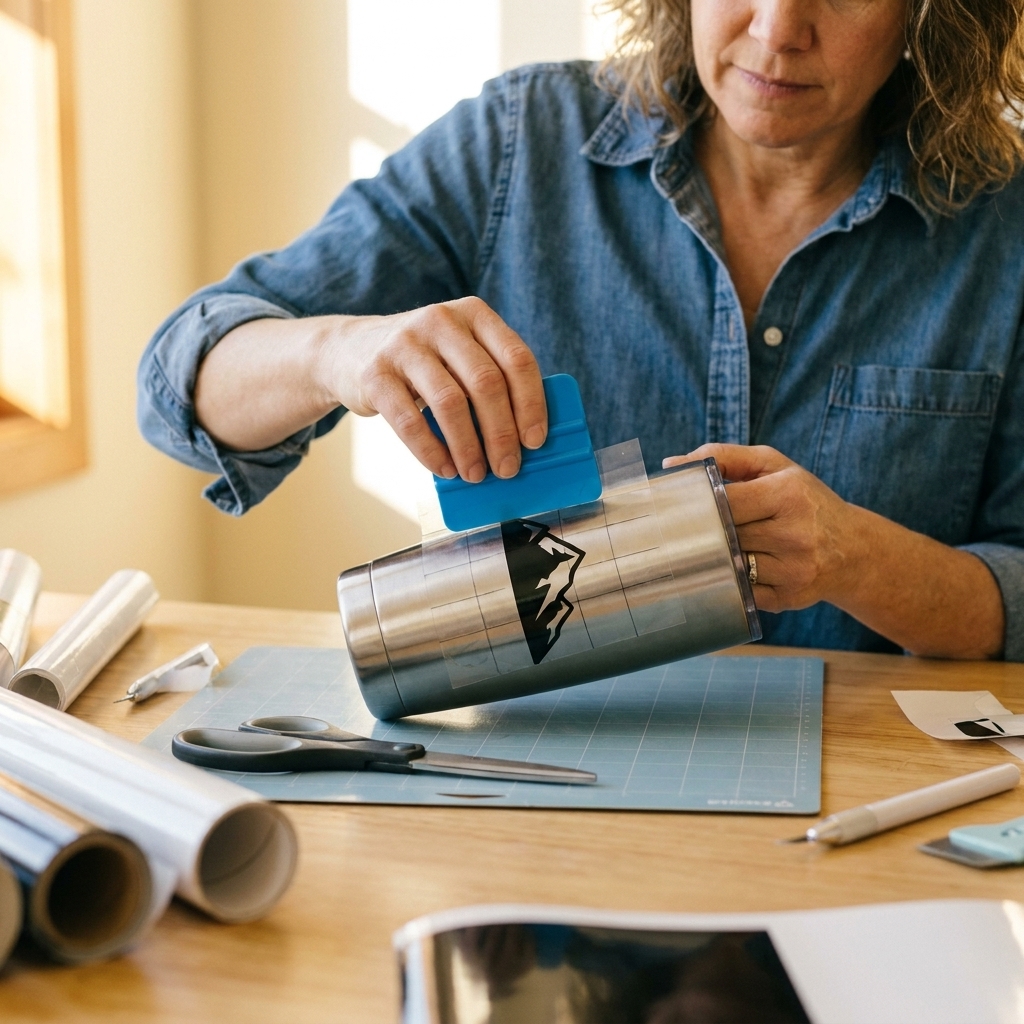
Curved surfaces
- Trim excess tape close to the design so it does not buckle.
- Use small snips around the edges of the tape (not into the design) so the tape can flex.
- Apply from the middle outward, burnishing around the curve in short passes.
Quick troubleshooting FAQ
Do I apply transfer tape fast or slow?
Slow. Speed is what traps air. You want controlled contact and steady pressure.
Why does my transfer tape stick to everything except my vinyl?
Usually the vinyl is not fully adhered to the liner yet, or the vinyl finish is textured. Burnish the vinyl onto the liner first. If it is glitter or heavily textured, use stronger grip tape.
Why is my transfer tape too sticky?
Some tapes are aggressively tacky, especially in warm rooms. De-tack it by pressing it to a clean cotton shirt once, then try again. Or switch to a lighter tack tape for standard permanent vinyl.
Can I reuse transfer tape?
Yes, for many projects. Keep it clean, store it flat, and reuse it until it loses tack or picks up lint. For intricate designs, I prefer fresh tape because it releases more predictably.
Should I use the Cricut scraper tool?
Absolutely. The Cricut scraper works well. I also love a felt-edged squeegee for the final passes because it reduces drag that can cause wrinkles.
A final confidence boost
Transfer tape feels dramatic until you have a routine. Use the hinge. Keep the tape lifted and only lay it down where you are actively burnishing. Peel backing paper away at a sharp angle. Those three habits alone will take you from bubbly chaos to clean, professional-looking decals.
If you want to practice without sacrificing good vinyl, cut a simple rectangle and a few skinny letters from scrap and run through the steps twice. Your hands learn the motion fast, and future-you will be very grateful.