A step-by-step reverse weeding tutorial for detailed adhesive vinyl cuts. Keep small dots and thin text in place, reduce tearing, and transfer cleaner with l...
Maker Vinyl
Updated October 17, 2026
15 Genius Weeding Hacks for Small and Intricate Vinyl Designs
Stop tearing tiny letters and losing dots. These 15 genius weeding hacks make delicate vinyl designs faster to weed, easier to see, and way less stressful.

Harper Davis
Harper Davis is a lifelong DIY enthusiast and cutting-machine expert who loves helping beginners conquer Cricut Design Space. With over six years of experience running a custom vinyl shop, she shares practical tutorials, material guides, and creative inspiration.
If you’ve ever tried to weed a ¼-inch script font and watched the whole word lift like a sad little noodle, welcome. Intricate vinyl designs can be so satisfying when they work, and deeply rude when they don’t.
Over the years in my vinyl shop, I learned that clean weeding isn’t about having “steady hands” so much as stacking the odds in your favor: the right cut depth, the right prep, the right lighting, and a couple sneaky techniques that feel like magic once you try them.
Quick note so nobody gets led astray: these tips are written for adhesive vinyl (the kind you use with transfer tape). If you’re using HTV (heat transfer vinyl), you’ll still benefit from the lighting and slow-peel tricks, but the carrier sheet changes the workflow.
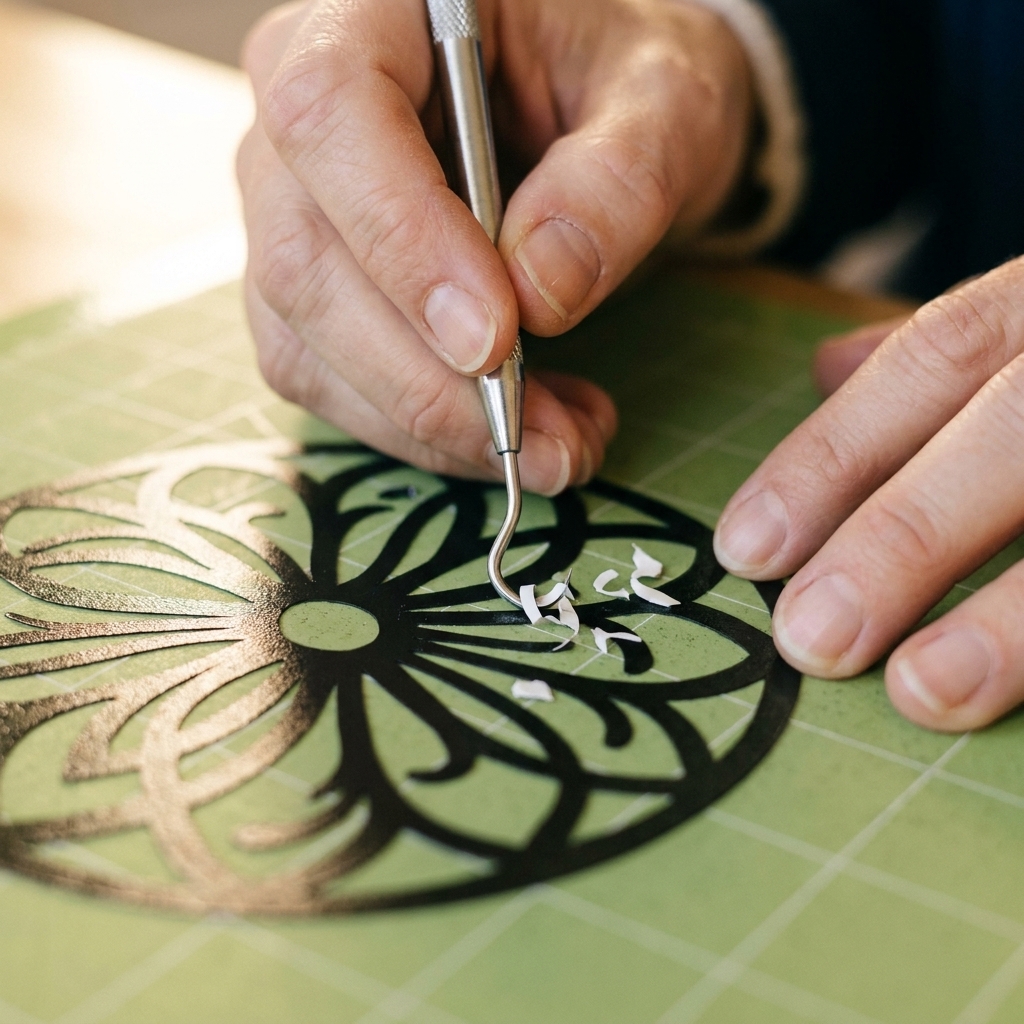
Here are my favorite weeding hacks for small letters, thin lines, and those tiny dots that love to disappear.
Before you weed
Most weeding problems start earlier than the weeding step. Do these quick fixes first, and you’ll save a ton of time.
1) Do a tiny test cut
I know, I know. You just want to cut the project. But a small test cut (even a ½-inch square with a triangle inside) tells you if the blade is cutting through the vinyl layer cleanly without chewing up the liner.
- If weeding feels “stringy”: bump pressure up slightly or try one more pass.
- If the backing paper is scored deeply: lower pressure or switch to a lighter material setting.
Small changes go a long way here. More pressure or extra passes can help, but they can also make the liner harder to work with if you overdo it.
2) Use the right mat tack
For intricate cuts, I usually prefer a StandardGrip (medium-tack) mat that’s sticky enough to hold detail, but not so sticky that peeling the vinyl off later causes curling and lifting. If your mat is brand new and super aggressive, press a clean cotton t-shirt on it once or twice to calm it down.
3) Burnish before you weed
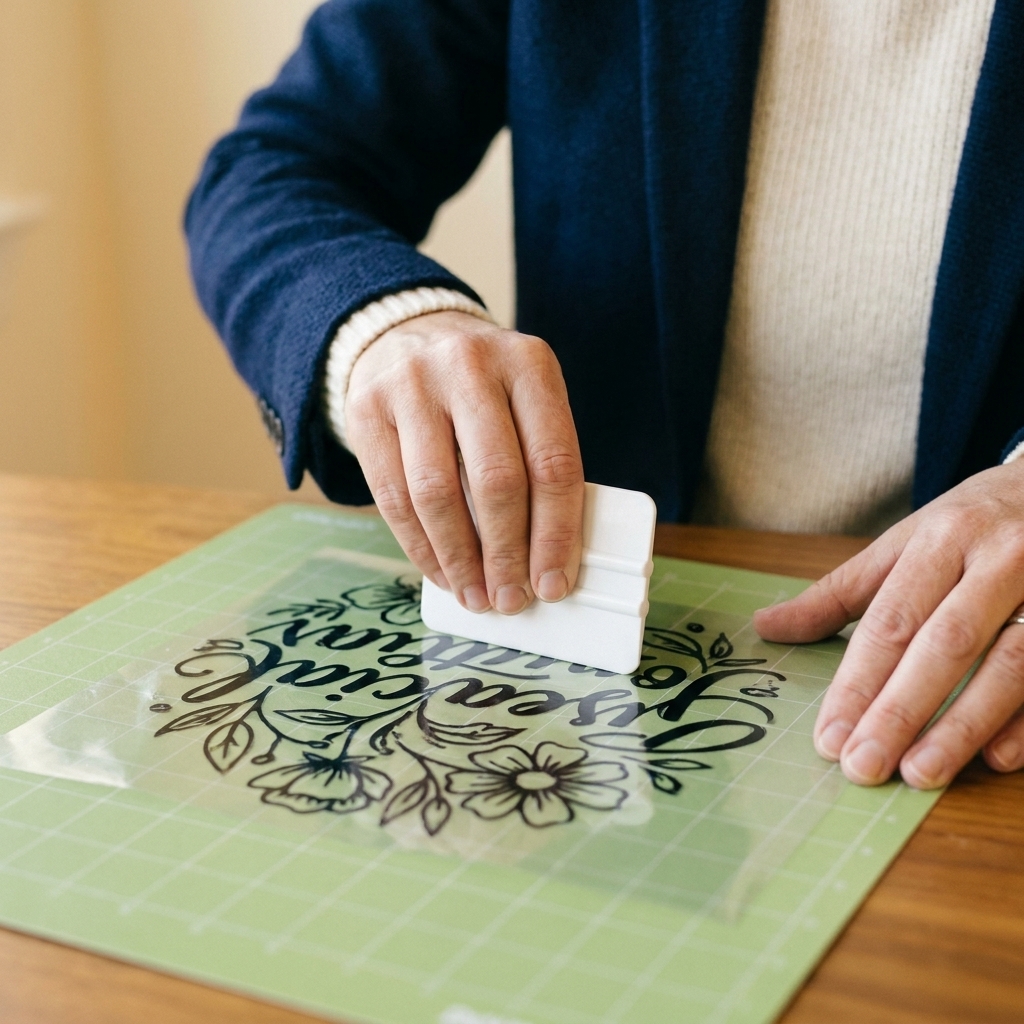
This one feels backwards, but it helps the cut vinyl stay flat on the liner. Use a scraper, an old gift card, or a brayer and press firmly across the whole design. For tiny fonts, I’ll burnish in two directions.
4) Weed on a hard surface
A soft surface lets the liner flex, and flexing is what makes tiny cuts lift. A desk, table, or even a big cutting board gives you cleaner separation.

15 weeding hacks for tiny details
Pick two or three of these to start. Once you find your groove, intricate weeding starts feeling less like a battle and more like a satisfying peel.
1) Reverse weed tiny text
Reverse weeding means you apply transfer tape first, then weed away the extra vinyl while your design is held in place by the tape. It’s my go-to for small lettering and anything with lots of interior pieces.
- Burnish the transfer tape onto the cut vinyl.
- Flip the whole thing over, then peel the liner back at a low angle while keeping the tape and design flat.
- Now weed the excess vinyl from the front, with the tape supporting your letters.
2) Add a weeding box
In Cricut Design Space, add a simple rectangle around your design and set it to Cut. This creates a clean border that gives you a starting edge and keeps you from accidentally weeding into the next part of the mat.
Not on Cricut? Same idea applies: most cutting software lets you draw a rectangle and cut it as a border.
For super intricate projects, I’ll add smaller boxes around sections too, so I can weed in chunks.
3) Use the hinge method
Instead of ripping off a huge sheet of excess in one go, peel it back slowly and keep one corner attached like a hinge. This keeps tension gentle and reduces surprise lifting.
4) Weed center first
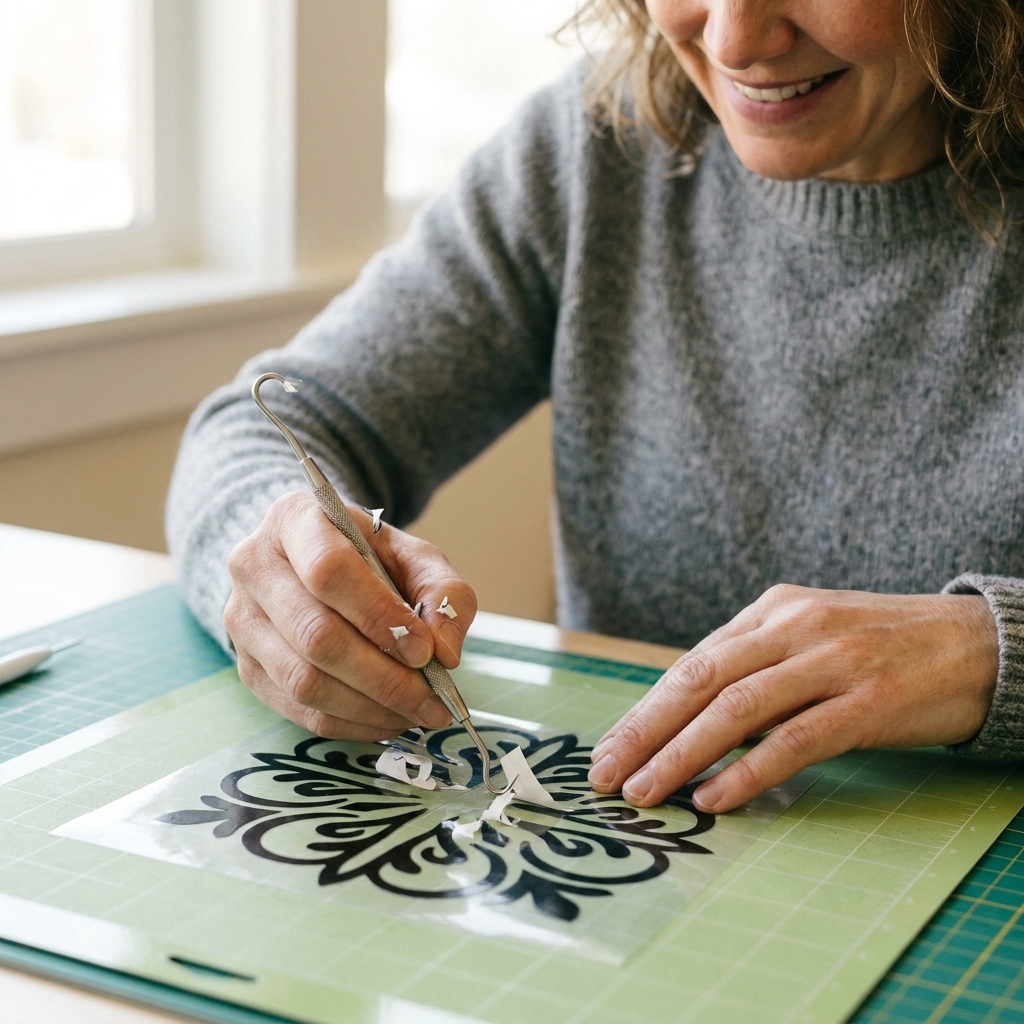
When a design has lots of tiny islands (like script words with loops), I start by removing the smallest inside pieces first. Then I work outward. That way, you’re not tugging on delicate sections after they’re already exposed.
5) Switch to angled tweezers
A hook is great for general weeding, but angled tweezers give you more control for tiny centers (like the inside of an “e” or the dot in a “j”). You can pinch and lift without dragging the vinyl.
6) Use a pin for micro-dots
When you’re weeding confetti-sized bits, a fine-point tool can be gentler than a bulky hook. I keep a straight pin in my tool cup for stubborn specks.
7) Turn on a light pad
Seeing the cut lines clearly is half the battle. A light pad under your mat makes cut lines pop, especially on glitter vinyl, holographic vinyl, and darker colors.
No light pad? Angle a desk lamp so the light grazes the surface. Side lighting makes the cut lines cast tiny shadows you can follow.
8) Peel at a low angle
Pulling vinyl straight up invites stretching. Instead, keep your excess vinyl close to the surface and pull back at a low angle. Think “peeling a sticker slowly,” not “lifting tape off a box.”
9) Use your non-dominant hand
Your non-dominant hand does most of the work here. Mine is my left. I gently hold the liner flat and keep the piece from shifting while my other hand picks. If the liner starts to bend, stop and flatten everything again.
10) Slice waste into strips
If you’re removing a big area of excess around delicate text, cut the waste vinyl into manageable strips using a craft knife or the tip of your weeding tool (carefully). Smaller pieces create less pull on tiny elements.
11) Warm it slightly (carefully)
A little warmth can make some vinyl more cooperative, especially in a chilly craft room. In my experience, warming the vinyl for 10 to 20 seconds with a hair dryer on low, held at a distance, can help. You want it just slightly more flexible, not soft or wavy.
Safety note: test on a scrap first, and keep heat away from anything that can warp, melt, or get weird when warmed. If you’re working with HTV, be extra cautious with heat since the carrier sheet and adhesive can react differently.
12) Chill it briefly if it’s stretchy
If your vinyl is stretching while you weed, flip the script and cool it. A quick 1 to 2 minute rest near an AC vent or in a cooler room can firm things up. Timing varies by brand and thickness, so treat this as a quick experiment, not a law of physics.
13) Poke and lift
When you poke with your tool, lift just enough to grab an edge, then switch to a slow peel. Dragging your tool along cut lines is how you accidentally snag a serif and ruin your whole mood.
14) Keep hands clean
Tiny details love to stick to your fingers. If you’ve got lotion on, or you’ve been snacking (no judgment), your vinyl will pick up oils and lint and get harder to handle. Quick fix: wash and dry your hands, and wipe your table down.
15) Make it bigger or bolder
This is the “I give you permission” hack. Some fonts are gorgeous on screen and miserable in vinyl at small sizes. If you’re fighting the same design over and over, try:
- Choosing a thicker weight (or making the text bolder)
- Increasing letter spacing slightly
- Sizing up even 10 to 20 percent
- Welding script so letters connect cleanly
Common problems
Small letters lift with the waste
- Try reverse weeding.
- Reduce pull by cutting waste into strips.
- Check your cut. If it isn’t fully through the vinyl layer, add a touch more pressure or an extra pass.
You can’t see the cut lines
- Use a light pad or side lighting.
- Move to a high-contrast workspace (a white table helps with dark vinyl).
- Make sure your blade is clean. A little debris can cause incomplete cuts that are hard to spot.
The liner is tearing
- Lower pressure or switch to a lighter material setting.
- Replace the blade if it’s been cutting glitter materials lately. Glittery stuff dulls blades faster.
- Make sure the vinyl is flat on the mat with no bubbles.
Weeding is fine, but applying is a mess
That’s usually a transfer tape issue more than a weeding issue. For small intricate decals, I’ll grab a less-sticky tape so the vinyl releases cleanly onto the surface.
Paper tape vs clear tape can both work, but the real trick is tack level: look for low-tack or “delicate surface” options for fussy little designs, and test on a small corner of your target surface if you can.
My tiny vinyl workflow
If you want a simple routine you can repeat, here’s my default for delicate decals:
- Test cut
- Add a weeding box
- Burnish before weeding
- Weed centers first
- Reverse weed for small text
- Use angled tweezers for the tiniest bits
- Peel waste back slowly and keep it low
FAQ
What’s the easiest way to weed tiny letters?
In my experience, reverse weeding plus a weeding box is the fastest, least rage-inducing combo. The transfer tape holds everything in place so you can remove the surrounding vinyl without pulling up your letters.
Should you weed on the mat or off the mat?
For intricate designs, I weed on the mat most of the time. The mat supports the liner so it doesn’t flex, which helps tiny pieces stay put. I’ll only weed off the mat if the mat is overly sticky and curling the vinyl.
Do you need special weeding tools?
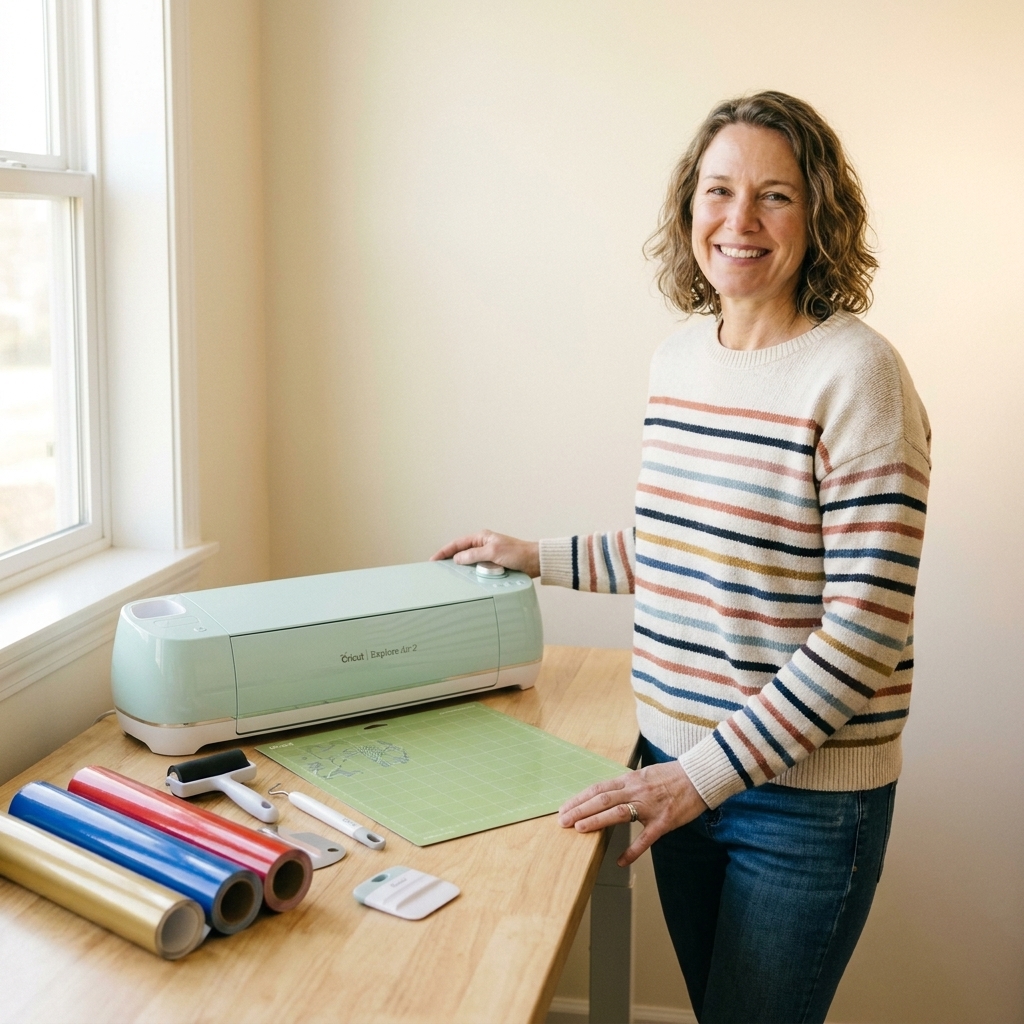
You don’t need anything fancy, but having two tools helps: a standard weeding hook for general work and angled tweezers for micro-details. Good lighting often matters more than a pricey tool.
One last pep talk
If intricate weeding makes you feel like you’re “bad at vinyl,” you’re not. You’re just hitting the part of crafting where setup and technique matter more than enthusiasm. Try two hacks from this list on your next cut, and you’ll feel the difference immediately.
And if you want the most practical advice I can give: don’t be afraid to recut. Even in my shop days, the pros recut. The goal is a finished project you love, not suffering through one stubborn piece of vinyl to prove a point.