From reverse weeding to better cut settings, these beginner-friendly hacks help you weed tiny vinyl details without stretching, ripping, or losing your mind.
Maker Vinyl
Updated October 17, 2026
Reverse Weeding Intricate Vinyl Designs
Stop losing tiny letters, dots, and centers. Learn reverse weeding step by step for intricate adhesive vinyl designs, plus transfer tape tips, surface prep, lighting, and troubleshooting.

Harper Davis
Harper Davis is a lifelong DIY enthusiast and cutting-machine expert who loves helping beginners conquer Cricut Design Space. With over six years of experience running a custom vinyl shop, she shares practical tutorials, material guides, and creative inspiration.
If you have ever weeded a super detailed vinyl design and watched the dot on an “i” disappear into the carpet forever, you are my people. Reverse weeding is the technique that finally made tiny text and delicate flourishes feel doable in my shop. Instead of peeling away the “extra” vinyl first and hoping your small pieces behave, you put transfer tape down before weeding so your design stays supported the whole time.
This tutorial is for adhesive vinyl (permanent or removable) and works beautifully with intricate fonts, small decals, layered designs, and anything with lots of little islands.
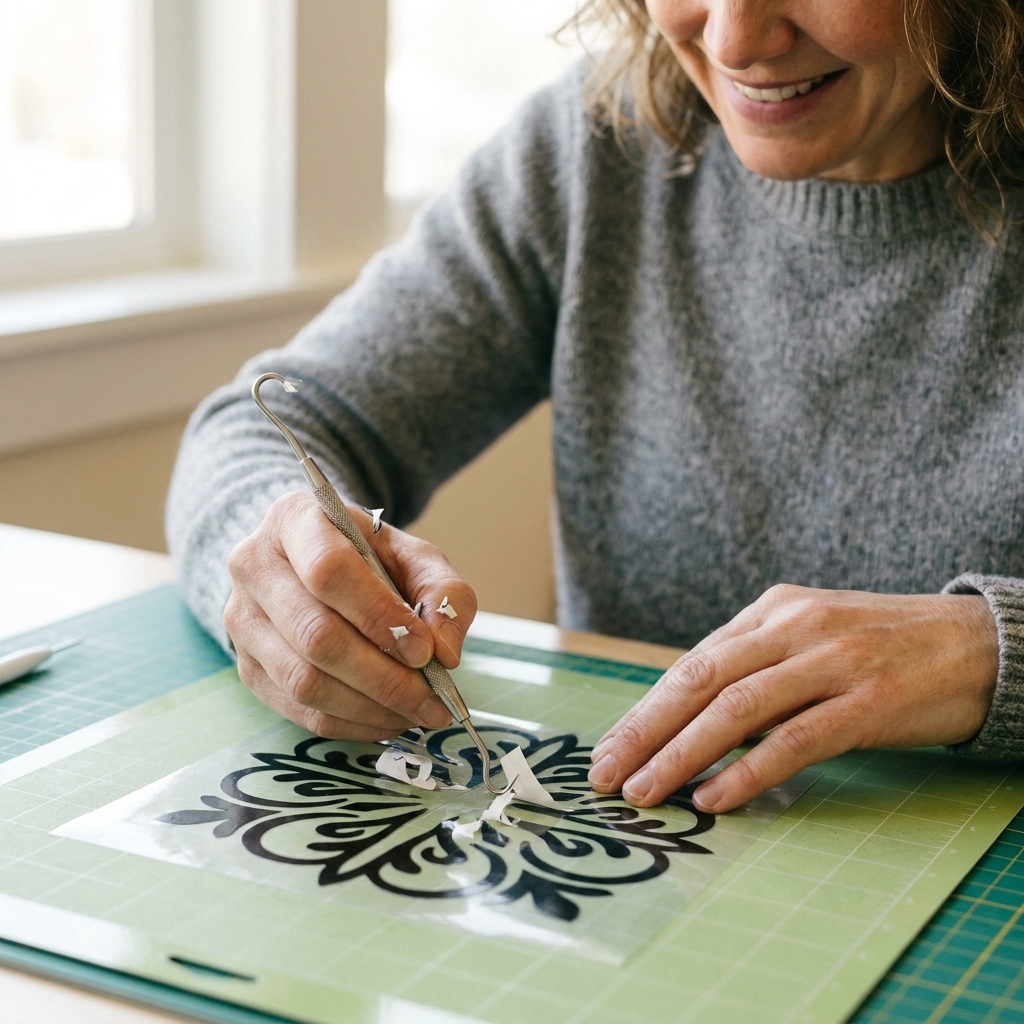
What it is (and why it helps)
Reverse weeding means you apply transfer tape to your cut vinyl before you weed. The tape holds your tiny pieces exactly where they belong while you pull away the background vinyl around them.
- Tiny letters stay put. The tape acts like a “third hand” holding thin strokes and serif details.
- Centers do not lift. Those little inside pieces (like “a,” “e,” “o,” “R”) are less likely to come up accidentally.
- Less stretching and distortion. Especially helpful on thin permanent vinyl that loves to tug and warp.
- Cleaner transfers. Because everything is already on the tape, you do not fight to pick up micro pieces after weeding.
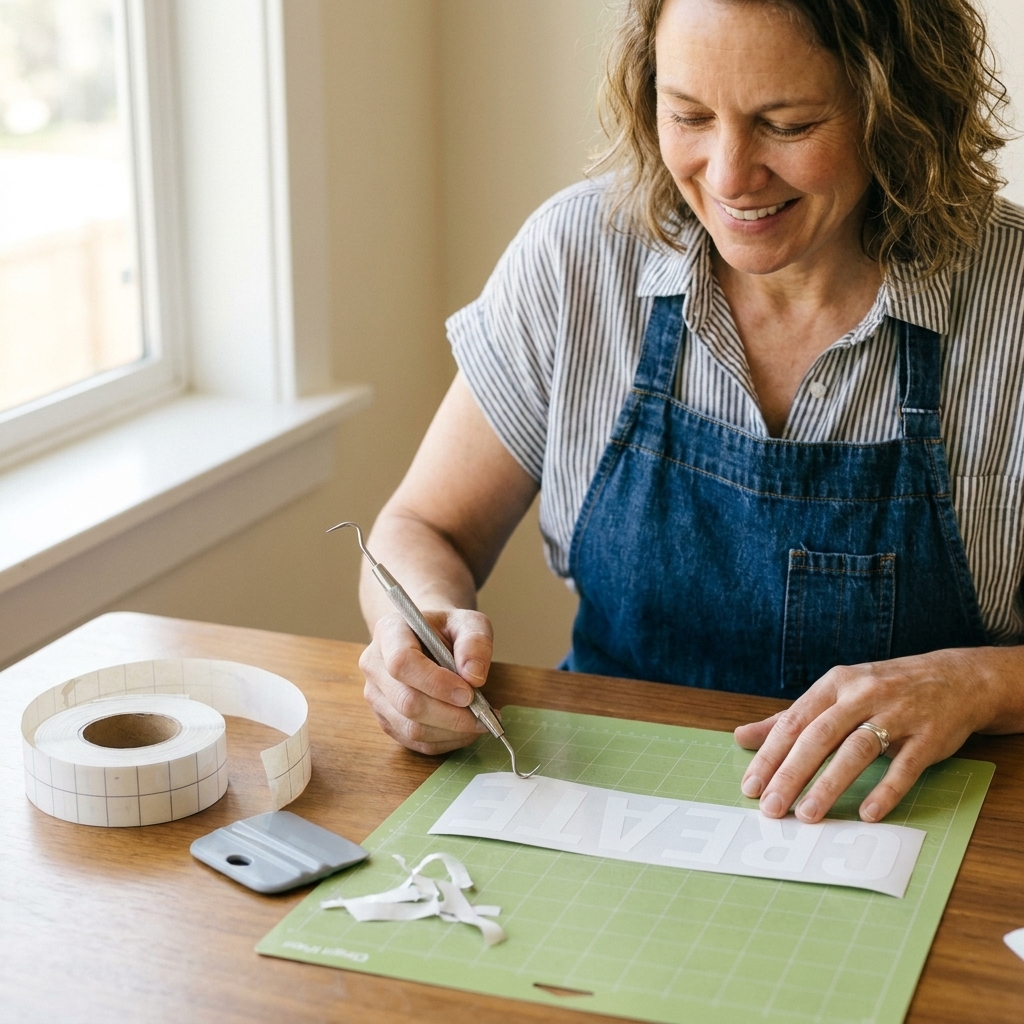
Supplies you will need
- Cut adhesive vinyl (permanent or removable)
- Transfer tape (clear grid transfer tape is my favorite for alignment)
- Scraper/squeegee (Cricut scraper or an old gift card works)
- Weeding tool (hook tool, needle tool, or precision tweezers)
- Good lighting (bright desk lamp or a light pad is a game changer)
- Optional: parchment paper (for taming extra sticky tape), brayer/rolling pin (for burnishing), painter’s tape (to hinge your tape)
Before you start
1) Keep vinyl on the mat
For intricate designs, keep your vinyl on the cutting mat while you do the reverse weeding steps. The mat adds stability so thin lines do not flop around.
2) Pick the right tape tack
Transfer tape comes in different stickiness levels. For small text, you want tape that grabs well, but not so aggressively that it distorts the vinyl.
- Too sticky: vinyl stretches, small pieces lift too hard, or it is difficult to release onto your project.
- Not sticky enough: the tiniest bits stay behind on the backing paper.
If your tape is overly sticky, press it to a clean cotton T-shirt once or twice to reduce tack.
Clear vs. paper tape: Clear grid tape makes alignment easy (especially for layered decals). Paper transfer tape can be nicer when you need an easier release on fussy vinyl or curved surfaces. If you are fighting one type, try the other before you give up on the whole project.
3) Dial in your cut settings
This is not required for reverse weeding, but it helps. Intricate designs weed better when your cut is clean and consistent.
- Use a fresh fine-point blade if your cuts look ragged.
- Do a test cut whenever you switch vinyl brands.
- If corners are tearing, do not assume you need more pressure. Try a test cut and adjust pressure up or down, and double-check your material setting and blade condition.
Reverse weeding steps
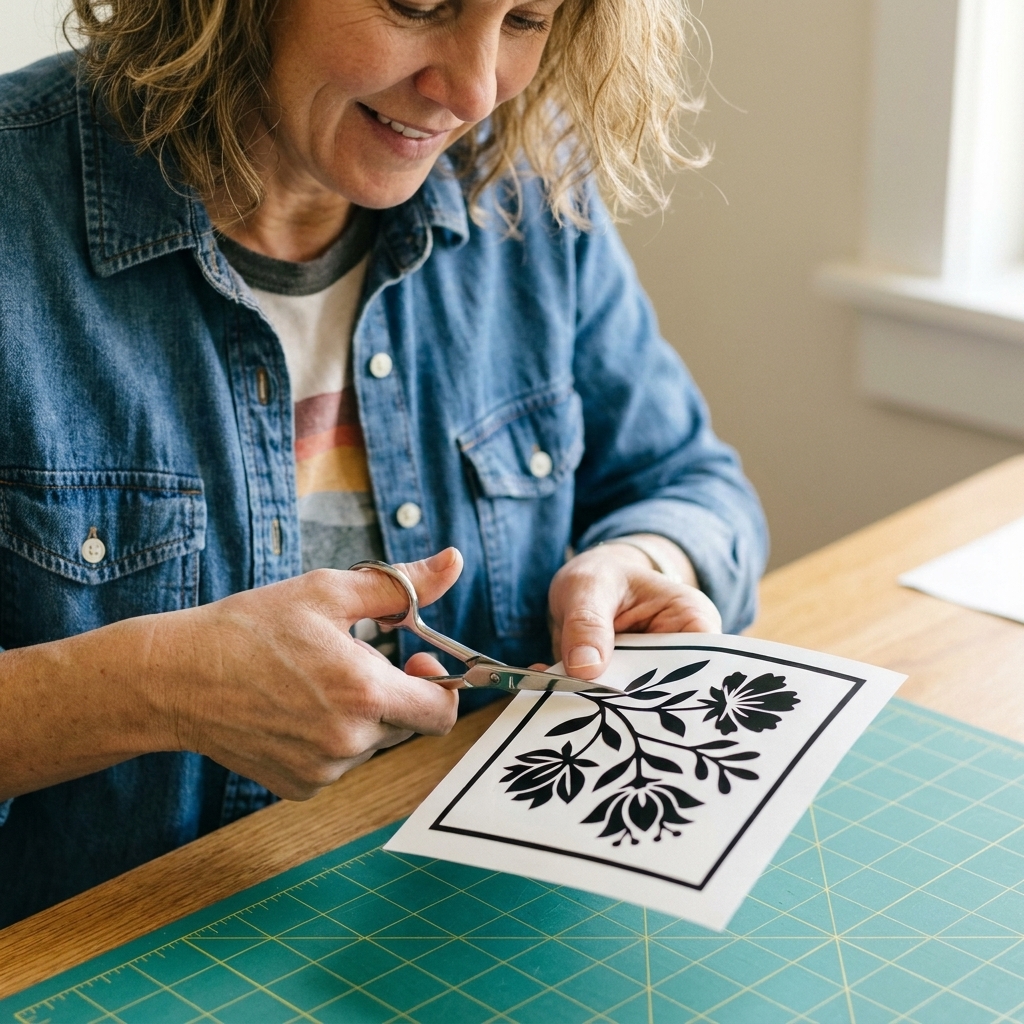
Step 1: Trim your design
Trim around the design leaving about 0.25 to 0.5 inch of margin. Smaller pieces are easier to handle and burnish evenly.
Do not peel the backing yet.
Step 2: Apply transfer tape
Cut a piece of transfer tape slightly larger than your trimmed vinyl. Lay it down from one side to the other to avoid bubbles.
My no-bubble trick: Hold the tape in a gentle curve like a taco, touch down one edge first, then lower it slowly while you smooth with your scraper.
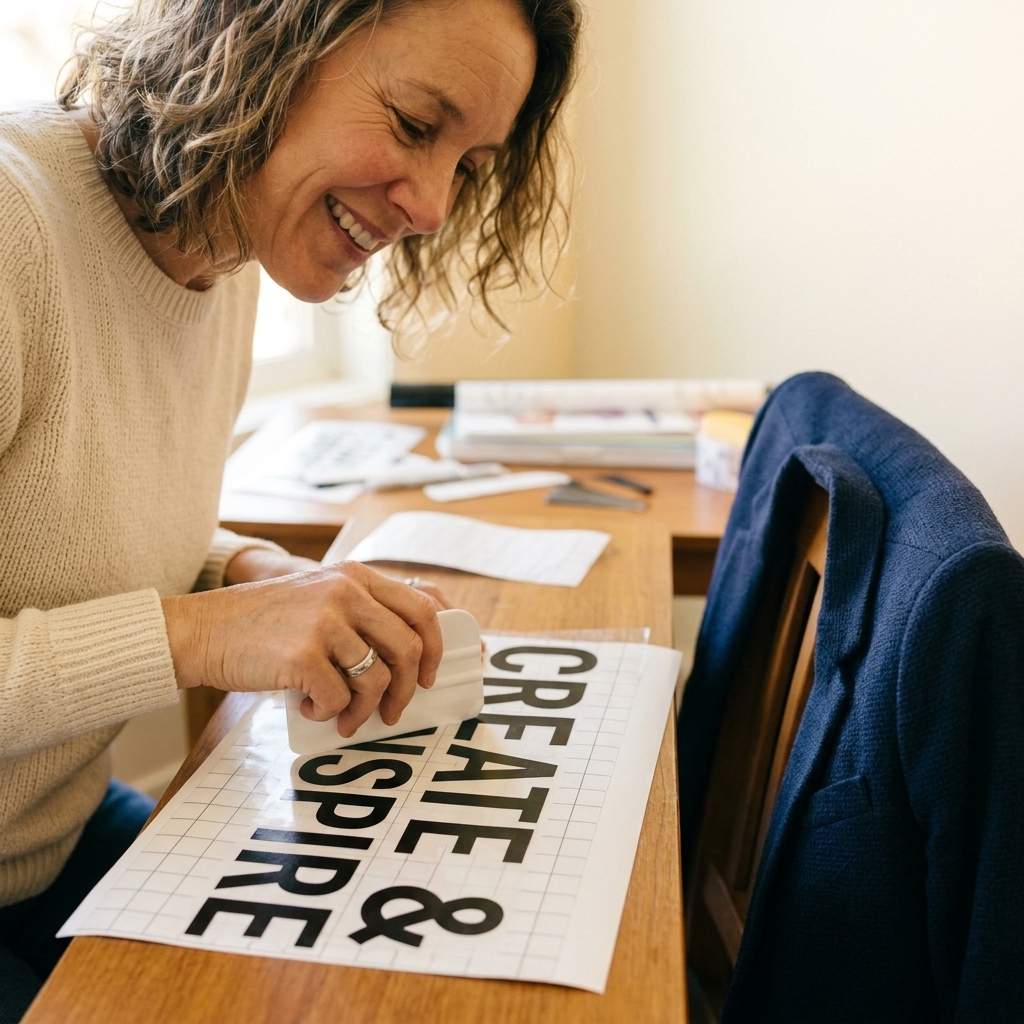
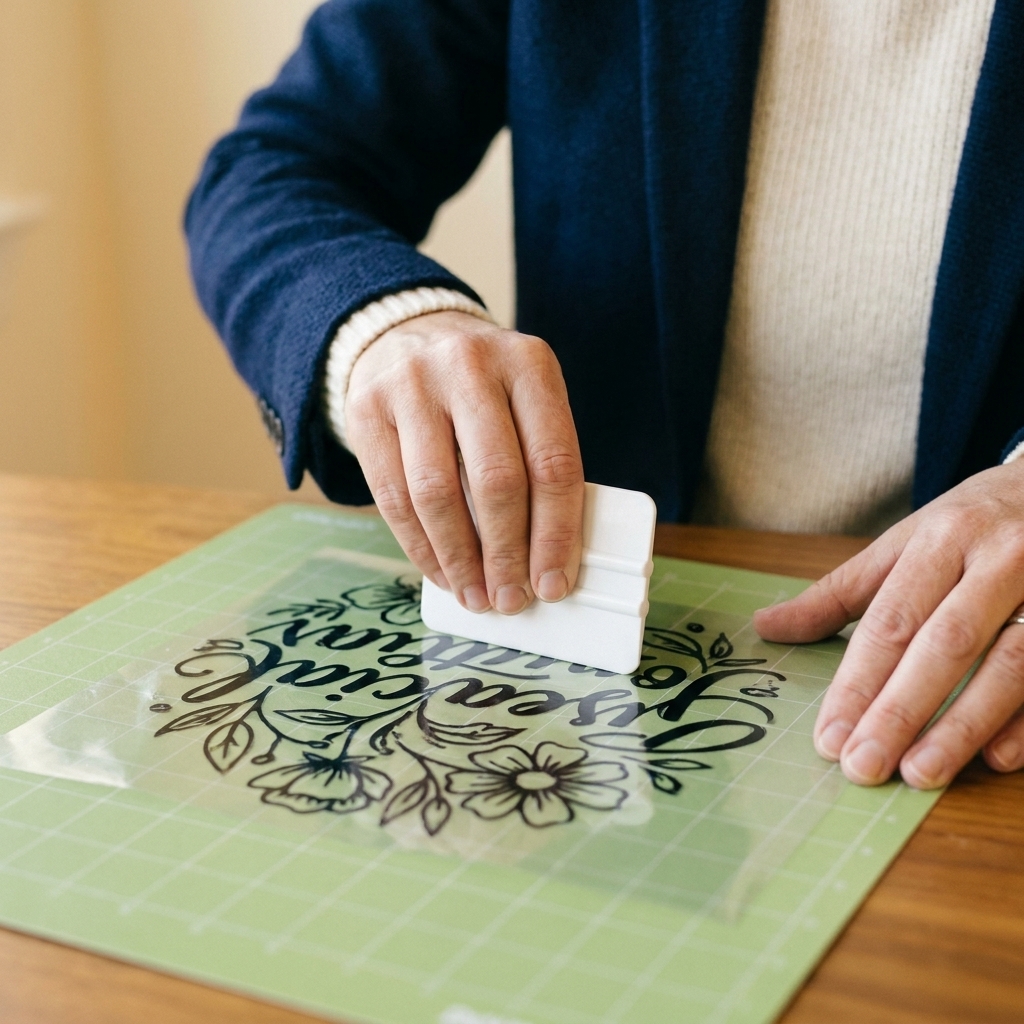
Step 3: Burnish well
This is the part people rush, and it is exactly why tiny details fail. Burnish firmly across the whole design, then burnish again from another direction.
- Press the scraper over small letters and thin lines with extra attention.
- If the design is super delicate, burnish with the flat side of a scraper rather than the edge to reduce snagging.
Step 4: Flip the sandwich
Flip your piece over so you are looking at the paper backing. The transfer tape is now on the bottom, and it is supporting the design while you separate the backing away.
This is the magic. You are about to peel the backing away, and the cut vinyl should stay with the tape.

Step 5: Peel the backing paper
Starting at one corner, peel the backing paper back low and slow, keeping it as close to “back on itself” as you can (roughly 150 to 180 degrees, not straight up).
Go slowly and watch the vinyl. If any part of the design wants to stay on the backing, stop and burnish that spot from the back (through the paper backing) with your scraper, then continue peeling.
- Do not yank. Yanking is how you stretch tiny letters.
- Use tension, not force. The angle does the work.
Step 6: Weed the background
With your design now on the transfer tape, use your weeding tool to lift a corner of the background vinyl (the part you do not want), then peel it away.
At this point, the adhesive side of your decal is exposed and facing up, so try not to touch it with your fingers.
Tip from my shop: On very intricate decals, I like to weed in sections. Peel a little, pause, and cut away the excess with scissors so a giant floppy sheet does not drag across your design.
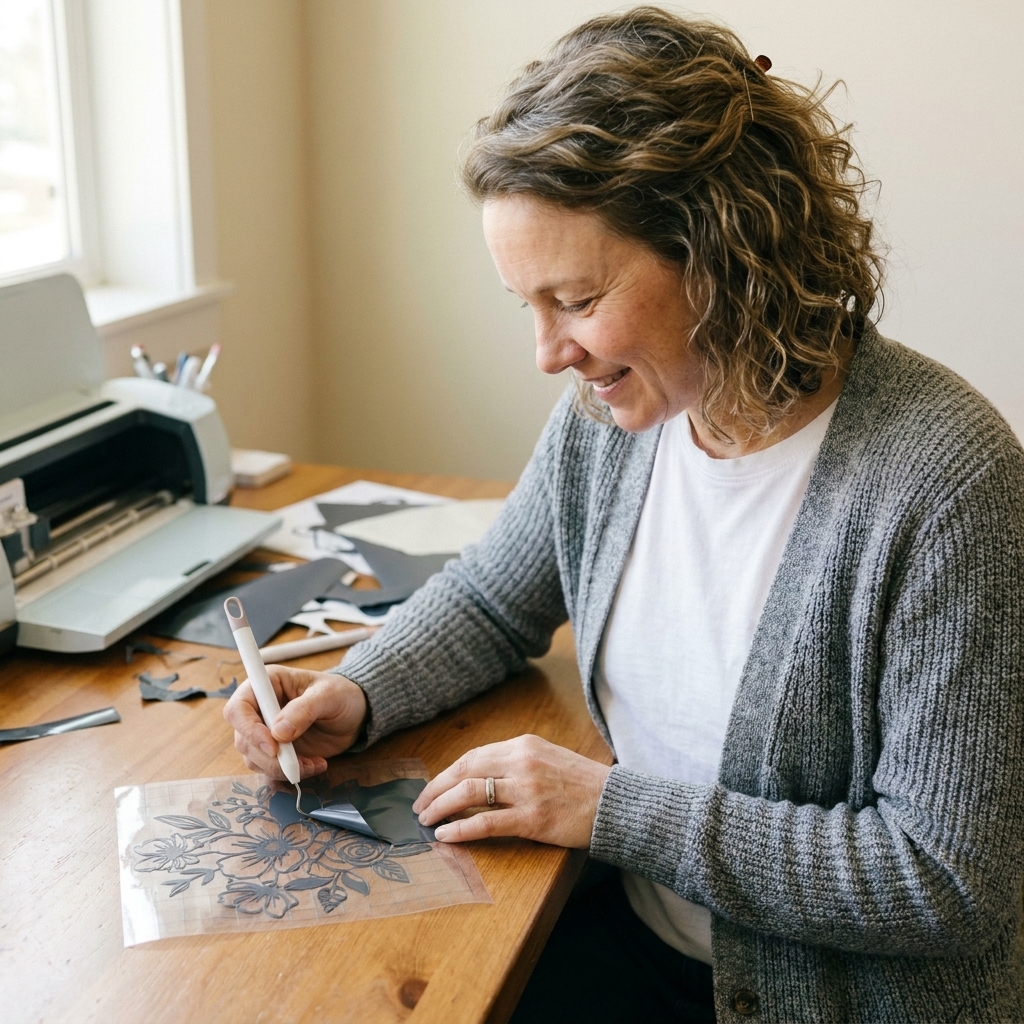
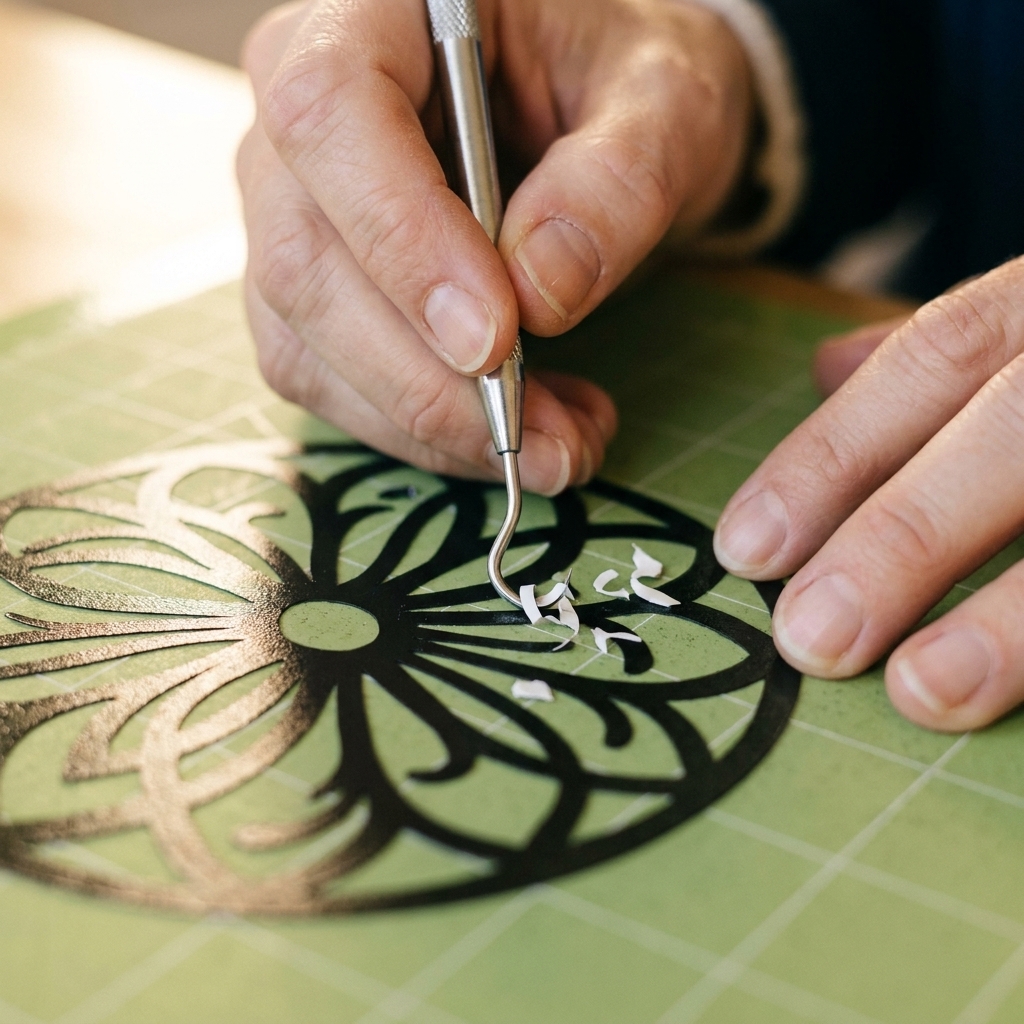
Step 7: Weed the tiny centers last
Use a pin or fine weeding hook to remove the small centers inside letters and shapes.
- Work in a bright light and keep your tool nearly parallel to the surface.
- If you accidentally pull up a tiny piece, place it back down and press it into the tape with the tip of your tool or tweezers.
Step 8: Final burnish
After everything is weeded, burnish the front again. This makes sure every micro detail is fully bonded to the tape.
At this point your decal is ready to apply to your blank surface using your usual transfer method.
Apply the decal cleanly
Prep your surface
Clean your blank so the smallest pieces have a fighting chance. For glass, metal, plastic, and sealed surfaces, I like to wipe with isopropyl alcohol and let it fully dry. (Skip alcohol on materials that can discolor or soften.) Dust and skin oils are sneakier than bad cut settings.
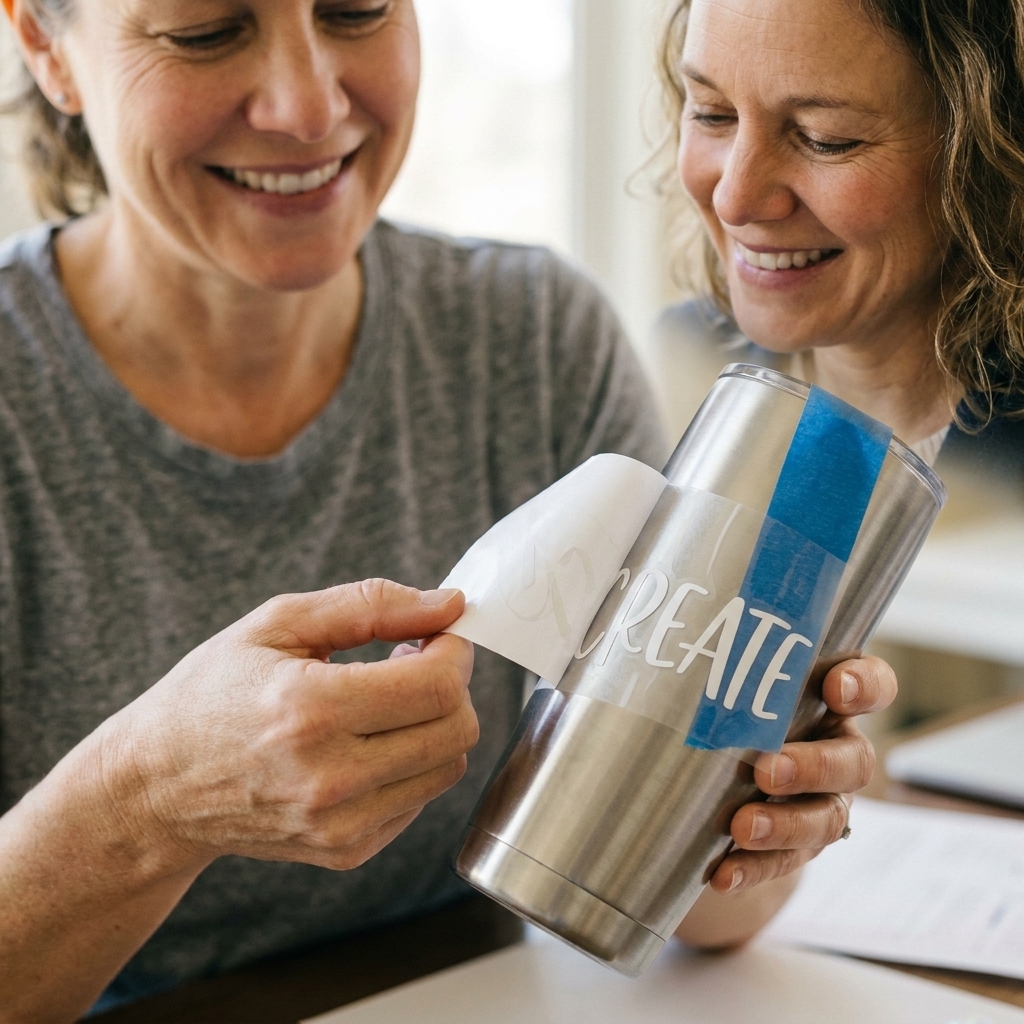
Use the hinge method
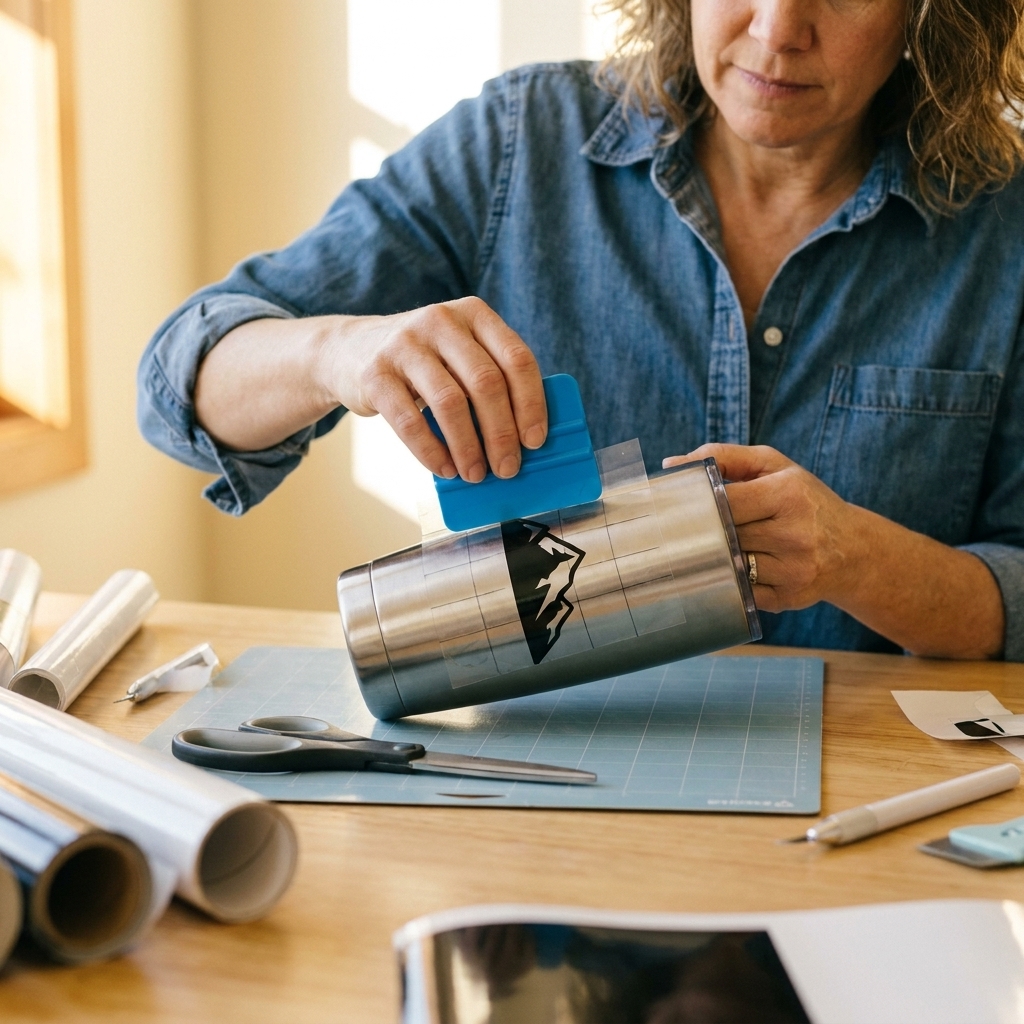
Place the taped decal where you want it (still on its transfer tape). Use painter’s tape along the top edge like a hinge. Flip it up, remove the backing paper, then flip it back down and squeegee from the center outward.
Remove transfer tape slowly
Peel the transfer tape away back on itself at a low angle. Go slowly so small letters stay on the surface.
If anything lifts, lay the tape back down, burnish, and try again.
When reverse weeding helps most
- Small text (as a rule of thumb, anything under about 0.4 inch tall often benefits, depending on the font and vinyl)
- Script fonts with thin connectors
- Detailed mandalas, snowflakes, lace patterns, floral line art
- Logos with tiny cutouts
- Decals with lots of islands (floating pieces inside other shapes)
My favorite tips
Cut a weed box
If your design is surrounded by a big sheet of vinyl, use your weeding tool or a craft knife to gently cut a box around the design through the vinyl only (not the backing paper). It gives you a clean edge to start peeling the negative.
Use a self-healing cutting mat, take your time, and always cut away from your hands.
Warm room, warm hands
Cold vinyl can feel stiff and more likely to snap. Room-temp materials weed more smoothly. I do not recommend blasting it with heat, but a comfortable workspace helps a lot.
Use a light pad for dark vinyl
Intricate cuts are hard to see on black, holographic, or glitter adhesive vinyl. A light pad underneath the mat makes cut lines pop so you can weed confidently.
Go easy on glitter
Glitter vinyl has texture, and aggressive scraping can catch edges. Use firm pressure, but keep your scraper flatter and smoother.
Troubleshooting
The vinyl will not stick to the tape
- Burnish harder, then burnish from the back side (through the paper backing) before peeling.
- Switch to a slightly higher tack transfer tape.
- Make sure your hands and surface are clean. Oils can reduce adhesion.
- If your vinyl is textured (like glitter), use a transfer tape made for textured vinyl.
- If you are using clear tape and it feels too aggressive or too stubborn to release, try paper transfer tape.
The design lifts or stretches when I peel the backing
- Peel the backing lower and slower.
- Reduce transfer tape tack by patting it on a shirt.
- Your cut might be too deep. If the blade is cutting into the backing, it can cause drag and tearing.
- If the cut is not going through cleanly, a tiny pressure increase or a fresh blade can make all the difference. Test cut first.
Tiny centers are missing after weeding
- Check your negative vinyl sheet. The centers often stick to it and can be rescued.
- Next time, weed centers last and use brighter lighting.
- Consider slightly increasing font size or using a thicker font for very small decals.
The decal transfers, but small pieces stay on the tape
- Burnish the decal onto the surface more firmly before removing tape.
- Peel the tape slowly at a sharper angle back on itself.
- Surface prep matters. If you skipped cleaning, try again on a wiped and fully dry surface.
- If your surface is textured (like powder-coated tumblers), use more pressure and go slower. Some textures simply need larger, bolder designs for reliable results.
Reverse vs regular weeding
Regular weeding
- Weed first, tape after
- Fast for simple shapes and chunky fonts
- Riskier for tiny details
Reverse weeding
- Tape first, weed after
- Slower setup, but fewer disasters
- Best for intricate designs and small text
FAQ
Can I reverse weed HTV (iron-on)?
Not in the same way. HTV uses a carrier sheet already, which is basically built-in support. The better move for intricate HTV is usually: mirror your design, weed with good lighting, and keep a sticky lint roller nearby for tiny scraps.
Do I reverse weed on the mat or off the mat?
For intricate adhesive vinyl, I prefer on the mat for stability. For larger, less delicate decals, you can do it off the mat once it is taped.
What transfer tape is best?
A clear grid tape in a medium tack is a great all-around choice. If you regularly work with glitter or textured vinyl, keep a roll designed for textured materials on hand. If release is your main issue, paper transfer tape is worth trying.
Is reverse weeding only for Cricut?
Nope. This works with Silhouette, Siser cutters, Brother ScanNCut, and basically any machine that cuts adhesive vinyl. The technique is all about the order of operations, not the brand.
One last pep talk
Reverse weeding feels a little backwards the first time you try it, but once you see your tiny dots and delicate letters stay exactly where they belong, you will be hooked. Go slow, burnish well, and do not be afraid to pause and re-burnish mid-peel. Intricate vinyl work is not about speed. It is about control.
If you want to practice, start with a small name decal in a script font and work your way down in size. Your future self will thank you, and your carpet will stop stealing the dot of every “i.”