A beginner-friendly, step-by-step guide to applying permanent vinyl on curved drinkware: sizing, cutting, weeding, transfer tape, alignment, and aftercare ti...
Maker Vinyl
Updated October 17, 2026
Perfectly Aligned Pantry Labels
Create pantry organization labels that line up perfectly every time. Learn Cricut Design Space template sizing, Smart Vinyl basics, and the hinge method with transfer tape for clean, consistent placement.

Harper Davis
Harper Davis is a lifelong DIY enthusiast and cutting-machine expert who loves helping beginners conquer Cricut Design Space. With over six years of experience running a custom vinyl shop, she shares practical tutorials, material guides, and creative inspiration.
If you have ever stepped back after labeling your pantry and thought, “Why do these look like they were applied during an earthquake?” you are in the right place. Perfectly aligned labels are not about having steadier hands. They are about using a few repeatable systems in Cricut Design Space and a placement method that does the straightening for you.
Below, I will walk you through the exact workflow I use in my own kitchen and when I am doing batches for customers: Design Space templates for consistent sizing, Smart Vinyl basics for cleaner cuts, and the hinge method with transfer tape for smooth, straight placement.
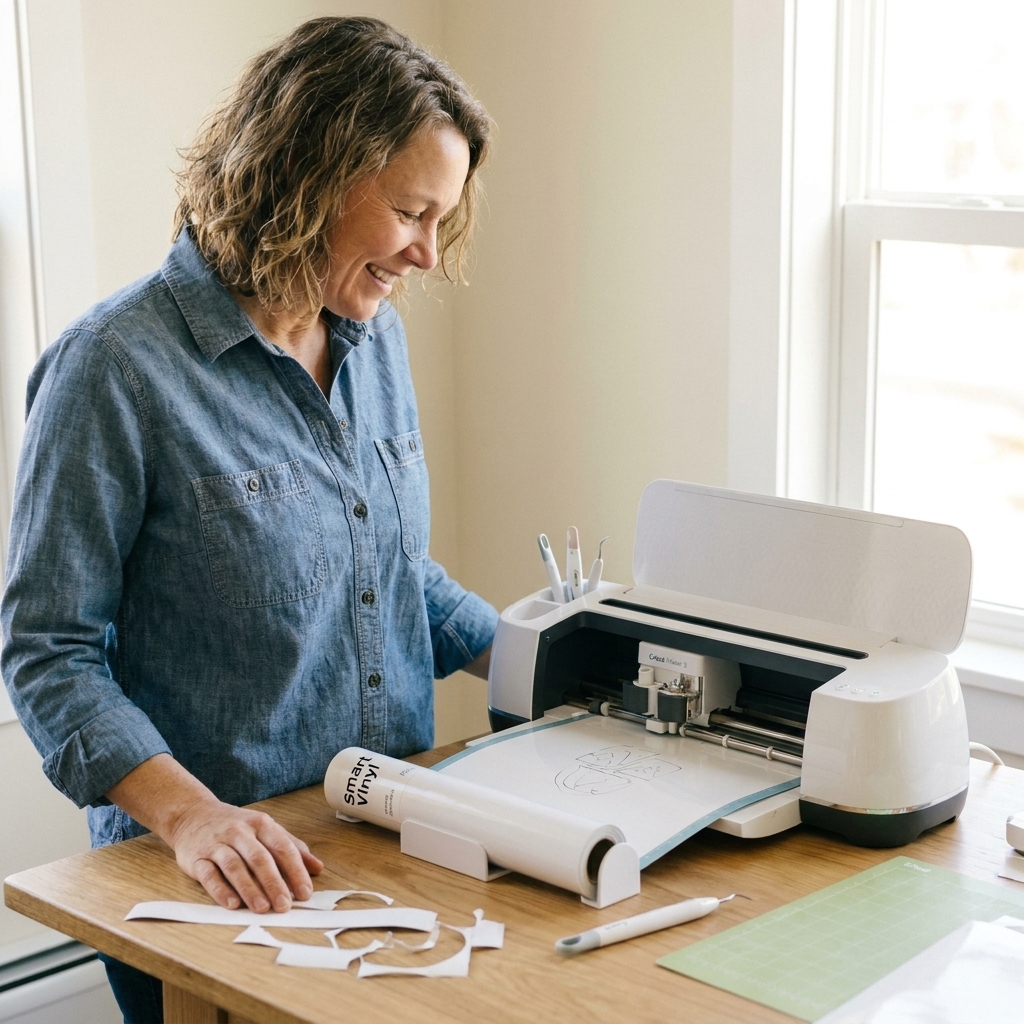
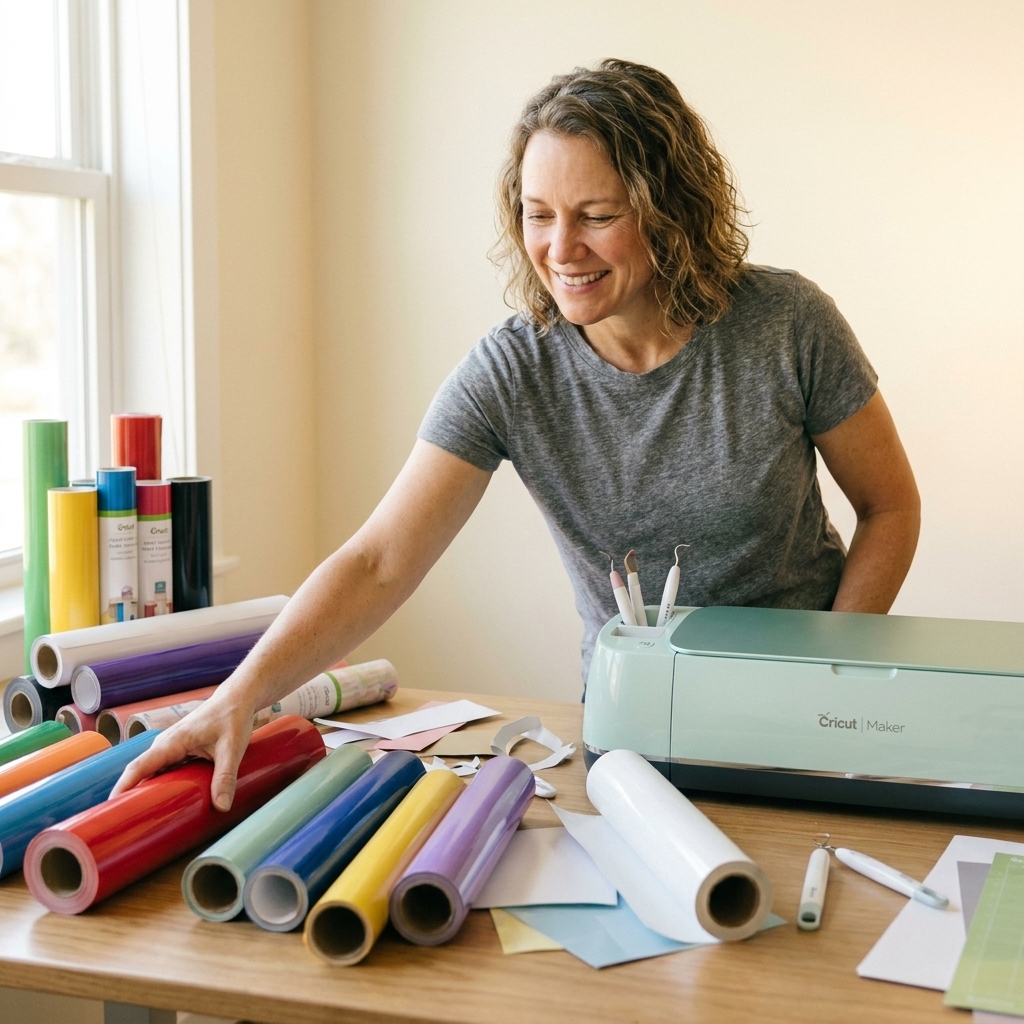
What you need
- Cricut machine (Explore 3, Maker 3, or Joy models work great for labels)
- Cricut Design Space
- Vinyl: Smart Vinyl (if your machine supports it) or regular permanent vinyl on a mat
- Transfer tape (standard grip works for most permanent vinyl)
- Scraper or squeegee (a gift card in a pinch)
- Weeding tools
- Scissors and a ruler or measuring tape
- Leveling help: painter’s tape or masking tape, plus a pen or pencil
- Cleaning supplies: rubbing alcohol (or dish soap and water) and a lint-free cloth
- Your containers: jars, canisters, bins, spice bottles, and so on
Vinyl pick: For pantry containers, I prefer permanent vinyl because it stands up better to wiping and handling. Removable vinyl can still work, it just tends to lift sooner on frequently touched containers.
Quick surface reality check: Some food-storage plastics (especially polypropylene and polyethylene) resist adhesives. If you are not sure what your containers are made of, test one label first before you cut a whole batch.
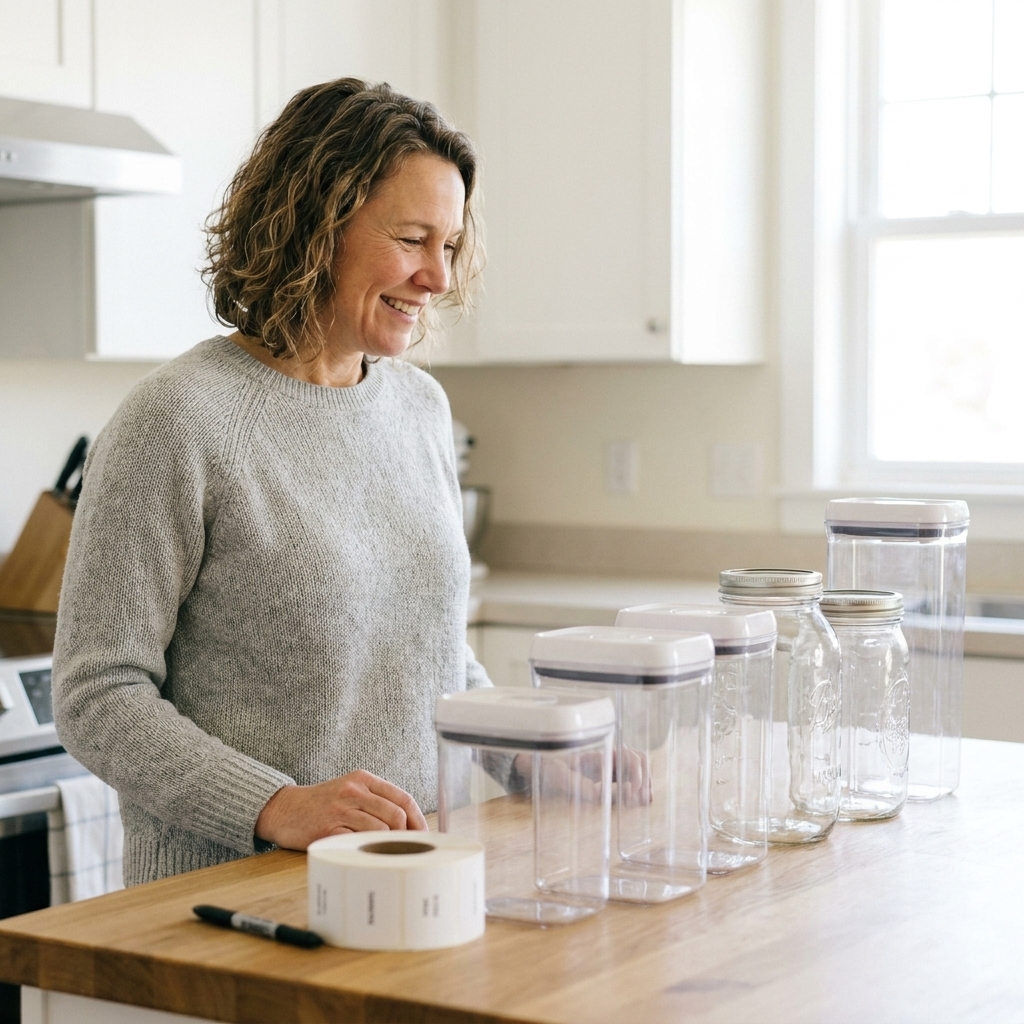
Step 1: Choose a label system
This is the unglamorous step that saves the most vinyl. Make three decisions up front:
1) Where every label will live
Pick one placement rule and stick to it. For example: front center, top left corner, bottom right, all caps in the middle.
2) One or two fonts max
Pantry labels look “professional” when the typography is consistent. I like one clean sans-serif for everything, or a script for category labels and a sans-serif for item labels.
3) A standard size range
Not every container is the same width, but you can still standardize. For example:
- Small jars: labels about 1.25 to 1.75 inches wide
- Medium canisters: labels about 2 to 3 inches wide
- Large bins: labels about 3 to 4.5 inches wide
My Midwest craft-room confession: I keep a note in my phone with my “house label sizes.” That way I can add containers later and they still match.
Step 2: Size with templates
Templates are the easiest way to stop guessing. They give you a to-scale outline on your Canvas so you can size your vinyl label to fit before you cut.
One important note: Templates are a sizing aid, not a magic measuring tape. Always measure your real container, then set the template to match that measurement.
How to use templates
Open Cricut Design Space and start a new project.
Click Templates on the left panel.
Choose a template that matches your container shape as closely as possible. For pantry work, I often use:
- Rectangle or square style blanks for bins
- “Mug” or “Glass” shapes when I am labeling curved surfaces and want a visual cue
Adjust the template size to match your container’s label area. Measure the flat-ish space where the label will sit (especially important on round jars). If your container is a weird in-between shape, go by your measurements, not the template silhouette.
Design your vinyl label inside that boundary.
Curved container tip: If your jar is very round, avoid super tall labels. Shorter text labels tend to wrinkle less because the vinyl does not have to conform as much.

Step 3: Design for alignment
Alignment starts in the file. Here is my go-to approach for vinyl labels that look uniform even across different words.
Make one master label
Add your text for the first item.
Set the font, letter spacing, and size.
Make a rectangle guide shape (optional but super helpful). Set it to the exact width you want your labels to be, then use it as a sizing reference.
Duplicate the label for each pantry item, then just edit the word.
Make word lengths look consistent
- Keep height consistent even if widths vary. A good starting point is around 0.75 inch tall, then scale up or down for the container.
- Use Align tools to center text within a guide shape.
- Avoid tiny skinny fonts for small labels. They weed poorly and can look crooked even when they are straight.
Quick reality check: Perfectly aligned labels can still look “off” if your container shapes are inconsistent. That is normal. Your goal is consistent placement rules, not fighting physics.
Step 4: Cut without waste
Smart Vinyl is great for pantry labels because you can cut without a mat, which means faster loading and less mat prep. It is not a guarantee against bubbles on the container, but it does streamline the cutting part of the process.
If you are using Smart Vinyl
- Trim your Smart Vinyl so the edge is straight.
- Load it directly into the machine, no mat.
- In Design Space, select the correct Smart Vinyl material setting if prompted.
If you are using regular permanent vinyl
- Place vinyl on a StandardGrip mat, smooth it down with a scraper.
- Use the appropriate vinyl material setting.
Cut setting tip: When in doubt, run a small test cut first. Pantry labels often have small letters, so a clean cut makes weeding a thousand times easier.
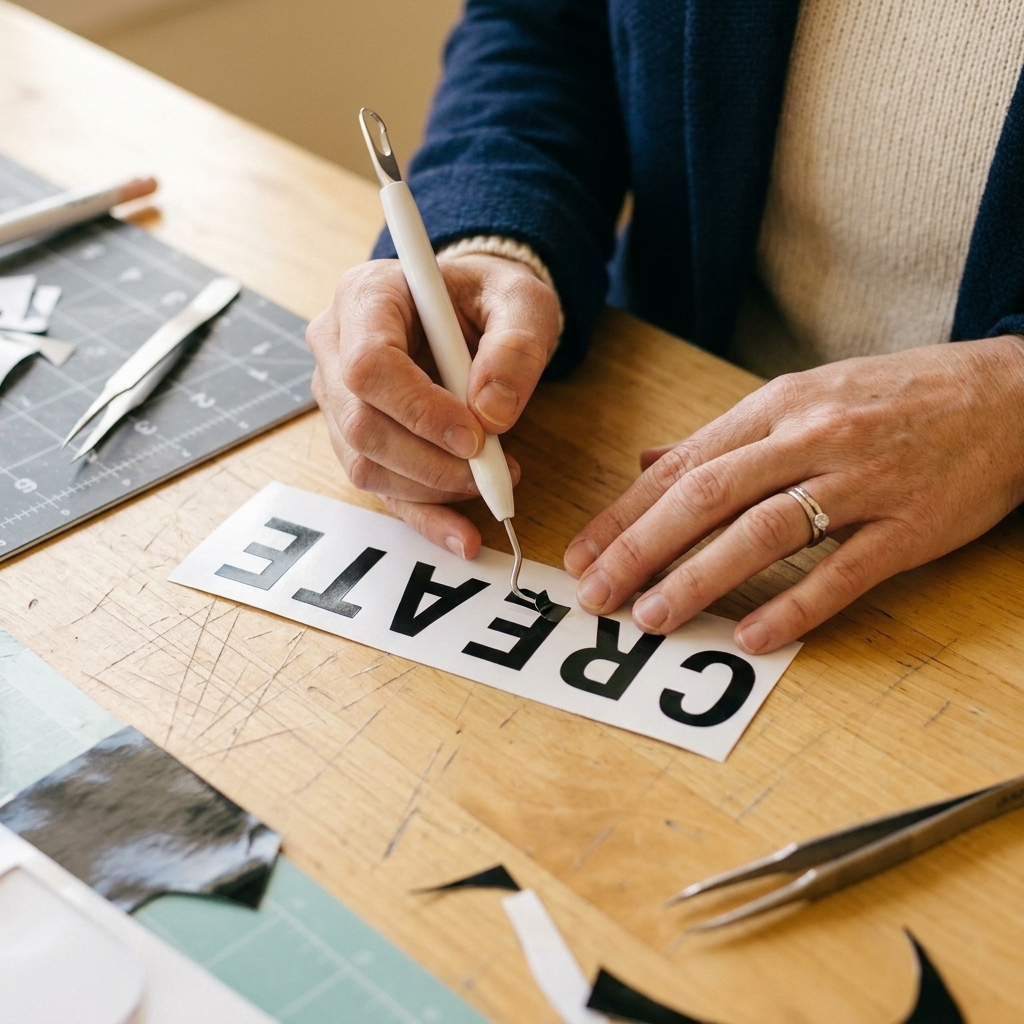
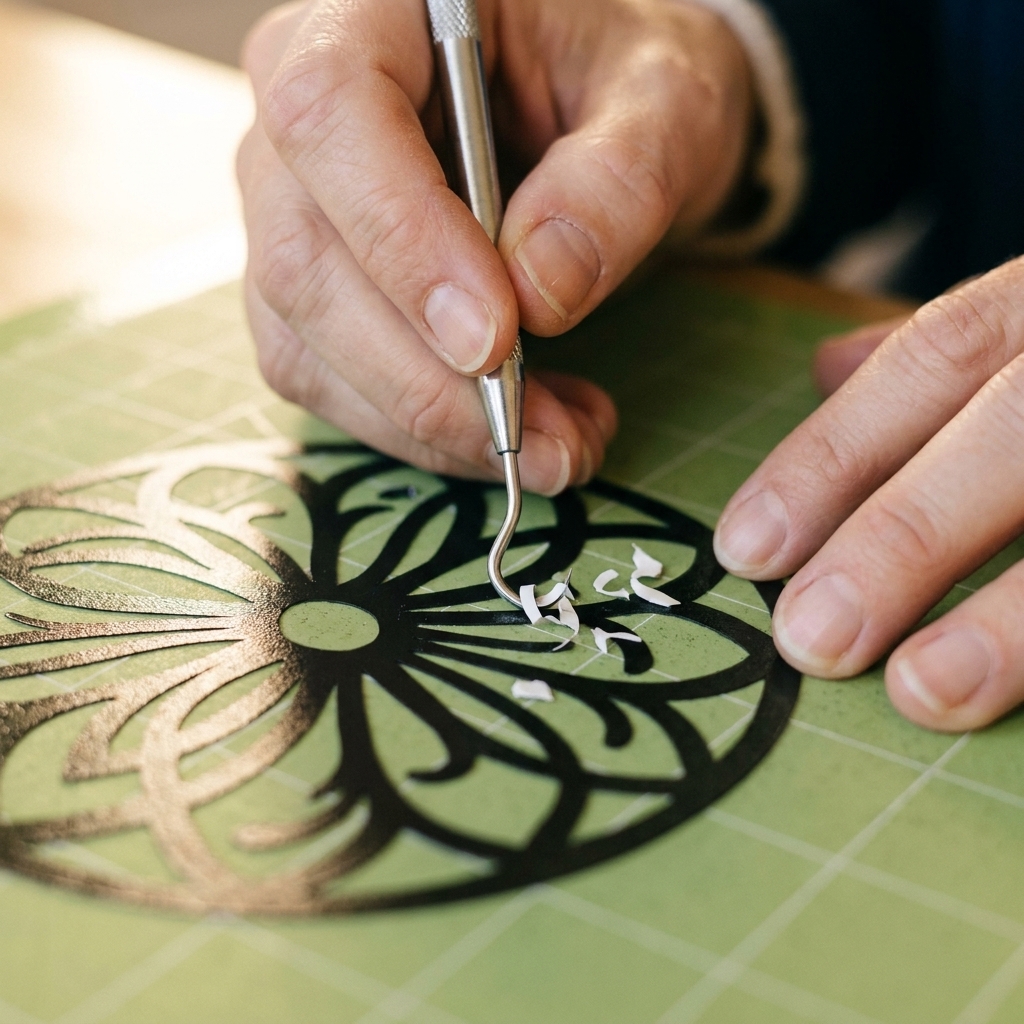
Step 5: Weed cleanly
Weeding can quietly ruin alignment if you stretch the vinyl or accidentally lift a letter.
- Weed on a flat surface, not in the air.
- Start with the outside border, then move to inner pieces.
- Go slow on thin strokes like E, F, and tiny apostrophes.
- Use a bright light so you can see cut lines clearly.
My favorite trick: For small text, I “reverse weed.” Keep the vinyl background down and remove it around the letters while the whole sheet stays supported.
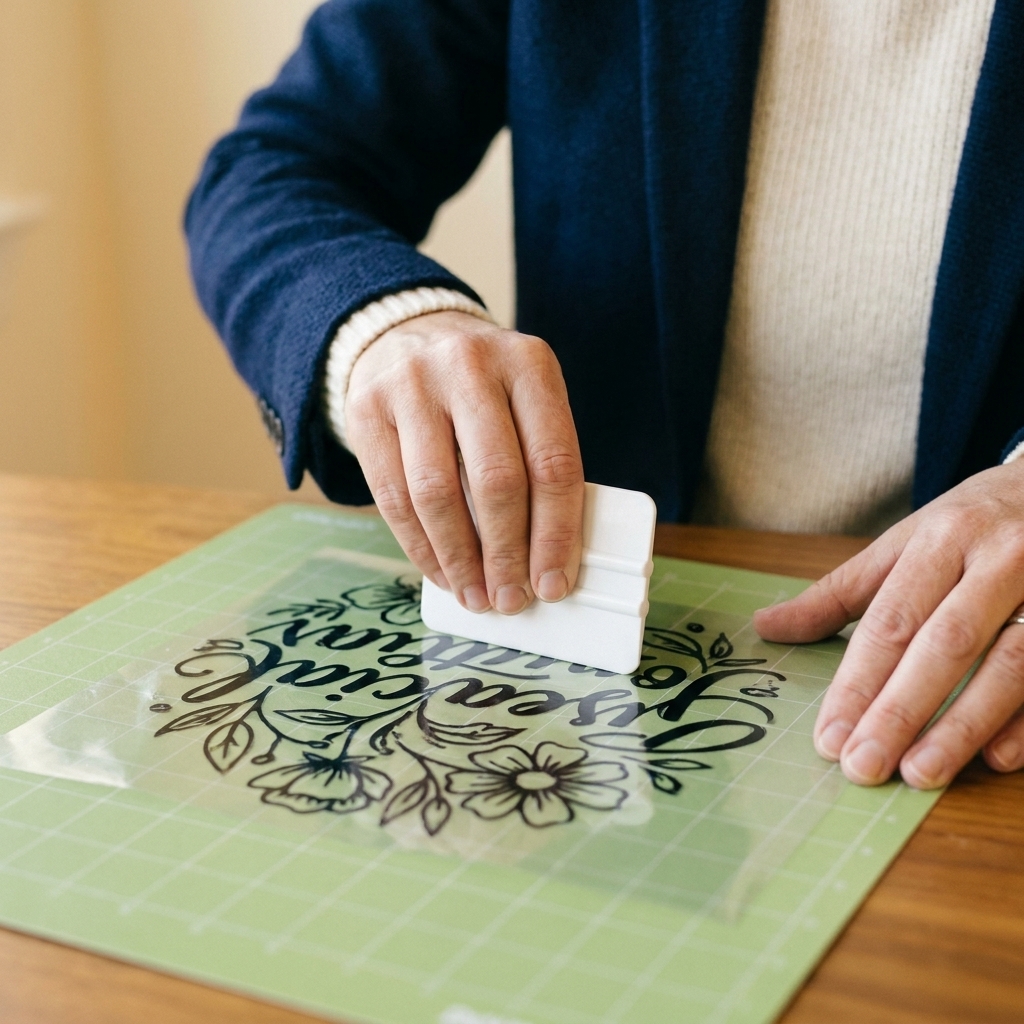
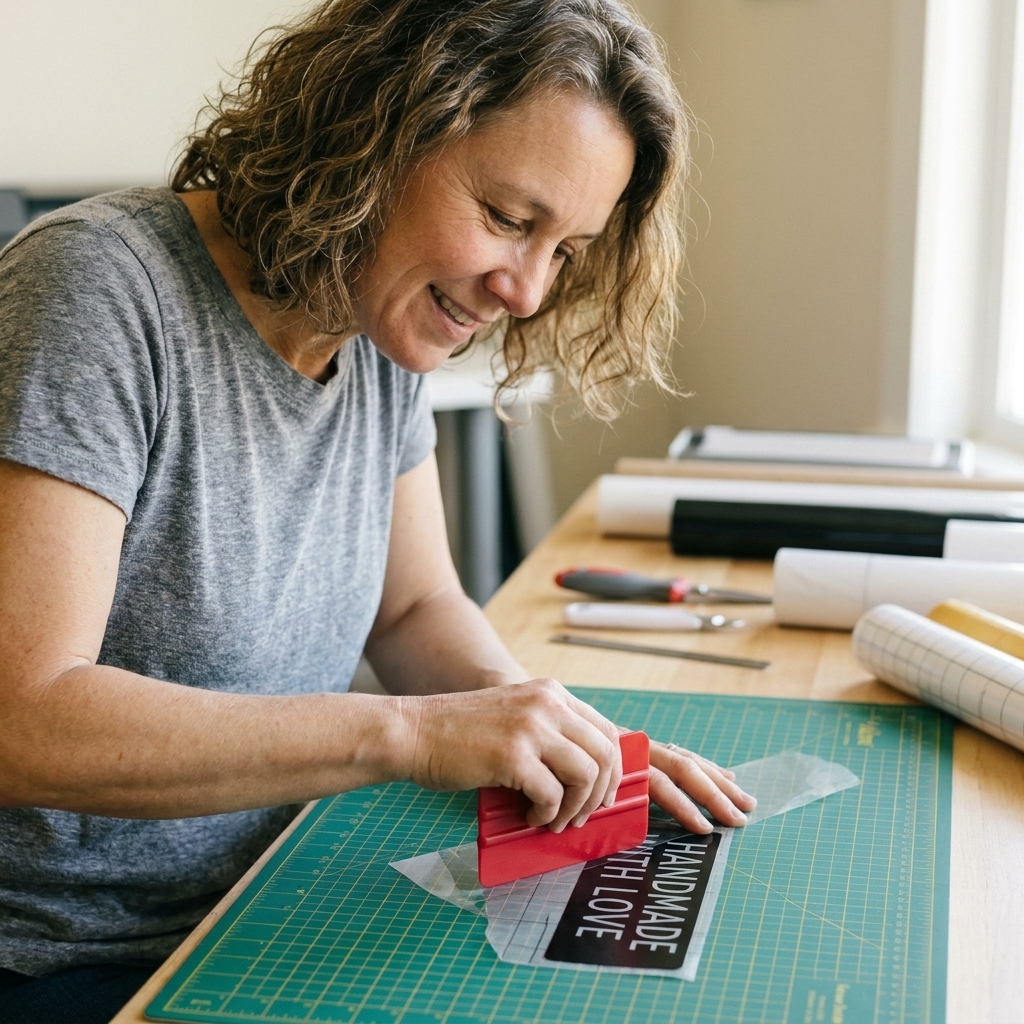
Step 6: Apply transfer tape
Transfer tape is where a lot of crooked vinyl labels begin. If you stretch it while applying, it can distort spacing.
Cut a piece of transfer tape slightly larger than your vinyl label.
Hover and place it down gently from one edge to the other.
Burnish with a scraper using firm, overlapping strokes.
Flip over and burnish the back of the vinyl too. This helps the vinyl release from the backing cleanly.
Transfer tape grip tip: If your vinyl will not release, your transfer tape may be too low tack or you have not burned enough. If your vinyl stretches or pulls up mid-application, your tape may be too aggressive or you are peeling too fast.
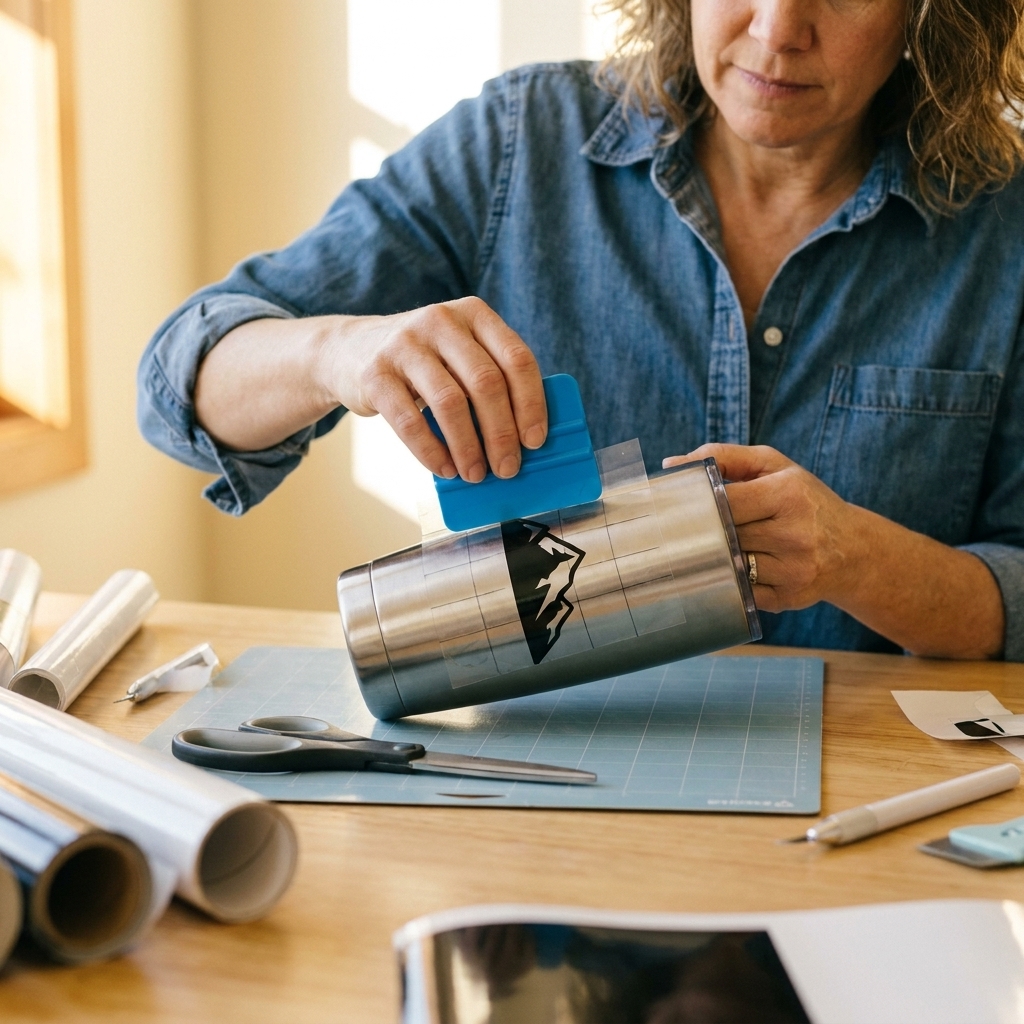
Step 7: Use the hinge method
The hinge method is my ride-or-die for straight vinyl labels. It lets you position the label exactly where you want it, then apply it without shifting.
Hinge method steps
Clean the container. Wipe the label area with rubbing alcohol and let it fully dry. Do not rush this. You want the alcohol to evaporate completely before you stick anything down.
Position the vinyl label. Hold your label (still on its backing, with transfer tape on top) up to the container and get it exactly where you want it.
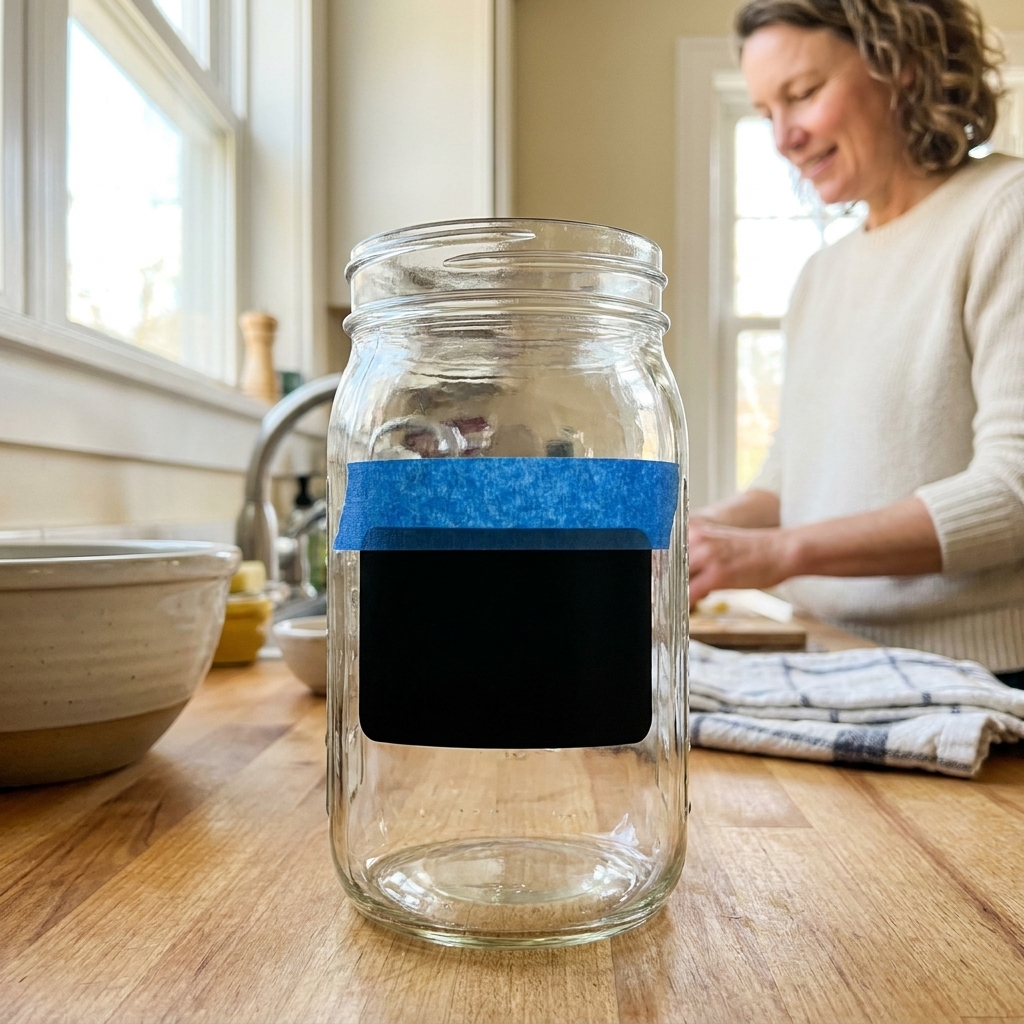
Make your hinge. Tear a strip of painter’s tape and place it across the top edge of the label, half on the container and half on the transfer tape. This creates a flap that can open and close in the same spot.
Flip up the label like opening a little door, keeping the painter’s tape hinge attached.
Peel the backing off the vinyl slowly while the label is flipped up. If parts stay on the backing, lay it back down and burnish again.
Apply from the hinge down. Let the label fall onto the surface, smoothing from top to bottom with your fingers, then burnish with your scraper.
Peel transfer tape back slowly at a sharp angle (almost parallel to the surface). If a letter lifts, press it back down and burnish again.
Why it works: The painter’s tape acts like a fixed pivot point, so your label cannot scoot left, right, or crooked while you apply it.
Step 8: Batch spacing guides
If you are labeling 10, 20, or 50 containers, you do not want to eyeball placement each time. Use a quick spacing jig.
Option A: Tape baseline
Line up all containers on the counter.
Place a long strip of painter’s tape across the front as a baseline.
Measure from the counter to where you want the bottom of each label.
Use that measurement to place your label bottoms consistently.
Option B: Cardstock spacer
Cut a strip of cardstock to the exact height you want between the container bottom and the label bottom.
Rest it on the counter in front of the container and align the label to it.
Batch-work tip from my vinyl shop days: Do all cleaning first, then all hinges, then all applications. Switching tasks less often makes you faster and more accurate.
Troubleshooting
It is straight, but looks crooked
- Your container might be slightly tapered or the lid line might not be level.
- Try aligning your vinyl label to a consistent feature, like the container seam, a molded ridge, or the base.
Bubbles under the vinyl
- Burnish from the center outward.
- Apply slower. Fast application traps air.
- For tiny bubbles, poke with a pin and burnish flat.
Vinyl will not stick long-term
- Clean with rubbing alcohol and avoid touching the area afterward.
- Make sure you used permanent vinyl for high-touch containers.
- Let the adhesive cure for at least 24 hours before washing or heavy wiping. Longer is better when you can swing it.
- Avoid dishwashers and high heat unless you are using a method specifically rated for that, because most basic vinyl labels are not dishwasher-proof.
Letters lift with transfer tape
- Peel transfer tape back slowly at a sharp angle.
- Burnish again, especially over thin parts of letters.
- Try a less aggressive transfer tape if it is pulling your vinyl up.
Design ideas
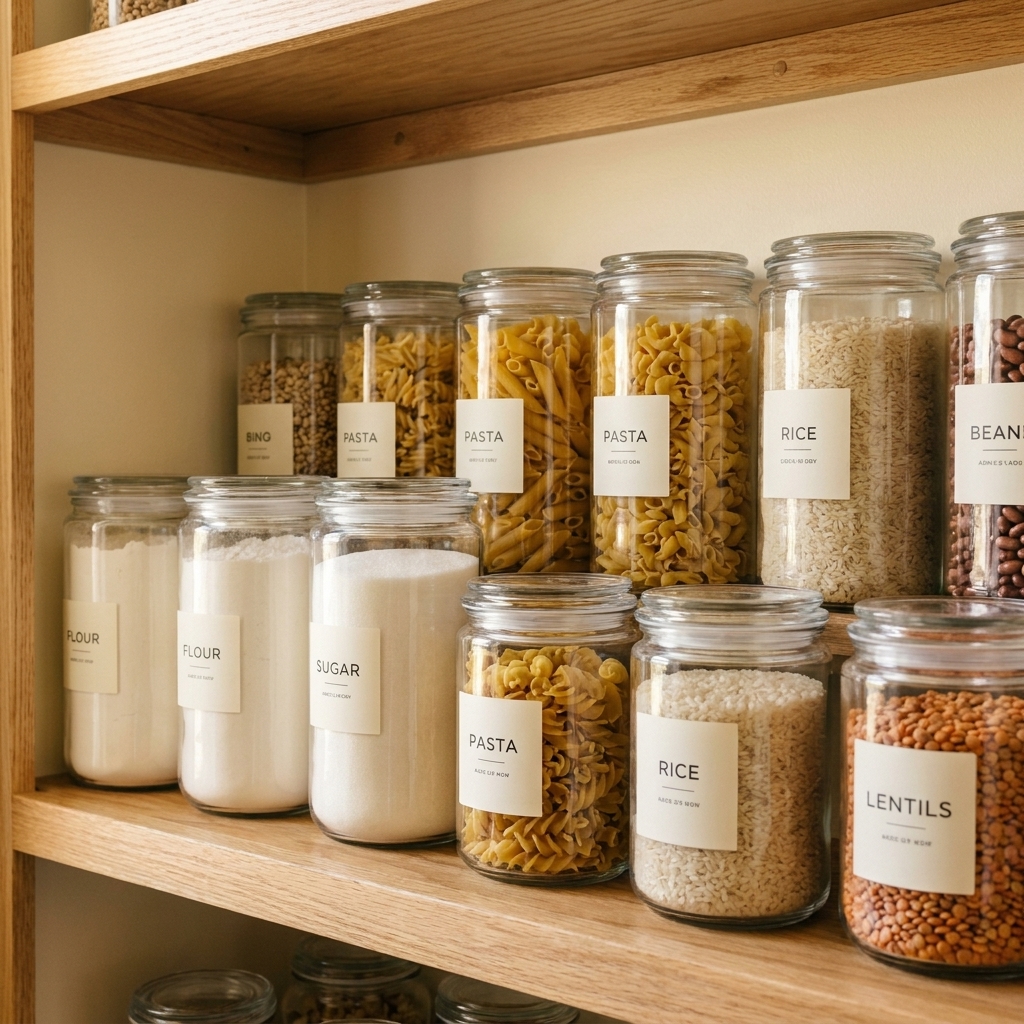
- All caps for short words: RICE, OATS, FLOUR
- Title case for longer items: Brown Sugar, Powdered Sugar
- Add quantity lines with a thin marker after labeling, like “Buy Again” dates on freezer bins
- Keep it simple: one color vinyl on clear containers looks clean and is easy to update later
Quick FAQ
Do I need Smart Vinyl for pantry labels?
No. Smart Vinyl is convenient because it cuts without a mat, but regular permanent vinyl works beautifully too.
Should I seal pantry labels?
Usually, no. Permanent vinyl adheres well on clean, smooth containers. Some clear coats can yellow over time or react with certain plastics. If you want to experiment, test on a hidden spot first and let it fully cure before you commit to a whole set.
What transfer tape is best for small labels?
A standard grip transfer tape is a solid starting point. For very small text, a slightly higher tack tape can help, but burnishing technique matters more than brand.
Can I label textured plastic bins?
You can try, but texture is the enemy of long-term adhesion. If the bin is heavily textured, consider a printable sticker label, a smooth label plate, or using vinyl on a smooth tag that you tie on.
Wrap-up
If you only take three things from this tutorial, let them be these: size your labels with templates, cut cleanly (test cut if needed), and apply using the hinge method. Once you do it a couple of times, you will feel that little shift from “hoping it is straight” to “I know it is straight,” and that is when pantry labeling becomes weirdly relaxing.
If you make a set of vinyl labels using this method, I hope you take a second to enjoy that satisfying, lined-up look before you fill everything with snacks. You earned it.