A beginner-friendly, step-by-step guide to applying permanent vinyl on curved drinkware: sizing, cutting, weeding, transfer tape, alignment, and aftercare ti...
Maker Vinyl
Updated October 17, 2026
Water-Resistant Vinyl Coffee Mugs: Step-by-Step
Make custom mugs that hold up to daily use: design, cut, weed, apply permanent adhesive vinyl, and seal it for a more water-resistant finish with better dishwasher odds.

Harper Davis
Harper Davis is a lifelong DIY enthusiast and cutting-machine expert who loves helping beginners conquer Cricut Design Space. With over six years of experience running a custom vinyl shop, she shares practical tutorials, material guides, and creative inspiration.
If you have ever spent an hour weeding a cute mug decal, stuck it on perfectly, and then watched an edge lift after two dishwasher cycles, I see you. Mugs are handled constantly, rinsed, scrubbed, and hit with hot water and steam daily. The good news is you can absolutely make custom mugs with permanent adhesive vinyl that hold up really well, as long as you prep well, apply cleanly, and go in with the right expectations.
This tutorial walks you through my go-to process from Cricut Design Space to a sealed, water-resistant finish on ceramic mugs.
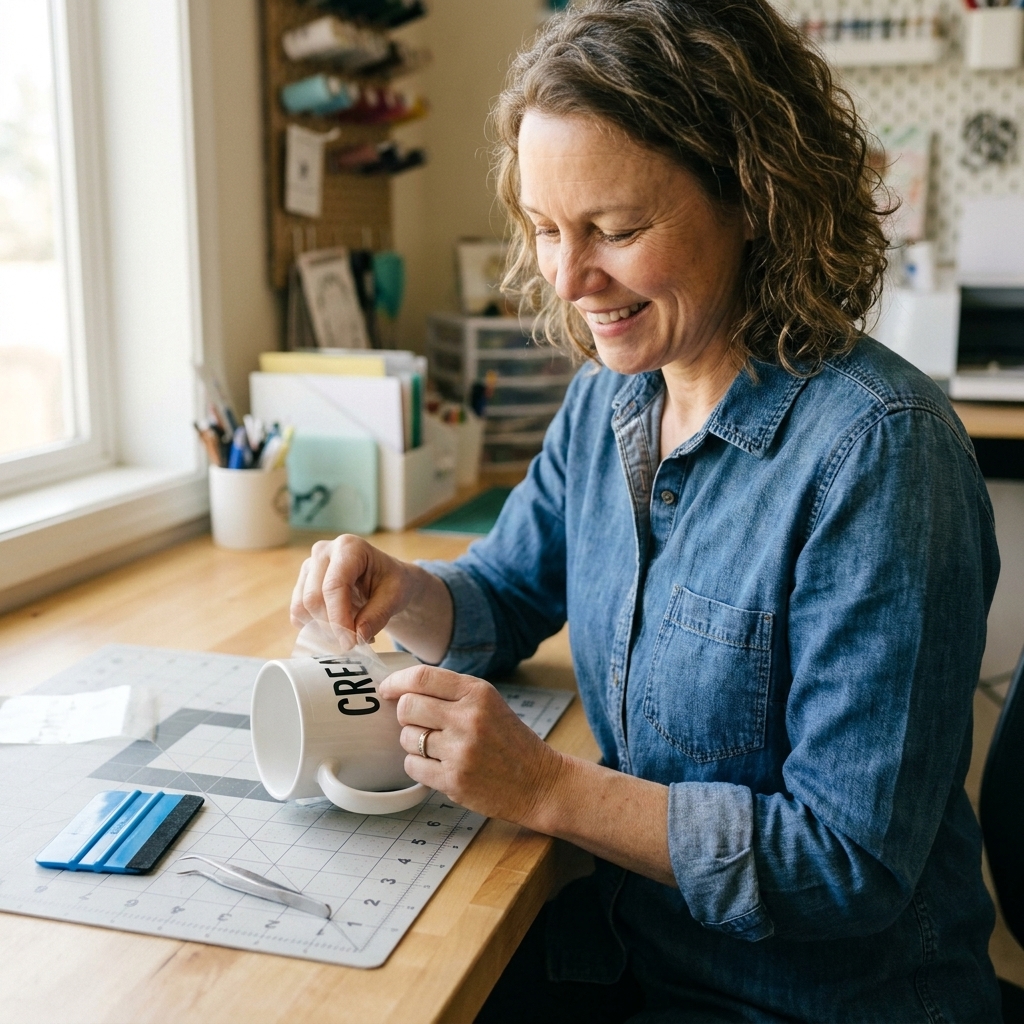
What “waterproof” means here
Let’s set you up for success: permanent adhesive vinyl is water-resistant once it is fully bonded to the mug. It can handle splashes, hand-washing, and regular use. “Dishwasher safe” is not a guarantee. It depends on your vinyl brand and line, the mug surface, cure time, your dishwasher’s heat cycle, your detergent, and plain old abrasion from other dishes.
My best real-life results come from two things:
- Proper prep plus full cure time (this alone fixes most failures).
- Protection from scuffs (a smart seal or gentle care helps edges stay down longer).
If you want the most bulletproof option of all, sublimation on sublimation-ready mugs beats vinyl every time. But for Cricut-friendly custom gifts, small batches, and cute seasonal mugs, permanent adhesive vinyl plus good prep (and optionally sealing) is a solid, beginner-friendly route.
Supplies you will need
Mug and vinyl basics
- Smooth ceramic mug (glossy or matte is fine as long as it is smooth).
- Permanent adhesive vinyl (Oracal 651, Cricut Premium Permanent, Teckwrap permanent, and similar work well).
- Transfer tape (standard grip for most vinyl, strong grip for glitter or textured vinyl).
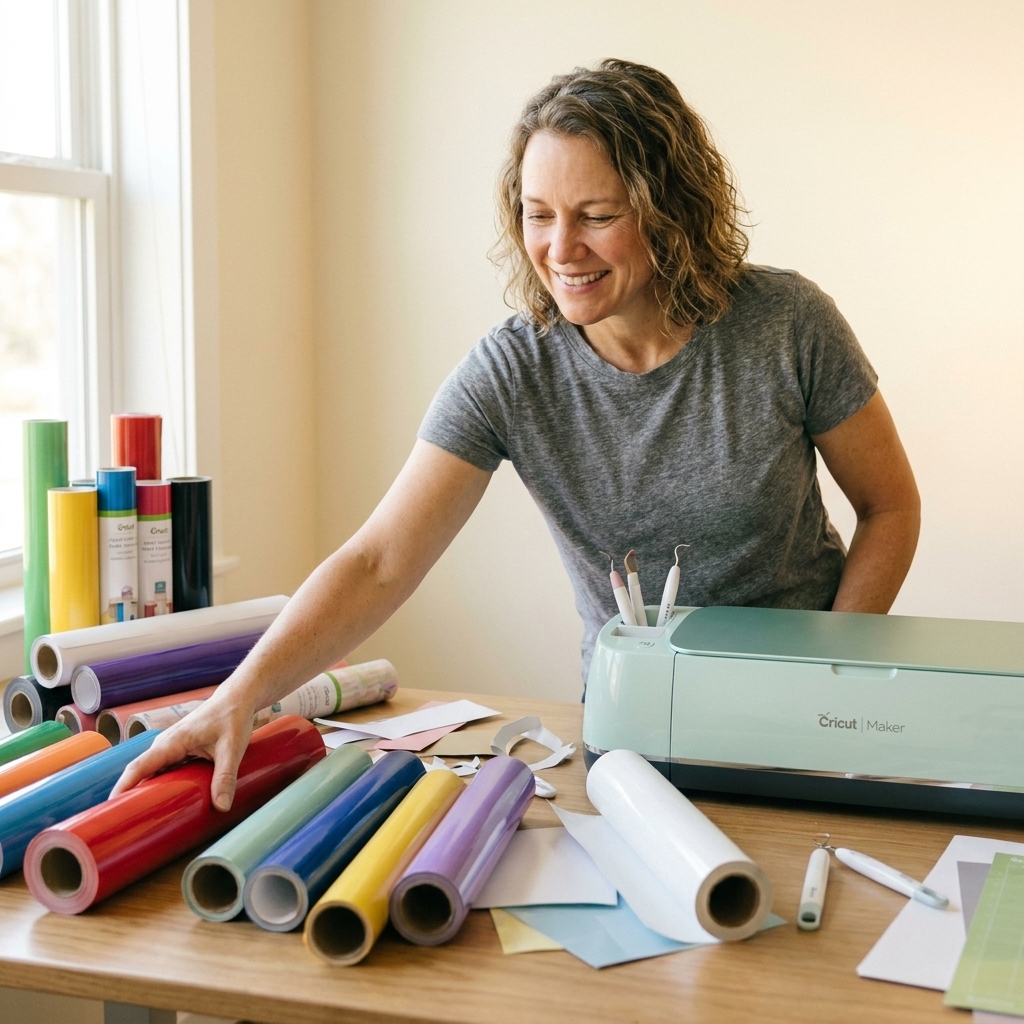
- Cricut machine + fine-point blade (Explore, Maker, or Joy with compatible materials).
- Weeding tools (hook, tweezers, weeding pen).
- Scraper/squeegee (Cricut scraper or a small squeegee).
Prep and application helpers
- Isopropyl alcohol (70% or 91%) and a lint-free cloth.
- Painter’s tape or washi tape (for hinge method placement).
- Measuring tape (optional but helpful for centering).
- Hair dryer or low heat tool (optional for helping vinyl conform).
Seal options
There are a few ways to seal. The “best” choice depends on your comfort level and how the mug will be used.
- Food-safety note: Most craft vinyl and sealers are not intended for direct food contact. Keep vinyl and sealer on the outside of the mug, away from the drinking rim and the interior.
- Common choices: dishwasher-safe Mod Podge (results vary), a clear acrylic spray sealer, or an epoxy resin top coat (most durable, highest effort).
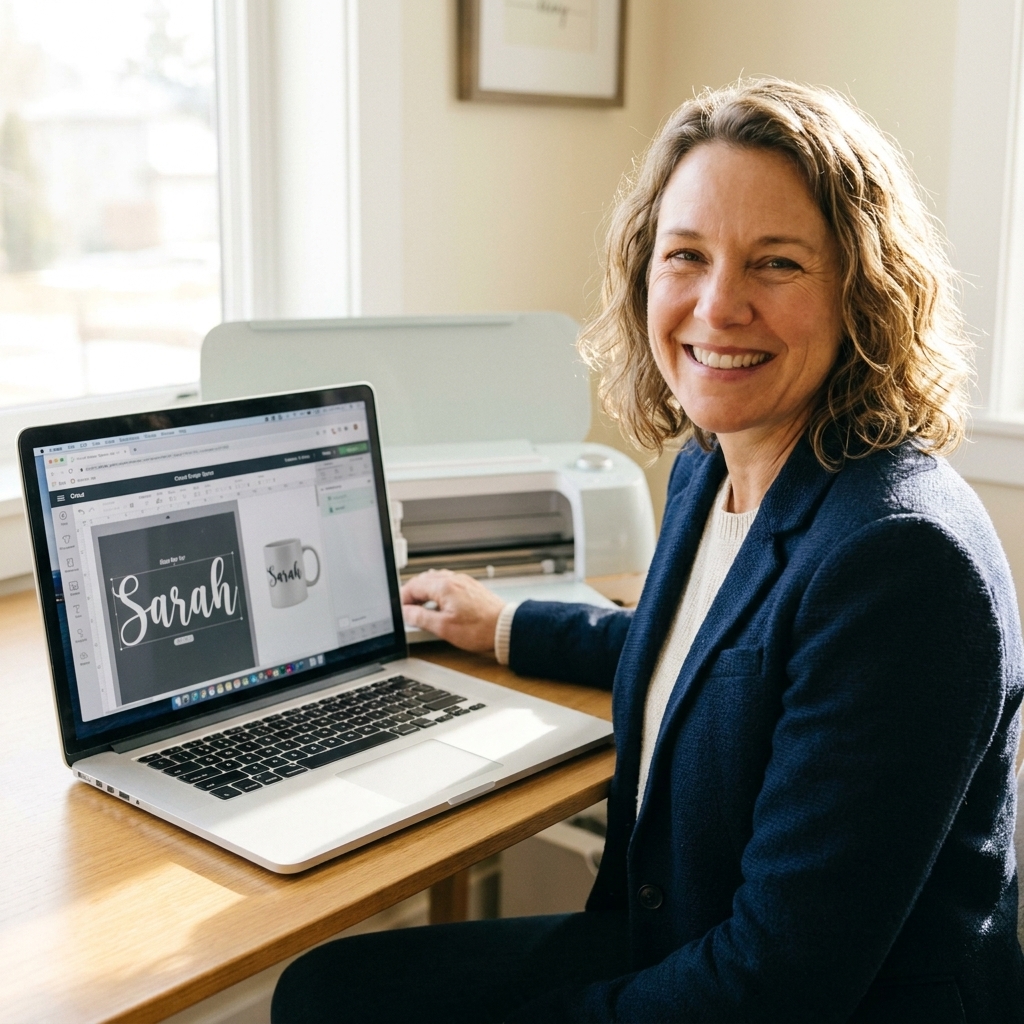
Step 1: Design your decal
You can make a single-word name, a monogram, a cute phrase, or a simple graphic. The key for durability is choosing a design that does not have lots of ultra-thin lines or tiny floating islands that will catch a fingernail.
My durability-friendly design rules
- Go a little bolder than you think. Thin scripts are gorgeous, but thicker strokes survive better.
- Avoid micro details. If you have to squint to weed it, it may not last on a mug.
- Keep it away from the rim. Leave at least 1 inch from the top lip to reduce mouth contact and wear.
- Avoid the bottom “scuff zone.” Leave some space above the base where mugs rub against sinks, counters, and dishwasher racks.
- Plan your placement. Front-center, opposite the handle, or on both sides for lefties and righties.
Quick sizing tip
Most standard 11 oz mugs look balanced with a design around 2.5 to 3.5 inches wide. Taller designs around 2.5 to 3.5 inches tall typically fit nicely without wrapping into the curve too much. If your mug has a strong taper, go slightly smaller to avoid wrinkles.
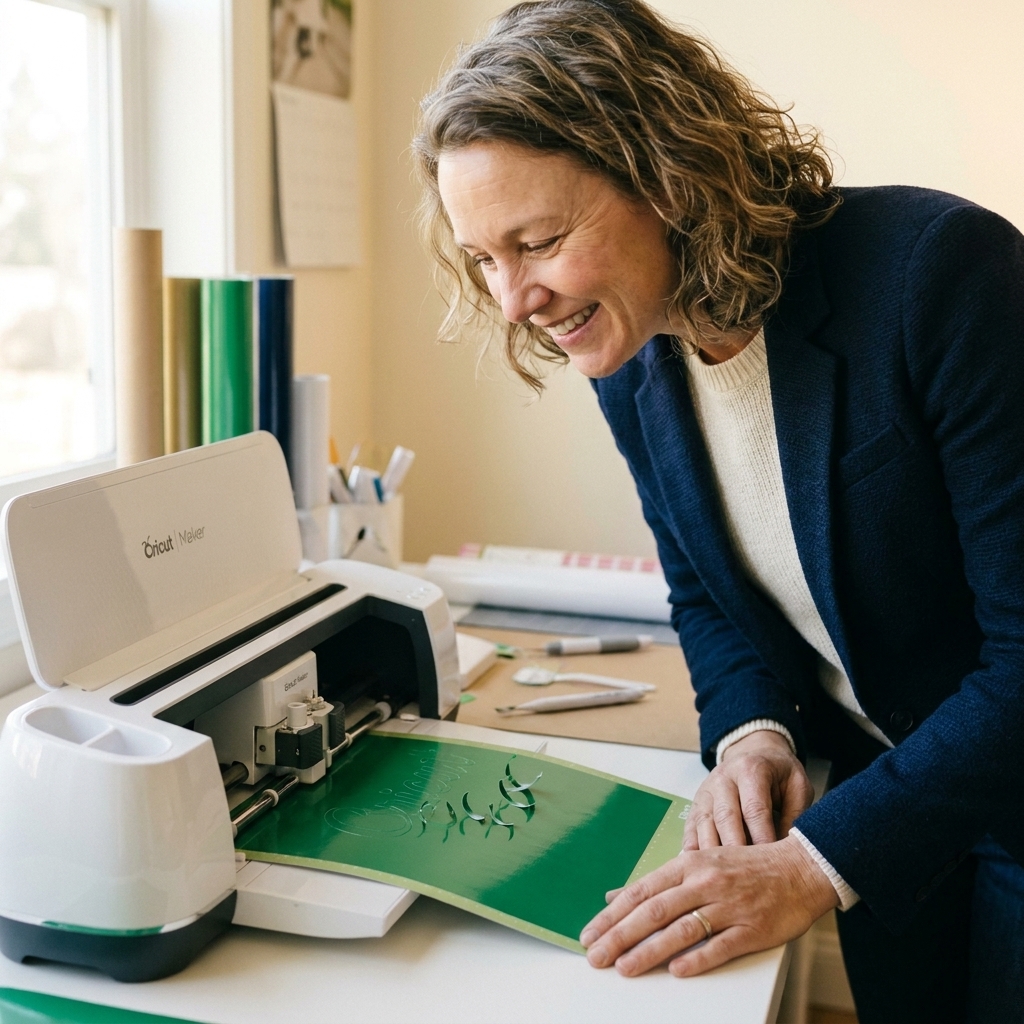
Step 2: Cut the vinyl
Machine settings
In Design Space, set your material to your vinyl type. For most permanent adhesive vinyl, the default vinyl setting works well. If you are using a thick specialty vinyl, you may need a bit more pressure, but start with default settings first.
Beginner sanity check: Adhesive vinyl goes shiny side up on the mat. (Heat transfer vinyl is the one that goes shiny side down.)
Cutting checklist
- Place vinyl shiny side up on the mat (you are cutting the vinyl, not the backing).
- Brayer it down if your corners lift.
- Do a small test cut if you are using a new brand or new color.
When it is finished, you should be able to lift the vinyl away cleanly while the backing stays intact.
Step 3: Weed the decal
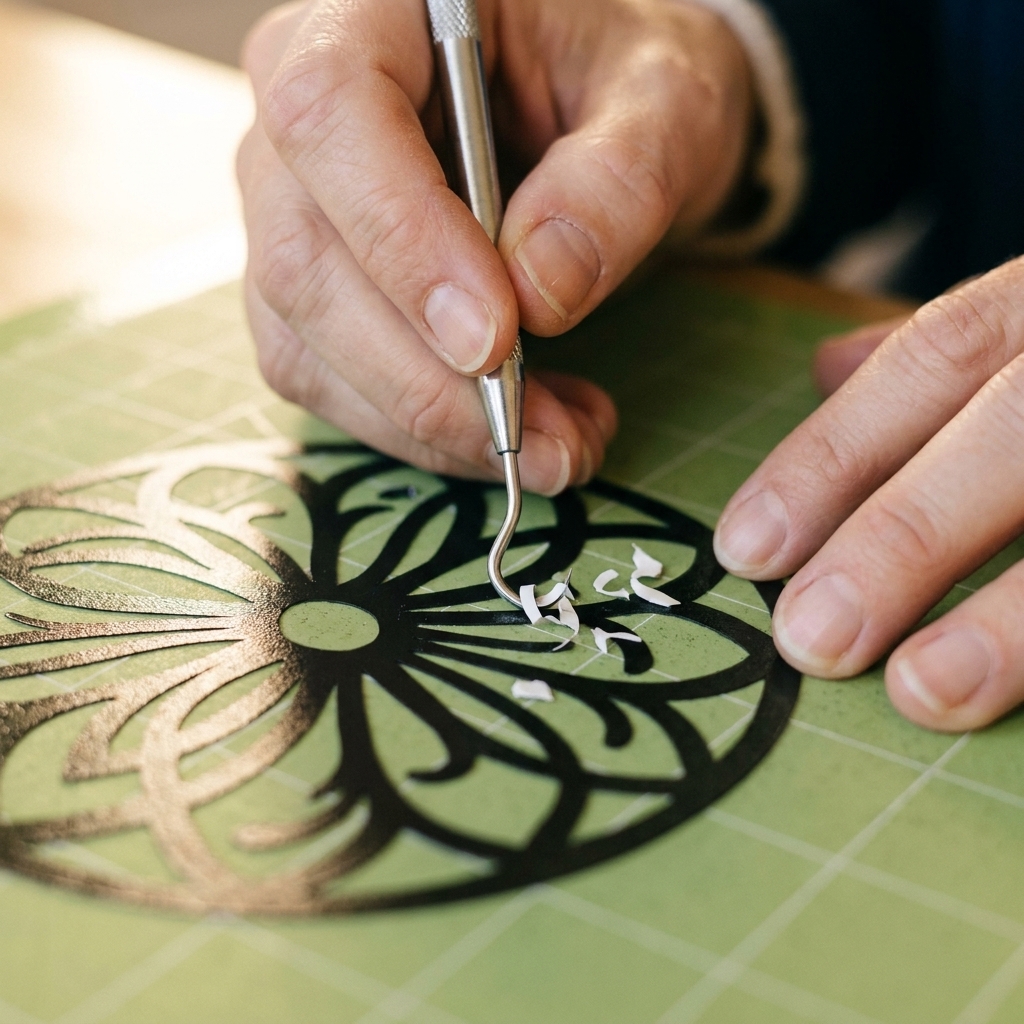
Weeding is where patience pays off. Put on a bright light, cue up your favorite show, and go slow.
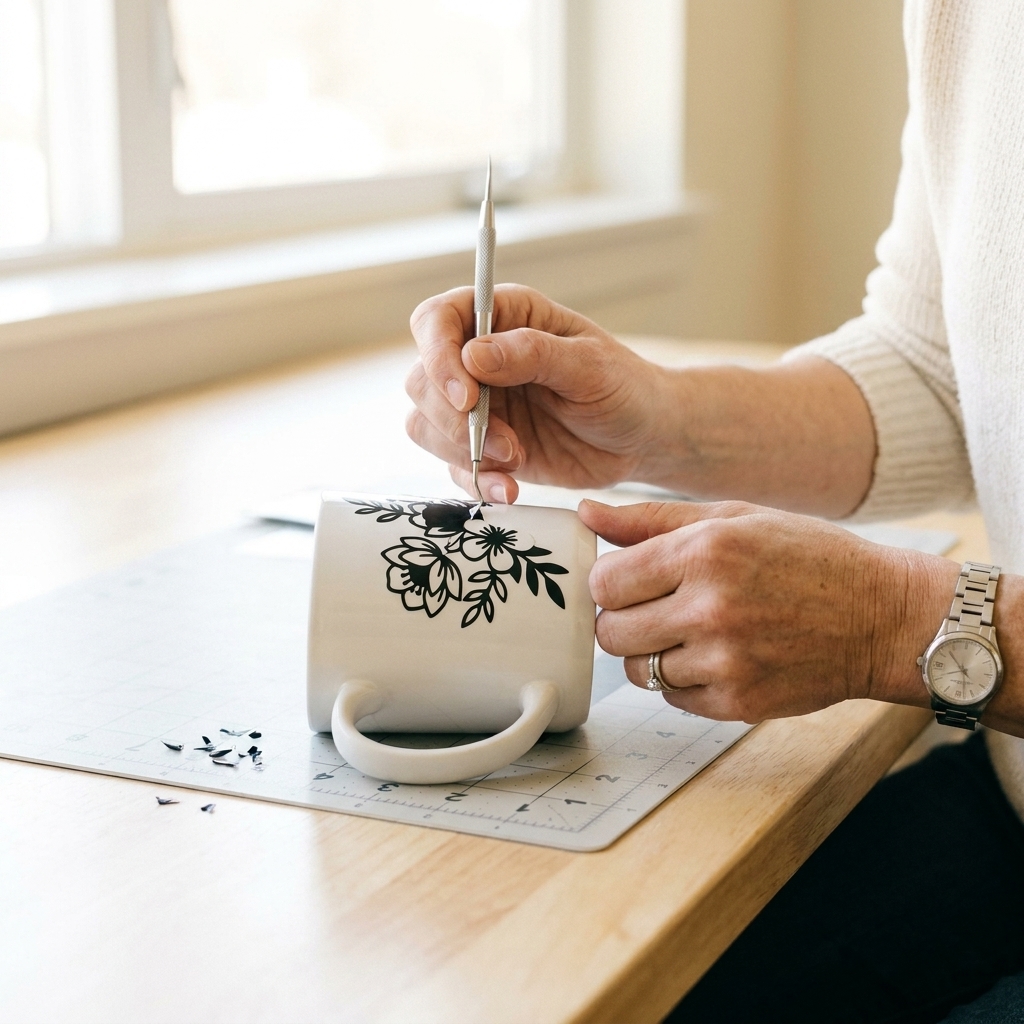
- Start from a corner and peel the excess vinyl back at a low angle.
- Use the hook tool to hold down tiny pieces (like the center of an “O” or “A”).
- Trim the decal close to your design after weeding to make placement easier.
Step 4: Add transfer tape
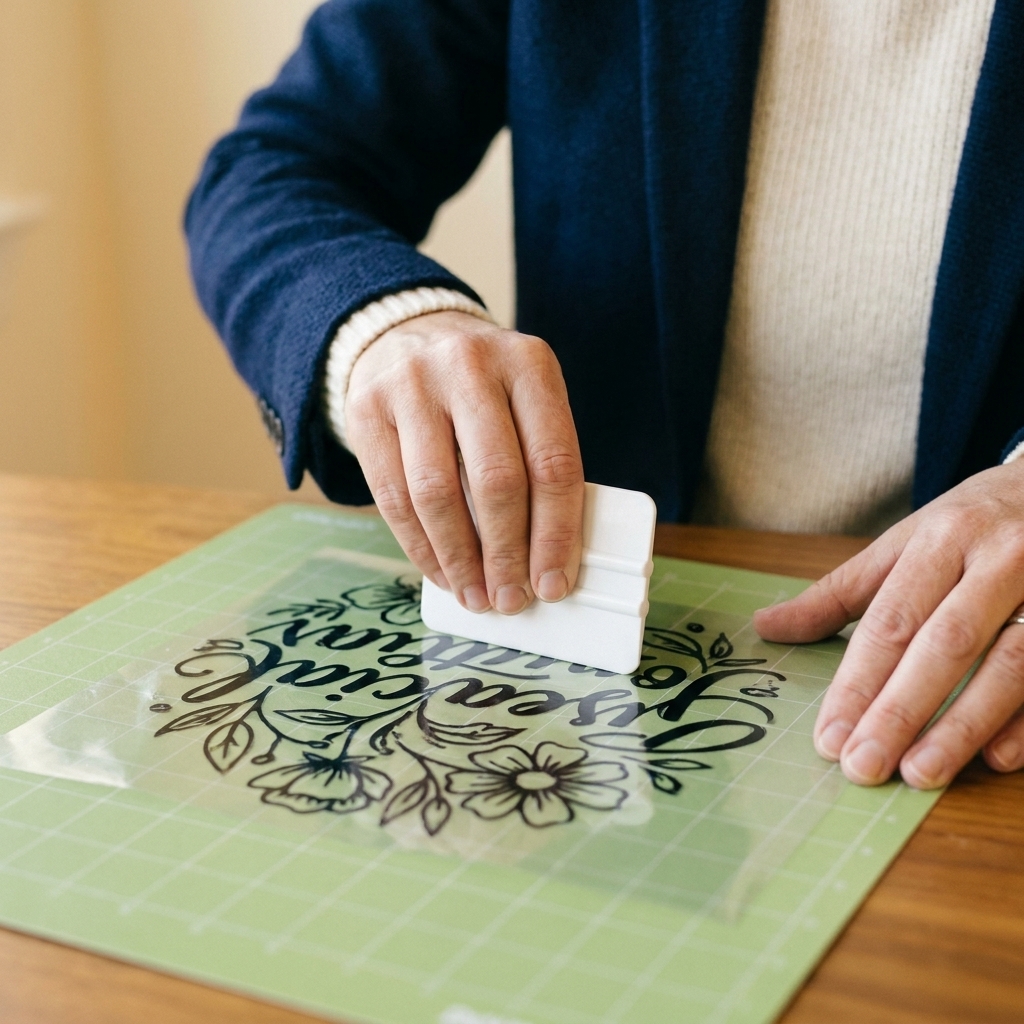
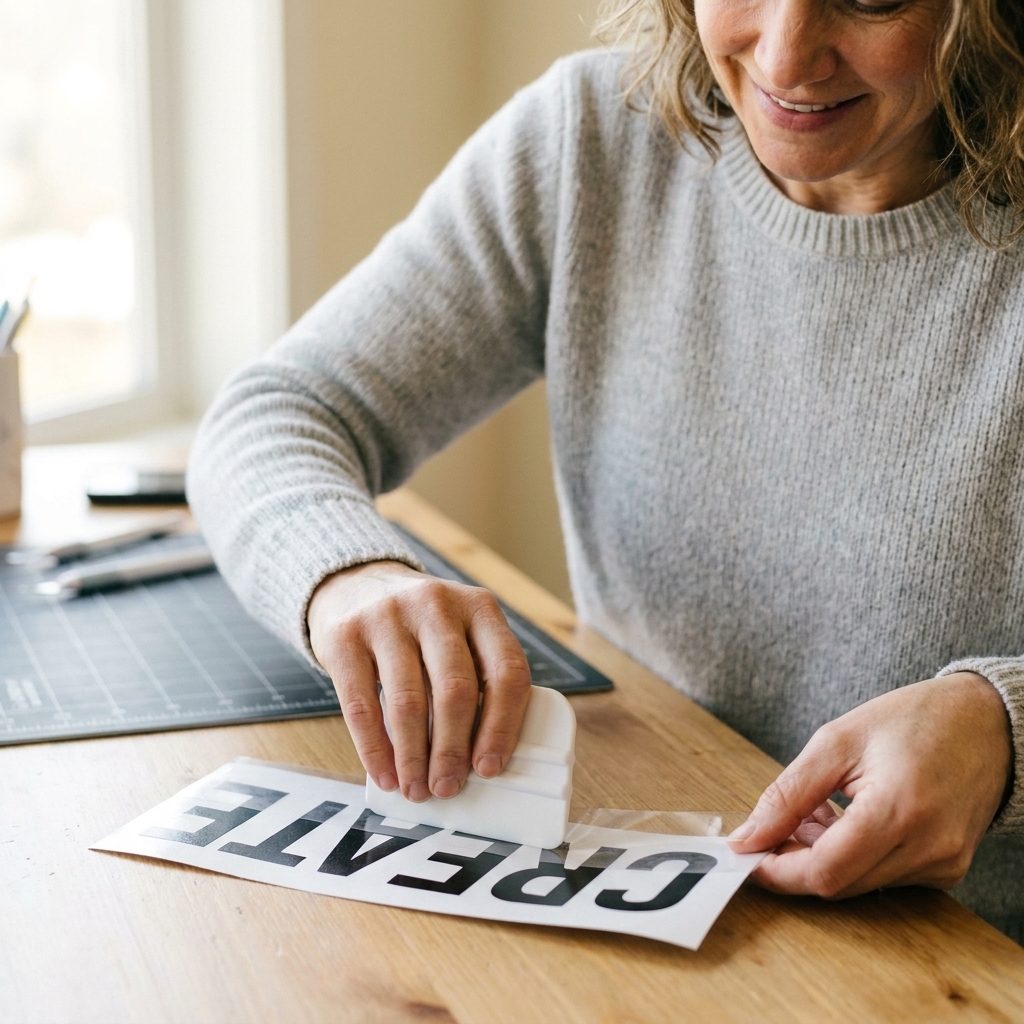
Cut a piece of transfer tape slightly larger than your design. Lay it down smoothly from one side to the other to avoid bubbles.
- Burnish well with a scraper, especially over small details.
- Flip and burnish the back (rub the paper backing side) to help the vinyl release cleanly onto the tape.
Pro tip: If your vinyl will not lift from the backing, your transfer tape may be too low tack. Try a stronger tape, burnish more firmly, or warm it slightly with your hands.
Step 5: Prep the mug
This step is the difference between a decal that lasts two weeks and one that still looks crisp months later.
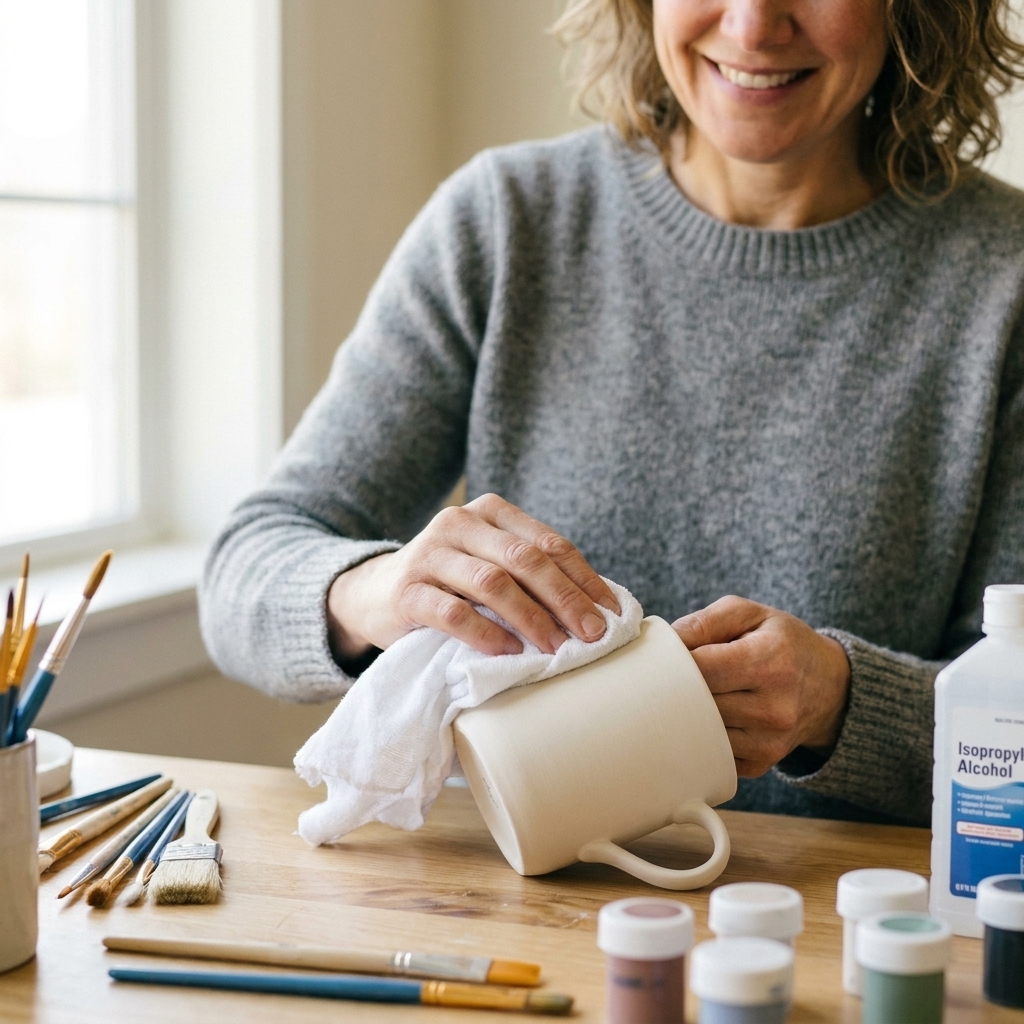
Clean and de-oil
- Wash the mug with dish soap and water to remove dust and manufacturing residue.
- Dry completely.
- Wipe the application area with isopropyl alcohol using a lint-free cloth.
- Let the alcohol fully evaporate.
Avoid: alcohol wipes that leave fibers, lotions on your hands right before applying, and cleaning sprays that contain oils.
Step 6: Apply the decal
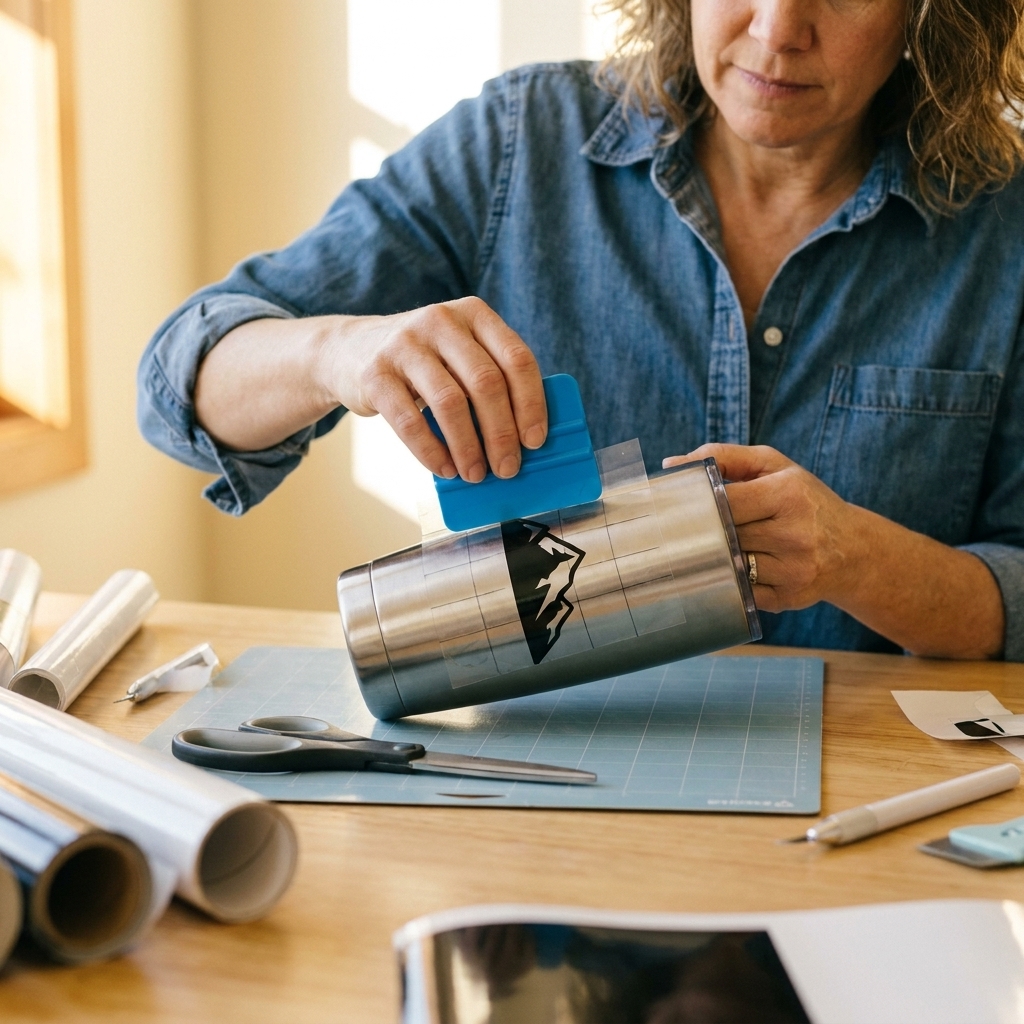
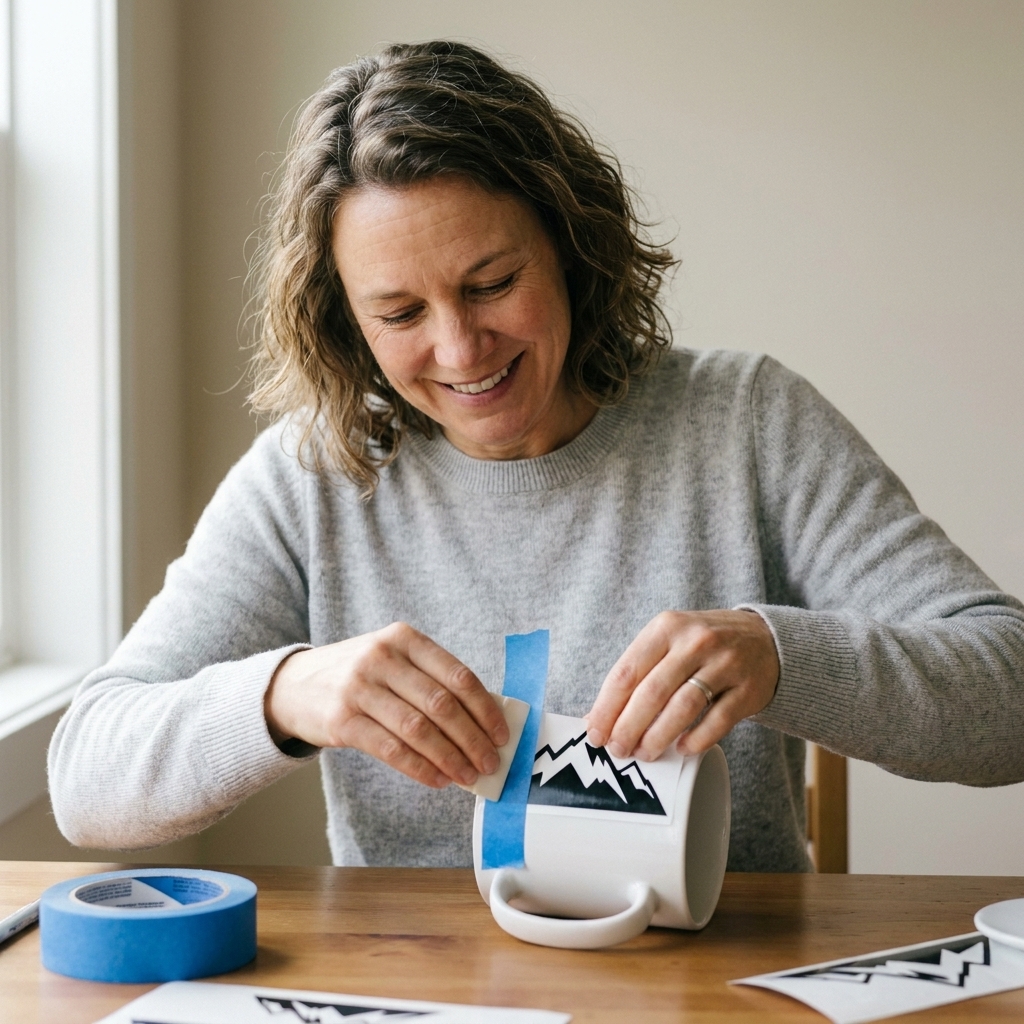
For straight placement, I love the hinge method. It sounds fancy, but it is basically just using tape as a guide so your decal goes down exactly where you want it.
The hinge method
Position the decal (still on the transfer tape) on the mug where you want it.
Quick check: Step back, eyeball centering and level, and rotate the mug in your hands before you commit.
Tape the top edge of the transfer tape to the mug with painter’s tape, creating a “hinge.”
Flip the decal up like a flap and remove the paper backing, leaving the vinyl stuck to the transfer tape.
Roll the decal back down onto the mug starting from the center and working outward.
Burnish firmly with your scraper or squeegee, pressing especially along edges.
Remove the transfer tape
Peel the transfer tape back slowly at a low angle. If any vinyl tries to lift, lay the tape back down and burnish again.
Curve warning: Mugs are curved, so large decals can wrinkle. If you see puckers forming, stop and gently work from the center outward with small burnishing strokes. A little warmth from a hair dryer on low can help the vinyl relax, but do not overheat it.
Step 7: Let it cure
This is the most ignored step, and it matters. Pressure-sensitive vinyl adhesive needs time to set and bond to the surface.
- Wait at least 24 to 48 hours before washing.
- For best durability, wait 72 hours before dishwashing or sealing.
During cure time, keep the mug dry and avoid handling the decal area a ton. Also, if your vinyl brand includes specific cure guidance, follow that.
Step 8: Seal for extra protection
You can absolutely use permanent adhesive vinyl without sealer, especially if you hand-wash. But if the goal is “daily-use with better odds in the dishwasher,” sealing can help protect edges and reduce scuffs.
Option A: Dishwasher-Safe Mod Podge
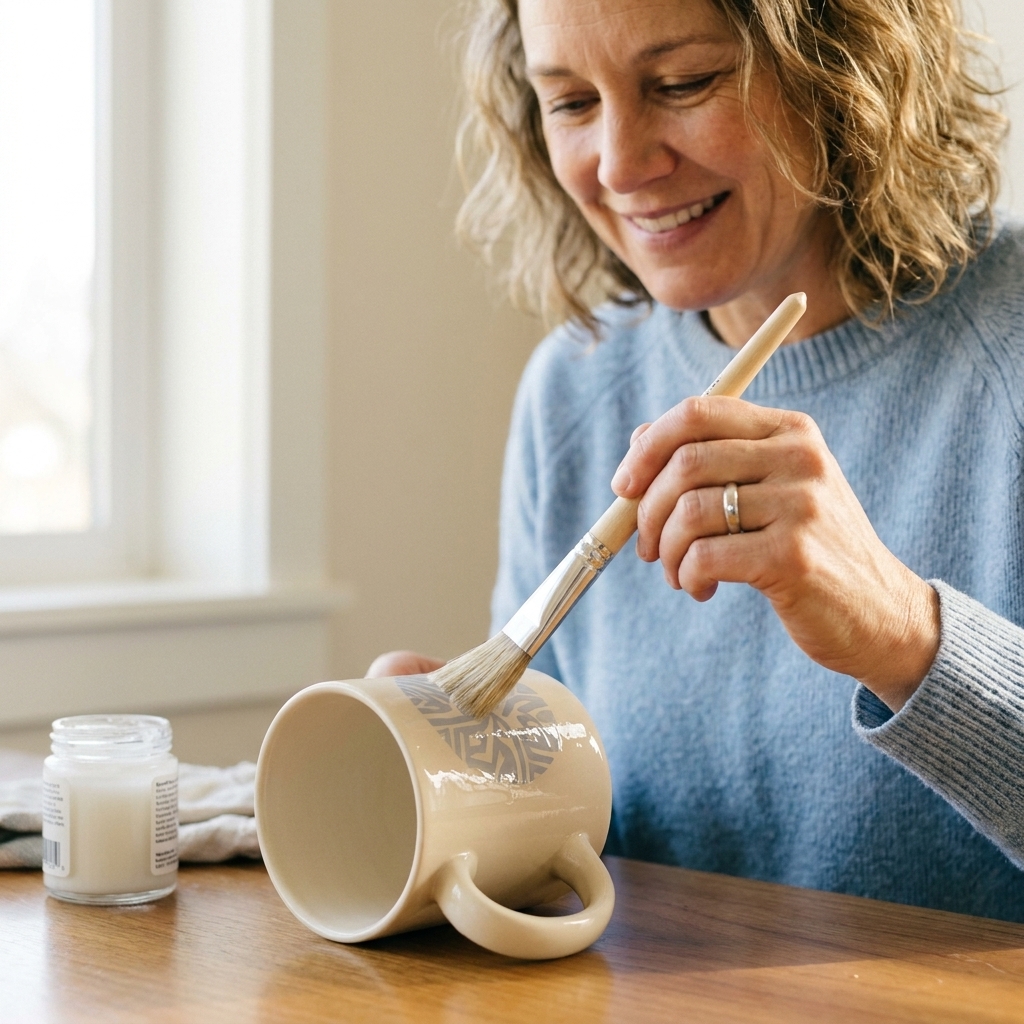
This is one of the easiest ways to add a protective layer. Use a soft brush and apply thin, even coats.
- Keep sealer away from the rim and inside of the mug.
- Apply 2 to 3 thin coats to reduce brush strokes and tackiness.
- Let each coat dry fully before adding the next.
- Allow a full cure per the label before washing.
My real-talk note: Results vary. High-heat cycles and harsh detergents can haze, soften, or peel some sealers over time. If you are aiming for long-term dishwasher use, gentle cycles still matter.
Option B: Clear acrylic spray sealer
A clear acrylic spray can give a smoother finish than brushing, especially over larger designs. Spray in multiple light coats to avoid drips and tackiness, and let it dry between coats. Use good ventilation and protect your workspace.
Option C: Epoxy resin
Epoxy can create a glossy, tough shell. It is a bigger project with mixing, leveling, and cure time, and it is not my first recommendation for beginners. But if you want maximum protection for the decal on the exterior of the mug, epoxy is the heavy hitter.
Important: Choose a resin that fits your project (some can yellow over time), follow the brand’s safety instructions, and avoid coating the rim or any area that could contact the mouth.
Care for your finished mug
Even sealed mugs last longer with gentle care.
- Best practice: hand-wash with a soft sponge and mild soap.
- If you use a dishwasher: top rack only, skip high-heat sanitize cycles, and keep it from rubbing against other dishes.
- Avoid soaking for long periods, especially in very hot water.
- Do not scrub the decal with abrasive pads.
Extra use note: Vinyl is decorative. It is not a great fit for commercial dishwashers or constant high-heat cycles. If your vinyl includes metallics, use extra caution with microwaving since metallic materials can be microwave-unfriendly.
If you are selling mugs, include care instructions so customers know how to keep them looking new.
Troubleshooting
My vinyl will not stick
- Wipe again with isopropyl alcohol. Oils and soap residue are usually the culprit.
- Make sure the mug is smooth. Some textured or powder-coated surfaces fight vinyl.
- Burnish more firmly and give it time to cure.
My vinyl lifts with transfer tape
- Peel the transfer tape back slowly at a low angle.
- Burnish the vinyl down again, especially small details.
- Try a less tacky transfer tape for delicate designs.
I have bubbles under the vinyl
- Small bubbles often settle during cure time.
- For stubborn bubbles, prick with a fine pin and burnish flat very gently.
My decal wrinkles on the curve
- Use a smaller design or break a large design into two parts.
- Warm the vinyl slightly and work from the center outward in short strokes.
- Avoid placing big rigid shapes too close to the mug’s steepest curve.
It did not survive the dishwasher
- Give the vinyl 72 hours to cure before washing (or follow your vinyl manufacturer’s guidance).
- Top rack only and avoid high-heat cycles.
- Consider sealing for extra protection, especially around edges.
Easy project ideas
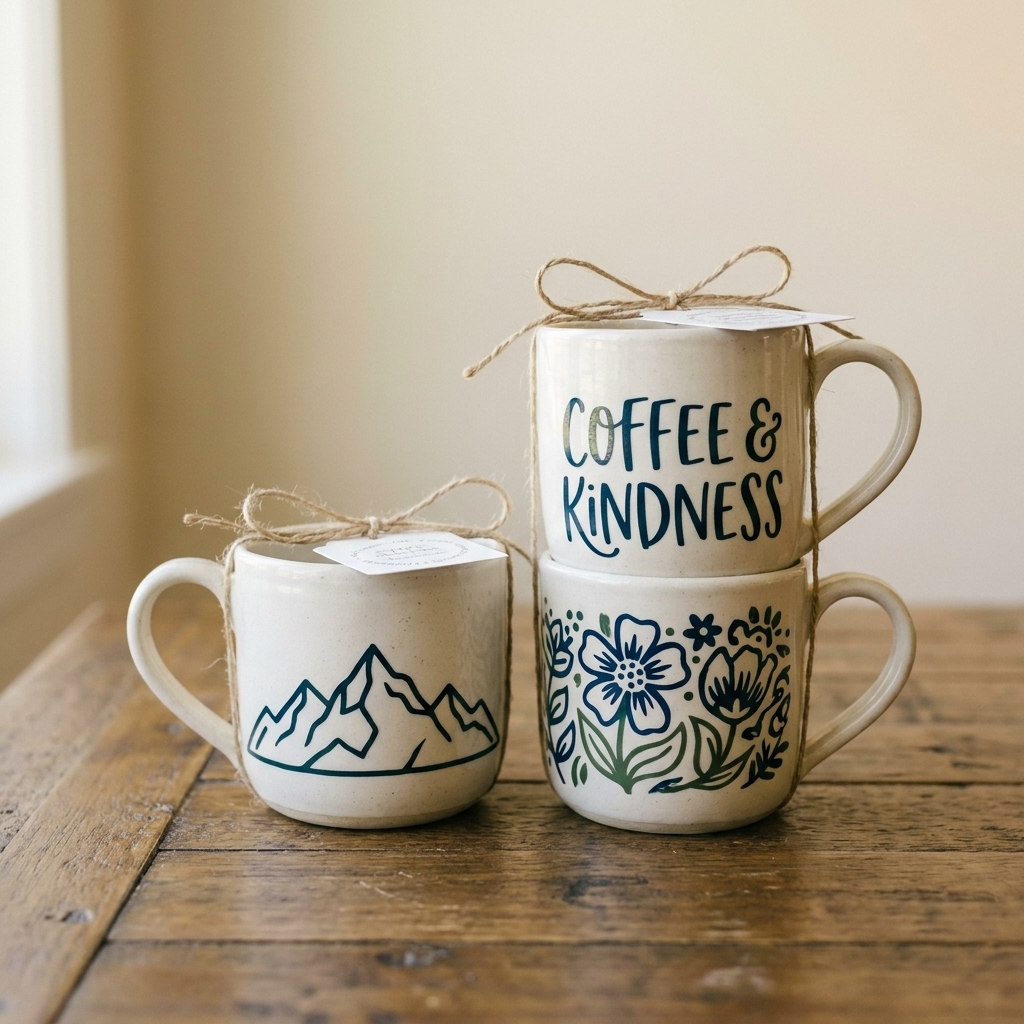
- Name + tiny icon: a first name with a small heart, star, or sprig.
- Kitchen set: matching mugs with different initials in the same font.
- Seasonal swap: one mug style, different decals for holidays.
- Teacher gift: a bold phrase like “Fueled by Coffee” with a simple coffee cup silhouette.
FAQ
Is permanent vinyl really dishwasher safe?
Permanent adhesive vinyl can hold up in many dishwashers, especially on the top rack, but dishwasher heat and abrasion are tough. For the best odds: prep with alcohol, apply carefully, let it cure for 72 hours (or per your vinyl brand), and consider sealing.
Should I use removable vinyl instead?
No. Removable vinyl is more likely to lift with water and handling. For mugs, use permanent adhesive vinyl.
Can I put vinyl on the drinking rim?
I do not recommend it. Keep vinyl and sealer away from the rim and the inside of the mug.
How long should I wait before using the mug?
Ideally 24 to 48 hours for gentle use, and 72 hours before washing, dishwashing, or sealing for best durability.
Final pep talk
If your first mug is not perfect, you are officially part of the club. Vinyl mug-making is one of those crafts where tiny improvements in prep and patience create huge jumps in durability. Start with a simple, bold design, keep your hands and mug surface clean, burnish like you mean it, and let it cure before you test it in the real world.
When you make one you love, you are going to want to put vinyl on every mug in your cabinet. Consider this your warning.