A beginner-friendly, start-to-finish tutorial for Cricut Print Then Cut sticker sheets, including kiss-cut vs die-cut, size limits, borders, calibration, set...
Maker Vinyl
Updated October 17, 2026
Cricut Design Space Canvas and Basic Tools
New to Cricut Design Space? Learn the Canvas layout, Upload and Text tools, plus how the Layers panel and Operation settings work so you can cut vinyl with confidence.

Harper Davis
Harper Davis is a lifelong DIY enthusiast and cutting-machine expert who loves helping beginners conquer Cricut Design Space. With over six years of experience running a custom vinyl shop, she shares practical tutorials, material guides, and creative inspiration.
If Cricut Design Space feels like a lot of buttons and not enough clarity, you are not alone. I started the same way, staring at the Canvas like it was going to blink first.
Once you understand a few key areas, the whole program gets way less intimidating and a lot more fun. This guide walks you through the Canvas layout, the tools you will use constantly, how to upload images, how to add text, and how to read the Layers panel so you can predict what your Cricut will do before you waste a single inch of vinyl.
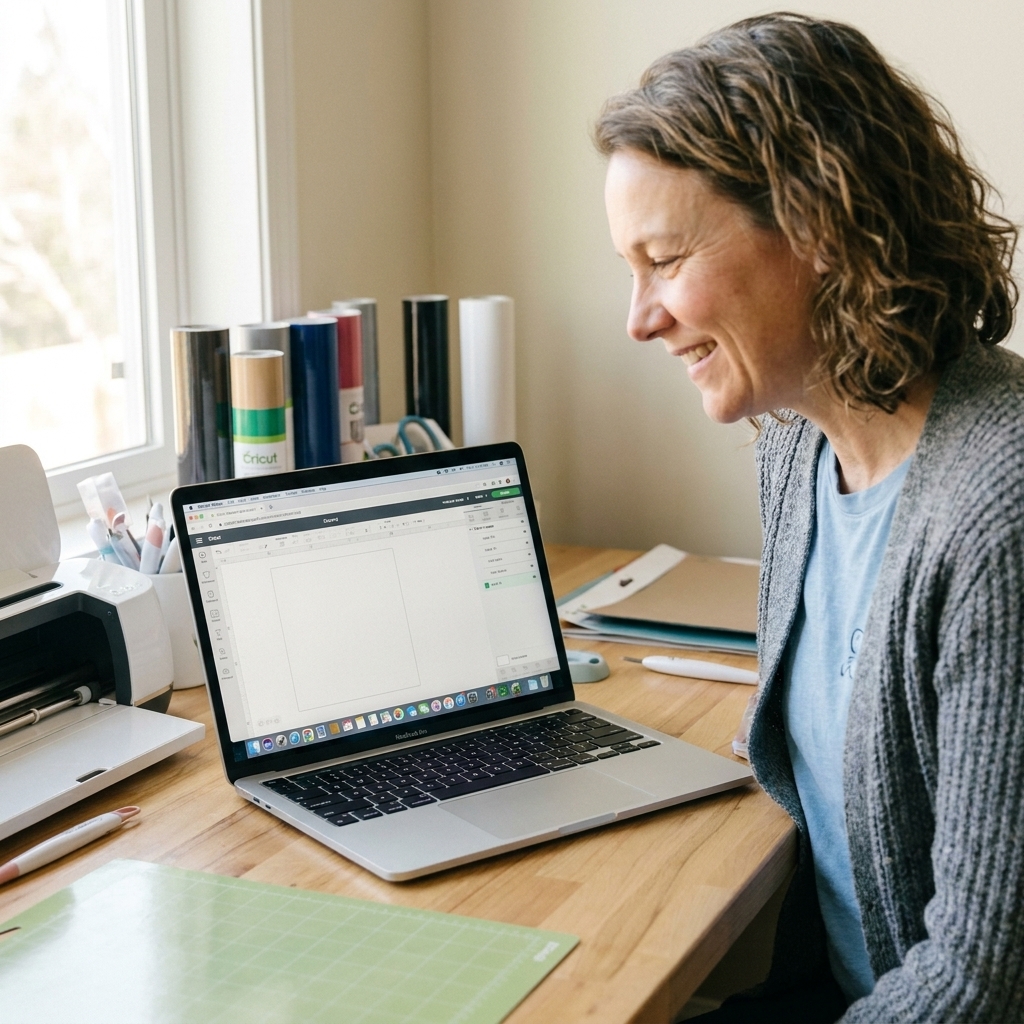
What you are looking at: the workspace
When you click New Project, you land on the Canvas. Think of the Canvas as your digital cutting mat. Anything you place here is what will eventually go to your Cricut.
The main areas you will use most
- Canvas: Your working area where you build the design.
- Left toolbar: Where you add things like text, shapes, and uploads.
- Top bar: Editing controls like undo/redo, alignment, size, rotate, position, and more.
- Layers panel (right side): A stack of everything in your design, in order.
- Color Sync (right side tab): Groups pieces by color, which is especially helpful for layered vinyl.
- Make: Takes you to mat preview and the next steps to cut (material setup, mirroring, and more depending on device/version).
My beginner tip: if you ever feel lost, click on one single element on your Canvas and watch what highlights in the Layers panel. That connection is the key to understanding everything else.
Navigating the Canvas
Zoom and pan
- Zoom in/out: Use the zoom control (often bottom left) or your trackpad/mouse wheel to zoom.
- Pan (move around): In most versions, you can click and drag the Canvas background to move your view. On a trackpad, two-finger scroll typically pans.
If your design “disappears,” it is usually not gone. Zoom out until you see it again, then select it from the Layers panel to bring it into focus.
Grid and measurements
The grid helps you size and line up designs. For vinyl projects, sizing is everything. For Basic Cut projects, a decal that is 3 inches wide on the Canvas will cut at 3 inches wide when your units and settings match what you intend.
Quick double-check: confirm you are working in the right units (inches vs centimeters) and that your layer Operation is correct (more on that below), especially if you are switching between vinyl cuts and stickers.
Selecting objects
- Click: Selects one layer.
- Shift-click: Selects multiple layers.
- Click-drag a selection box: Great for grabbing a whole cluster at once.
When in doubt, select layers using the Layers panel. It is more precise, especially with tiny details.
The left toolbar
The exact icons can vary slightly by device and updates, but the core tools stay the same.
Upload (your gateway to SVGs and images)
Upload is where you bring in files from your computer or device. For Cricut crafts, you will most commonly upload:
- SVG: Best choice for cut files. Clean lines, resizes beautifully, and often arrives already separated into layers.
- PNG: Common for Print Then Cut stickers. Can work for cutting if it is a simple silhouette with a clean edge.
- JPG: Typically for Print Then Cut. Not ideal for clean cut lines because it is often compressed.
One of the biggest beginner frustrations is uploading a JPG expecting a perfect cut file. If your goal is cutting vinyl, look for an SVG when possible.
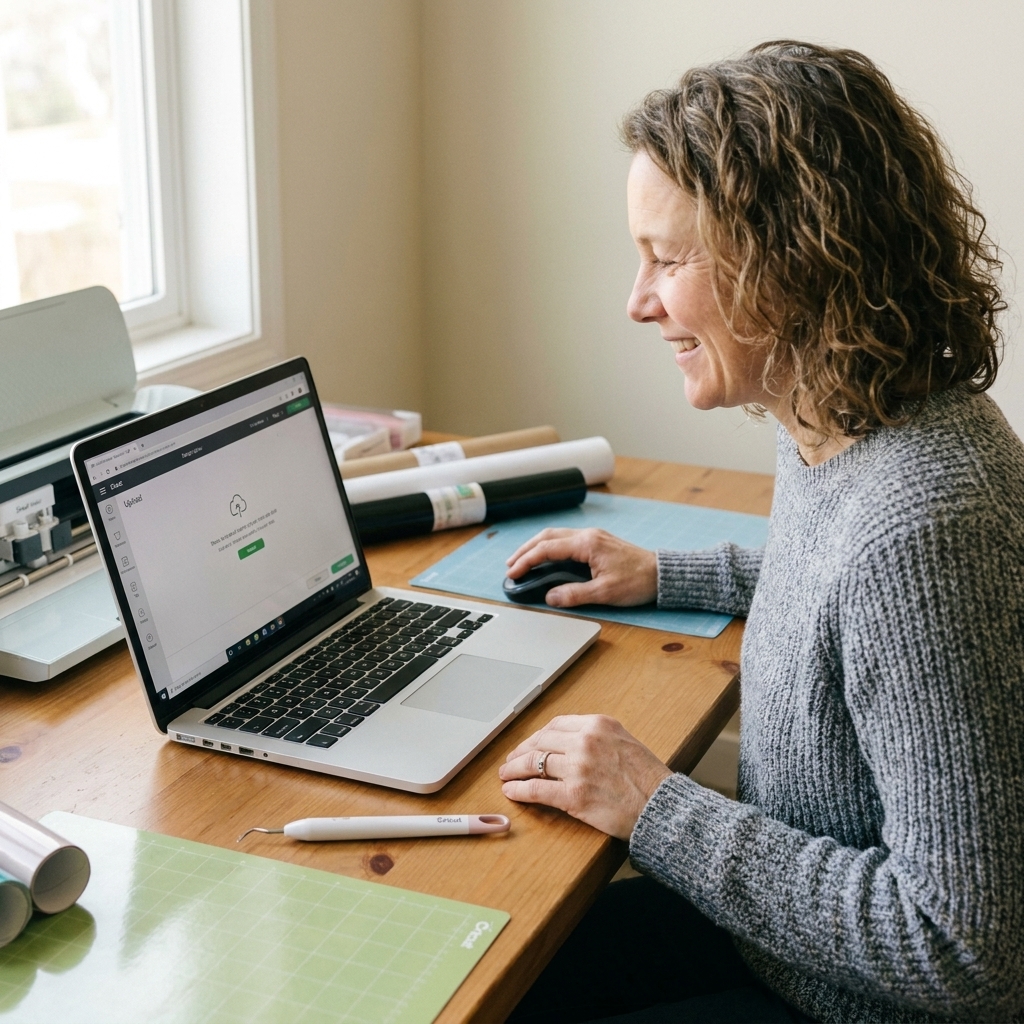
How to upload an image
Here is the simplest workflow that keeps you out of trouble:
- Click Upload on the left toolbar.
- Choose your file (SVG, PNG, JPG) and open it.
- If it is an SVG, Design Space usually loads it as a ready-to-insert cut file. Click Insert or Add to Canvas (wording varies by version).
- If it is a PNG or JPG, you may be asked to pick a type (simple, moderately complex, complex). Then you may remove the background. When in doubt, zoom in and make sure the edges look clean.
- Save your upload, then select it and click Insert or Add to Canvas to place it on the Canvas.
Quick check before you cut
- Click the design and check Width and Height.
- Look in Layers to confirm it is what you expect (one layer or multiple layers).
- Check the layer Operation. Vinyl cuts should typically be Basic Cut, while stickers and printable designs are usually Print Then Cut.
- If you expected separate colors but got one flat layer, you may have uploaded the wrong file type or a flattened image.
The Text tool
The Text tool is easy to start with, but fonts can be tricky. The number one goal with vinyl is clean, weedable letters.
Adding text
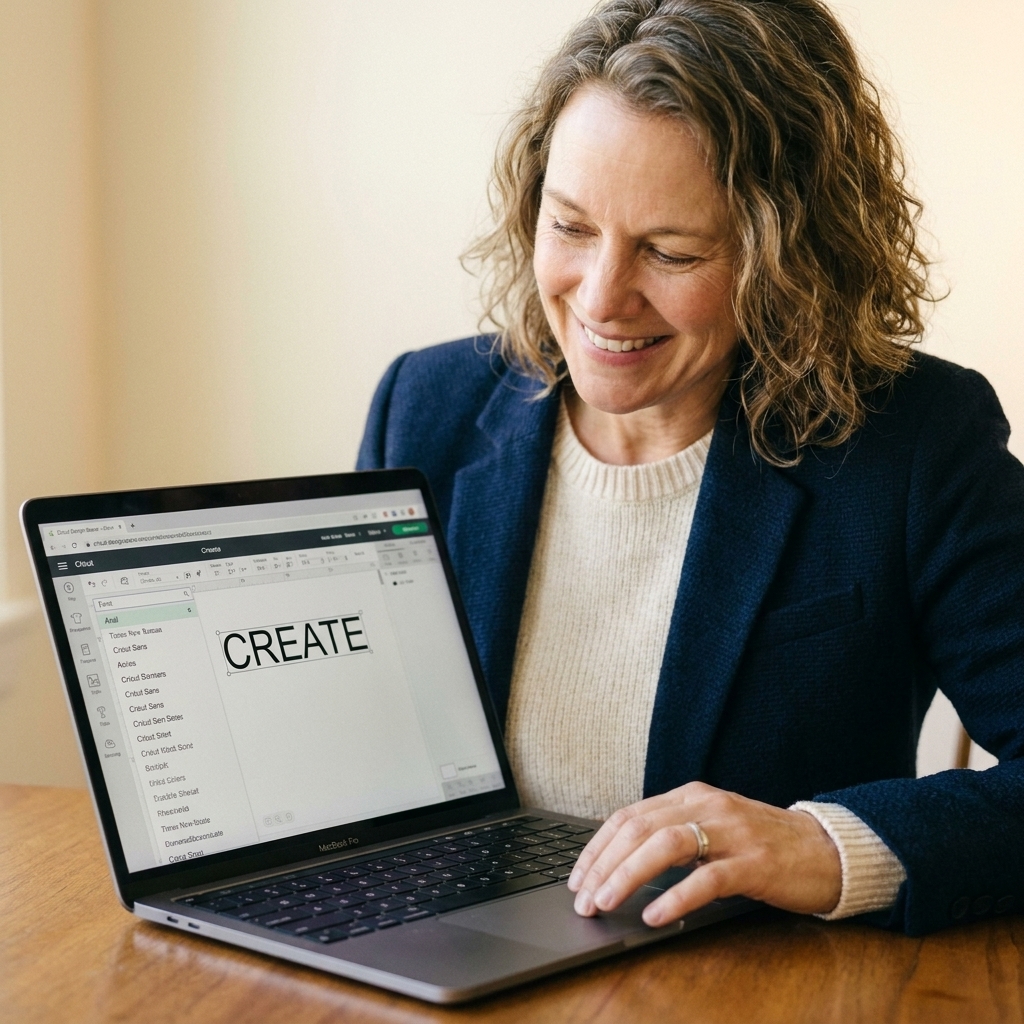
- Click Text on the left toolbar.
- Type your word or phrase.
- Use the top bar to pick your font, adjust size, and set the style (regular, bold, etc. when available).
Spacing and merging text
If you only remember one text tip from me, make it this: when script letters touch, you usually need to merge them.
Letter spacing and line spacing
Design Space has tools to adjust spacing, but results depend on the font.
- Letter spacing: Controls the space between letters. For cursive fonts, you will often tighten spacing so letters overlap.
- Line spacing: Controls the space between lines in multi-line text.
Weld, plus a newer option: Unite
Many script fonts show as separate letter shapes. If you cut them as-is, your Cricut may cut each overlap line, leaving tiny slivers to weed.
You have two good options:
- Weld: Permanently merges selected layers into one shape.
- Combine > Unite: Merges selected layers into one shape too, but it is usually reversible (you can often Release or Undo), unlike Weld. Exactly how reversible it is can vary by version and what edits you do next.
My simple workflow:
- Select your text layer.
- If your text is still editable, choose Advanced then Ungroup to Letters (if needed) and adjust letter spacing until letters overlap the way you want.
- Select all the letters.
- Use Combine > Unite (or Weld if Unite is not available).
After that, your word becomes one cut piece, which usually means cleaner weeding and smoother results on vinyl decals and shirts.
The Layers panel
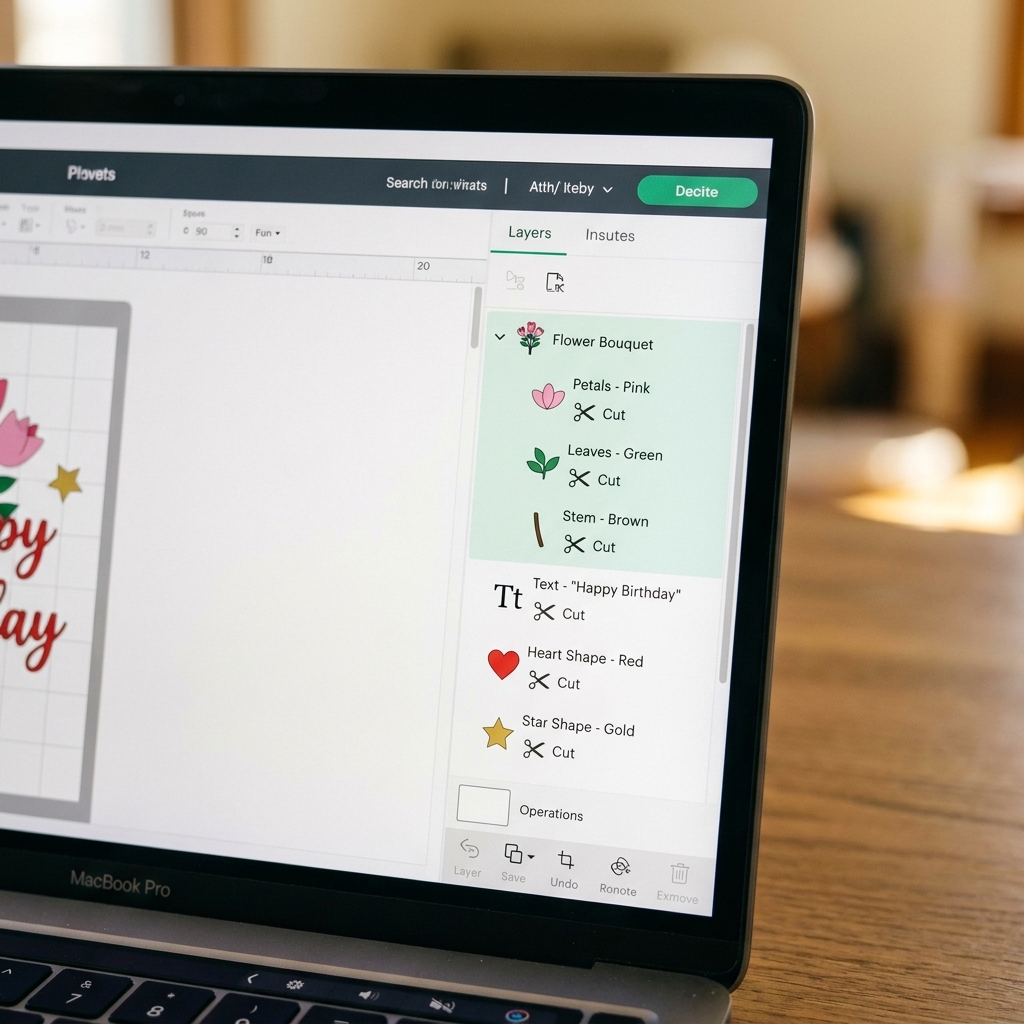
The Layers panel is the difference between feeling in control and feeling like Design Space is making decisions behind your back. It shows every element in your project, stacked in order.
How to read layers
- Top of the list: Usually sits “in front” visually.
- Bottom of the list: Usually sits “behind” visually.
- Nested items: If you see a little arrow, you can expand and collapse groups.
When you click something on the Canvas, the matching layer highlights. If you cannot click a tiny piece on the Canvas, select it from Layers instead.
Hide and Lock
- Hide: Temporarily turns a layer off. If something “vanishes,” check that it is not hidden.
- Lock: Keeps a layer from moving while you work. If you cannot select or drag something, check whether it is locked.
Group, Attach, Weld, and Flatten
These four are the most common “why did my project change?” culprits. Here is the beginner translation.
Group
Group keeps items together on the Canvas so you can move or resize them as a set. It does not control how they cut on the mat.
Attach
Attach controls placement on the mat. If you want your design to cut exactly as arranged (like a name centered inside a circle), use Attach.
Vinyl example: You arrange “BABY” inside a rectangle. Group will keep it together visually, but Attach is what tells the Cricut to cut it in that exact arrangement.
One more place Attach matters: if you are using Draw (pens/markers), Attach helps keep drawn elements positioned exactly where you placed them on the Canvas.
Weld
Weld permanently merges selected layers into one shape. Great for script text and for making a single solid decal from overlapping shapes.
If you have Combine > Unite, you can often use that instead for a similar result with the option to Release or Undo more easily.
Flatten
Flatten turns multiple layers into one Print Then Cut layer. This is for stickers and printable projects, not standard vinyl cutting. If you accidentally flatten a vinyl design, it may push you toward printing instead of cutting.
Operation: Basic Cut vs Print Then Cut
This setting is easy to miss, and it explains a lot of beginner confusion.
- Basic Cut: The Cricut cuts the shape out of vinyl, cardstock, HTV, and similar materials.
- Print Then Cut: You print the design on an inkjet printer first, then the Cricut cuts around it. This is what most stickers use.
Where to check: click a layer, then look for Operation in the edit controls (placement can vary by version). If you meant to cut vinyl and you see Print Then Cut, something is off, often an accidental Flatten or the wrong file type.
Color Sync
When you are doing layered vinyl, Color Sync groups your layers by color so you can see what will cut from each roll.
- Need to change which piece is which color? You can drag layers between colors in Color Sync.
- If your project is supposed to be one color but shows up as multiple colors, check whether pieces were accidentally set to different colors.
Basic editing controls
Resize the smart way
- Use the width and height boxes for exact sizing.
- Keep the lock on if you want to maintain proportions. Turn it off only when you intentionally want to stretch something.
Position for precision
The Position fields let you place an item at an exact X and Y location on the Canvas. You may not need this daily, but it is handy for consistent decal sizing when you are making multiples.
Align for clean layouts
Select two or more layers, then use Align to center, line up, or evenly space them. This is one of those tools that makes beginner projects look instantly more polished.
Save your project
Design Space saves to the cloud, which is convenient once you trust it. Still, I recommend getting in the habit of naming your project early (top of the window) and saving as you go, especially before you click Make.
Before you click Make
- Confirm size: Measure the surface (tumbler, shirt, sign) and match it on the Canvas.
- Check Operation: Basic Cut for most vinyl, Print Then Cut for stickers.
- Check Layers: Make sure nothing is hidden behind something else by accident.
- Merge scripts: If letters overlap, use Unite or Weld to avoid messy cut lines.
- Attach layouts: If placement matters, attach it.
- Mirror for HTV: If you are cutting iron-on, you will need to mirror before cutting (Design Space prompts you on the mat screen, but I still like to say it out loud).
Troubleshooting
My image uploads as a solid rectangle
This usually happens with a JPG or PNG that has a background you did not remove. Re-upload and remove the background, or find an SVG version of the design for cutting.
My design looks fine on Canvas but rearranges on the mat
Use Attach. Grouping is not enough to control mat placement.
My script font is impossible to weed
Tighten letter spacing and use Unite or Weld. Also consider slightly increasing the size. Tiny script cuts are naturally harder to weed.
I cannot select a layer
Click it in the Layers panel instead. Also check whether it is locked, hidden, or buried inside a group.
A simple practice project
If you want a low-stakes way to learn, try this:
- Add a shape (like a circle).
- Add text with a simple font (try a basic sans serif).
- Center the text on the circle using Align.
- Attach the text and circle.
- Duplicate the whole thing once so you can practice selecting multiple layers and keeping your workspace organized.
What you should see at the end: in the Layers panel, each badge should show the circle and text, and the set should be attached so it stays together on the mat.
You do not even have to cut it. The goal is to get your hands comfortable with selecting, resizing, aligning, and reading your Layers panel.
Next steps
Once the Canvas feels familiar, everything else becomes easier: choosing the right cut setting, using offset, layering vinyl, and making clean decals you are proud to give away.
In the next part of this series, we will tackle the Make screen, including mat preview, mirroring, material settings, and how to avoid the classic “my vinyl didn’t cut through” problem.