A beginner-friendly walkthrough of Cricut Print Then Cut, including calibration, bleed, sticker paper setup, and clean kiss-cut and die-cut results at home.
Maker Vinyl
Updated October 17, 2026
Print Then Cut Stickers in Cricut Design Space
Learn Cricut Print Then Cut step by step: design a sticker sheet, print with correct scaling, and cut clean kiss-cut or die-cut stickers with better settings and troubleshooting.

Harper Davis
Harper Davis is a lifelong DIY enthusiast and cutting-machine expert who loves helping beginners conquer Cricut Design Space. With over six years of experience running a custom vinyl shop, she shares practical tutorials, material guides, and creative inspiration.
If you have ever watched your Cricut slice straight through a sticker design that you wanted to peel like a pro, you are in the right place. Print Then Cut is the magic feature that lets you print full-color designs on your home printer, then have your Cricut cut them precisely. Once you do it a couple times, it feels like a superpower.
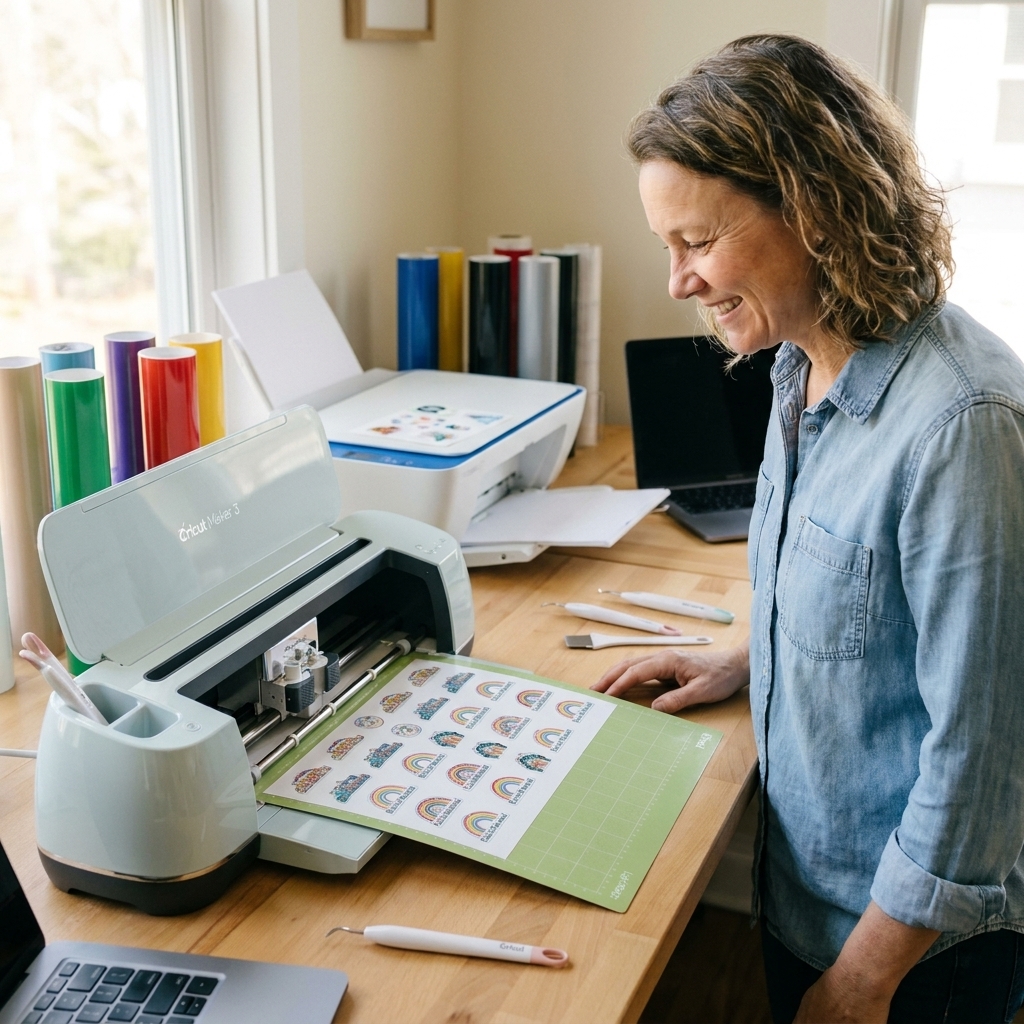
In this tutorial, I will walk you through the whole process to make a sticker sheet, including kiss-cut and die-cut options, plus all the little settings that save sticker paper and sanity.
Before you start
Print Then Cut is for designs you print first, then cut. Think sticker sheets, gift tags, printable cards, and printable heat transfer vinyl that is specifically made for Print Then Cut (always follow your brand’s directions).
Important limits
- Not every Cricut supports it: Cricut Joy (original) does not do Print Then Cut. Cricut Joy Xtra does.
- Size limits are real: Print Then Cut has a maximum printable area based on your machine model, paper size (Letter vs A4), and current Design Space rules. Design Space will show the exact allowed area when you click Make It. As a rough real-world example, many Letter-size setups land around about 6.75 x 9.25 inches of usable Print Then Cut area, but your screen is the source of truth.
- Calibration matters: If your cuts are drifting off the edge of your stickers, calibration is usually the fix.
- Lighting matters: The Cricut sensor reads the black registration border and corner marks. Bright direct sunlight, glare, or heavy shadows can cause read errors.
Supplies you will need
You can absolutely make great stickers without buying a whole craft store aisle. Here is what I recommend for clean, consistent results.
Must-haves
- Cricut machine that supports Print Then Cut
- Computer or mobile device with Cricut Design Space
- Inkjet printer (most printable sticker paper is made for inkjet). Laser can work only if your sticker paper specifically says laser-safe.
- Printable sticker paper (matte is easiest to start with)
- Cricut mat: LightGrip (blue) works for most sticker paper. If your sheet lifts or shifts while cutting, move up to StandardGrip (green). If your paper is delicate and curls, stick with LightGrip.
- Brayer or scraper to adhere the sheet smoothly
- Small scissors or trimmer for trimming if needed
Nice-to-haves
- Clear laminate (self-adhesive) for water resistance and scratch resistance
- Printable vinyl for a more durable sticker than basic paper
- Fine Point Blade in good condition (dull blades can tear sticker paper)
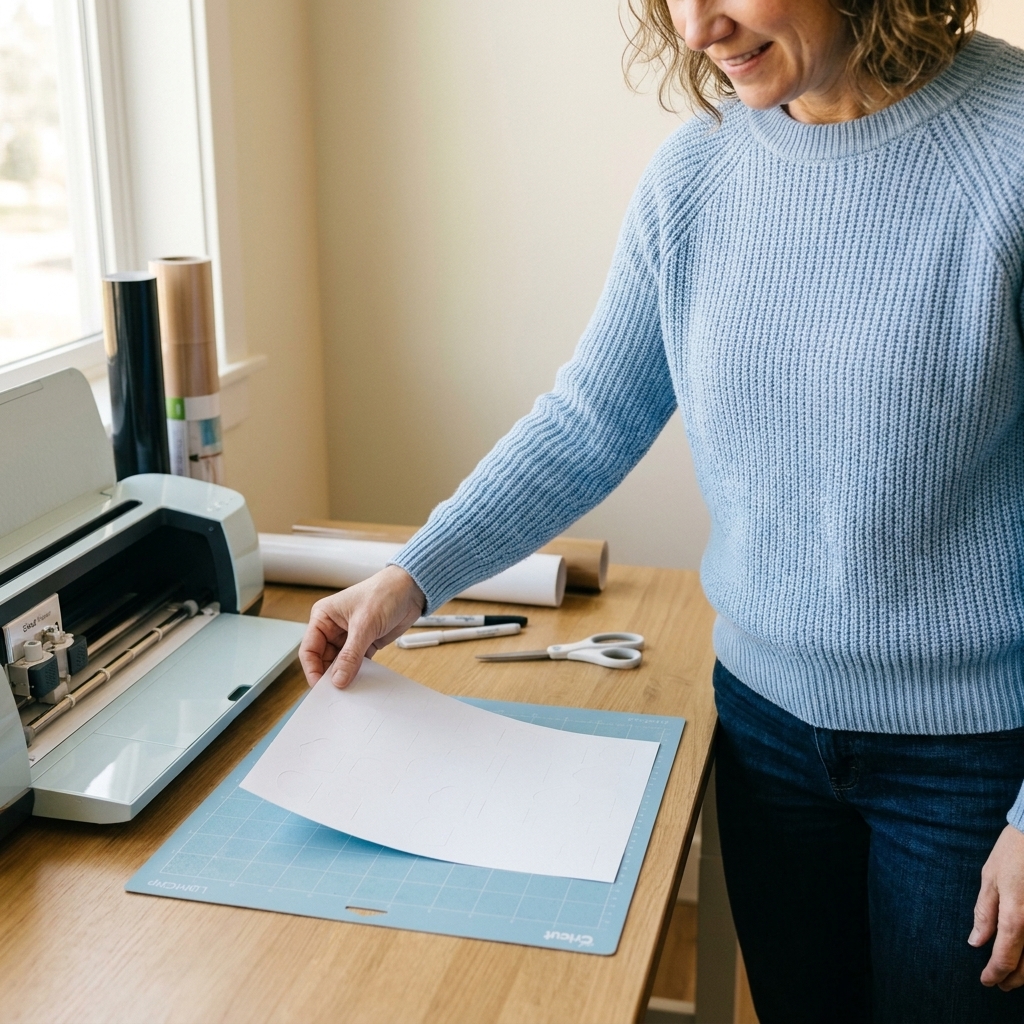
Beginner tip: Start with matte sticker paper first. Glossy paper and shiny laminate can reflect the sensor light and cause Print Then Cut read errors unless you adjust your lighting.
Step 1: Set up your sheet
You can design stickers from scratch, import a PNG, or use shapes and text. The core idea is the same: your stickers must be set to Print, and you need a plan for whether you want kiss-cut or die-cut.
Option A: Upload sticker art (PNG)
- Open Cricut Design Space and start a new canvas.
- Click Upload and upload your PNG.
- Choose Print Then Cut Image when prompted.
- Insert the image onto your canvas.
Option B: Make simple stickers
- Add a shape (circle, rounded square, etc.).
- Add text on top.
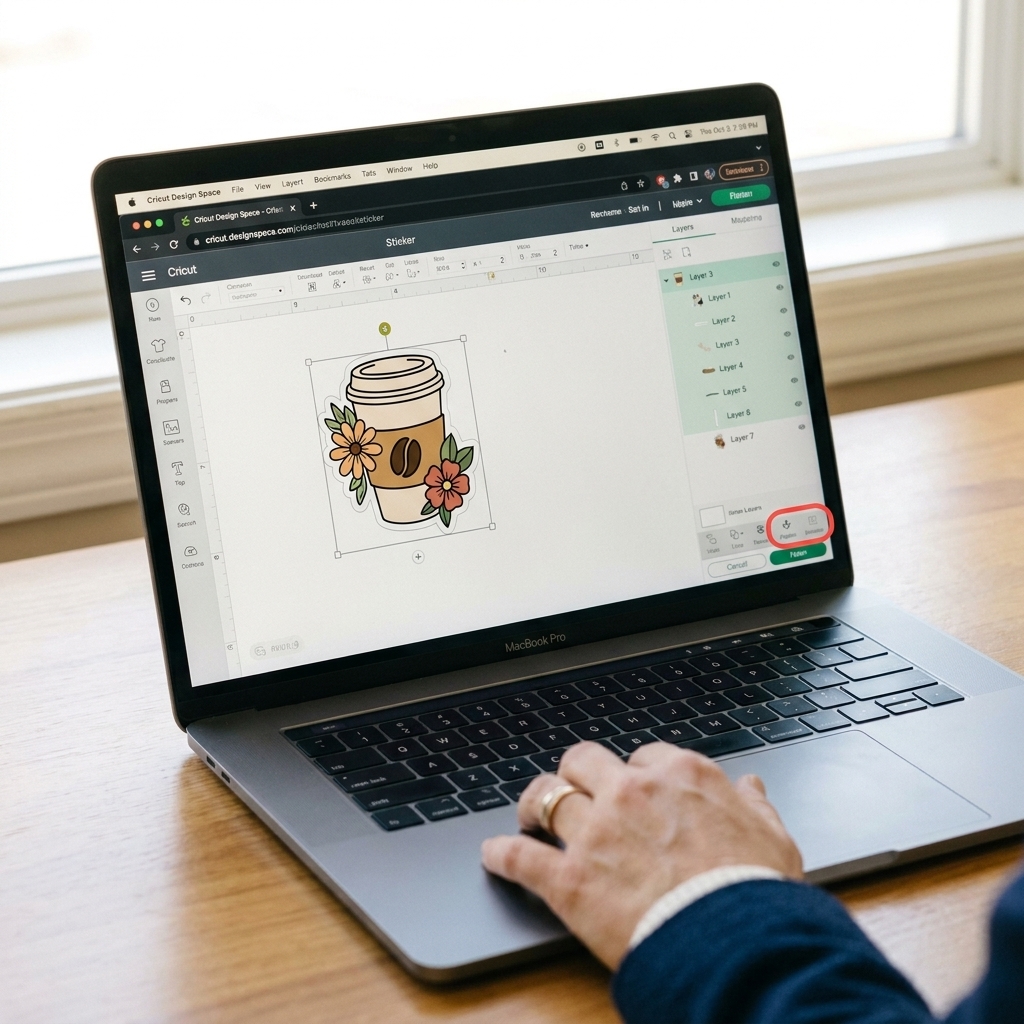
- Select both and choose Flatten to make it printable as one sticker.
Why Flatten matters: If you do not flatten, Design Space may treat pieces as cut layers instead of a printed sticker. Flatten tells Cricut: print this exactly like you see it, then cut around it.
Step 2: Add a white border (optional)
If you love that clean sticker look with a white outline, Design Space can do it.
- Select your sticker design.
- Click Offset.
- Choose a small offset (for most stickers, a little goes a long way) and set it to Rounded corners if you want a softer look.
- Set the offset color to white (or any color you want for your border).
- Select the border and the sticker art, then click Flatten so it prints as one piece and cuts as one sticker.
Quick rule: Offset creates the border. Flatten is what makes the border actually print.
Step 3: Kiss-cut vs die-cut
These two terms get tossed around a lot, so here is the simplest way to think about it:
- Kiss-cut: Cricut cuts through the sticker layer but not through the backing. You peel stickers off the sheet.
- Die-cut: Cricut cuts all the way through the sticker and backing. Each sticker becomes its own individual piece.
Set up a kiss-cut sheet
- Arrange your stickers on the canvas with some breathing room between each one.
- Keep each sticker as its own Flattened printable sticker (each sticker: print + cut).
- Do not add an outer cut shape around the whole page if you want a traditional sheet.
Set up die-cut stickers
- Keep each sticker as its own flattened printable image.
- On Make It, you can print multiple on one page, then choose a cut setting that cuts through the backing.
Want a cut-out sheet shape too?
If you want the entire printed sheet cut into a specific rectangle or shape after kiss-cutting the stickers, you can do a two-pass method:
- First run: kiss-cut the stickers using a lighter pressure setting.
- Second run: place the sheet back on the mat in the same position and run a heavier cut that cuts the outer border shape all the way through.
Real talk: Re-loading the mat for a second pass takes practice. If you are brand new, master a standard kiss-cut sheet first. You will get gorgeous results with fewer variables.
Step 4: Print settings
When you click Make It for Print Then Cut, Design Space will walk you through printing.
Bleed: on, most of the time
Bleed slightly extends the color beyond the cut line. This helps prevent tiny white halos if the cut is off by a hair.
- Use bleed: for most stickers, especially full-color designs.
- Turn bleed off: if you are doing a white border sticker on purpose and you want crisp edges without color spill.
Choose a high print quality
In your printer dialog, select a higher quality option like Best or High. Sticker paper is not cheap. You want those colors to pop.
Step 5: Print the right way
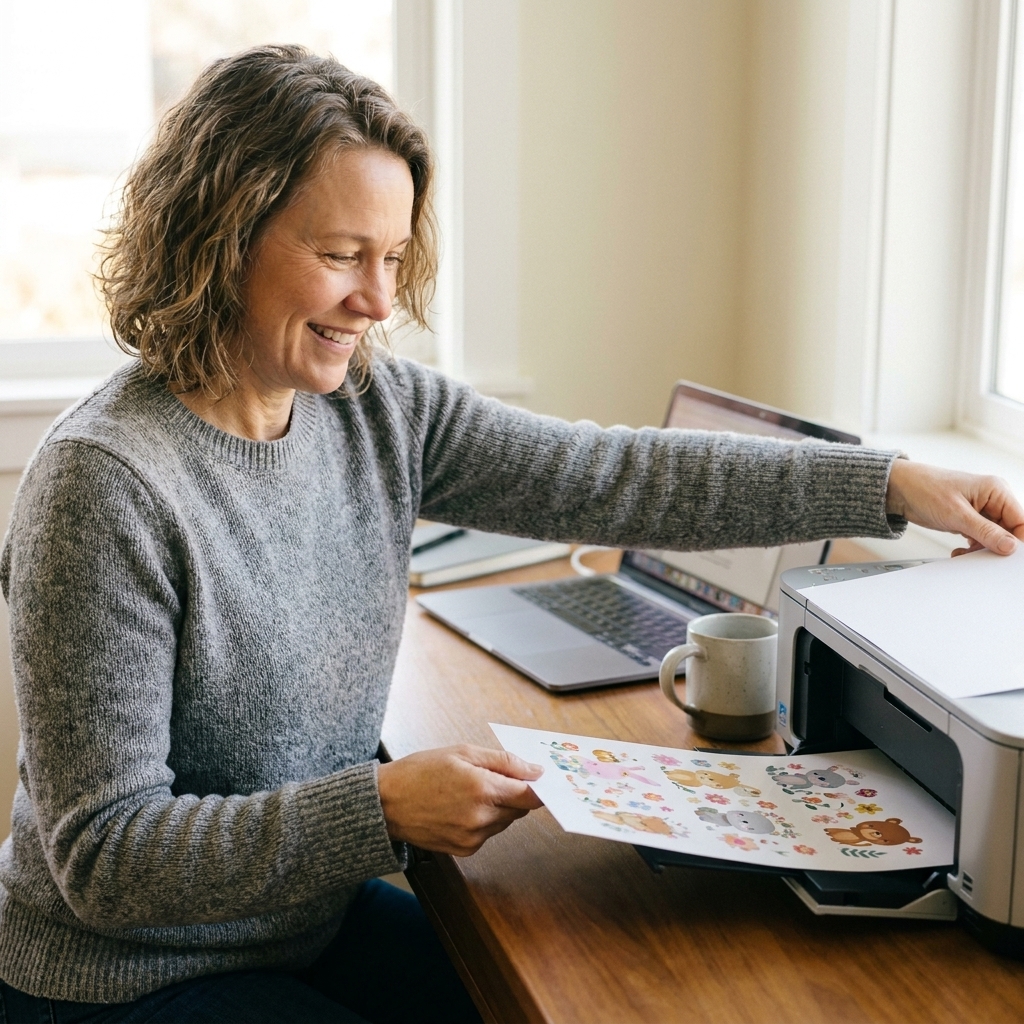
This is where most beginners accidentally sabotage themselves, so let me save you a few sheets of sticker paper.
Do this
- Confirm paper size: Make sure your printer is set to the same size you are using (Letter vs A4). A mismatch can throw off alignment.
- Print at 100% size: no scaling, no fit-to-page.
- Turn off borderless printing: Borderless modes can silently scale your print.
- Use the correct paper type: matte photo paper, presentation paper, etc., depending on what your printer offers.
- Let the ink dry: at least 10 to 15 minutes before touching it. Longer if you plan to laminate.
Avoid this
- Do not trim off the black registration border or corner marks. The Cricut needs them.
- Beginner rule: Print from Design Space to preserve exact scaling and the registration marks. (Advanced workflows like printing to PDF can work, but they also introduce more ways to accidentally scale.)
If your ink smears: switch to a less-saturated print mode, try a different sticker paper, or give it more dry time. Some glossy papers take longer to set.
Optional: Laminate for durability
If you want your stickers to resist scratches and light moisture, clear laminate is a game changer. It also makes colors look richer. The tradeoff is that shine can sometimes make the sensor cranky.
How to laminate smoothly
- Make sure your printed sheet is fully dry.
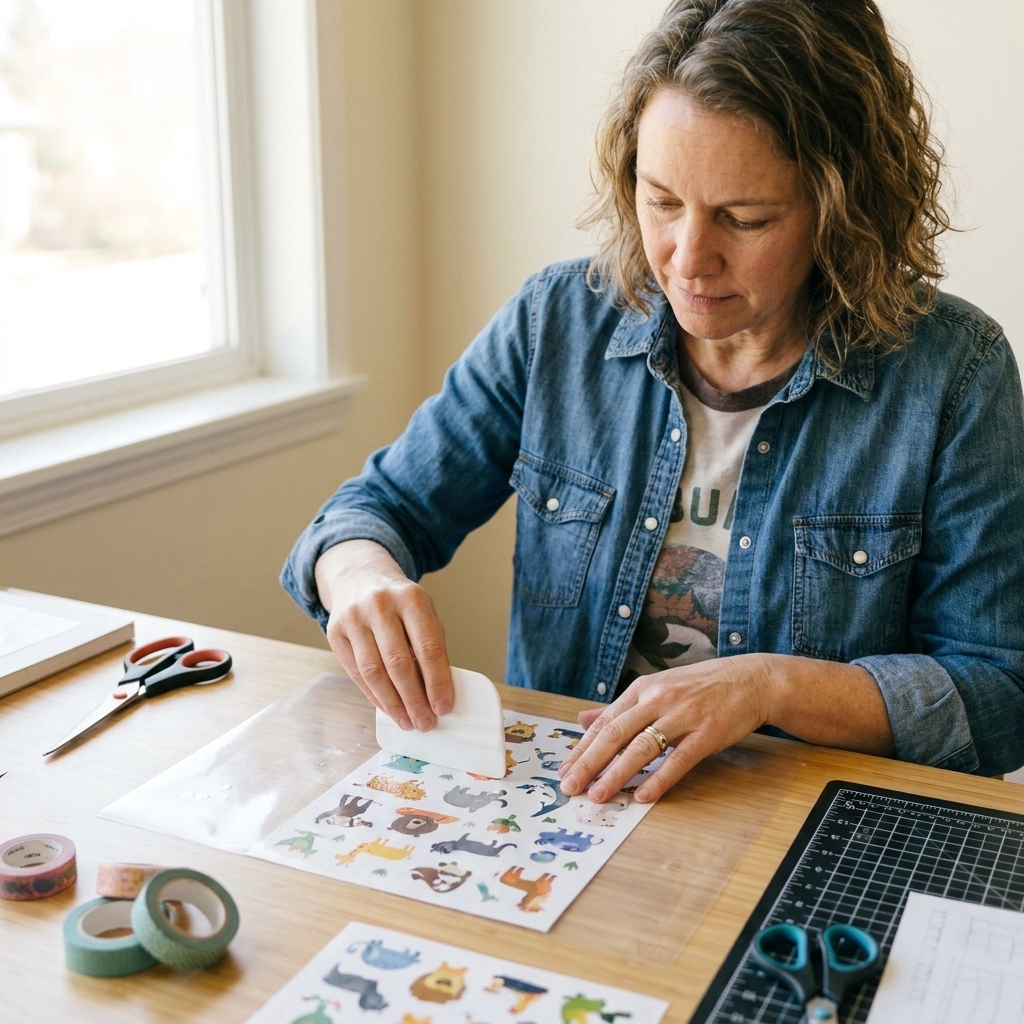
- Cut a piece of self-adhesive laminate slightly larger than the printed area.
- Peel back a small section of the laminate backing and tack it to the top edge.
- Use a scraper or squeegee to apply slowly, pushing air out as you go.
Glare fix: If your Cricut struggles to read the marks on glossy laminate, change your lighting first. Softer, indirect room lighting often helps. A popular workaround is placing small pieces of matte tape over the printed registration border (not over your stickers). If you try it, test first, because tape thickness and sheen can affect results.
Step 6: Put it on the mat
Alignment on the mat affects everything. I like to say: the sensor can do a lot, but it cannot fix a crooked page.
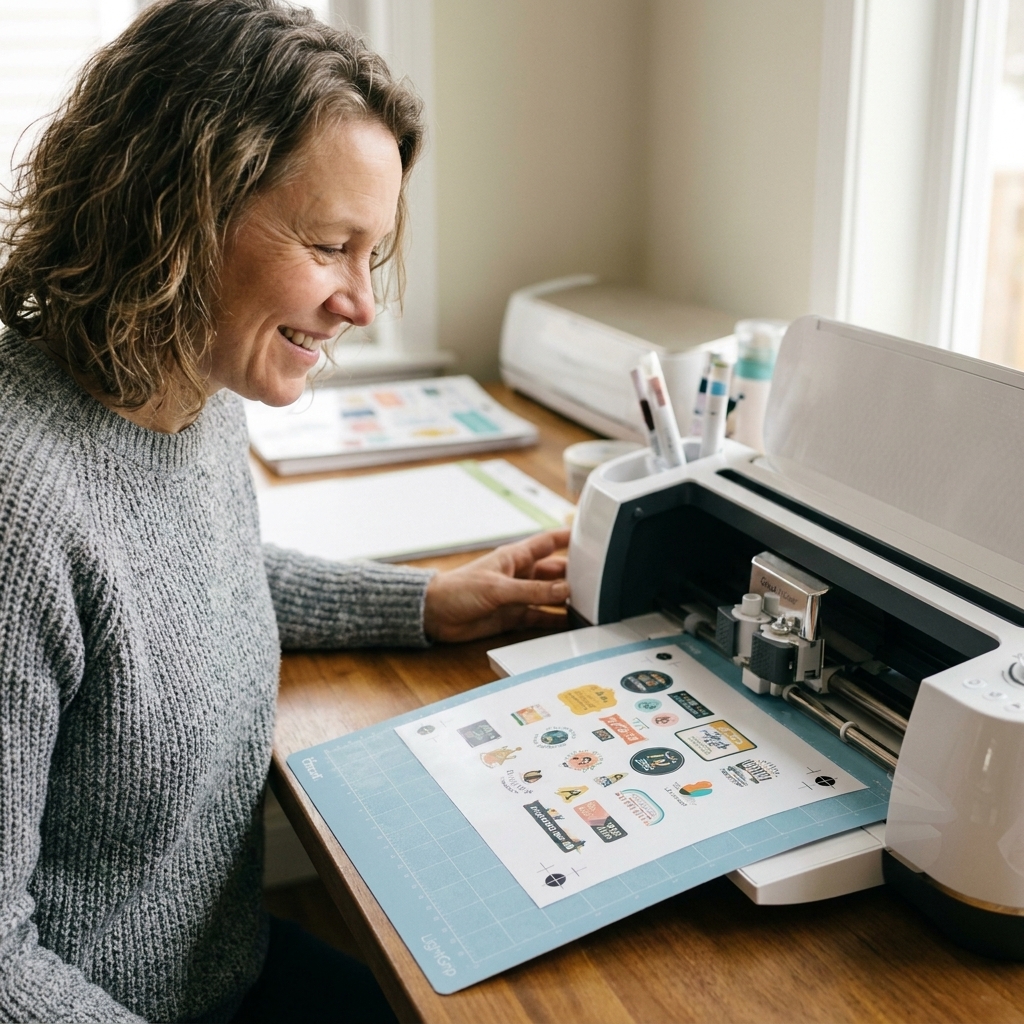
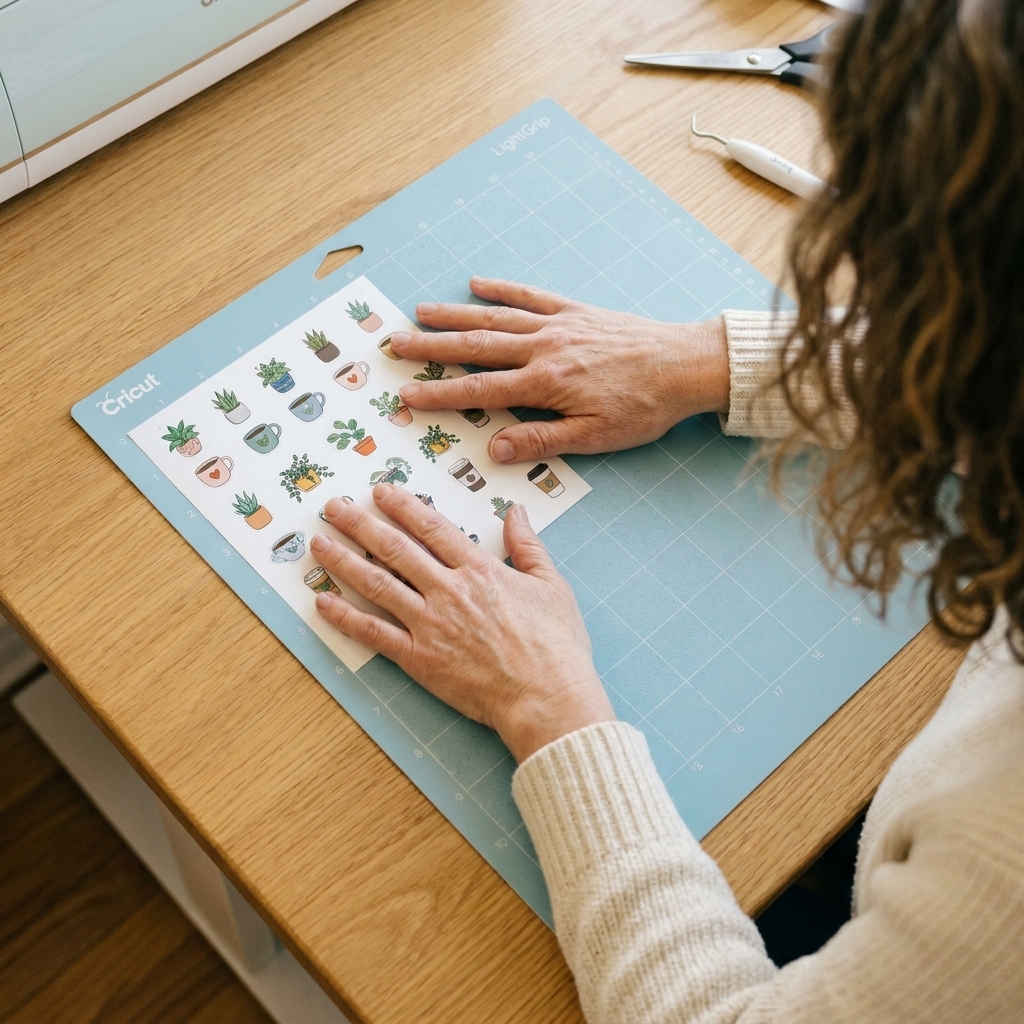
- Place the sticker sheet in the top left corner of the mat, lined up with the grid.
- Press it down gently, then use a brayer to adhere it evenly.
- Make sure there are no bubbles, lifted corners, or lint on the mat.
Step 7: Calibrate
If you have never calibrated Print Then Cut on your machine, do it before you burn through a whole pack of sticker paper.
How to calibrate
- In Design Space, open the menu and go to Calibration.
- Select Print Then Cut.
- Follow the prompts to print the calibration sheet and cut it.
- Enter the cut line number and letter that look most accurate.
My rule: If your cuts are consistently offset by the same amount, calibrate. If your cuts are randomly wrong, look at lighting, mat placement, and paper flatness.
Quick checklist
- Paper size matches (Letter vs A4)
- Printed at 100% (no scaling, no borderless)
- Bleed on or off is intentional
- Sheet is straight on the mat
- Lighting is even (no glare on glossy materials)
- Calibration is done if cuts are off
Step 8: Cut your stickers
After your mat is loaded, your Cricut will scan the registration border and corner marks, then cut.
Cut settings to start with
- Matte sticker paper: start with a Sticker Paper material setting if you have it. If not, choose a light paper setting and do a small test.
- Printable vinyl: start with a Printable Vinyl setting if available. Begin with Default or Less pressure, then increase only if needed.
- Laminated sheets: you usually need a bit more pressure than unlaminated sheets.
Pressure guidance (the practical version)
- For kiss-cut: aim for the sticker to lift cleanly while the backing stays uncut. If you are slicing the backing, reduce pressure. If stickers will not peel, increase pressure a notch.
- For die-cut: you want a clean cut through sticker and backing. Increase pressure gradually until it pops out cleanly.
Test without wasting a page
If your sheet has extra margin space, you can place a tiny test sticker in the corner of your design and see how it peels. If you are using expensive printable vinyl, this one small step can save you a lot of money.
Brand reality check: Cut settings vary a lot by sticker paper brand and whether you laminated. Treat your first run like a quick experiment, then save your winning setting as a custom material if your machine supports it.
Step 9: Peel and store
Once the cut finishes, unload the mat and remove the sheet carefully. I recommend bending the mat away from the paper, not the other way around, to prevent curling.
- Store finished sticker sheets flat in a folder or plastic sleeve.
- If you laminated, give the adhesive a little time to settle before heavy handling.
- If you are selling stickers, keep them away from heat and humidity for best results.
Troubleshooting
Cricut cannot read the marks
- Reduce glare. Move away from windows or direct lights.
- Make sure the sheet is not wrinkled or lifting off the mat.
- Clean your sensor area gently and make sure the mat is loaded straight.
- If you laminated, try softer lighting, matte laminate, or the matte-tape workaround (test first).
Cuts are off center
- Run Print Then Cut calibration.
- Confirm you printed at 100% with no scaling and no borderless mode.
- Confirm your printer paper size matches your actual sheet (Letter vs A4).
- Check that your paper is straight on the mat.
Paper is tearing or edges look fuzzy
- Replace a dull blade.
- Reduce pressure or choose a lighter material setting.
- Make sure the paper is stuck down well with a brayer.
Stickers will not peel cleanly
- Increase pressure slightly or select More pressure in the cut screen.
- Try a different sticker paper setting.
- Make sure you are using the Fine Point blade, not a damaged tip.
Quick FAQ
Do I need Cricut Access?
No. You can upload your own artwork and use Print Then Cut without Cricut Access. Cricut Access just gives you additional images, fonts, and projects.
Can I make waterproof stickers?
You can make more water-resistant stickers by using printable vinyl plus laminate. True waterproofing depends on the materials and the ink. For water bottles, I recommend a good printable vinyl and laminate combo, then hand-wash only for the longest life.
What is easier: kiss-cut or die-cut?
Kiss-cut sticker sheets are usually easier because you do not have to perfectly dial in a setting that cuts cleanly through the backing without shifting. Start with kiss-cut, then experiment with die-cut when you feel confident.
Why is there a black border around my design?
Those are the Print Then Cut registration border and corner marks. The Cricut sensor reads them to know exactly where to cut.
Your first sheet game plan
If you want the smoothest possible first try, do this exact combo:
- Matte printable sticker paper
- No laminate (for the first run)
- Bleed on
- Calibration done before cutting
- Start with the Sticker Paper setting (or the closest equivalent) and use light pressure first, then adjust
And if your first sheet is not perfect, you are not behind. Print Then Cut has a learning curve, but once it clicks, it is one of the most satisfying things your Cricut can do.