A beginner-friendly, start-to-finish tutorial for Cricut Print Then Cut sticker sheets, including kiss-cut vs die-cut, size limits, borders, calibration, set...
Maker Vinyl
Updated October 17, 2026
Fix Smudged Sticker Ink and Dial In Cut Depth
Stop sticker ink from smudging and get clean kiss-cuts in Cricut Design Space. Troubleshoot bleeding, jams, sensor issues, and pressure settings for perfect sticker sheets.

Harper Davis
Harper Davis is a lifelong DIY enthusiast and cutting-machine expert who loves helping beginners conquer Cricut Design Space. With over six years of experience running a custom vinyl shop, she shares practical tutorials, material guides, and creative inspiration.
If sticker making has ever made you question your life choices, welcome. I have absolutely stood in my Midwest craft room, holding a beautiful print that smeared the second I touched it, while my Cricut tried to cut straight through my backing like it had a personal vendetta.
The good news: most sticker disasters come from a few repeat culprits, and once you know what to check, you can fix them fast without sacrificing another whole sheet of pricey sticker paper.
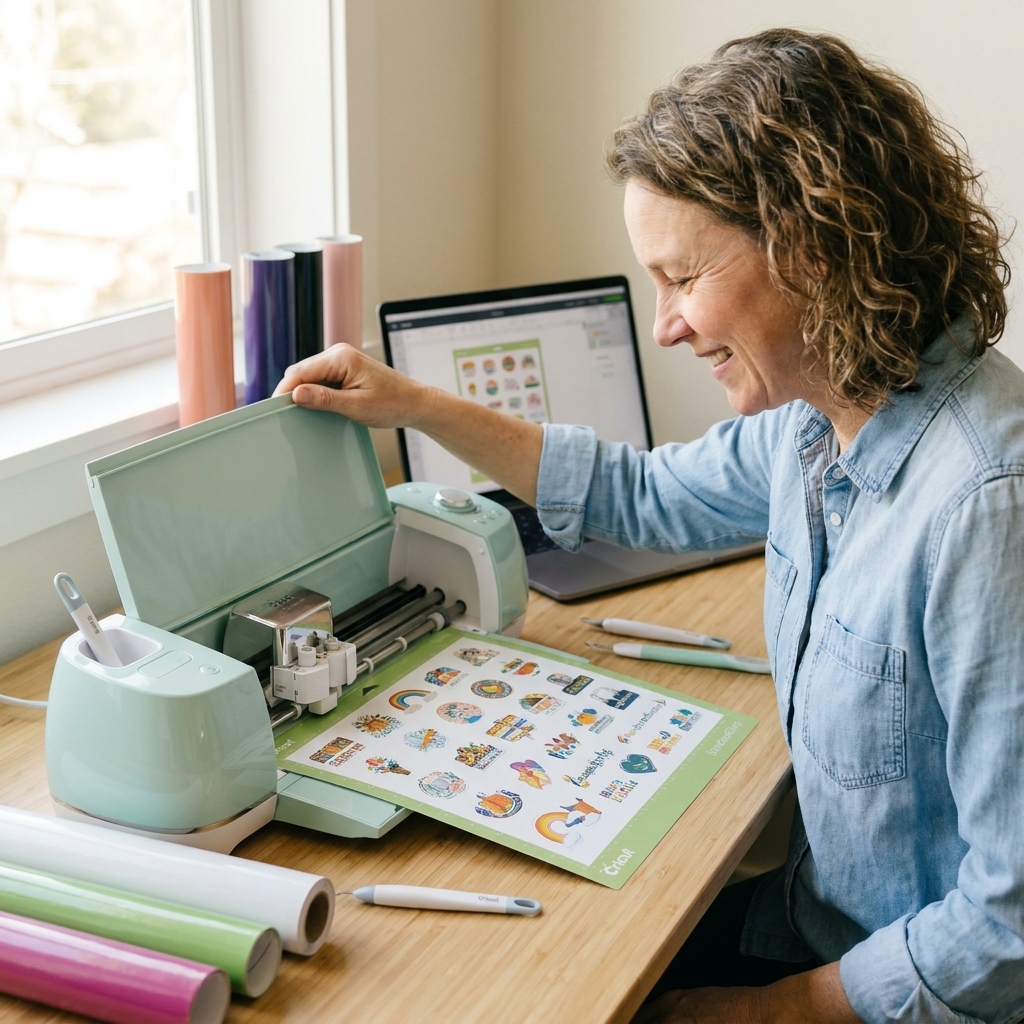
Quick diagnosis
First, sort your problem into the right bucket: print problems (ink, color, bleed) versus cut problems (depth, shifting, sensor).
- Ink smears when you touch it: ink not fully dry, wrong paper coating for your printer, too much ink for that coating, or humidity.
- Colors look muddy or fuzzy, edges bleed: paper type setting mismatch, high ink density, or a paper finish that does not play nicely with your ink.
- Cricut cuts too deep (through backing): pressure too high, wrong material setting, dull or damaged blade tip, debris in the blade housing, or uneven mat grip causing lift and drag.
- Cricut barely cuts (does not peel cleanly): pressure too low, dull blade, wrong material setting, or laminate adding thickness.
- Sheet shifts, jams, or skews: curled paper, thick laminate, mat issues, or dirty rollers.
- Print Then Cut is not reading the sensor lines: glossy paper or laminate glare, harsh lighting, or marks that got covered or smudged.
Smudged ink
Sticker making is a two-part system: printing and cutting. If the print is unstable, no amount of blade calibration will save the final result.
1) Match printer type to sticker paper
This matters more than most people realize.
- Inkjet printer: needs inkjet-compatible sticker paper with an ink-absorbing coating. If you use paper meant for laser, the ink can sit on top and smear.
- Laser printer: uses heat to fuse toner. Some inkjet papers can warp, look dull, or discolor in a laser printer.
Also worth knowing: dye inks tend to look vibrant but can smudge more easily on the wrong coating, while pigment inks are often more water-resistant but still need the right paper to look crisp. Either way, the paper coating is the boss here.
If your paper listing says “for inkjet” and you are on an inkjet, great. If it does not specify, that is usually a red flag.
2) Change the Paper Type setting
When ink smears, it is often because the printer is laying down too much ink for that coating.
Try this order of operations, and test a small corner or a one-page sample before you commit:
- Start with Plain Paper or Matte Paper. This often reduces ink load, but printer models vary.
- If colors look washed out on Matte, try Presentation Matte or a similar mid-range matte option.
- If you are getting smears, avoid Photo Glossy while troubleshooting. Some glossy sticker papers do need a glossy setting for best color, but it can slow drying and increase smudging on others.
Also turn off any “High Quality” or “Best Photo” mode while troubleshooting. Beautiful, yes. Smudge city, also yes.
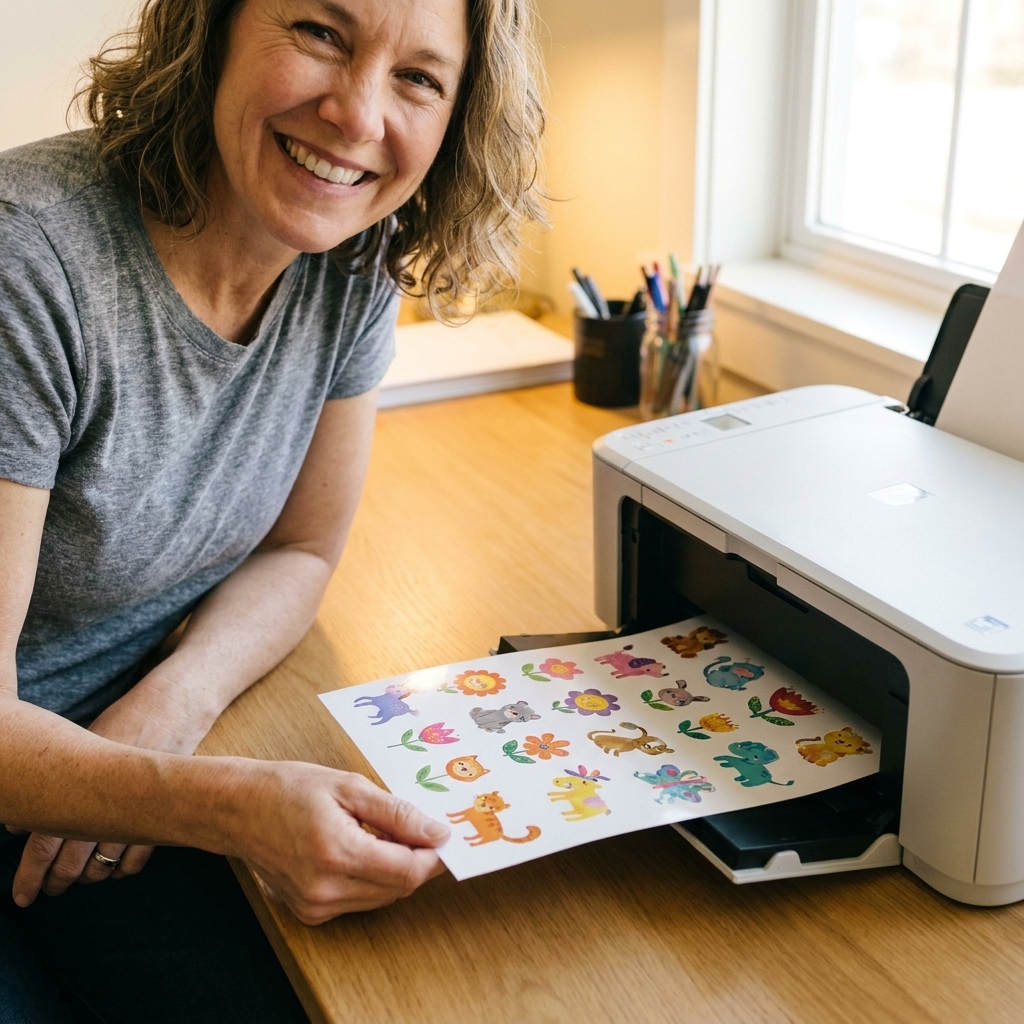
Bleeding and fuzzy edges
1) Let the sheet dry longer than you think
I know, you want to cut immediately. But many sticker papers feel dry and still smear under pressure from your fingers, a brayer, or the Cricut rollers.
- Minimum: 15 to 30 minutes
- Safer: 1 to 2 hours
- Humid days: overnight drying is not dramatic, it is smart
Pro tip from someone who has ruined a lot of sheets: handle prints by the edges and avoid stacking fresh prints.
2) Use gentle airflow, not a heat blast
A small desk fan helps set ink without cooking the coating. If you use a heat tool, keep it moving and far away. Too much heat can warp sticker paper and make it curl, which creates cutting problems later.
3) Reduce ink density if your printer allows it
Some printer dialogs have an “Intensity” or “Density” slider. Pull it back slightly and print a test. You are aiming for crisp lines, not maximum saturation.
4) Seal the print for durability
If you are making stickers that will be handled a lot, sealing helps prevent smudging during use.
- Self-adhesive laminate sheets: my favorite for consistent results and easy Cricut cutting.
- Spray sealer: can work, but it is easy to over-spray and cause spots or ripples. Use light coats and let it cure fully.
Important: if you add laminate, you will almost always need more cut pressure later.
Shifting and jams
1) Flatten your sticker paper before printing
Curled paper is a top cause of jams and misaligned cuts because the sheet lifts and catches on rollers.
- Store sticker paper flat.
- If it is curled, place it under a heavy book for an hour.
- Keep it away from heat vents and sunny windows.
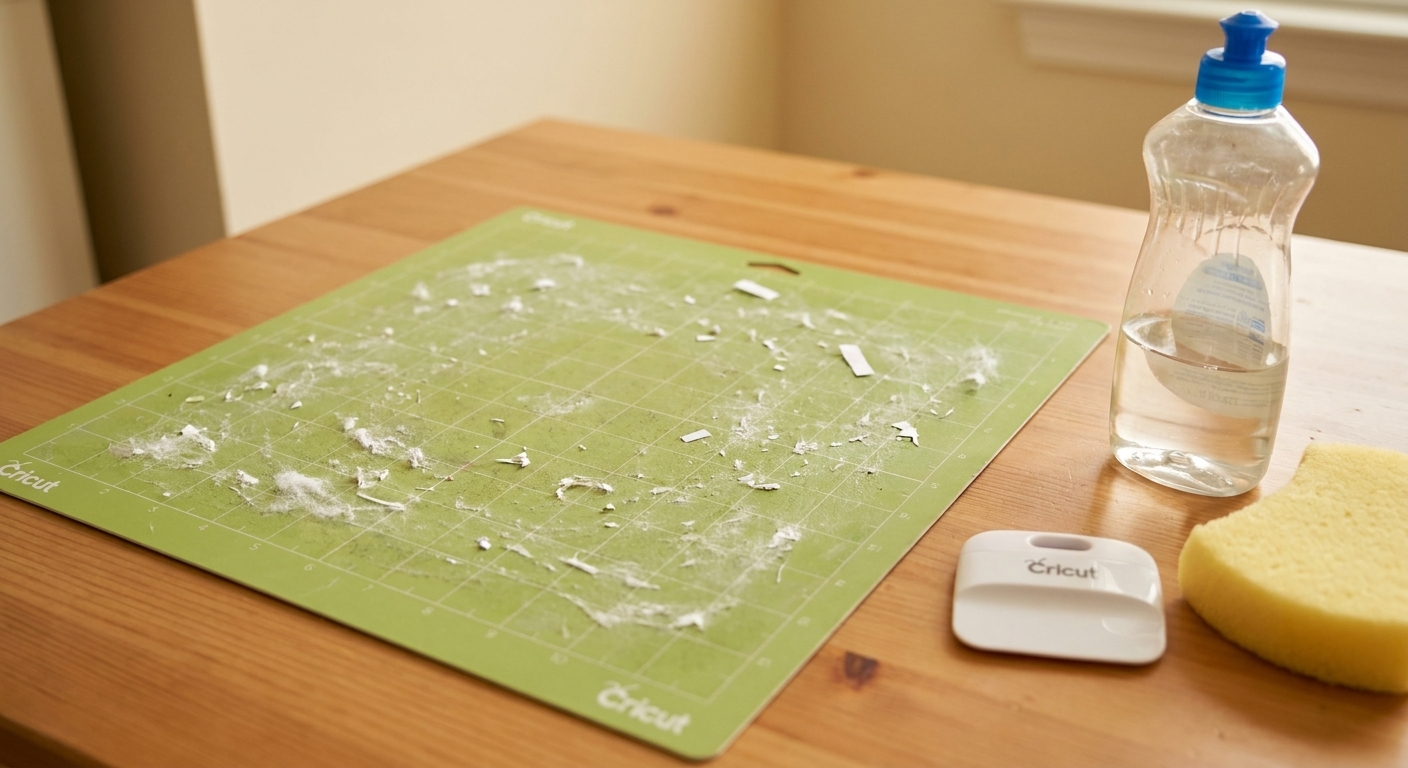
2) Clean your Cricut rollers
Paper dust and adhesive residue can build up and reduce grip, which leads to skewing.
- Power off and unplug your machine.
- Use a lint-free cloth lightly dampened with water to wipe the rollers as you turn them by hand.
- Do not soak the cloth or drip water into the machine.
- Avoid harsh cleaners, alcohol, and solvents. If you are unsure, follow Cricut’s official cleaning guidance for your model.
3) Use the right mat and the right stick
For sticker sheets, I usually start with a LightGrip (blue) mat or a StandardGrip (green) mat that has been used enough to be “tacky but polite.”
- If the mat is too sticky, paper can bow when you lift it, and the cut lines can look inconsistent.
- If the mat is not sticky enough, the sheet can shift mid-cut and ruin registration.
If your mat is brand new and aggressive, tap it with a clean cotton shirt a couple of times to calm it down.
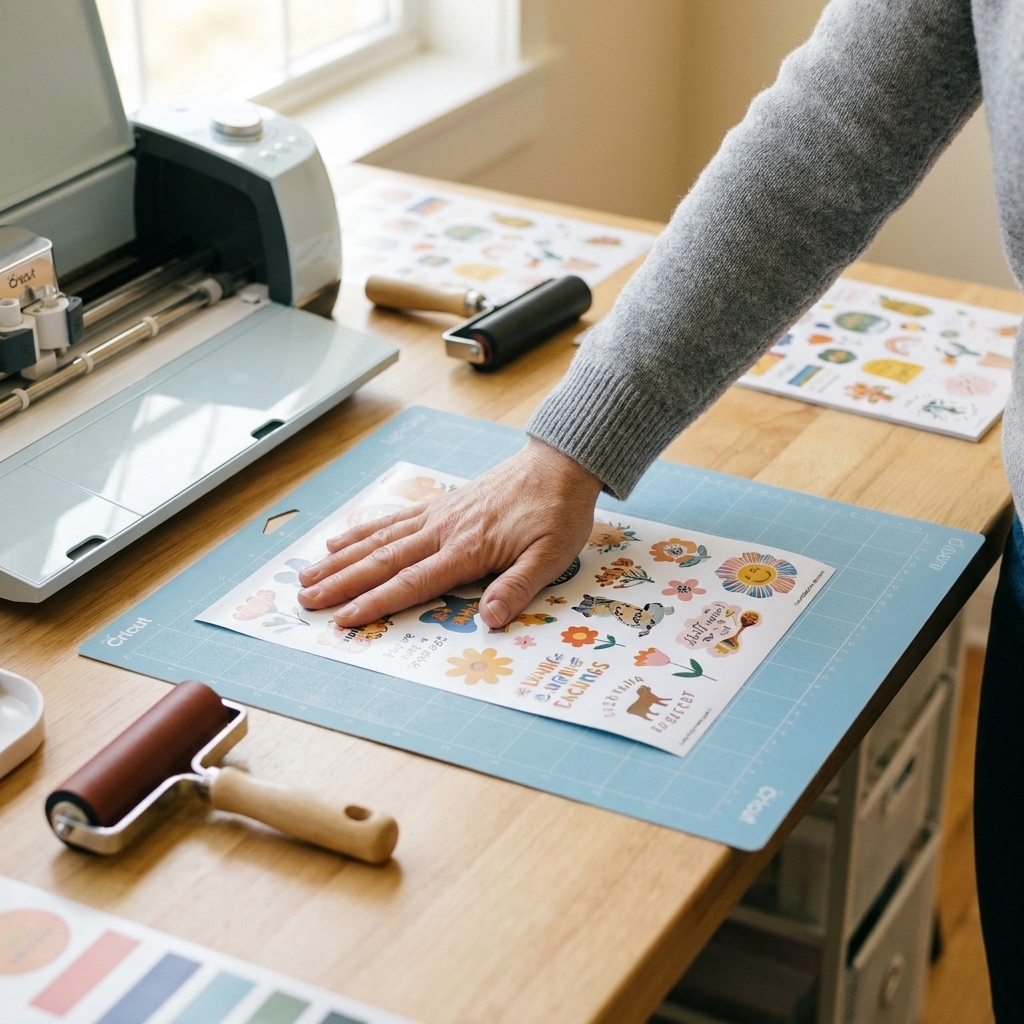
Cut depth
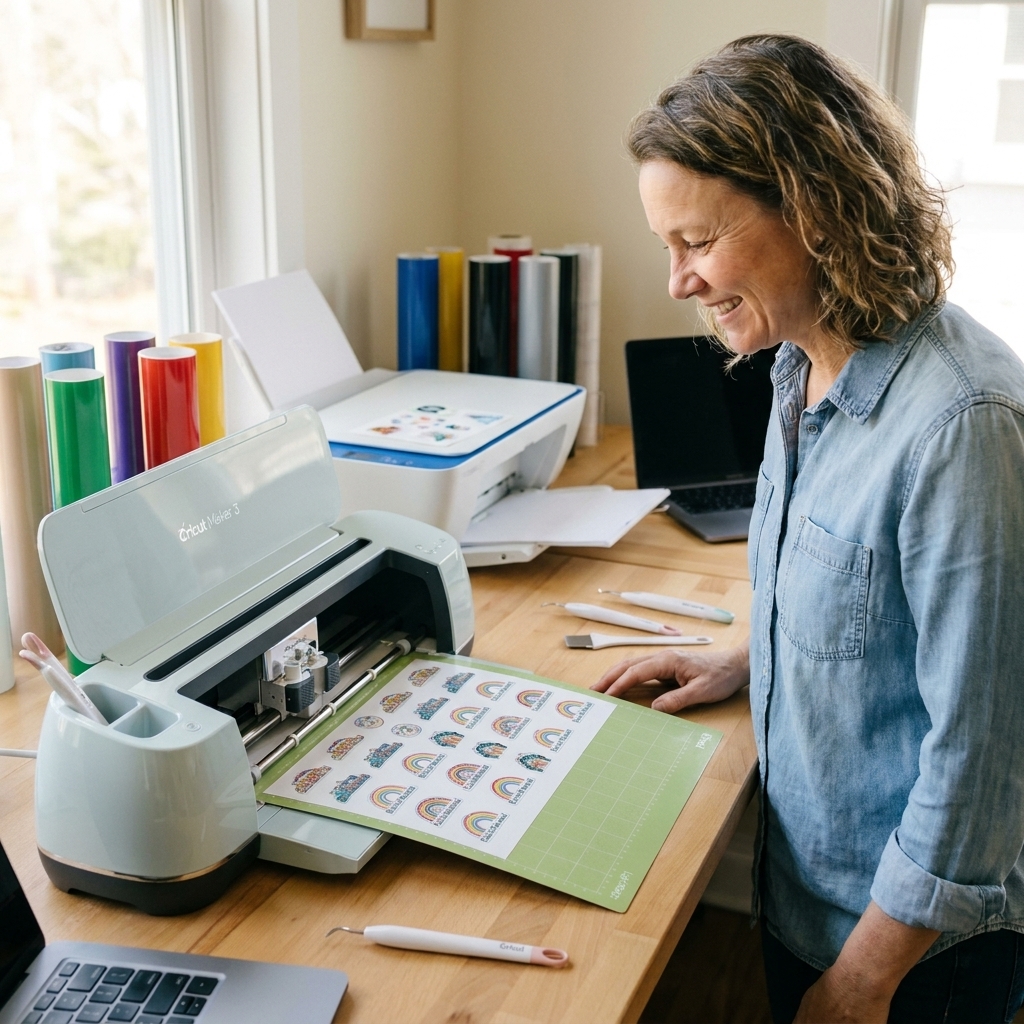
For sticker sheets, most of us want a kiss-cut, meaning the blade cuts through the sticker layer but not the backing. When the cut depth is wrong, it usually comes down to settings, blade condition, and lamination thickness.
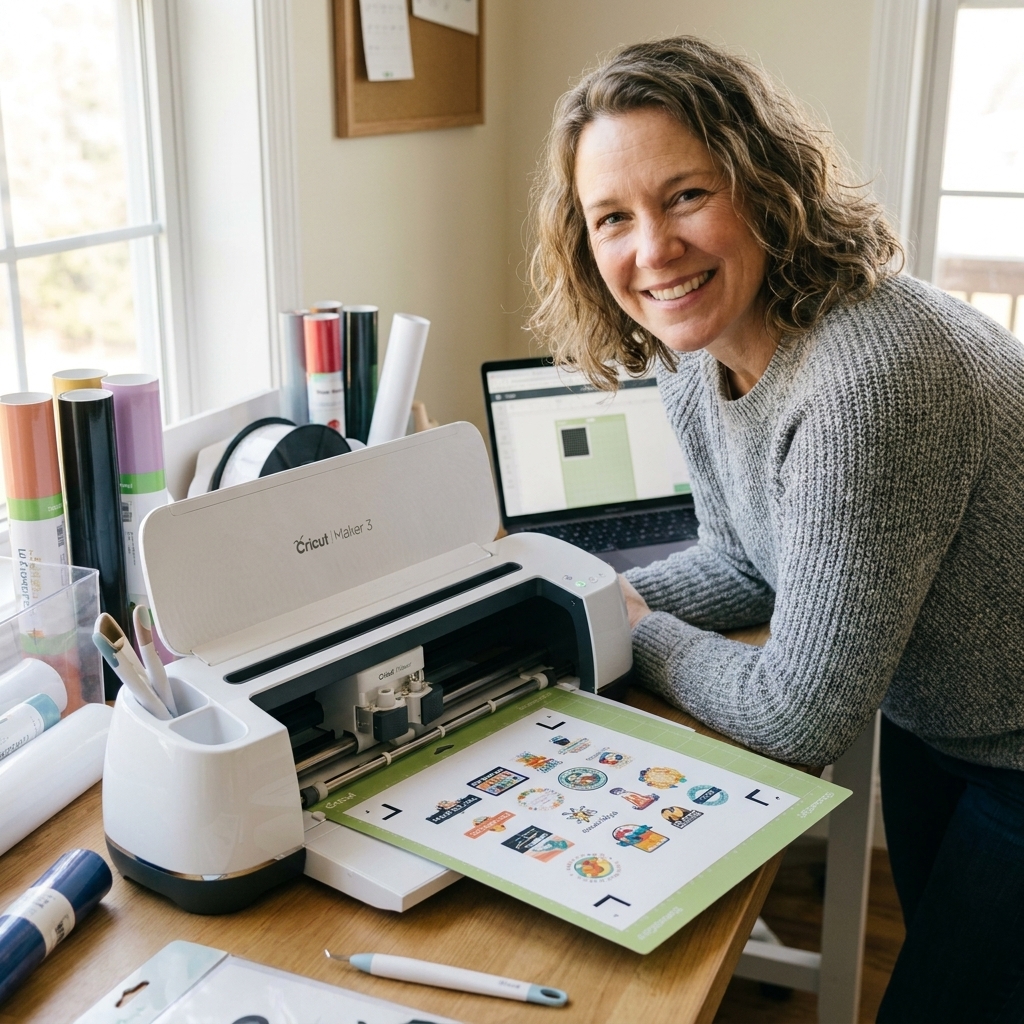
1) Confirm Print Then Cut setup
For Print Then Cut stickers:
- Make sure your sticker designs are set up for Print Then Cut.
- If you are doing a sticker sheet with a border cut, confirm what should be a Cut line versus what is just printed.
2) Check print scale before you blame calibration
If your cuts are “close but not quite,” make sure your printer dialog is not resizing your file.
- Print at Actual size or 100%.
- Turn off Fit to page, Scale to fit, or anything that sounds helpful but changes size.
3) Calibrate Print Then Cut if cuts are off
Calibration fixes placement, not depth. But if your machine is cutting slightly outside the sticker edge, it can look like a depth issue when it is really alignment.
In Design Space, run Calibration and use good lighting. Recalibrate if you change paper types, print settings, or notice drift over time.
4) Choose a material setting that matches your build
These are practical starting points. Every brand is different, and setting names can vary by Cricut model and the material list you see in Design Space, so treat this like your first test, not a forever rule. If your machine supports it, Custom Materials are your best friend.
- Unlaminated sticker paper: start with “Sticker Paper” if available, or a light cardstock setting as a backup.
- Laminated sticker paper: start with “Washi Sheet” or “Sticker Paper” plus more pressure, depending on thickness.
- Thick vinyl sticker paper: you may need a heavier setting, but increase slowly.
If your Cricut has the pressure options (Less, Default, More), do not jump straight to “More” unless you have tested.
5) Use test cuts to dial it in
This is my favorite money-saving move.
- Add a tiny circle or square off to the side of your sticker sheet design.
- Run the cut.
- Before unloading the mat, check that test shape.
You want the sticker to peel cleanly while the backing stays intact. If you unload first and it is wrong, you cannot accurately re-run the same cut.
6) Adjust pressure in small steps
If it is cutting through the backing, back off pressure. If it is not cutting enough, add pressure. Small changes beat big swings.
- Too deep: switch to “Less” pressure, or choose a lighter material setting.
- Too shallow: switch to “More” pressure, or choose a slightly heavier setting, or add a second pass.
Two lighter passes are often cleaner than one aggressive pass, especially with laminate.
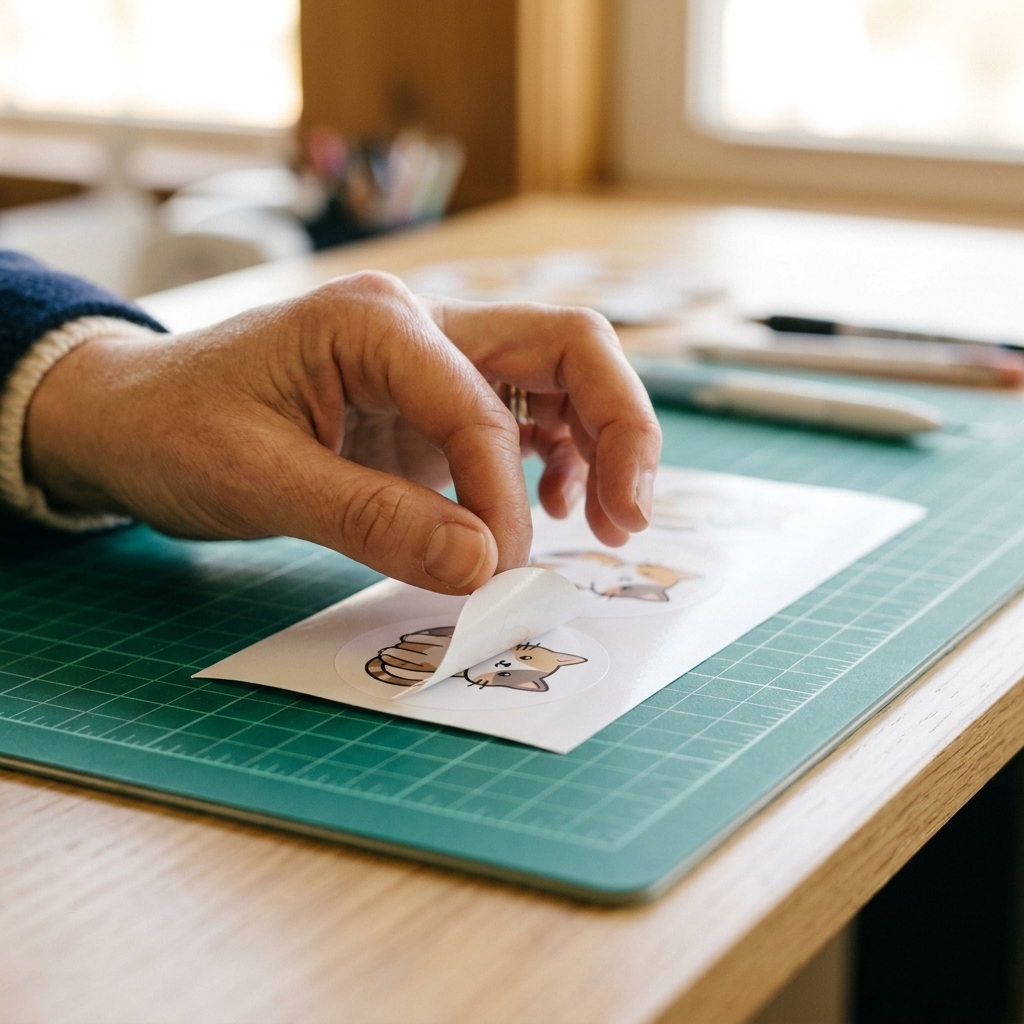
Blade and housing
1) Clean the fine-point blade tip
Adhesive and paper dust can cling to the blade and make cuts ragged or inconsistent.
- Remove the blade housing.
- Gently tap out debris.
- If needed, poke away fuzz with tweezers.
I skip the “stab it into a foil ball” trick for sticker adhesive. It can help with tiny debris, but it is not a real clean if you have gunk buildup.
2) Replace a dull blade sooner for laminated stickers
Laminated sticker sheets wear blades faster. If your cuts were fine last month and suddenly you are fighting peeling, a fresh blade can be the simplest fix.
3) Make sure the right blade is seated correctly
Fine-point blades are not meant to be manually adjusted for exposure, so “too exposed” is rarely the real issue. More common culprits are a damaged blade tip, debris in the housing, the wrong blade type for the job, or the housing not snapped in fully.
The clamp should be closed firmly, and the housing should not wobble.
Sensor issues on glossy paper
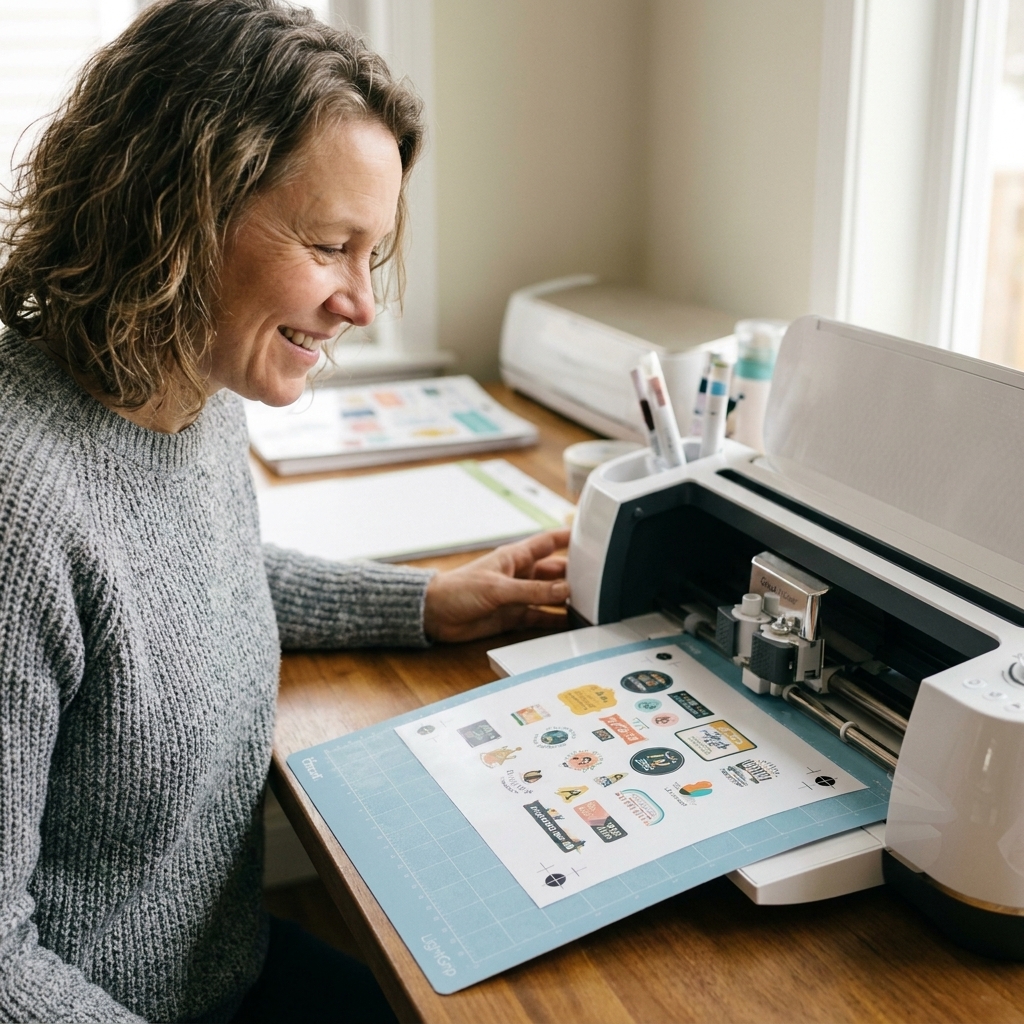
If your sheet is glossy or laminated, Cricut sensors can struggle because glare makes the registration marks harder to “see.”
- Dim overhead lights and avoid direct glare on the sheet.
- Try turning your machine so light is not hitting the page head-on.
- If your model supports it and you have consistent trouble, a matte laminate is often easier to read than a high-gloss one.
- Some crafters have luck placing a small piece of matte tape near the registration marks to reduce glare, but results vary by machine and setup. Test first so you do not cover or alter the printed marks.
Also, quick reality check: features vary by model. For example, Cricut Joy does not do Print Then Cut.
My go-to workflow
If you want a simple routine that avoids most headaches, this is what I do when I am teaching beginners in my shop.
Print one test sheet. Use a conservative Paper Type setting first, and do a small test print if you are switching brands.
Dry completely. At least 30 minutes, longer if it is humid.
Laminate if desired. Burnish gently with a squeegee, not your fingernails.
Mount on a mat that is tacky but not brand new. Brayer it down lightly.
Confirm print scale is 100%. No “Fit to page” surprises.
Calibrate Print Then Cut if alignment is off.
Run a test cut shape on the same page. Adjust pressure before committing to a big batch.
FAQ
Why are my stickers smudging even after they dry?
This usually points to a paper and printer mismatch, or the printer laying down too much ink. Try switching the printer Paper Type to Plain Paper or Matte (often less ink), and confirm your sticker paper is made for your printer type (inkjet versus laser). Humidity can also keep ink from fully setting.
Should I laminate before or after cutting?
For most Print Then Cut sticker sheets, laminate before cutting so the cut line goes through the laminate and sticker layer together. If you laminate after, you can trap air at the edges and the sticker may feel like it has a sharp lip.
My Cricut is cutting through the backing only in some spots. Why?
Inconsistent depth is often a mix of uneven mat adhesion, slight paper lift from curl, or blade debris. Flatten the sheet, brayer it down, and clean the blade. Also check that your mat is not overly sticky in one area and worn out in another.
Can I use “More pressure” to fix everything?
You can, but it is the fastest way to start cutting through backings, especially with thin sticker paper. If you need more cut, try a slightly heavier material setting or add a second pass before you crank pressure way up.
When to start over
If your print is smearing, fix the print first. If your print looks great but the cut is wrong, fix the cut settings and blade next. And if your machine is jamming or shifting, fix the physical feed and mat grip before you touch any Design Space settings.
Once you have a combo that works, write it down. Your future self, standing over a fresh pack of sticker paper, will thank you.