A beginner-friendly list of the Cricut tools that matter most for vinyl, HTV, and sticker projects, plus what to skip until you’re sure you’ll use it.
Maker Vinyl
Updated October 17, 2026
Cleaning Cricut Mats and Extending Blade Life
Bring your Cricut mats back to life and keep blades cutting clean. Step-by-step cleaning methods for LightGrip, StandardGrip, StrongGrip, and FabricGrip mats plus safe blade cleaning, removal, and storage tips.

Harper Davis
Harper Davis is a lifelong DIY enthusiast and cutting-machine expert who loves helping beginners conquer Cricut Design Space. With over six years of experience running a custom vinyl shop, she shares practical tutorials, material guides, and creative inspiration.
If you have ever peeled up your material after a cut and watched your mat come up with it (or worse, your vinyl slid mid-cut like it was on an ice rink), welcome. Mats and blades are the two Cricut “consumables” that quietly drain craft budgets, but the good news is most of the time they are not actually done. They are just dirty.
In my vinyl shop days, I cleaned mats constantly because paper lint, glitter, felt fuzz, and transfer tape backing build up fast. A clean mat grips better, cuts cleaner, and makes your blade work less, which helps it stay sharp longer. Let’s get your tools back in fighting shape.
Know your mat first
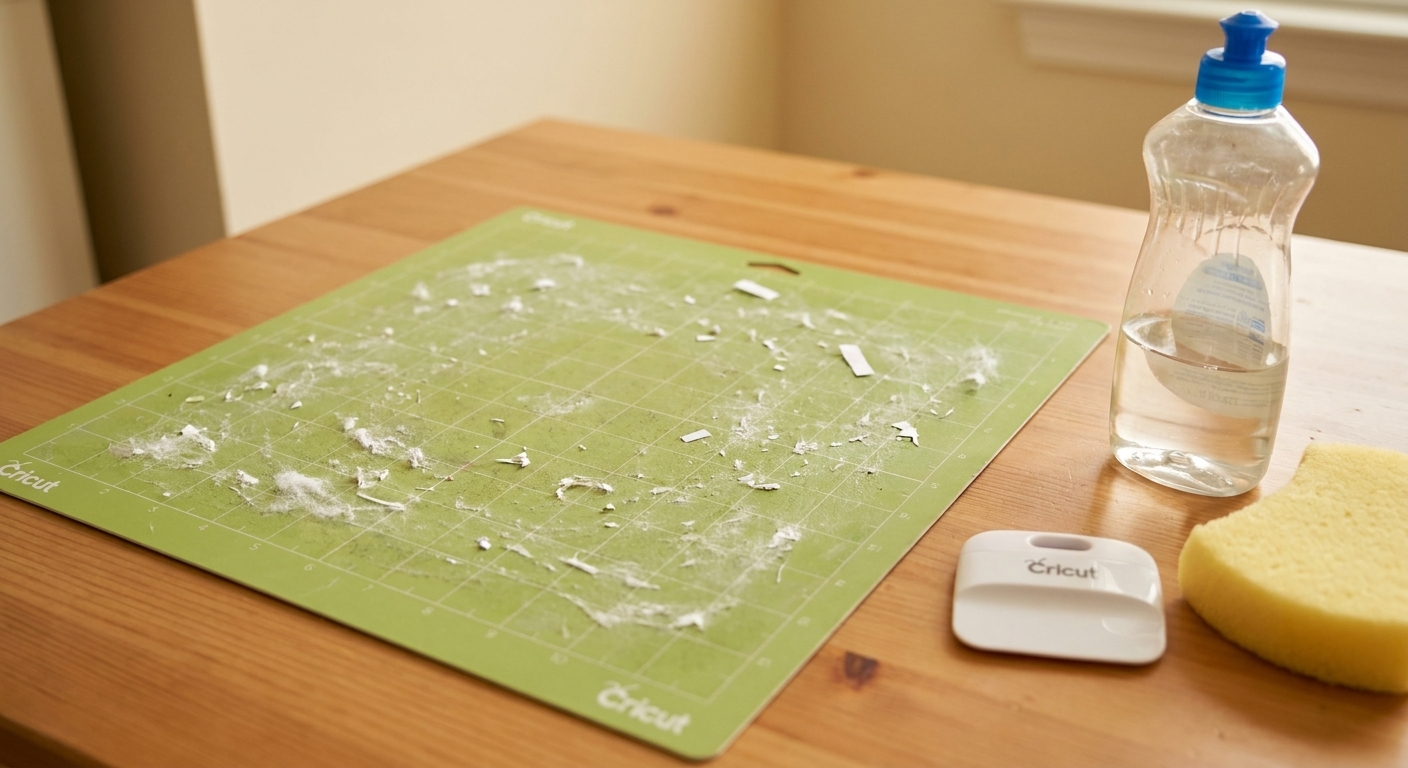
Cricut mats have different adhesives and textures. Cleaning the wrong way can remove tack or damage the surface. Identify your mat type before you start:
- LightGrip (blue): paper, light cardstock, vinyl.
- StandardGrip (green): most cardstock, HTV, patterned paper.
- StrongGrip (purple): glitter cardstock, faux leather, thicker materials.
- FabricGrip (pink): fabric and felt, designed to hold fibers (it will look fuzzy fast).
Quick rule: The stickier the mat, the easier it is to damage the adhesive if you scrub too hard. Use light pressure and non-abrasive tools, especially on StrongGrip and FabricGrip.
What not to do
These are the mistakes I see most often when crafters are trying to save a “dead” mat:
- Avoid long soaks in a sink or tub. A quick wipe or brief rinse is one thing, but prolonged water exposure can shorten mat life and may loosen layers over time.
- Avoid solvent-based removers like acetone and heavy-duty degreasers. Products like Goo Gone can degrade adhesive and leave residue behind, which is its own kind of mess.
- Do not scrape aggressively with a sharp blade or metal tool. It can gouge the surface and cause permanent cutting issues.
- Do not “re-stick” with random sprays (especially thick craft glues or super sticky aerosol adhesives). They can transfer gunk to your material and your rollers.
If your mat is curling badly, bubbling, or has deep gouges, cleaning will not fix it. At that point, replacement is usually the best sanity-saving move.
Everyday mat cleaning
This is my between-projects routine, and it extends mat life more than any deep clean. Plan on about 2 minutes.
1) Use a plastic scraper
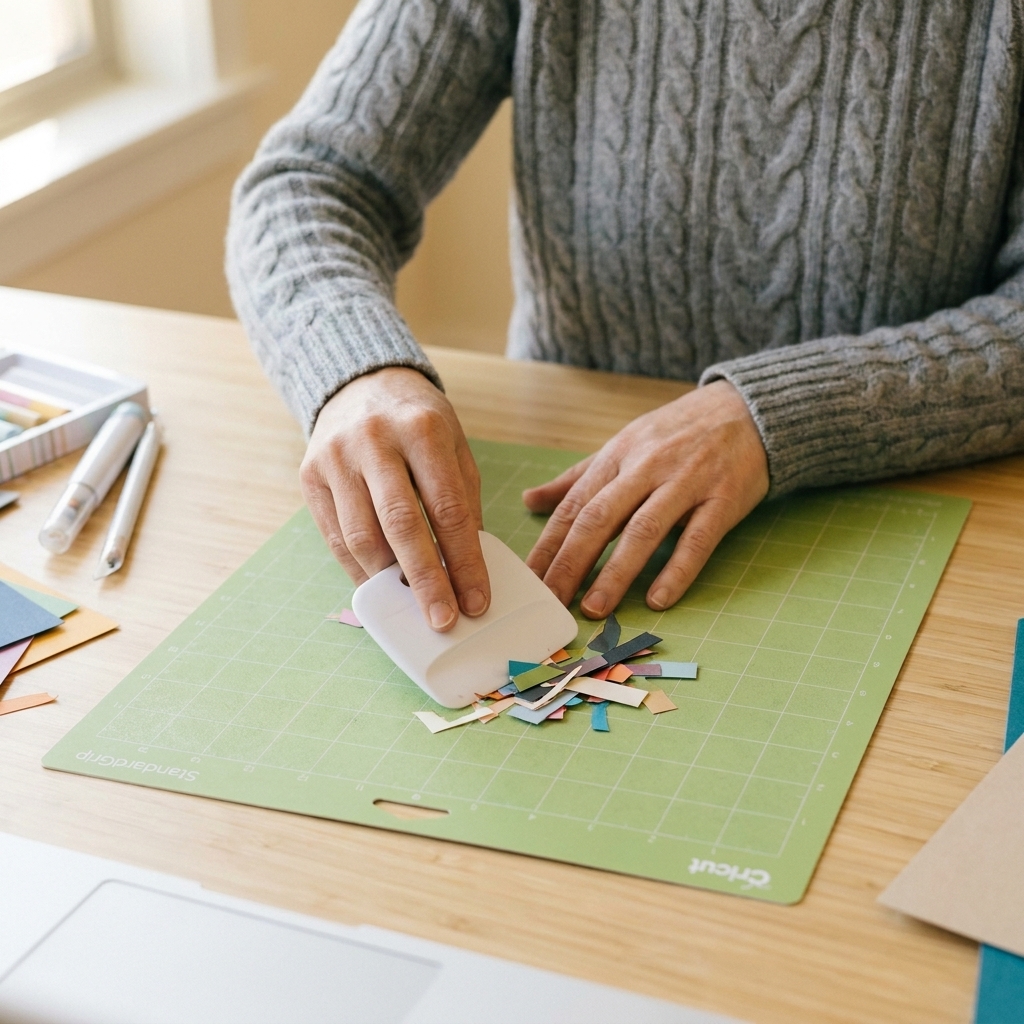
Use a Cricut scraper tool or any plastic scraper. Hold it at a low angle and push leftover bits off the mat in smooth strokes. For paper projects, scrape after every cut session so the fibers do not get embedded.
2) Lift lint gently
For tiny fuzz and dust, use one of these lightly:
- A clean lint roller sheet dabbed gently (do not press hard or you can pull adhesive).
- Painter’s tape tapped on and lifted straight up.
- A weeding scrap ball made from clean vinyl backing, pressed and lifted to grab specks.
Avoid: super strong packaging tape. It can strip tack faster than you think.
Deep clean with soap and water
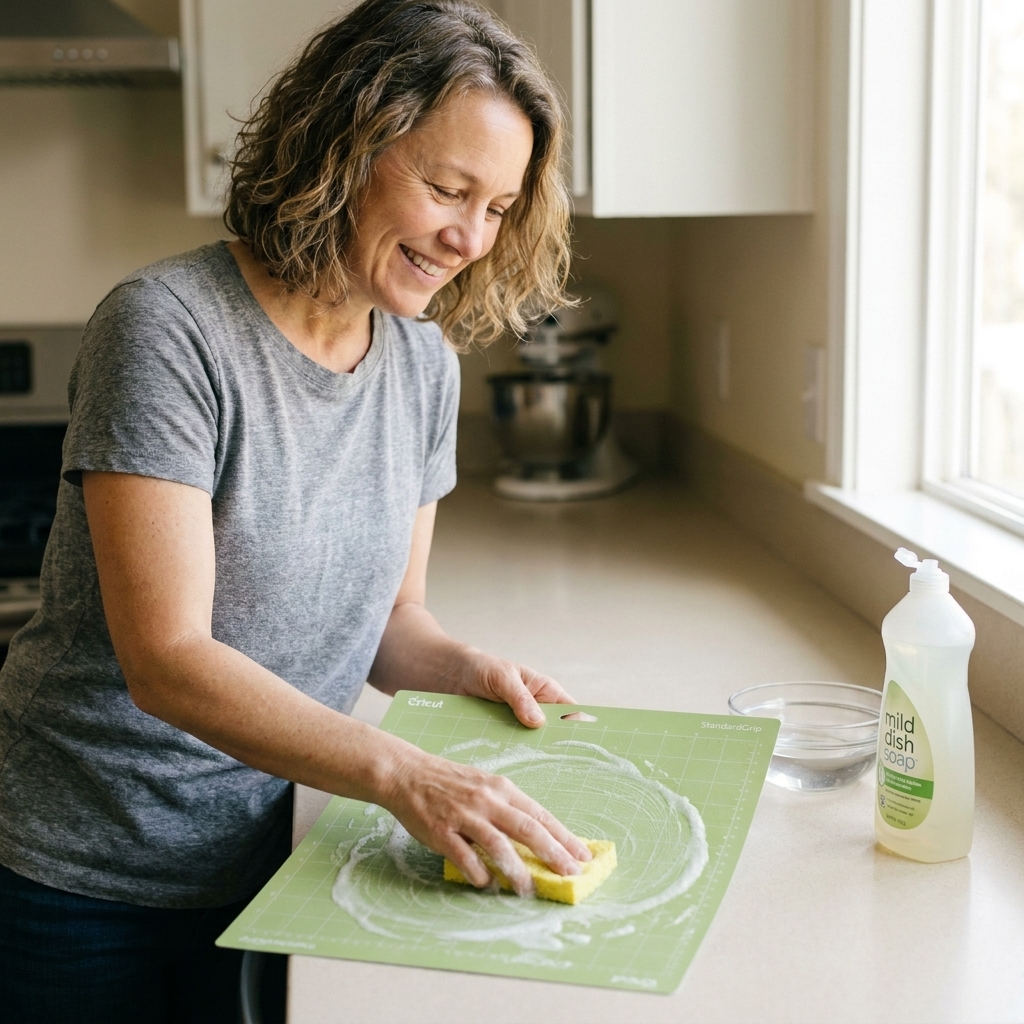
When your mat looks cloudy, feels slick, or stops holding materials evenly, it is time for a wash. This method is a good option for LightGrip, StandardGrip, and StrongGrip mats, but use gentle pressure and avoid aggressive scrubbing. If you are nervous, test a small corner first. Plan on about 10 minutes plus dry time.
What you need
- Unscented dish soap (a few drops is enough)
- Warm water (not hot)
- A soft sponge or microfiber cloth
- A plastic scraper (optional)
- Lint-free towel for blotting
Step-by-step
Remove debris first. Scrape off chunks and big fibers so you are not grinding them into the adhesive.
Lightly wet the surface. Dampen your sponge or cloth, then wipe the mat. You want damp, not dripping.
Add a tiny amount of dish soap. Put a drop on the sponge, not directly on the mat. Gently wipe in small circles.
Rinse carefully. Wipe with a clean damp cloth to remove soap. If soap stays behind, it can reduce tack.
Air dry flat. Lay the mat flat sticky-side up. Blot the edges if needed, but do not rub with a towel.
Timing tip: Give it at least 30 to 60 minutes to fully dry. A mat that feels “not sticky” while wet often regains tack as it dries.
FabricGrip mat cleaning
FabricGrip mats are designed to hold fibers, so they collect fuzz faster and look “dirty” even when they are working. The goal is to remove loose lint without flattening the mat’s texture.
Best method
Use a scraper very gently to lift larger felt bits.
Use tweezers for threads that are stuck.
Lightly dab with a lint roller sheet or painter’s tape. Tap, lift, repeat.
If you must wash: use the same soap-and-damp-cloth method as above, but use extra gentle pressure. No scrubbing.
Fabric tip: Use a brayer to press fabric down evenly before cutting. It reduces shifting and helps your blade do less dragging, which keeps it sharper.

Remove projects the right way
If you want one habit that saves mats, this is it.
- Flip the mat over onto your work surface.
- Peel the mat away from the material, not the material away from the mat.
- Support the cut with your hand as you peel so delicate cardstock does not curl or tear.
This reduces curling, keeps the mat flatter over time, and helps you avoid that aggressive picking that chews up the adhesive.
Can you make a mat sticky again?
Cleaning is step one because most “lost stickiness” is really just a layer of dust and paper fibers. Once it is clean and dry, test it with a scrap of the material you usually cut.
When cleaning is enough
- Your mat holds material again after drying
- Cuts stop shifting or snagging
- You can lift the mat by the material briefly without it sliding
When it is time to replace
- It feels slick even right after cleaning and drying
- Materials slide during the cut (especially corners lifting)
- You see uneven grip zones (center is dead, edges are fine)
- It is curling, bubbling, or deeply gouged
My honest recommendation: If you are making items to sell or you are cutting pricey specialty materials, a fresh mat is often cheaper than a ruined project.
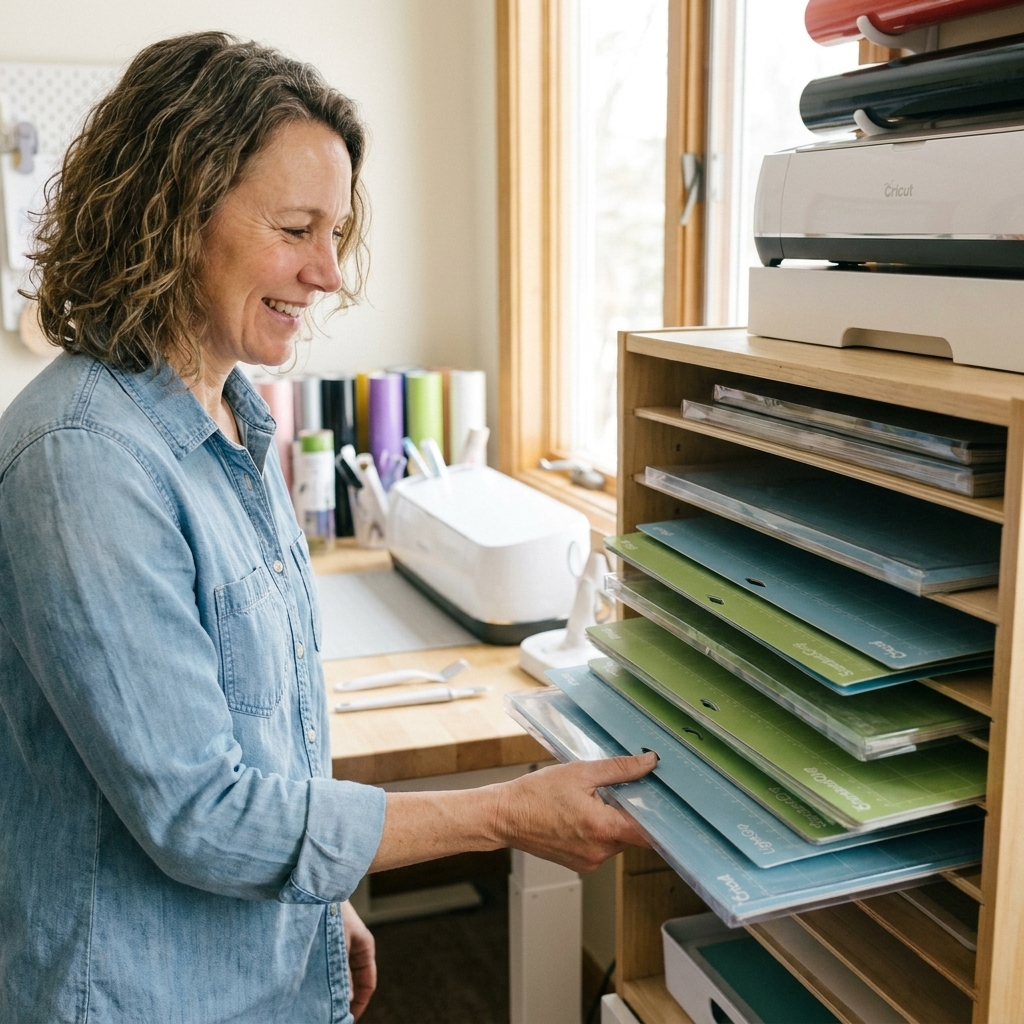
Store mats to prevent curling
- Store flat when you can.
- Use the clear cover every time. Dust is the enemy.
- Avoid heat and sun. A windowsill craft table feels convenient until it does not.
- Do not leave mats loaded in the machine between sessions if you can help it.
Blade life basics
Blades get blamed for a lot, but dulling and bad cuts usually come from a mix of friction, contamination, and damage:
- Cutting on a dirty mat (your blade drags through grit and fibers)
- Adhesive transfer from tape backing, paper dust, and residue
- Tiny nicks or chips from harder or abrasive materials
- Using too much pressure (unnecessary force equals faster wear)
So the mat and the blade are a team. Keeping the mat clean is blade care.
Clean a fine-point blade
Before you assume your blade is dull, clean it. A surprising number of “dull blade” problems are just tiny debris packed around the tip.
What you need
- A small, soft brush (paintbrush or clean makeup brush)
- Tweezers (optional)
- Isopropyl alcohol (70% is fine) on a cotton swab (optional)
Step-by-step
Unload the blade housing. Remove it from its clamp (usually Clamp B, depending on your machine and setup).
Mind your fingers. The blade is sharp and small. Keep fingertips away from the tip, and work over a table so you do not drop it.
Remove the blade only if you are comfortable. Some housings make this easy, and some people hate it. Either way, you can still clean around the tip and the inside rim where dust collects. If you do remove it, be mindful of the tiny parts and the magnet.
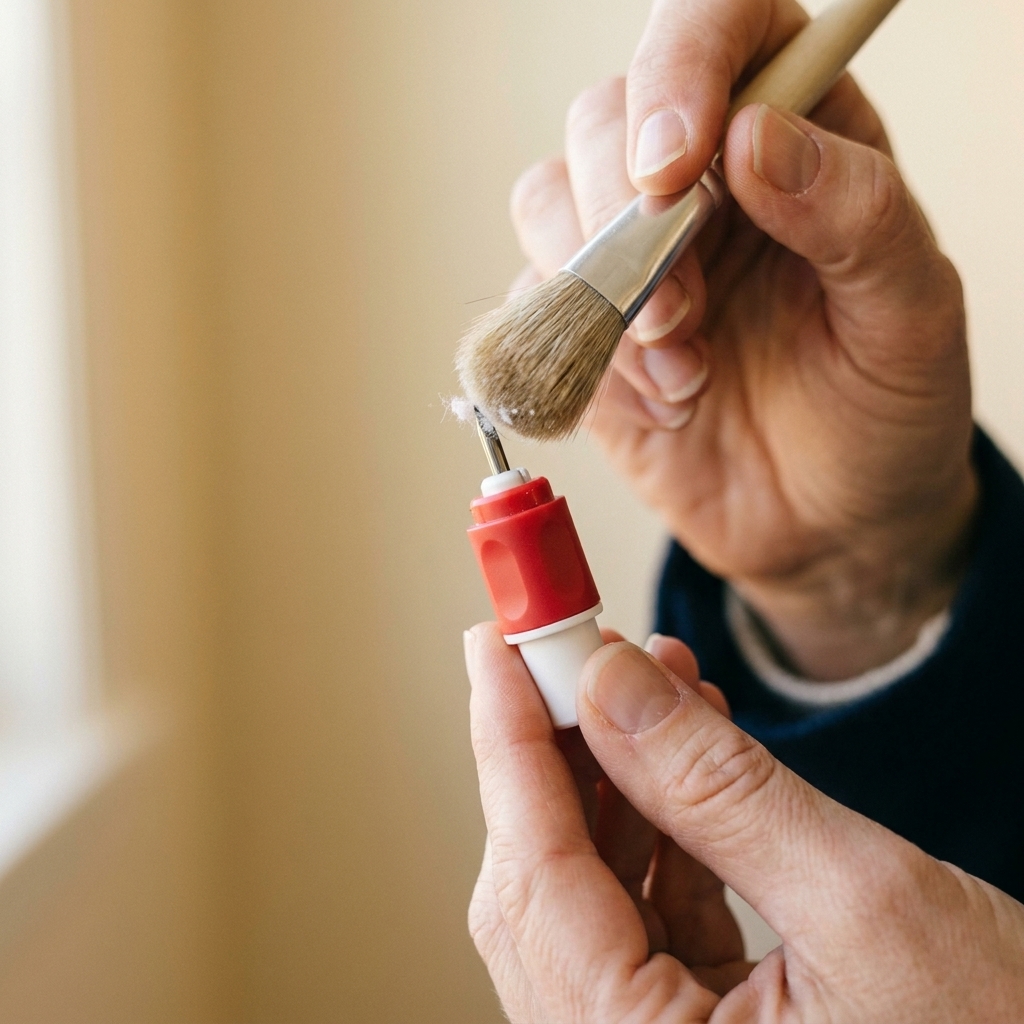
Brush away debris. Gently brush the blade tip and the housing opening.
Spot-clean sticky residue. Use a barely damp alcohol swab. Avoid soaking. Let everything fully dry before reinstalling.
Reinstall and test cut with a small shape before you commit to a big project.
Aluminum foil: yes or no?
You will hear the tip to stab your blade into a ball of aluminum foil. Here is my take after years of cutting vinyl and cardstock:
- It can help if the issue is debris, because it may dislodge tiny bits stuck to the blade.
- It will not sharpen the blade. A dull edge stays dull.
- It is not my first choice, because you can wedge more debris into the housing if you get aggressive.
If you want to try it, do it gently and then still brush out the housing. If your cuts are still ragged after cleaning and correct settings, it is probably time to replace the blade.
Habits that save blades
These are the boring little habits that save the most money.
Use the lightest pressure that works
If you have been cutting vinyl on More pressure by default, try backing down. Correct pressure reduces drag, which reduces wear.
Do test cuts
A tiny test cut is cheaper than chewing through a sheet while you figure out the right setting.
Dedicate a blade for abrasive materials
If you cut glitter cardstock, chipboard, or sandpaper-like materials, consider keeping a separate blade just for those jobs. Glitter cardstock is a notorious shedder, so it is also a good candidate for a dedicated mat.
Keep your mat covered
Put the clear cover back on when you are done. An uncovered mat becomes a lint magnet, especially if you have pets or a fuzzy blanket season in the Midwest like I do.
Troubleshooting
Material is not cutting through
- Clean the blade tip and housing
- Clean the mat (dust can lift material slightly)
- Check that your material is flat and brayered down
- Try More pressure or an extra pass only after cleaning
Cuts are tearing paper or cardstock
- Your blade may be nicked or dirty
- Try a cleaner mat and less pressure
- Use a fresh LightGrip mat for delicate paper
Vinyl lifts or shifts while cutting
- Mat needs cleaning, or it is worn out in the center
- Make sure the mat is loaded straight and the wheels are on the roller tracks
- Burnish the vinyl onto the mat with a brayer or scraper (gentle pressure)
Weeding feels harder than usual
- Check for tiny uncut spots (blade debris or wrong setting)
- Clean blade, then run a small test cut and adjust
My quick routine
- After each cut session: scrape off scraps, cover the mat, and store it flat.
- Weekly or after messy materials: lint-pick with painter’s tape or a gentle lint roller sheet.
- When grip drops: soap-and-damp-cloth wash and air dry.
- When cuts get weird: brush the blade and housing before changing settings.
If you want one small upgrade that makes everything easier, grab a brayer. It improves cut consistency and keeps your blade from doing extra work.
FAQ
How long should Cricut mats last?
It depends on what you cut and how clean you keep them. In a high-use craft room, a mat might last weeks to a few months. With gentle cleaning, covers on, and rotating mats (so one center spot does not get abused), you can stretch that significantly.
Can I use baby wipes to clean a mat?
I avoid them. Many wipes leave residue (lotions, aloe, oils) that can make your mat feel slick. Mild dish soap and a damp cloth is more reliable.
Is rubbing alcohol safe on mats?
I do not recommend it for routine mat cleaning. Alcohol can affect adhesives over time. Save alcohol for small blade housing cleanups, used sparingly.
Why is my mat too sticky and tearing paper?
New mats can be aggressively tacky. De-tack it by pressing a clean cotton T-shirt or lint-free cloth onto the mat a couple of times. For delicate paper, use LightGrip and reduce pressure.
Do I need to replace the whole blade housing?
Usually no. Most of the time you only replace the blade. Replace the housing if it is damaged, packed with residue you cannot remove, or not holding the blade correctly.
Do Joy mats and off-brand mats clean the same way?
Usually, yes. Mild soap and gentle cleaning work across most brands and sizes, but the adhesives can vary. Start gentle, test a corner, and avoid harsh solvents.