A step-by-step reverse weeding tutorial for detailed adhesive vinyl cuts. Keep small dots and thin text in place, reduce tearing, and transfer cleaner with l...
Maker Vinyl
Updated October 17, 2026
10 Hacks for Weeding Intricate Vinyl Without Tearing
Stop shredding tiny vinyl details. These 10 weeding hacks cover lighting, tool choices, cut settings, and step-by-step techniques for clean, stress-free weeding in Cricut projects.

Harper Davis
Harper Davis is a lifelong DIY enthusiast and cutting-machine expert who loves helping beginners conquer Cricut Design Space. With over six years of experience running a custom vinyl shop, she shares practical tutorials, material guides, and creative inspiration.
If you have ever tried to weed a super detailed mandala, a script word with skinny tails, or a tiny layered decal, you know the feeling: one wrong tug and the whole design stretches, tears, or lifts right off the liner. I started my vinyl life making onesies, and nothing humbles you faster than watching a perfect little name peel up with the negative vinyl.
Here are my go-to hacks for weeding intricate vinyl designs without tearing, written for real-life Cricut crafting: imperfect lighting, slightly too-sticky mats, and the kind of cut files that look adorable until you actually have to weed them.
Quick note before we start: I am talking about two different materials in here. Adhesive vinyl weeds off a paper liner and usually uses transfer tape. HTV (iron-on) weeds off a clear carrier sheet and gets pressed onto fabric. A few tips apply to both, but when something is vinyl specific, I call it out.

1) Use angled light
Overhead room lighting hides cut lines, especially on glossy permanent vinyl. The best trick is raking light, meaning light that hits the vinyl from the side so every cut edge casts a tiny shadow.
- Desk lamp hack: Put a small lamp low and to the side of your work, aimed across the vinyl, not straight down.
- Window hack: Rotate your mat or sheet so light from a window hits it from the side.
- Magnifier lamp: If you weed a lot of tiny text, this is one of the few tools that feels like instant superpowers.
2) Weed on the mat
For adhesive vinyl, weeding while the vinyl is still stuck to the cutting mat gives you stability. You are not fighting flex and movement, so delicate parts stay put while you pull negative vinyl away.
Extra tip: If your mat is super sticky and you are worried about curling, flip the whole thing over when you remove it later. Peel the mat away from the vinyl slowly and keep the vinyl flat on the table.
HTV note: Many HTV brands can be cut without a mat depending on the roll and your machine setup. Even then, you can still do your weeding on a flat surface so the carrier stays supported.
3) Reverse weed adhesive vinyl
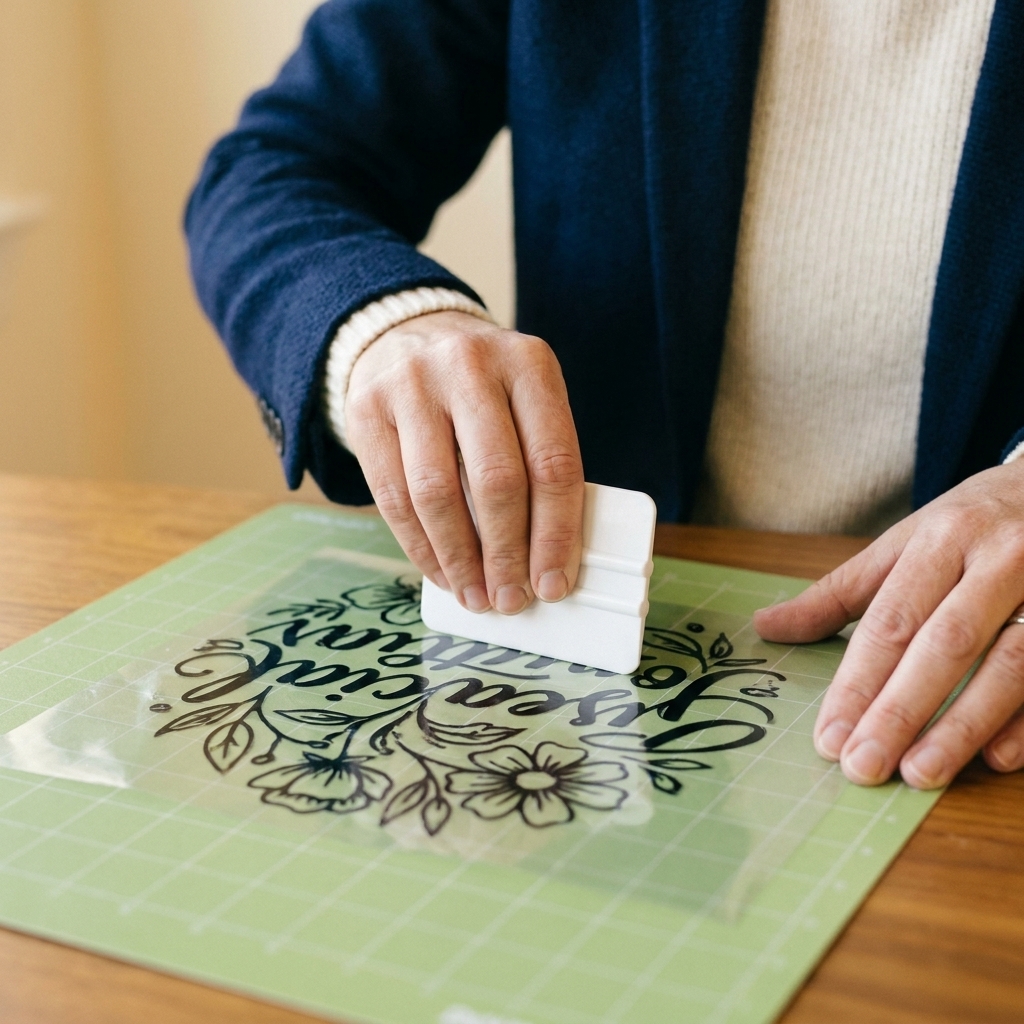
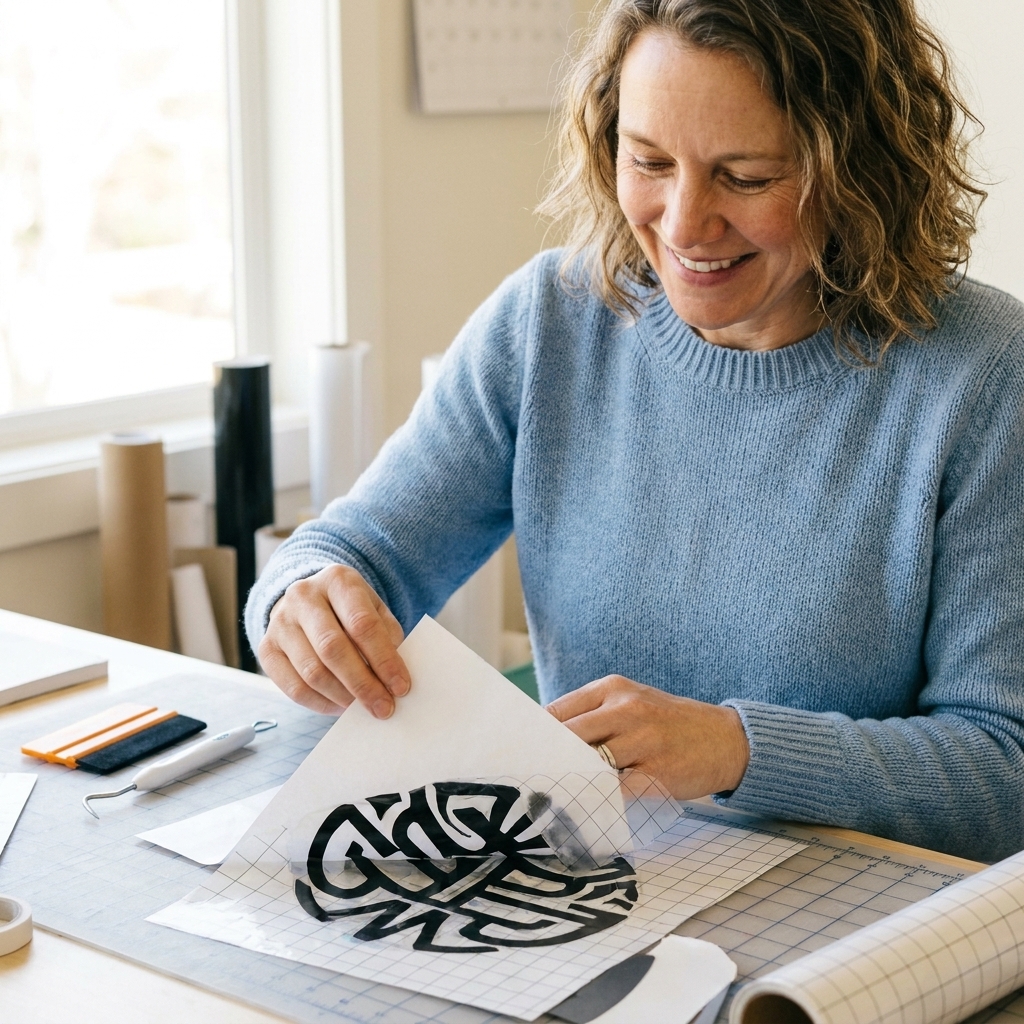
Reverse weeding means you put transfer tape on first, then weed away the negative vinyl while the design stays supported by the tape. This is a lifesaver for:
- Small script words
- Thin outlines
- Dense florals and mandalas
- Anything with lots of floating bits
How to do it (adhesive vinyl + transfer tape):
- Burnish transfer tape onto your cut vinyl while it is still on the liner.
- Flip the whole thing over and peel the paper liner away so the vinyl is now stuck to the tape.
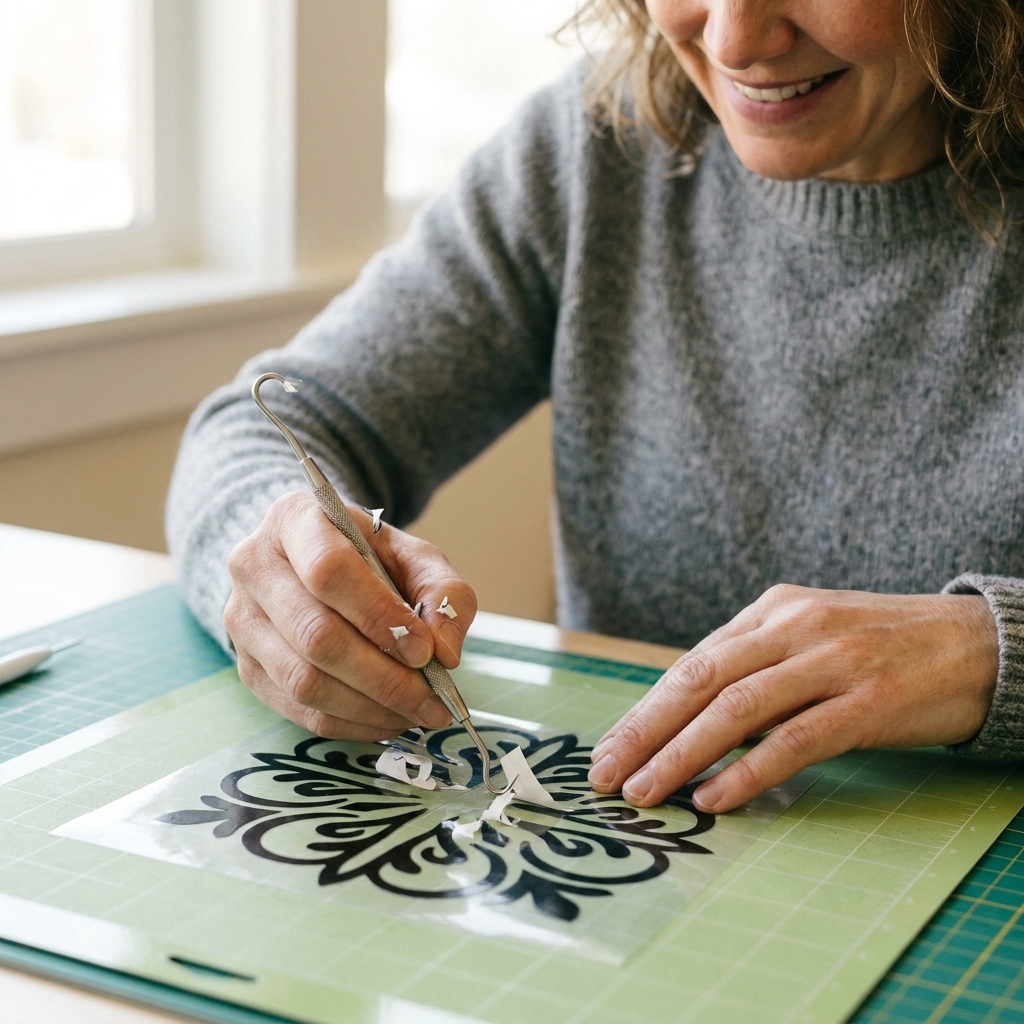
- Weed the negative vinyl off while the design is held down by the transfer tape.
It feels backwards the first time, but once you try it on tiny lettering, you will get why people swear by it.
HTV note: HTV is already on a clear carrier sheet and you usually mirror your design before cutting. The classic transfer-tape reverse weed trick above is mainly an adhesive vinyl thing.
4) Start from the center
With intricate designs, yanking the big outside border first can pull and distort interior details. Instead:
- Weed small inner islands first (like the centers of letters, tiny dots, and interior cutouts).
- Then weed medium areas.
- Save the large outer negative piece for last.
This keeps delicate lines anchored while you handle the fiddly stuff.
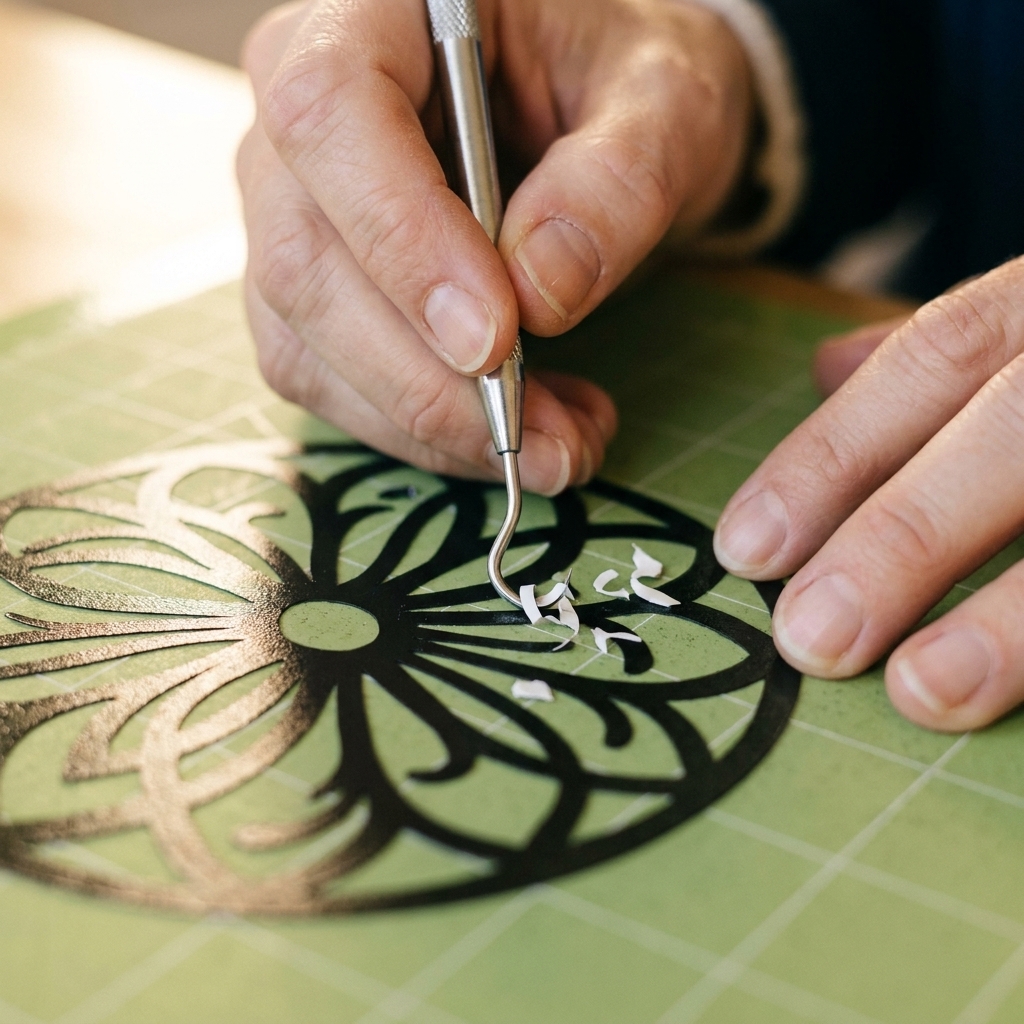
5) Poke and lift
A classic beginner mistake is stabbing the hook under a corner and pulling up hard. That is how thin vinyl stretches and tears. For detailed designs, think of it like lifting a sticker edge:
- Poke straight down into the negative vinyl right next to a cut line.
- Lift gently to create a tiny tab.
- Pull low and slow at a shallow angle (almost parallel to the liner or carrier), not straight up.
Low angle pulling reduces stress on skinny parts.
6) Use a second tool
When you pull negative vinyl, the design wants to come with it. My fix is simple: use two tools.
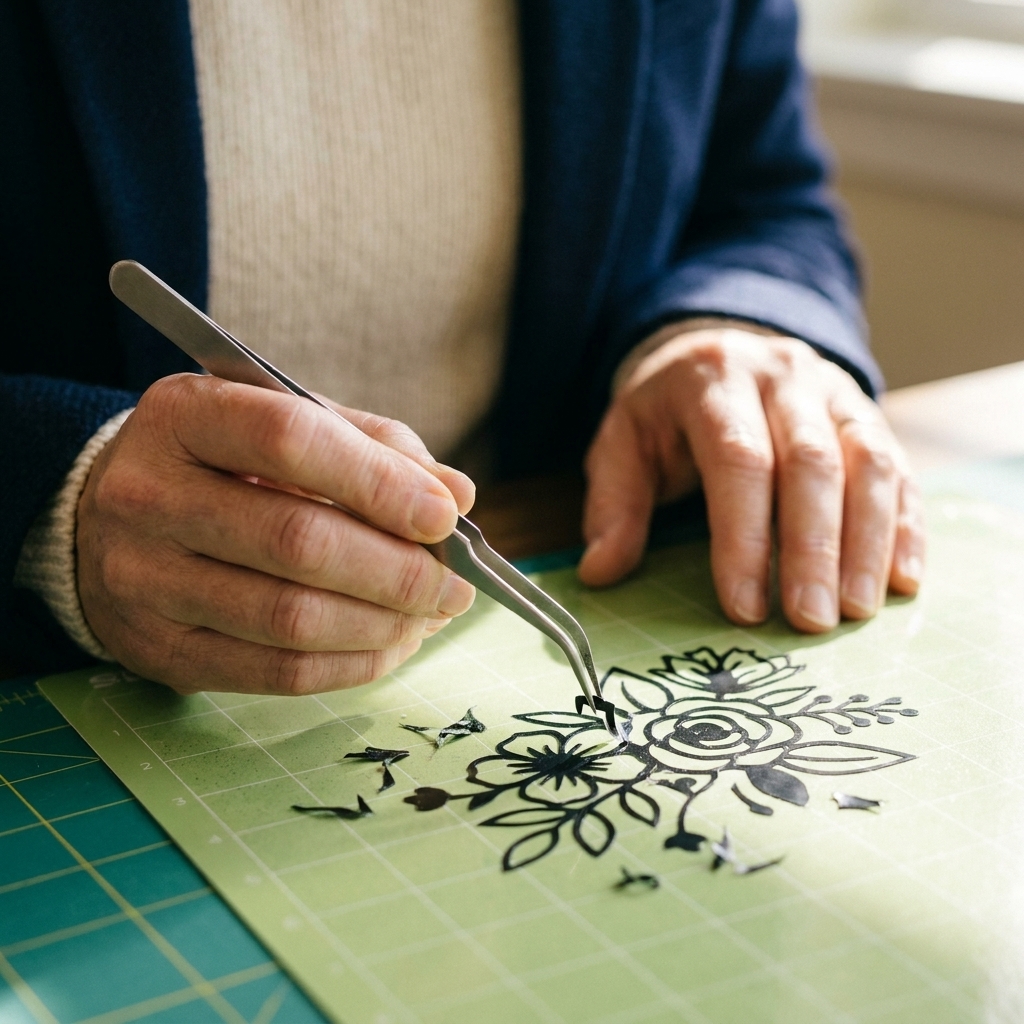
- Tool 1: weeding hook or fine-point tweezers to lift and pull the negative vinyl.
- Tool 2: a scraper, squeegee, or even the blunt end of a weeding tool to press down delicate areas as you pull.
This is especially helpful on thin serifs and the little tails on script fonts.
7) Match the tool
I love a weeding hook, but it is not the only answer. For intricate cuts, your best tool depends on the material.
- Fine-point tweezers: Great for glitter HTV, thicker vinyl, and tiny inside pieces because you can grab without stretching.
- Micro weeding hook: Great for pinpoint lifting in tiny corners.
- Needle or pin tool: Useful for popping out tiny circles and dot details without snagging surrounding lines.
- Dental pick style tools: Sharp, but be gentle. They can slice liners and carrier sheets if you dig in.
If you are constantly tearing one specific brand, switch tools before you blame yourself.
8) Dial in your cut
If weeding feels like wrestling, your cut settings might be slightly off. The sweet spot is a clean cut through the vinyl layer while only lightly scoring the liner or carrier.
- Too light: You have to tug harder, and delicate parts stretch or tear.
- Too heavy: You can cut too deep into the liner or carrier, which makes weeding jagged and can cause tiny pieces to stick and shred.
My workflow: Run a small test cut of a tiny word or a 0.25 inch square and adjust one step at a time. On most Cricut machines, that means changing the material setting, pressure, and sometimes the blade type, not dialing in a literal cut depth.
Also worth checking: A gunky or dull blade can drag on tiny corners. If your cuts suddenly look fuzzy or you have to pick at every edge, inspect and clean the blade, and replace it if needed.
9) Cool HTV if it is gummy
Some HTV formulas feel soft or stretchy right after cutting, especially thin, stretchy apparel HTV. If your HTV is tearing or lifting like taffy, letting it cool can help.
- Leave it flat for a few minutes after cutting.
- Or set it on a cool surface for 1 to 2 minutes.
You are not trying to freeze it solid, just taking the gummy edge off. If you do use a fridge or freezer, keep it brief and avoid moisture or condensation on the carrier.
10) Add a frame border
This is a Design Space hack that saves materials and sanity: add a simple box around your design so you can weed in a controlled area.
Why it helps: A border gives you a clean place to start lifting negative vinyl and helps prevent you from accidentally pulling up neighboring parts if you have multiple designs on one sheet.
How to do it: Add a square in Design Space, size it slightly larger than your design, set it to cut, and place it around the artwork. You will weed out the big outside area first, then work inside the frame with less tugging across delicate lines.
Quick troubleshooting
- Cut is not clean: Switch to a more appropriate material setting, bump pressure slightly, or try a fresh blade. Draggy cuts lead to tearing.
- Vinyl is stretching: Pull at a lower angle and slow down. Consider reverse weeding for adhesive vinyl.
- Design is too tiny for the vinyl type: Thicker craft vinyl can struggle with hairline details. For micro text, choose a premium, thinner vinyl or enlarge the design.
- Transfer tape is too aggressive: If reverse weeding is pulling pieces up, switch to a less tacky transfer tape or de-tack it first. For fabric projects, tap it on a clean cotton tee. For hard-surface decals, tap it on a lint-free cloth.
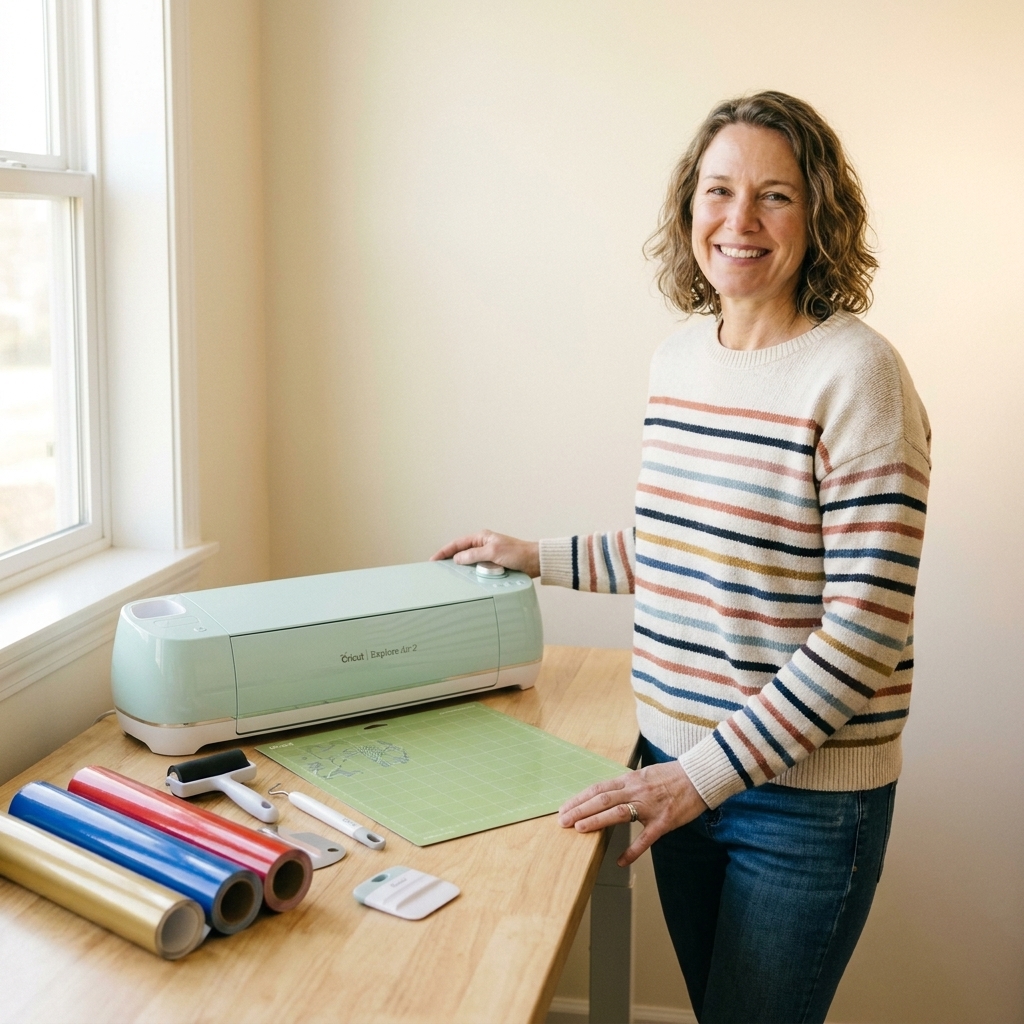
My intricate weeding setup
If you want a no-fuss setup that covers most detailed projects, this is what I reach for in my slightly chaotic Midwest craft room:
- A small desk lamp aimed from the side
- Fine-point tweezers plus a micro hook
- A small scraper or squeegee for hold-down pressure
- StandardGrip mat that is clean but not brand new sticky
- Transfer tape nearby for reverse weeding (adhesive vinyl)
And the most underrated supply of all: patience. Intricate weeding is not hard because you are bad at it. It is hard because the physics are annoying. Once you set yourself up with good light and the right technique, you will waste way less vinyl.