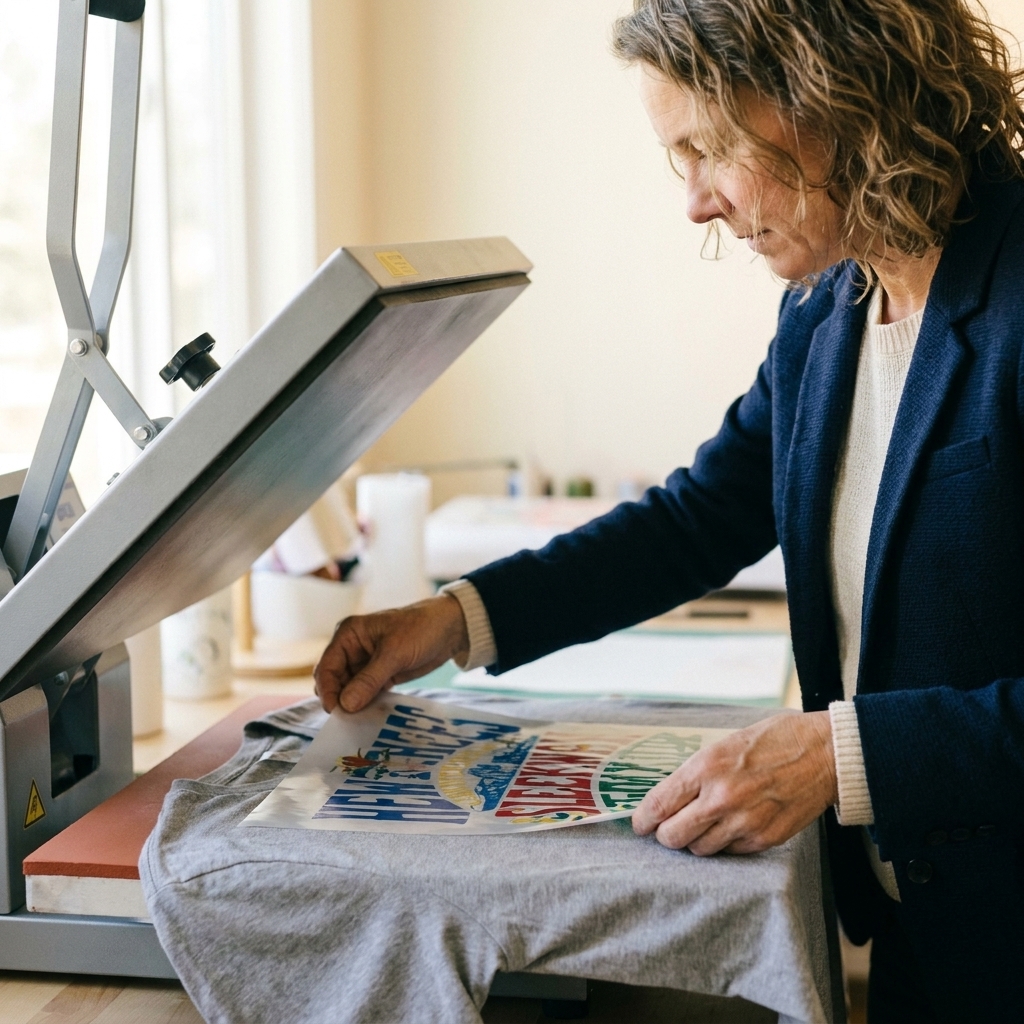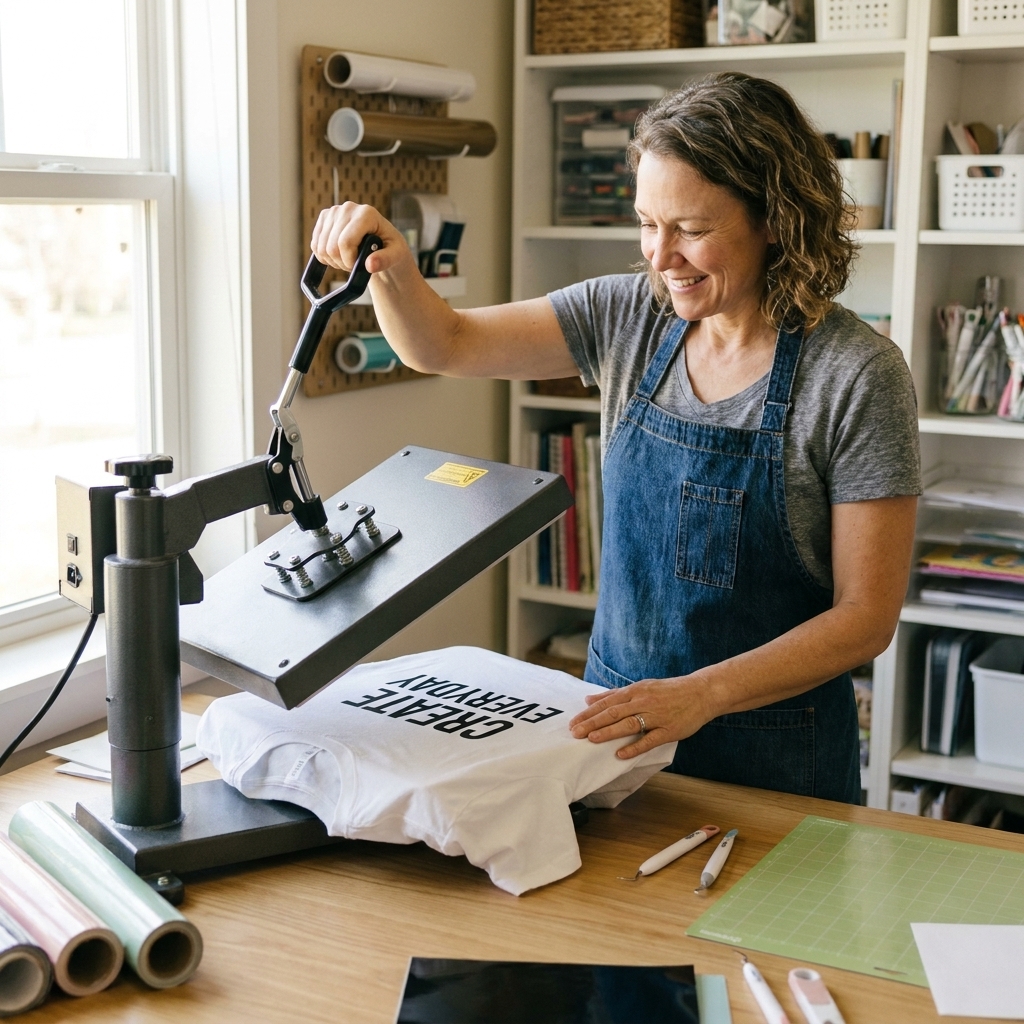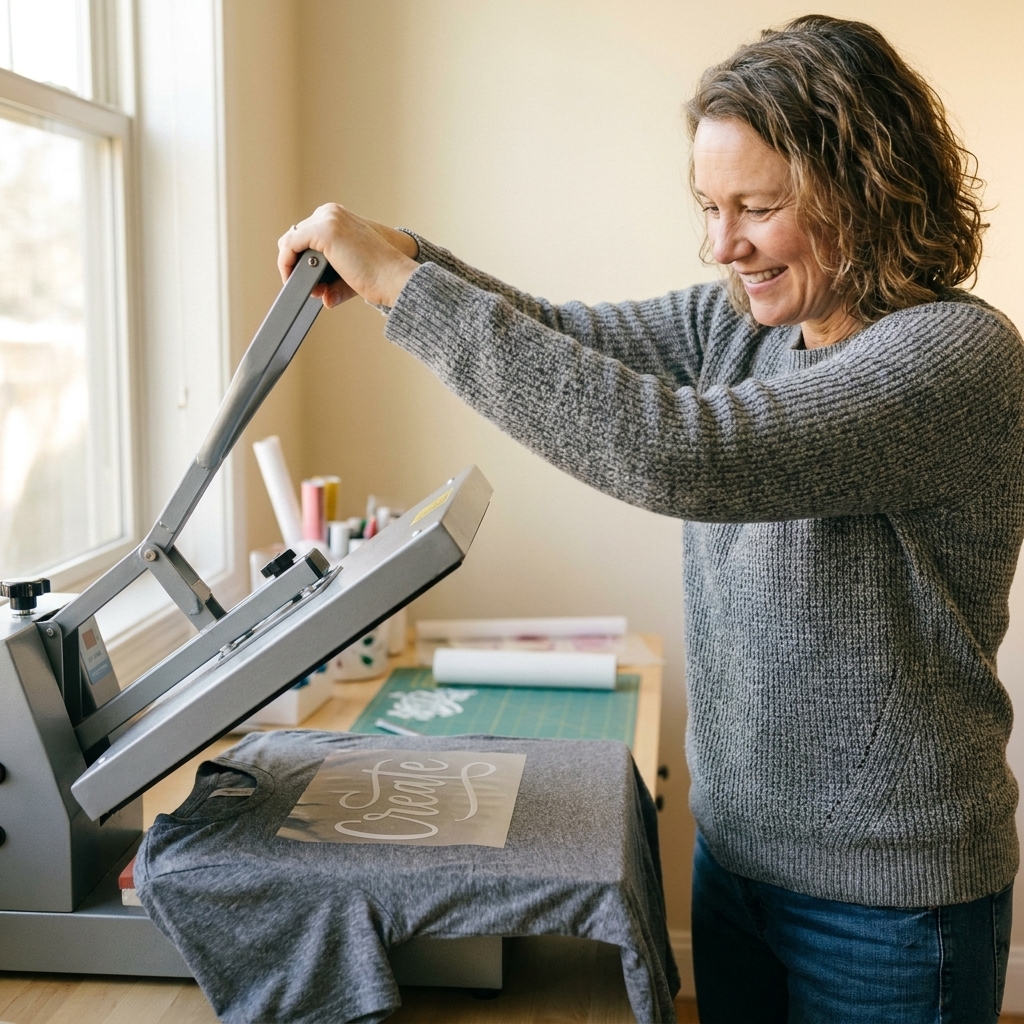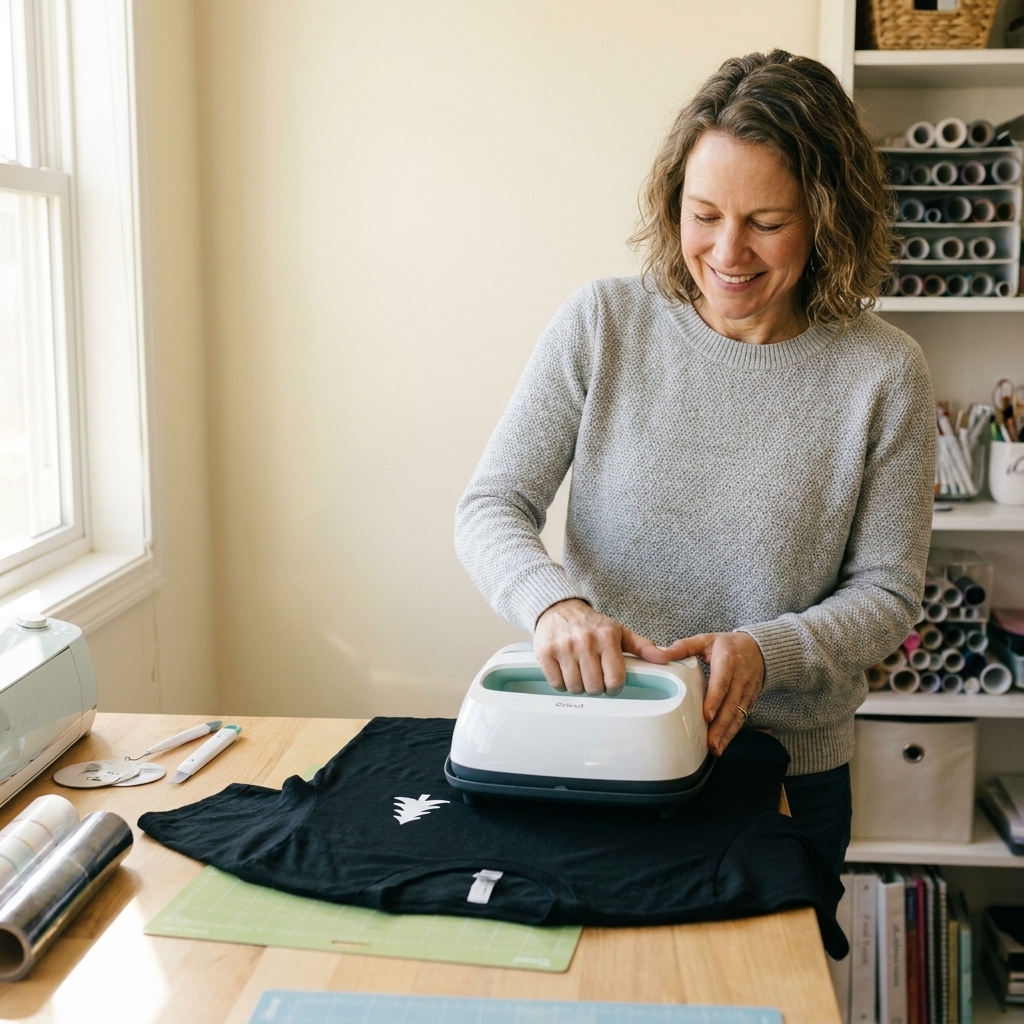
Learn how to design, cut, weed, and press iron-on vinyl (HTV) onto a cotton shirt using Cricut Design Space, plus my best beginner tips for clean, long-lasti...
Maker Vinyl
Updated October 17, 2026
Why Your Iron-On Vinyl Won't Stick (And How to Fix It Fast)
HTV peeling, lifting, bubbling, or melting? Use this fast troubleshooting guide to fix iron-on vinyl adhesion issues on shirts, totes, hats, and more with Cricut.

Harper Davis
Harper Davis is a lifelong DIY enthusiast and cutting-machine expert who loves helping beginners conquer Cricut Design Space. With over six years of experience running a custom vinyl shop, she shares practical tutorials, material guides, and creative inspiration.
If you are staring at a shirt with iron-on vinyl lifting at the corners, you are not alone. HTV can go from “wow, I made that” to “why is it peeling already” in about two seconds. The good news is most sticking problems come down to a few fixable things: heat, pressure, time, and the fabric you are pressing on.
This guide is how I troubleshoot HTV in my own craft room when I have a stack of orders and zero patience left for wasted vinyl. We will diagnose the issue, fix it fast, and make sure it stays stuck through real life, meaning washing, stretching, and wearing.
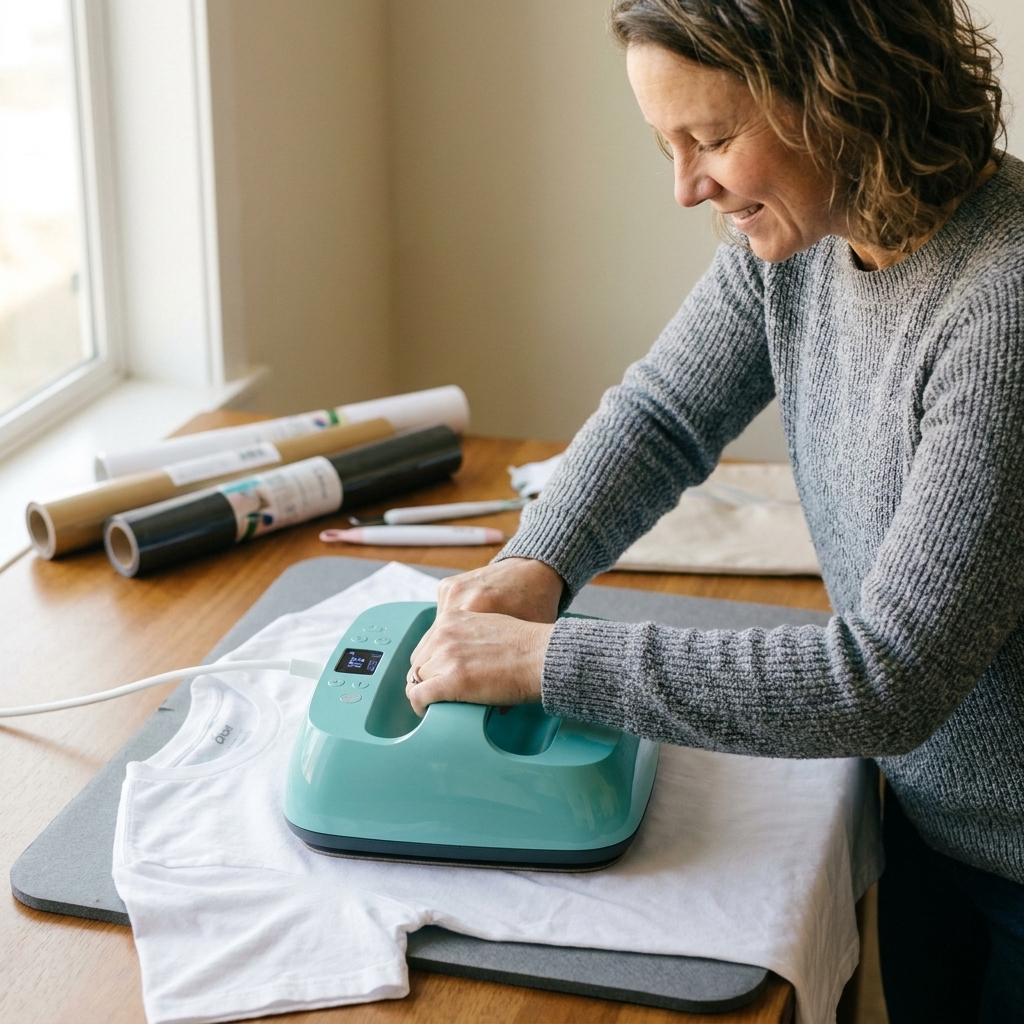
Fast diagnosis: what is your HTV doing?
Start by matching your problem to the symptom. Then jump to the fix. (If you only change one thing at a time, you will learn faster and waste less HTV.)
- Peeling right away when you peel the carrier: not enough heat, pressure, or time, or you peeled at the wrong temperature (hot vs warm vs cold peel).
- Corners lift after a wash: under-pressed, residue on the fabric (fabric softener, detergent buildup), or you skipped a final press.
- Bubbles or blisters: moisture in the fabric, trapped air, pressing over seams or wrinkles, or heat or pressure that was uneven.
- HTV looks melted, shiny, or wrinkly: too hot, pressed too long, or you pressed without a cover sheet.
- HTV feels like it stuck but then cracks when stretched: wrong HTV type for the fabric, over-pressed, or the garment is too stretchy for the vinyl you used.
- HTV never grabs the fabric at all: you accidentally used standard permanent (adhesive) craft vinyl, your HTV is upside down, or your surface is heat-resistant or treated (nylon, water-repellent, silicone finish).
The 4 things HTV needs to stick
Every successful press is basically a recipe. Change one ingredient and the whole thing can fail.
1) Correct temperature
HTV has an adhesive that activates in a specific heat range. Too low and it never bonds. Too high and you can scorch the shirt or distort the vinyl. Not all blanks tolerate the same heat either, so check the garment tag for fiber content and any ironing warnings before you go full blast.
2) Enough pressure
This is the sneaky one. Most home irons do not apply even pressure, and even a heat press can be light if you are pressing over seams, zippers, or thick hems.
3) Enough time
Most HTV needs a full press time to let the adhesive flow into the fabric fibers. Short presses can look fine until the first wash.
4) A clean, dry surface
Moisture, lint, fabric softener, starch, and certain fabric coatings block adhesion. A short pre-press fixes a lot of mysteries. As a baseline, I start with 5 to 10 seconds, longer for thicker items, and I am aiming for one simple cue: the pressing area should feel warm and dry, not cool or damp.
Fix it fast: common reasons HTV will not stick
You did not pre-press the garment
What it looks like: bubbling, lifting edges, or sections that never fully adhere.
Why it happens: moisture and wrinkles create uneven contact and steam pockets.
Fix: Pre-press the blank for 5 to 10 seconds (longer for thicker hoodies and sweats). If it still feels cool or slightly damp, press a little longer. Let it cool for a few seconds so you are not trapping steam.
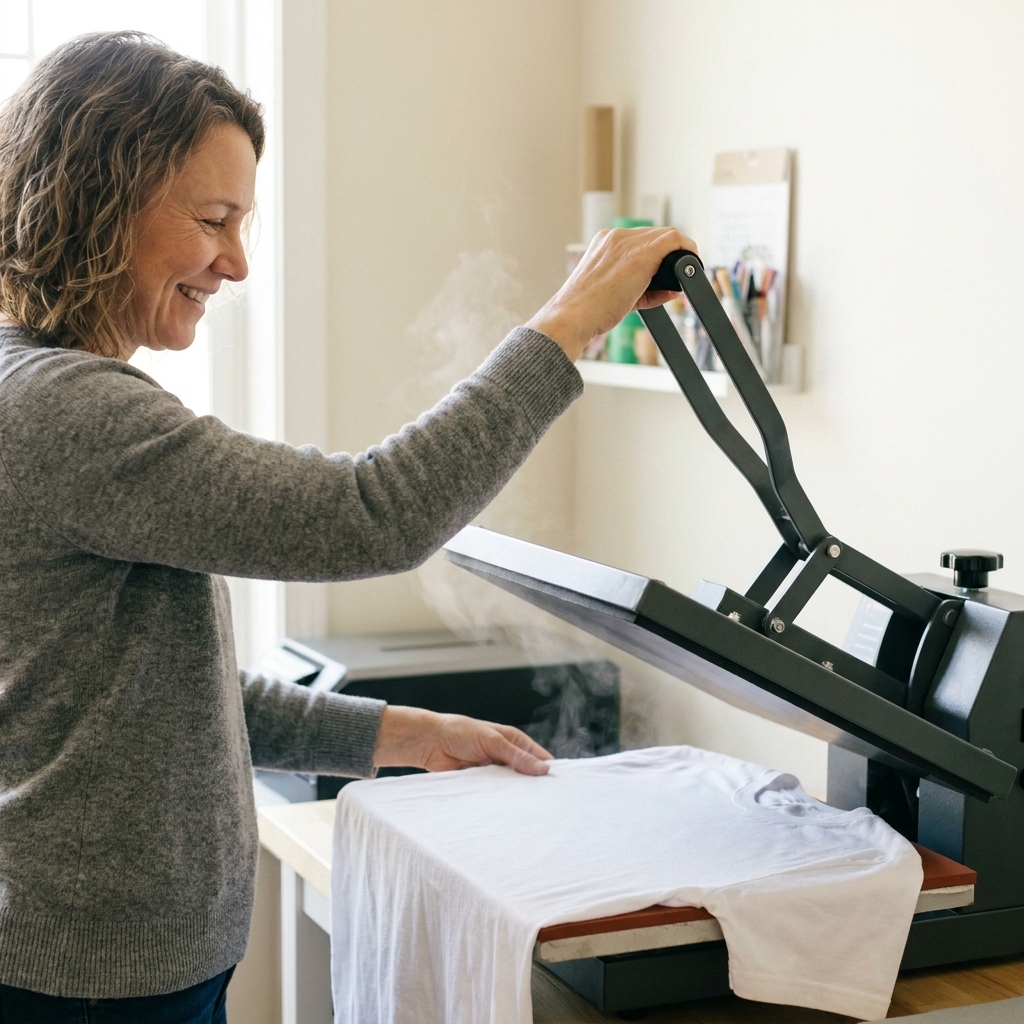
You pressed at the wrong temperature
What it looks like: the HTV lifts when you peel the carrier, or it adheres in some places but not others.
Why it happens: iron dials are not accurate, and results can vary with tools like an EasyPress if you do not allow full preheat or if your surface steals heat. Different HTV brands and finishes also use different temps.
Fix:
- Confirm the exact temp for your HTV brand and line (everyday, glitter, stretch, holographic, foil, etc.).
- If using an iron, choose the cotton or linen setting, turn steam off, and let it fully preheat.
- If using an EasyPress, let it fully preheat, use a firm mat on a sturdy table, and avoid pressing on anything soft that absorbs heat and pressure.
- If you are troubleshooting a mystery, a quick reality check helps: many infrared thermometers can give inconsistent readings on shiny plates and vinyl. If you are not getting stable numbers, trust your press calibration and the manufacturer settings over a single IR spot check.
You did not use enough pressure (especially with an iron)
What it looks like: edges lift first, or you can see the fabric texture did not imprint slightly into the vinyl.
Why it happens: HTV needs consistent, firm pressure. Light, wiggly ironing motions do not count.
Fix: Press straight down with steady pressure. Do not slide. If you are using an iron, work in small sections and overlap them slightly, pressing each area for the full time.
My quick pressure test: If you can easily push down and chat on the phone at the same time, you probably are not pressing hard enough.
You peeled the carrier at the wrong time
What it looks like: the design starts to lift as soon as you peel.
Why it happens: Some HTV is hot peel, some is warm peel, and some is cold peel. Peeling too early can pull adhesive up before it sets.
Fix: Check your HTV instructions. If you are not sure, let it cool to warm and peel slowly at a low angle. If it lifts, lay the carrier back down and press again for 5 to 10 seconds with steady pressure.
Your pressing surface is too soft or uneven
What it looks like: parts of the design stick, parts do not, especially near seams or pockets.
Why it happens: A fluffy towel, a couch cushion, or a padded ironing board can absorb pressure and create low spots.
Fix: Use a firm surface like a heat press, an EasyPress mat on a sturdy table, or a heat-resistant pad on a solid counter. For seams and collars, use a pressing pillow or fold the garment so the pressing area is flat and not sitting on bulky seams.
You used steam, or your fabric held moisture
What it looks like: bubbles, cloudy adhesive areas, or sections that lift later.
Why it happens: Steam and moisture interfere with adhesive bonding and can create bubbles under the film.
Fix: Turn steam off. Pre-press longer on thick garments or anything that feels cool or damp. If you live in a humid area, this one matters a lot.
You cut the wrong side (or used the wrong vinyl)
What it looks like: it will not stick no matter what you do, or the shiny carrier is missing.
Why it happens: HTV is cut mirror image with the carrier sheet down. Standard permanent adhesive craft vinyl is pressure-sensitive, not heat-activated, so in most cases it will not bond to fabric reliably with heat and washing.
Fix:
- Make sure you are using iron-on or HTV, not standard permanent adhesive vinyl.
- Load HTV shiny side down.
- Mirror your design in Cricut Design Space.
Your shirt has a finish that fights HTV
What it looks like: it presses okay then peels in sheets, or it never fully bonds in the first place.
Why it happens: Some fabrics are coated (water-resistant, stain-resistant, performance finishes) or are too heat-sensitive for the settings that standard HTV needs.
Fix: Check the garment tag for fiber content and any ironing limits. For tricky materials:
- Polyester: use the recommended settings for your HTV, watch for scorching and press marks, and consider a lower-temp HTV line if you keep getting shine.
- Nylon: you often need specialty HTV made for nylon and a lower-temp approach.
- Water-repellent or “dri-fit” finishes: test first. Some will never hold standard HTV well, even if you press it perfectly.
Your press time was too short (or you skipped the final press)
What it looks like: looks adhered, then peels after washing, especially at small details and corners.
Why it happens: HTV needs time for the adhesive to fully melt and grab. A final press helps lock in edges.
Fix: Press for the full recommended time, then do a second press for 5 to 15 seconds with a cover sheet. I almost always do this for layered designs and anything with fine points.
You over-pressed and cooked the vinyl
What it looks like: wrinkling, puckering, shiny scorch marks, or the vinyl looks distorted and thin.
Why it happens: Too much heat or time can damage the vinyl layer, and some specialty HTV (glitter, foil, holographic) is less forgiving.
Fix: Lower your temp or shorten the time. Always use a cover sheet between the heat source and your project, especially for specialty finishes.
You layered HTV that should not be layered
What it looks like: the top layer lifts, bubbles, or separates at the edges, even though the base layer seems fine.
Why it happens: Some finishes are meant to be the top layer only, and some do not like being reheated multiple times.
Fix: Check the brand’s layering guidance before you commit, including the max layers. If you are unsure, keep specialty finishes (especially foil and some holographic styles) as a top layer and keep your layering simple. When layering, tack the bottom layers quickly, then do one final press once everything is stacked.
My step-by-step save routine
If your HTV is lifting right now, do this before you rip it off in frustration.
Stop peeling. If the carrier is half off, lay it back down as smoothly as you can.
Check the peel type. If it is supposed to be warm or cold peel, wait.
Cover and re-press. Put a cover sheet on top and press 5 to 10 seconds with steady pressure.
Focus on edges. If corners lift, press just the corners with the tip of an EasyPress Mini or the edge of your press plate, still using a cover sheet.
Let it cool slightly and peel slowly. Peel at a low angle back over itself, not straight up.
Finish with a final press. 10 to 15 seconds with a cover sheet. This is the part that helps it survive the wash.
If it still will not stick after two solid re-presses, stop and reassess the fabric. That is usually the real culprit.
Quick safety note: when you are doing tiny edge presses with a mini press or the corner of a press, keep your fingertips clear. Those little “just one more second” presses are when burns happen.
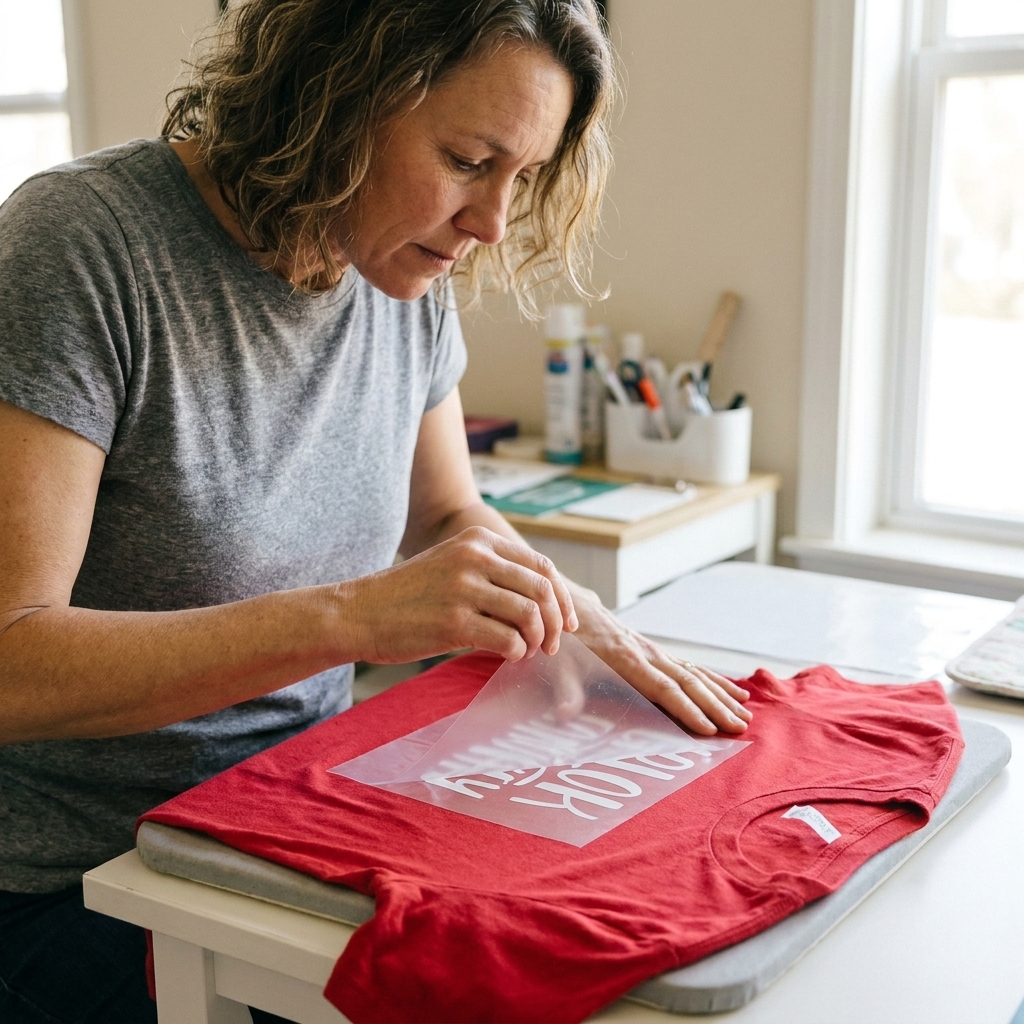
Bubbling, wrinkling, and melting
How to fix bubbles under HTV
First: do not poke big holes right away. Many bubbles flatten out with a careful repress.
- Let the design cool, then cover and press again with steady pressure.
- If the bubble stays, use a fine pin to make a tiny vent near the edge of the bubble, then cover and press again.
- If you are using specialty HTV like foil, holographic, or glitter, test this on a scrap first. Pin venting can leave a visible mark on some finishes.
- Next time, pre-press the garment longer and press on a firm surface.
How to fix wrinkled HTV
If the vinyl itself is wrinkled, it is usually heat or pressure related.
- Try a short repress with a cover sheet and medium pressure to reflow it slightly.
- If the shirt is stretching under pressure, reduce pressure and make sure the garment is flat and supported.
What to do if HTV looks melted or scorched
Once HTV is truly melted or the finish is damaged, you often cannot bring it back. You can sometimes reduce minor shine with a cover sheet and a very brief final press, but heavy damage usually means redoing the decal.
Best move: learn from it, adjust temp or time, and cut a fresh piece. I know that is annoying. It is also faster than trying to rescue a design that is already compromised.
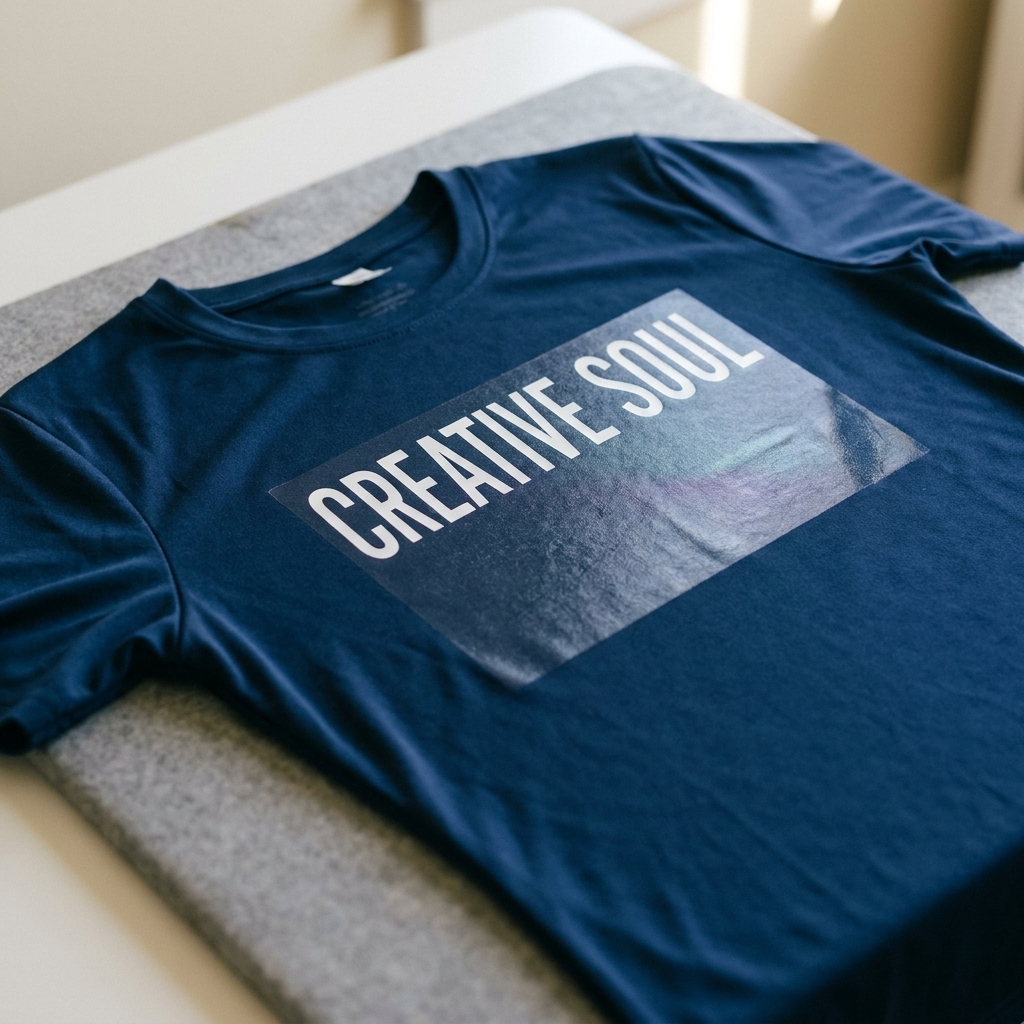
Fabric-specific troubleshooting
Not all blanks behave the same. Here are the fixes I use most.
100% cotton
- Usually the easiest for HTV.
- Pre-press to remove moisture and wrinkles.
- Watch for thick seams under the press.
Cotton-poly blends
- Great for everyday shirts, but do not overheat.
- If you see shine on the fabric, lower the temp a bit and increase press time slightly if needed.
100% polyester and performance tees
- Use the recommended settings for your HTV and consider a lower-temp HTV line if scorching is an issue.
- Double-check the garment tag for any ironing limitations before pressing.
- Use a pressing pillow or fold to avoid collar seams.
- Test a small scrap first, especially on moisture-wicking finishes.
Canvas totes
- They need more pressure than you think because the weave is thick.
- Pre-press longer and use a firm surface.
- Press inside the bag with a pressing pillow. If you use a firm insert like cardboard, keep it covered with a smooth, heat-safe layer (like a PTFE sheet or butcher paper) to reduce texture transfer and keep moisture issues to a minimum.
Hats
- Curves make pressure uneven.
- Use an EasyPress Mini or a hat press if you have one.
- Secure the hat so it does not shift while pressing.
Tools and habits that help
Use a cover sheet every time
Parchment paper (silicone-coated), uncoated butcher paper, or a PTFE sheet keeps your heat source clean and helps distribute heat more evenly. Skip anything wax-coated. Wax paper is a hard no.
Be realistic about home irons
You can absolutely apply HTV with an iron, but you have to press like you mean it: no steam, no sliding, small sections, full time, firm surface.
Peel low and slow
Peel low and slow. If anything lifts, stop and re-press. This one habit saves so many projects.
Think like a wash test
If you are making gifts or selling items, try to build time for a quick durability check on a similar scrap: press a small decal on an extra shirt swatch, wait 24 hours, then wash it. It is boring. It prevents refunds.
Removing failed HTV
Sometimes the fastest fix is starting over. If a design is cracked, cooked, or peeling in sheets, here is how I remove it without making a bigger mess.
- Reheat and peel: Warm the design with your press or iron, then peel gently while it is warm. Go slow so you do not stretch the fabric.
- Lift leftovers: If there is adhesive residue, use a remover made for HTV or garment-safe adhesive cleanup, and test in a hidden area first. Some chemicals can discolor certain fabrics.
- Cover as a rescue: If the shirt is already marked, you can sometimes cover the area with a slightly larger design. Not my favorite, but it saves a blank in a pinch.
If you are working on heat-sensitive fabric, keep your removal attempts short and controlled. One aggressive “just blast it” press can do more damage than the vinyl ever did.
Aftercare: make your HTV last
Even perfectly pressed HTV can fail early if the garment care is rough.
- Wait at least 24 hours before washing, or follow your brand’s guidance (some recommend 24 to 48 hours).
- Wash inside out, cold or warm, gentle cycle.
- Avoid bleach and harsh stain removers on the design area.
- Tumble dry low or hang dry.
- Do not iron directly on the HTV. If you must, iron inside out or use a cover sheet.
Quick FAQ
Why is my iron-on peeling right after I press it?
Most often it is a peel-timing issue or under-pressing. Let it cool to the recommended peel temp, then re-press with a cover sheet and steady pressure.
Can I re-press HTV that is lifting?
Yes. Lay the carrier back down if you can, cover, and press 5 to 10 seconds. Then do a final press after the carrier is removed.
Why does my HTV look bubbled after pressing?
Moisture is the usual culprit. Pre-press the shirt longer next time, avoid steam, and make sure your pressing surface is firm.
Why does HTV stick in the middle but not on the edges?
Edges lift when pressure is uneven. Check seams, collars, pockets, and whether your surface is too soft. Add a pressing pillow or reposition the shirt so the design area is flat.
Is my shirt the problem?
Sometimes, yes. Water-repellent finishes, certain nylon blends, and some performance fabrics do not play nicely with standard HTV. When you suspect the blank, test a small scrap first and consider specialty HTV designed for that fabric type.
The simple checklist I use every time
- Mirror design, shiny side down.
- Lint roll the area.
- Pre-press 5 to 10 seconds, longer if the area still feels cool or damp.
- Correct temp, correct time, steady pressure.
- Peel at the right temperature, low and slow.
- Final press 10 to 15 seconds with a cover sheet.
- If layering, follow your HTV brand’s layering chart (including max layers and which finishes must be top layer).
If you want, tell me what HTV brand you used, what blank (fabric content), and whether you used an iron, EasyPress, or heat press. I can help you narrow it down fast.