A beginner-friendly guide to transfer tape for Cricut vinyl projects, including tack levels, grid tips, compatibility notes, and troubleshooting for stubborn...
Maker Vinyl
Updated October 17, 2026
Cutting and Applying Specialty Vinyl: Holographic, Glitter, and Metallic
Get clean cuts and smooth applications with holographic, glitter, and metallic vinyl. Learn blade choices, Cricut settings, weeding tricks, and transfer tips that prevent tears, bubbles, and lifting.

Harper Davis
Harper Davis is a lifelong DIY enthusiast and cutting-machine expert who loves helping beginners conquer Cricut Design Space. With over six years of experience running a custom vinyl shop, she shares practical tutorials, material guides, and creative inspiration.
If you have ever watched a gorgeous holographic or glitter vinyl design turn into a jagged, torn mess during weeding, you are not alone. Specialty vinyl is thicker, stiffer, and sometimes textured, which means it needs a slightly different game plan than standard permanent vinyl or everyday HTV.
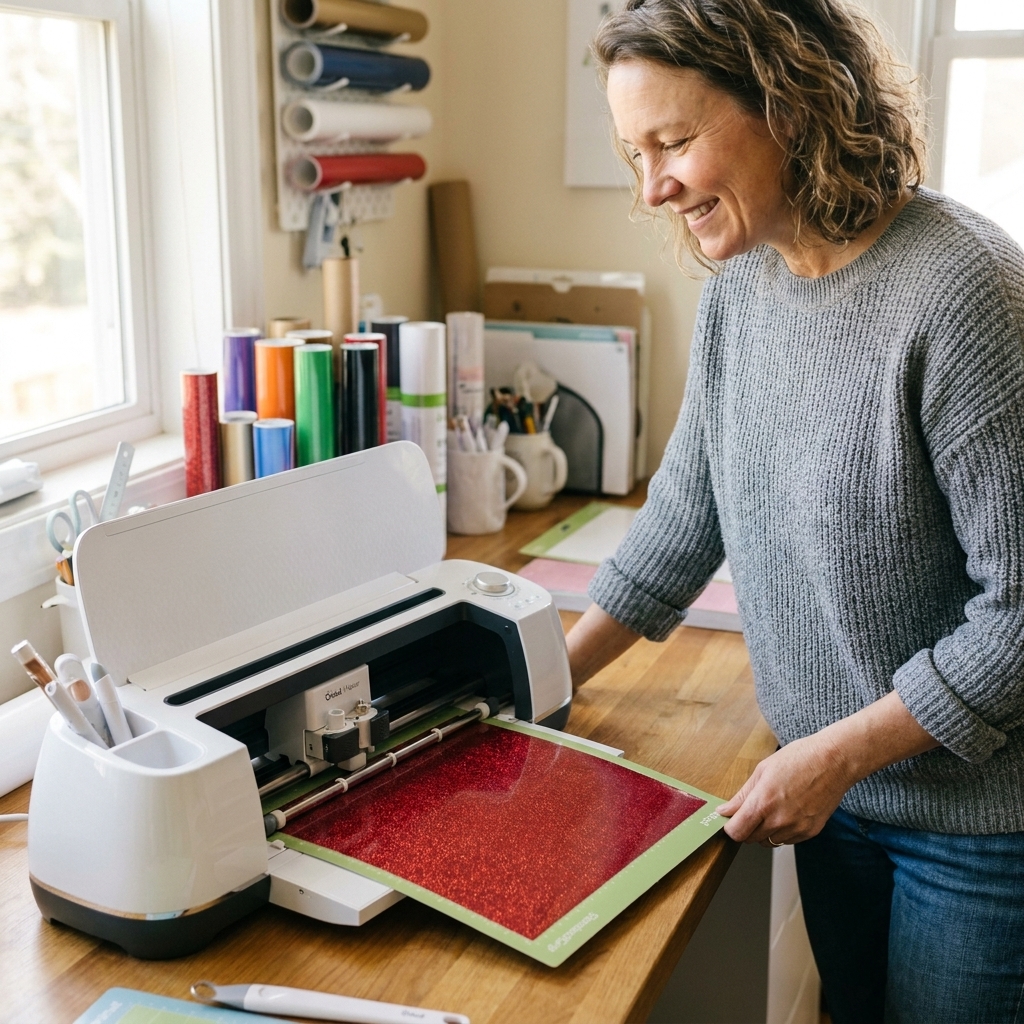
I run a vinyl shop, and I still treat specialty vinyl like a whole separate material category. The good news is you do not need magic settings. You need a consistent process: a sharp blade, the right pressure, a smart test cut, and a calmer application method.
Know what you are working with
Before we touch Cricut Design Space, identify which specialty vinyl you have. Most problems come from using the wrong approach for the finish.
Holographic and iridescent adhesive vinyl
- Typical behavior: Medium thickness, slick face, can show scratches, and can be prone to tiny lift lines on sharp corners.
- Main challenge: Getting small details to stay down during transfer without stretching the film.
Quick check: Some holographic and metallic films ship with a clear protective layer on top. If your vinyl looks extra glossy or seems to resist transfer tape, check a corner and peel that protective film off before you cut or transfer.
Glitter adhesive vinyl
- Typical behavior: Thick, textured surface, stiffer than standard vinyl.
- Main challenge: Clean cuts through texture and getting transfer tape to grip the glitter surface.
Metallic adhesive vinyl (mirror, chrome-look)
- Typical behavior: Smooth, reflective face that can wrinkle or show marks if you burnish too aggressively.
- Main challenge: Avoiding dents, ripples, and overstretching during application.
Specialty HTV (holographic HTV, glitter HTV, metallic HTV)
- Typical behavior: Thicker carrier, sometimes more rigid. Some metallic HTV is less stretchy and likes firm pressure.
- Main challenge: Choosing the correct mirror setting, keeping edges down, and peeling at the right temperature.
Quick rule: Adhesive vinyl goes on hard surfaces like tumblers, signs, and cars. HTV goes on fabric and anything heat-safe like canvas tote bags.
Tools that make specialty vinyl less stressful
You can absolutely do this with the basics, but these tools save materials, especially when you are cutting thicker or textured vinyl.
- Sharp Fine-Point blade (or a dedicated blade you reserve for specialty vinyl). A dull blade is a very common cause of dragging, rough corners, and tearing.
- Green StandardGrip mat for most adhesive vinyl and glitter vinyl. If it is curling or shifting, go up to a Purple StrongGrip mat.
- Brayer to press vinyl evenly onto the mat. This reduces lifting and shifting mid-cut.
- Weeding tools plus a needle tool for tiny centers.
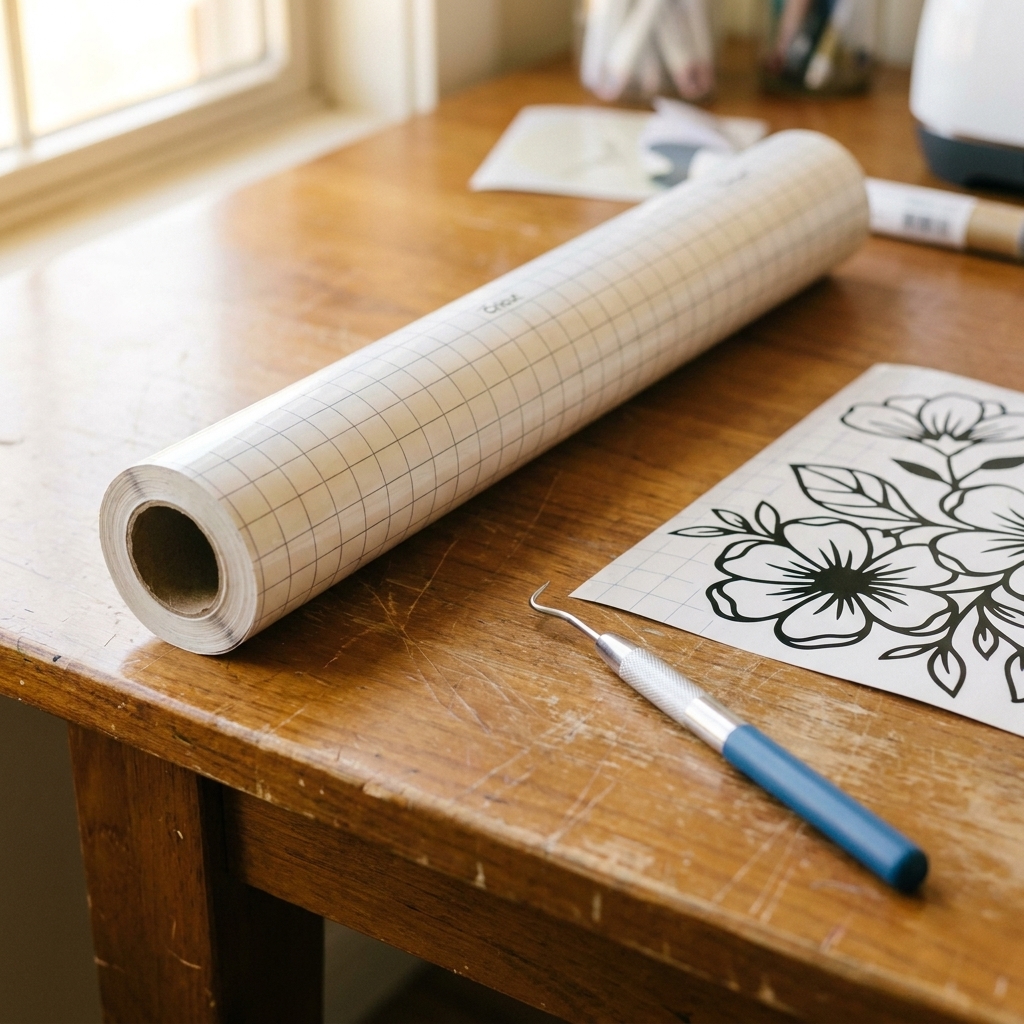
- Transfer tape options: standard, strong grip, and clear. Glitter often needs strong grip, metallic often prefers standard to avoid marks.
- Scraper and felt squeegee (felt is my favorite for metallic so it does not scuff).
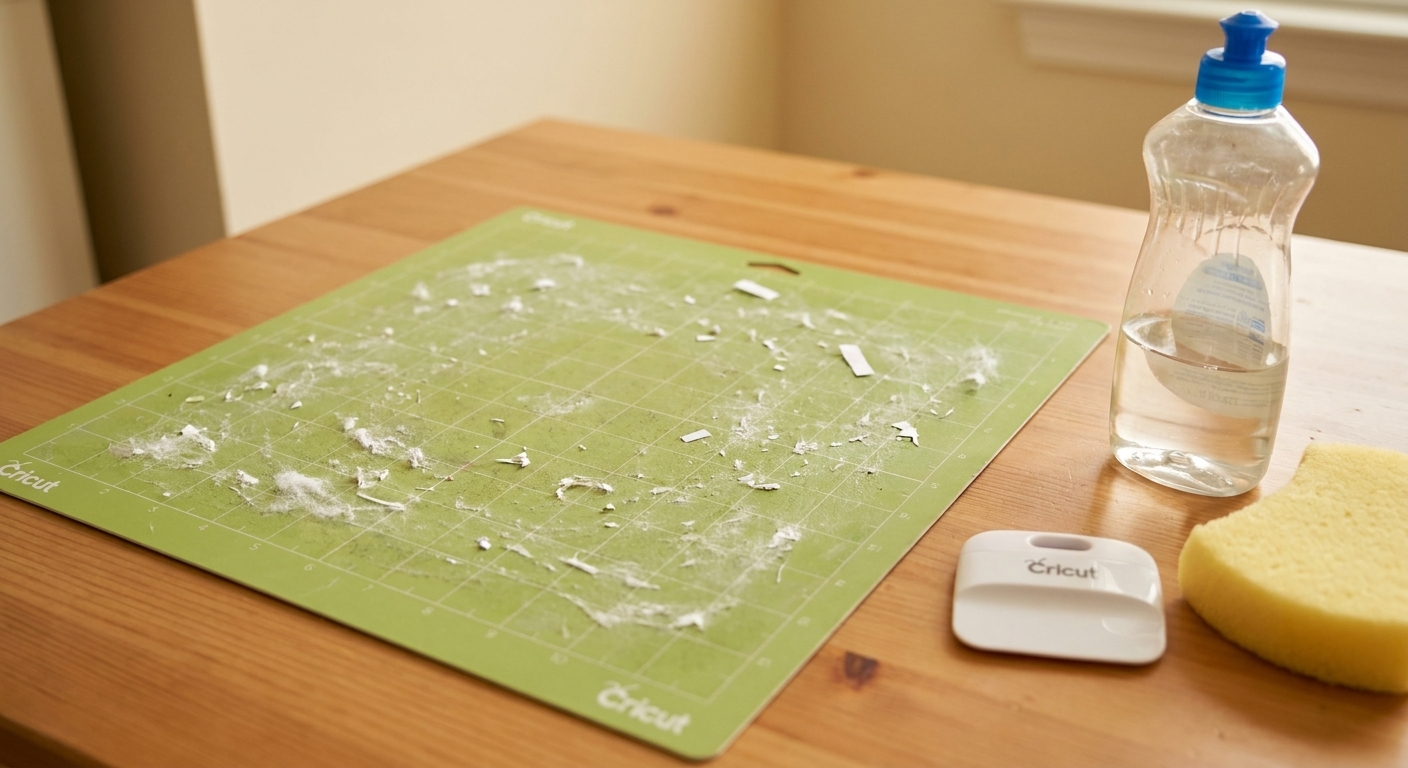
Mat note: A linty mat can let specialty vinyl shift mid-cut, and an overly sticky mat can make thicker films curl when you remove them. Keep mats clean, and if your mat is grabbing too hard, dab it with a clean cotton shirt to calm the tack down a bit.
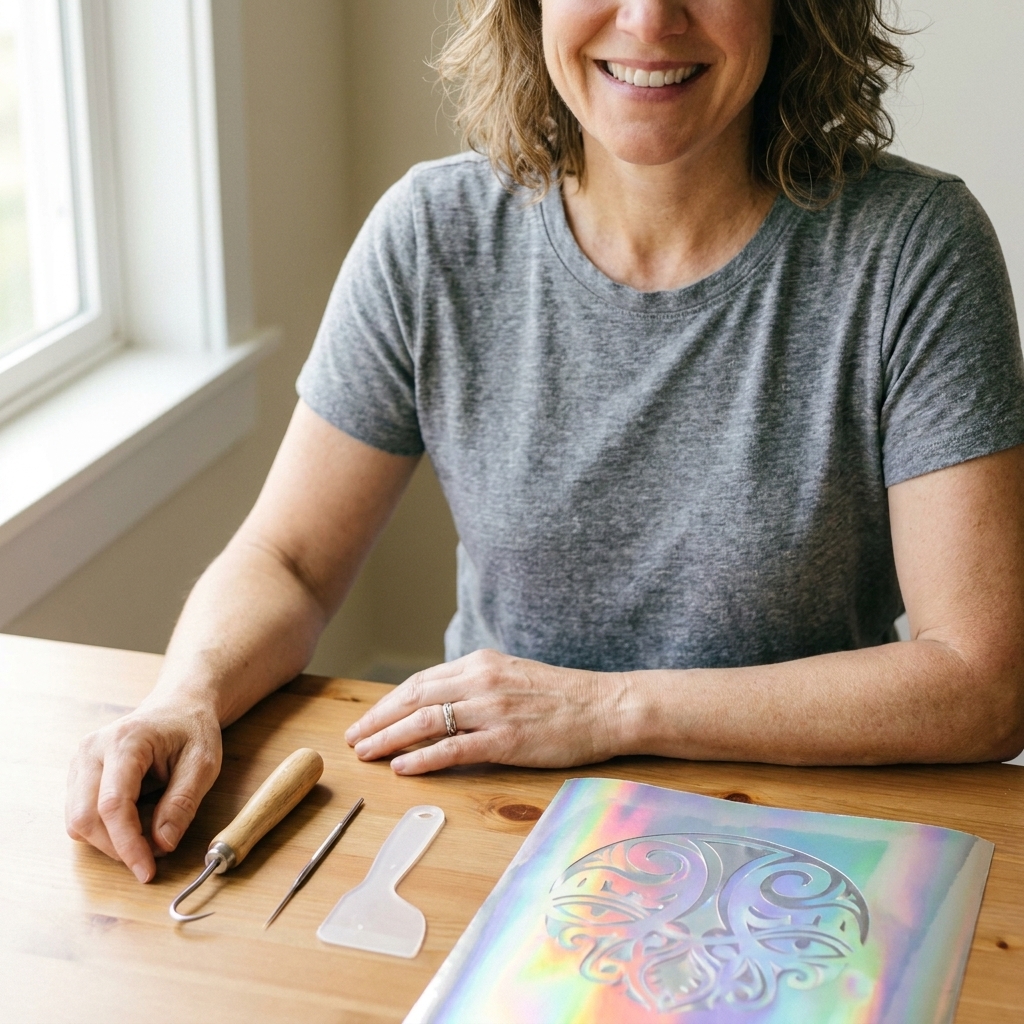
Set up the cut: my specialty vinyl checklist
1) Do a quick test cut, always
Specialty vinyl is expensive. I treat test cuts like insurance. In Design Space, tuck a tiny shape (like a 0.25 inch circle inside a square) into an unused corner and cut that first. You want the vinyl fully cut but the backing untouched.
2) Match the blade to the vinyl
- Cricut Explore family: Fine-Point blade is your workhorse. Make sure it is sharp.
- Cricut Maker family: Still use the Fine-Point blade for most specialty vinyl. Save the Deep-Point blade for very thick sticker materials or heavy specialty films that fight you.
- Joy: Use Smart Vinyl settings when using Smart materials. If you are cutting on a mat, do a test cut and err on the side of slightly less pressure, then add a pass if needed.
3) Pick a close setting, then adjust with pressure and passes
Instead of hunting for the perfect single setting, use this approach:
- Choose a setting that is close (for example, a glitter vinyl type if available, or a heavier vinyl type).
- If it is not cutting through cleanly, add More pressure first.
- If it is still not clean, use More pressure plus an extra pass (some machines call this Multi-cut).
- If it is slicing into the backing, reduce pressure. Do not compensate with speed.
My personal order of operations: sharp blade, brayer, More pressure, then a second pass. I only jump to a stronger setting after that.
4) Slow and steady wins tiny details
If your machine offers a Fast Mode, skip it for specialty vinyl. Thick, textured surfaces need time for the blade to pivot cleanly, especially on small corners.
Material-specific cut tips
Holographic adhesive vinyl
- Cutting: Use a sharp blade and avoid over-pressuring. Too much pressure can cause the blade to drag and create slightly raised edges.
- Design tip: Avoid hairline text and ultra-thin serifs. I like letters at least 0.25 inch tall, and I avoid super skinny strokes whenever I can.
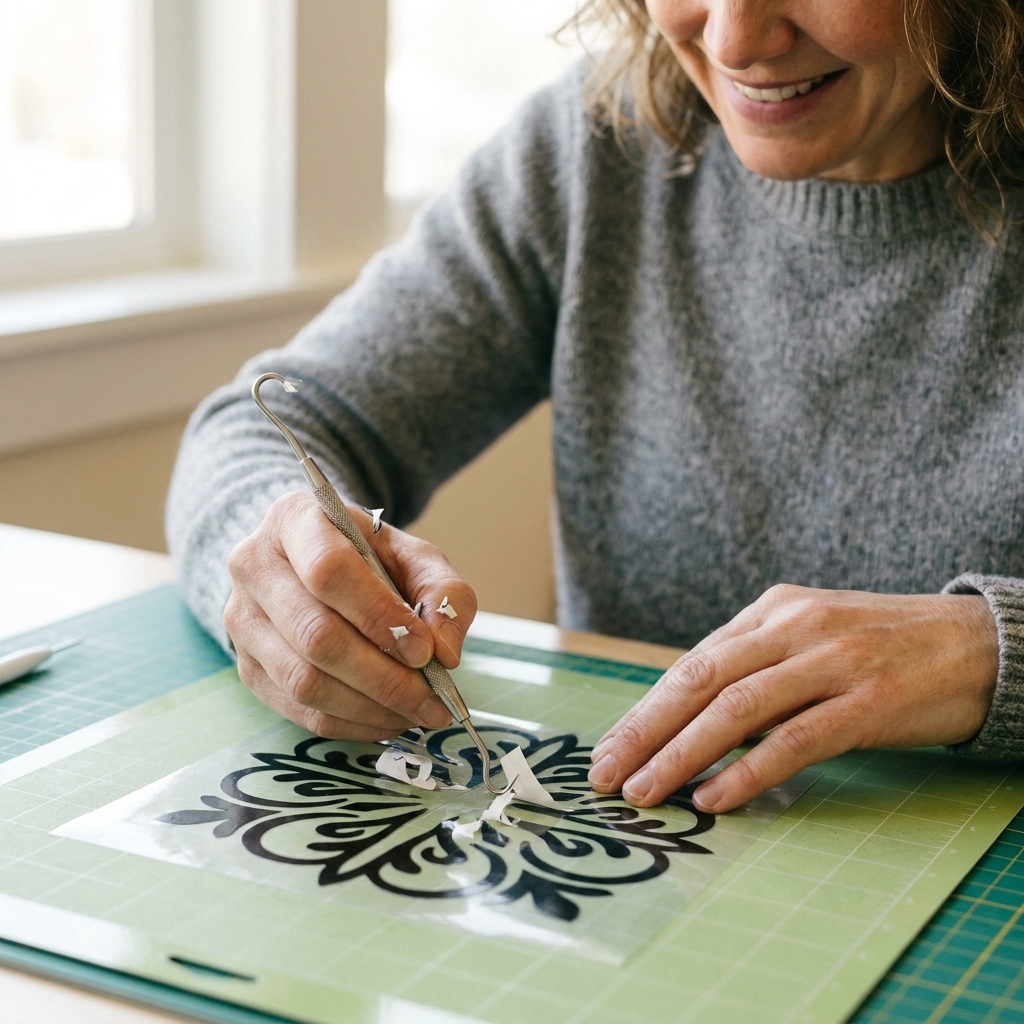
- Weeding: Weed slowly and keep the vinyl flat to the table to reduce stretching.
Glitter adhesive vinyl
- Cutting: Texture means you often need either more pressure or an extra pass. If you get tiny uncut bridges, add a pass before you crank pressure sky high.
- Mat grip: If the vinyl is lifting in the corners, switch to a StrongGrip mat or tape the edges to the mat with painter’s tape.
- Weeding: Warm it slightly with your hands. Cold glitter vinyl can feel extra stiff and pop details right off.
Metallic adhesive vinyl (mirror, chrome-look)
- Cutting: Use moderate pressure and a sharp blade. Overcutting can make corners curl later.
- Handling: Try not to crease it. Once mirror vinyl gets a wrinkle, it loves to keep it.
- Application: Use a felt squeegee or cover your scraper with a soft cloth to prevent scuffs.
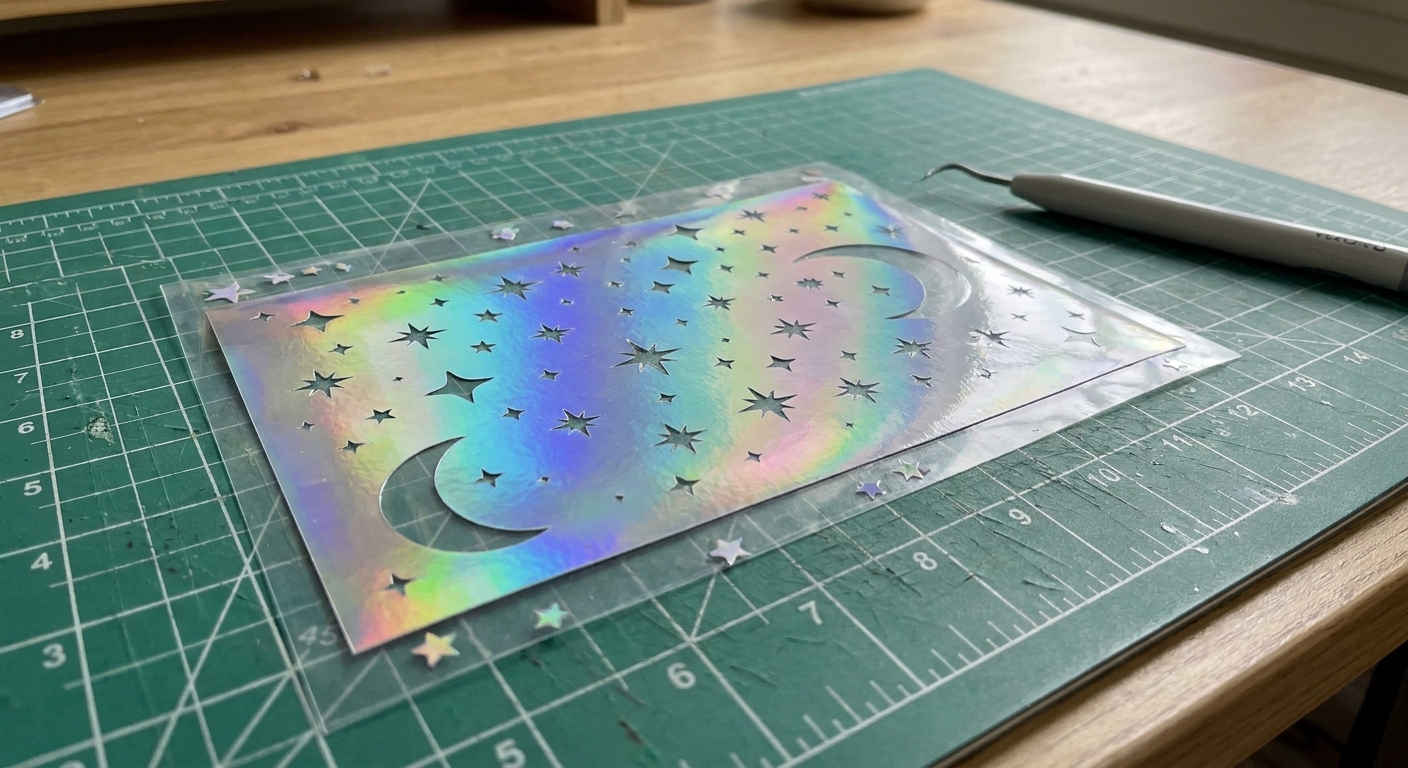
Weeding without tearing your design
Weeding is where specialty vinyl either feels like a dream or a full-body craft room stress test. These steps keep it predictable.
Use the bend method
Instead of pulling the excess vinyl straight up, bend the negative space back over itself at a low angle while holding your design down with a tool or your finger. This reduces the chance of lifting skinny strokes.
Weed inside pieces first
Start with tiny centers (like the inside of an O) and then remove the larger outside negative space. If you do the outside first, it is easier to accidentally lift a small island.
Light matters
Glitter and holographic finishes can hide cut lines. A bright desk lamp at a low angle helps you see where the blade actually went.
If it is not weeding cleanly, stop
If you are fighting it, it is usually a cut issue, not a you issue. Recut with a small bump in pressure or add a second pass. It is cheaper than tearing the whole design and starting over.
Transfer tape tricks
Choosing the right transfer tape
- Holographic adhesive vinyl: Usually works with standard grip transfer tape. If small details stay behind, move up to strong grip, but test first.
- Glitter adhesive vinyl: Often needs strong grip transfer tape because the textured surface has less contact area.
- Metallic adhesive vinyl: Standard grip is usually safer to avoid dents and overstretching.
How to get transfer tape to grab glitter vinyl
- Burnish the tape from the back after you place it on the vinyl. Flip it over and rub the backing side firmly. This pushes the vinyl into the adhesive of the tape without grinding into the glitter face.
- Use a brayer on top of the tape for even pressure.
- Peel the backing away from the decal, not the decal away from the backing. Keep the peel angle low.
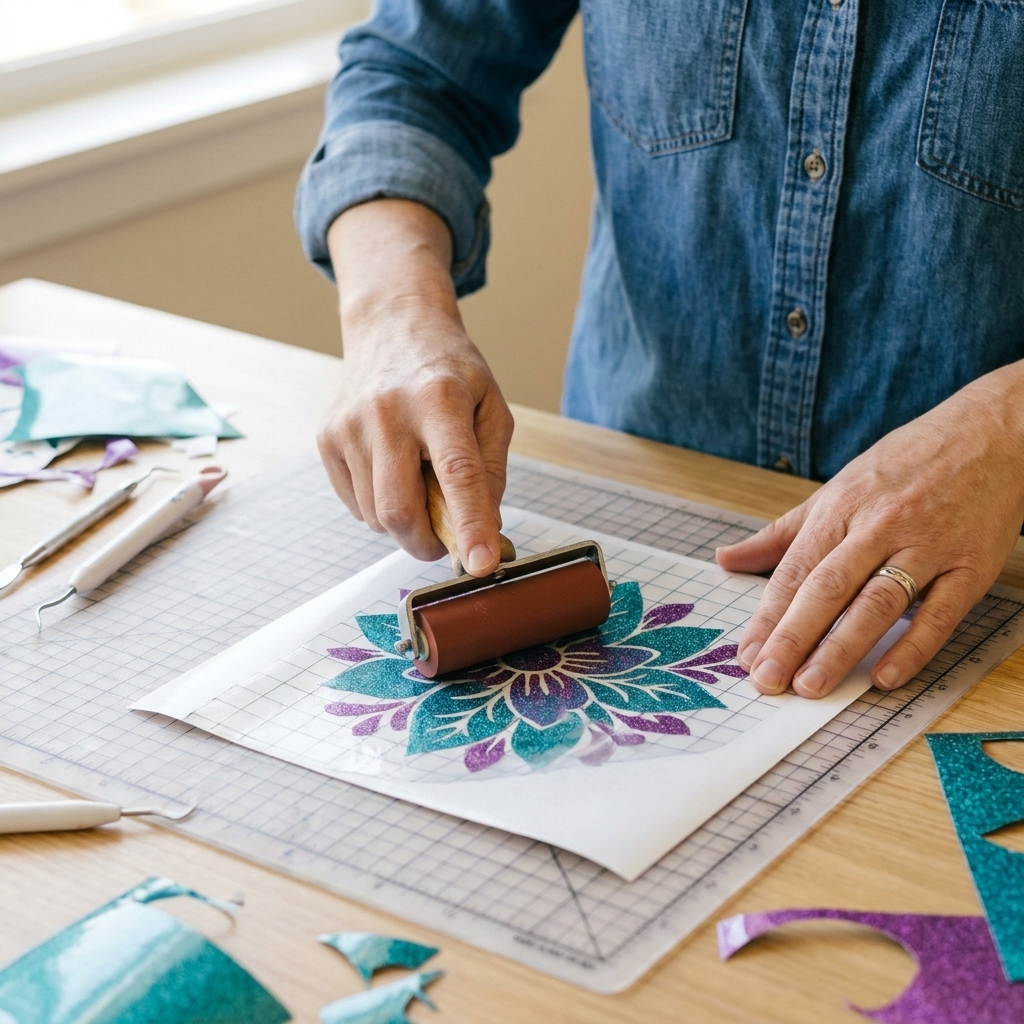
Application on hard surfaces
Prep like you mean it
Specialty vinyl shows every flaw. Clean your blank well, then avoid touching the surface.
- Wash with dish soap and water for dusty items, then dry fully.
- Wipe with isopropyl alcohol (70% or higher) right before applying, especially on glass, acrylic, and smooth sealed surfaces.
- Caveat: On painted, coated, or powder-coated items, spot-test alcohol in an inconspicuous area first. Some finishes can haze or soften.
- Make sure the surface is room temperature. Cold blanks can reduce adhesion.
Use a hinge method for larger decals
For big holographic or metallic decals, tape the decal in place along the top edge with painter’s tape. Flip it up, peel the backing, then lay it down slowly while burnishing from the center out.
Go gentler on metallic finishes
Metallic vinyl can show pressure marks. Use a felt squeegee or a soft cloth over your scraper and burnish with steady, medium pressure.
Let it cure before you wash it
Adhesive vinyl bonds over time. For many permanent adhesive vinyls, I aim for 24 to 72 hours before washing or heavy handling. If you know your film’s manufacturer cure time, follow that.
Tumbler reality check: Even “permanent” vinyl is not automatically dishwasher-safe. Hand-washing is the safest bet, and high heat plus harsh detergents can shorten the life of any decal.
Specialty HTV: cutting and pressing
If you are working with glitter HTV, holographic HTV, or metallic HTV, here are the habits that save shirts.
Mirror your design
HTV is cut with the shiny carrier side down. In Design Space, turn on Mirror before you cut. I say it out loud every time: mirror for shirts.
Use the right mat and pressure
- Place HTV shiny side down on a StandardGrip or LightGrip mat depending on your carrier sheet and how sticky your mat is.
- Use a setting that matches the HTV family you are using. If the cut is not clean, add pressure or a pass, but try not to cut into the carrier sheet.
Press with firm, even pressure
Specialty HTV tends to be thicker, so it likes consistent pressure across the design. If you use an EasyPress, apply firm pressure with both hands. If you use a heat press, make sure the pressure is not so high that it embosses the vinyl texture into the fabric.
Peel temperature matters
Some specialty HTV is warm peel, some is cold peel, and some is wait-a-few-seconds peel. Follow the brand’s guidance, and if you are not sure, do a gentle corner test. If it lifts, lay it back down and press again for a few seconds.

Troubleshooting
My vinyl is tearing while weeding
- Swap in a sharp blade.
- Reduce tiny detail in the design, or increase the size and stroke thickness.
- Add a second pass instead of dramatically increasing pressure.
- Make sure the vinyl is fully adhered to the mat with a brayer.
Small pieces will not lift onto transfer tape
- Switch to strong grip transfer tape (especially for glitter).
- Burnish from the back of the backing sheet.
- Slow your peel and keep it low and flat.
My metallic vinyl shows scratches after applying
- Use a felt squeegee or soft cloth over your scraper.
- Use standard grip transfer tape instead of strong grip if it is grabbing too hard.
- Reduce burnishing pressure and do more gentle passes instead of one hard scrape.
Edges are lifting on a tumbler
- Clean well and let it fully dry.
- Avoid applying on heavily textured powder coat or curved areas that force the vinyl to fight the shape.
- After applying, burnish edges carefully and let it cure before washing.
HTV is lifting after pressing
- Increase press time slightly and ensure firm pressure.
- Pre-press the fabric to remove moisture and wrinkles.
- If you suspect a temperature issue, know that infrared thermometers can read wrong on reflective heat plates. For the most accurate check, use a press thermometer strip, heat gun test strips, or a probe-style surface thermometer designed for presses.
My go-to workflow
Run a small test cut in a corner.
Sharp blade and brayer the vinyl, and turn off fast cutting.
Increase pressure a little before changing the whole material setting.
Add a second pass if texture is leaving uncut bridges.
Weed slowly at a low angle, inside pieces first.
Match transfer tape to the finish: strong for glitter, gentler for metallic.
Prep the surface well and apply with a hinge for big decals.
Let it cure before washing or heavy handling.
If you want a fun, low-stakes first project, try a small holographic name decal on a notebook or a glitter vinyl label for a storage bin. Specialty vinyl is so satisfying once you get your cut dialed in, and you will feel the difference immediately.