A beginner-friendly, foolproof way to apply transfer tape to adhesive vinyl cleanly every time, with troubleshooting for bubbles, wrinkles, and stubborn vinyl.
Maker Vinyl
Updated October 17, 2026
Transfer Tape: Strong Grip vs. Standard Grip
Confused about transfer tape? Learn the difference between strong grip and standard grip, how tack works, when grid lines help, and fixes for vinyl that will not lift or will not release.

Harper Davis
Harper Davis is a lifelong DIY enthusiast and cutting-machine expert who loves helping beginners conquer Cricut Design Space. With over six years of experience running a custom vinyl shop, she shares practical tutorials, material guides, and creative inspiration.
If you have ever weeded your design perfectly, lined it up on your blank, and then watched half your vinyl stay glued to the backing paper, welcome. Transfer tape is one of those “simple” supplies that can make you feel like your whole project is haunted.
The good news is this is usually not a you problem. It is a tack-level problem.
In this guide, I will break down standard grip vs. strong grip transfer tape, explain how tack actually works, when grid lines help (and when they annoy you), and how to troubleshoot the most common transfer tape fails without wasting your vinyl.
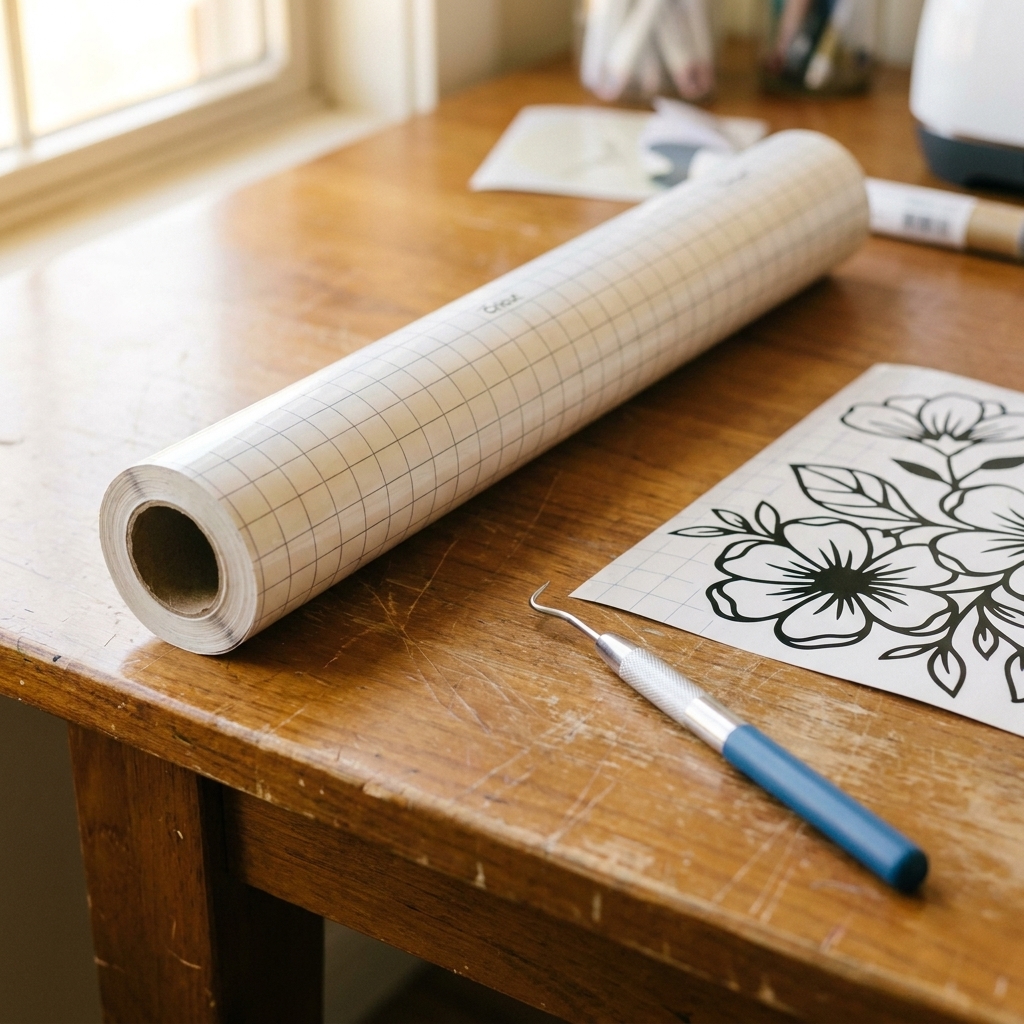
What transfer tape does (and what it does not)
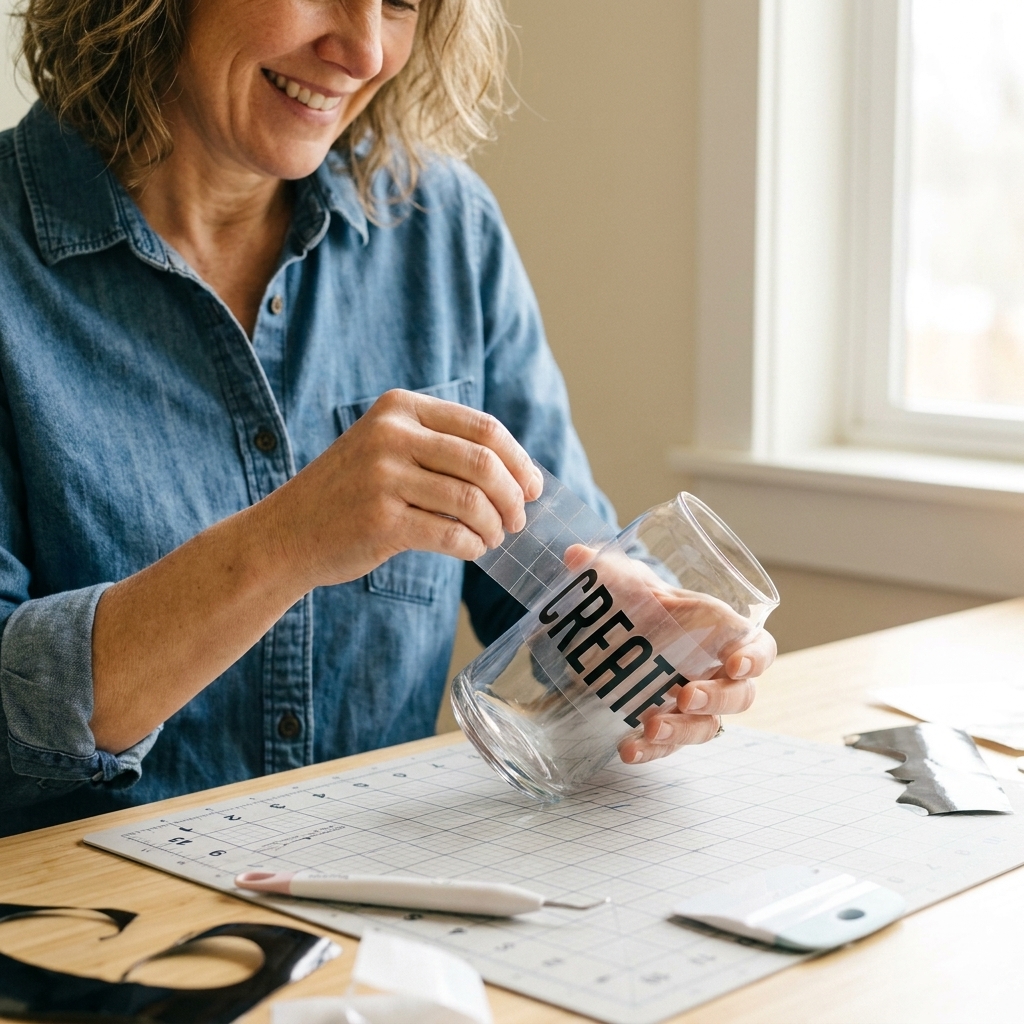
Transfer tape (also called application tape) is a sticky film (clear or paper) that temporarily picks up your weeded adhesive vinyl design so you can place it on your surface in one piece.
- It lifts the vinyl off the backing paper after weeding.
- It holds spacing for multi-letter words, layered decals, and delicate details.
- It releases the vinyl onto your project when you burnish and peel.
Transfer tape is not meant to permanently adhere anything. That job belongs to your vinyl adhesive (for adhesive vinyl) or heat (for HTV).
Quick clarity: In sign-making, you may see “transfer paper” used as a general term. In this article, “transfer tape” means the application tape used to move adhesive vinyl decals from the liner to your project.
Standard grip vs. strong grip
The real difference is tack, which is simply how aggressively the tape grabs onto vinyl.
Standard grip transfer tape
Best for: most everyday adhesive vinyl, especially matte and intermediate calendered permanent vinyl.
- Great for standard permanent vinyl and removable vinyl
- Usually releases cleanly with minimal bubbling
- More forgiving on painted walls and delicate surfaces (still test first)
My rule of thumb: If I am making a basic name decal for a tumbler, a pantry label, or a mailbox number from regular permanent vinyl, I start with standard grip.
Strong grip transfer tape
Best for: vinyl that fights being lifted, especially thick, heavily textured, or specialty finishes.
- Designed to pick up stubborn materials
- Can be too aggressive for many standard vinyls
- More likely to cause lifting, stretching, or residue if used unnecessarily
My rule of thumb: If the vinyl surface is glossy, textured, or “plastic-y” and standard tape keeps letting go, I move up to strong grip.
Which vinyl needs which tape?
Brands vary, but these pairings are a reliable starting point. (And yes, “standard” tack in one brand can feel like “strong” in another. Annoying, but true.)
Use standard grip for
- Most permanent vinyl (like Oracal 651-style)
- Removable vinyl (wall decals, temporary labels)
- Matte and satin finishes
- Most everyday decals with medium-sized letters and shapes
Use strong grip for
- Glitter adhesive vinyl (chunky texture needs extra bite)
- Holographic and specialty vinyl that resists lifting
- Metallic and mirror-like finishes when standard keeps dropping details
- Very intricate designs with hairline cuts, tiny centers, or lots of islands (dots, punctuation)
Important: “Strong grip” is not automatically “better.” If you use strong grip on an easy material, you can create a new problem: the vinyl sticks to the tape so aggressively that it refuses to release onto your blank.
Clear vs. paper transfer tape
Clear transfer tape
Clear tape is usually what Cricut users start with, and for good reason. You can see your placement.
- Pros: easy alignment, great for layering, great for decals on glass
- Cons: can create static, can be overly sticky in some brands, can show bubbles more
Paper transfer tape
Paper tape is underrated. It often feels a little less aggressive than clear tape in the same grip category, but it varies by brand. It also tears easily for curved applications.
- Pros: often easier release, easier to handle on larger decals, less static
- Cons: not transparent, so alignment can be trickier without a hinge method
If you are struggling with vinyl not releasing, switching from clear to paper (standard tack) fixes it more often than you would think.
Grid tape
Grid lines can be super helpful, especially for beginners, but they are not required. The key is knowing what they are good at.
When grid lines help
- Centering text on a sign or frame
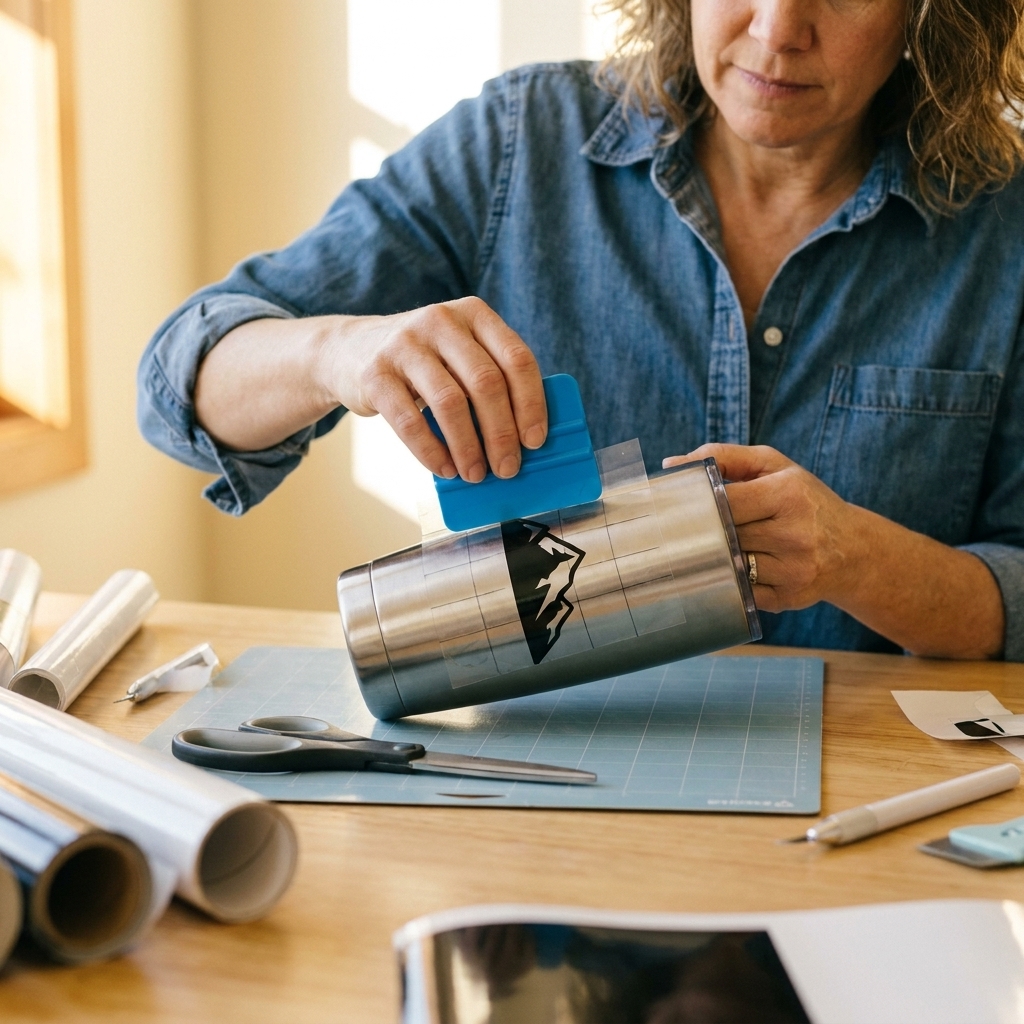
- Keeping words level across a long surface like a tumbler
- Layering decals when you want consistent spacing
When grid lines get in the way
- Small decals where the grid visually overwhelms the design
- Curved surfaces where “straight” grid lines do not match the curve
- When the printed grid ink scuffs a delicate surface (rare, but possible)
Tip from my messy Midwest craft room: If your grid is confusing you, flip the whole decal over and use the backing paper’s grid (many vinyl liners have it), or measure your blank and add light pencil marks as placement guides.
How to use transfer tape
Step 1: Burnish the vinyl before you weed
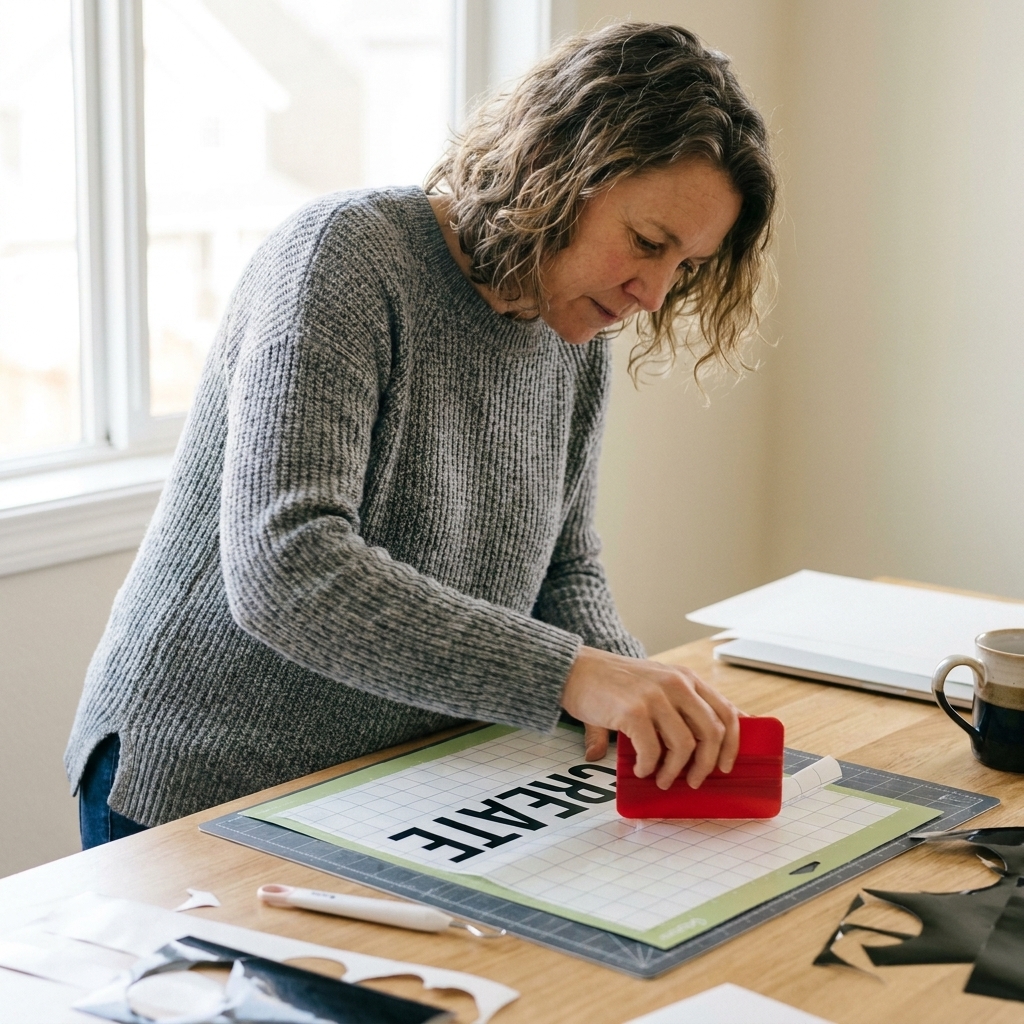
Before you remove any excess vinyl, take your scraper and burnish the cut design onto the backing. This helps the adhesive side stay flat and encourages clean lifting later.
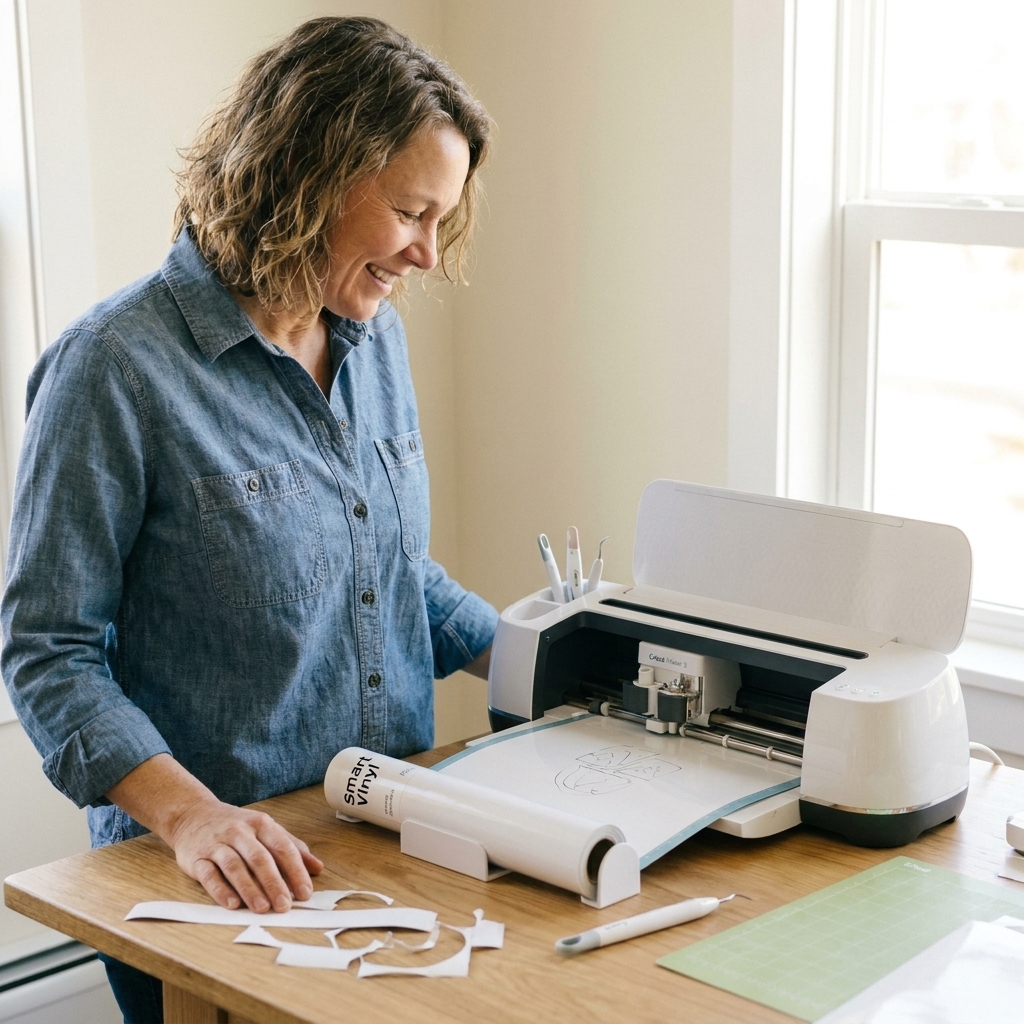
Step 2: Weed cleanly
Weed slowly, and watch for tiny centers lifting (like the middle of an “a” or “e”). If they do, press them back down with your weeding tool.
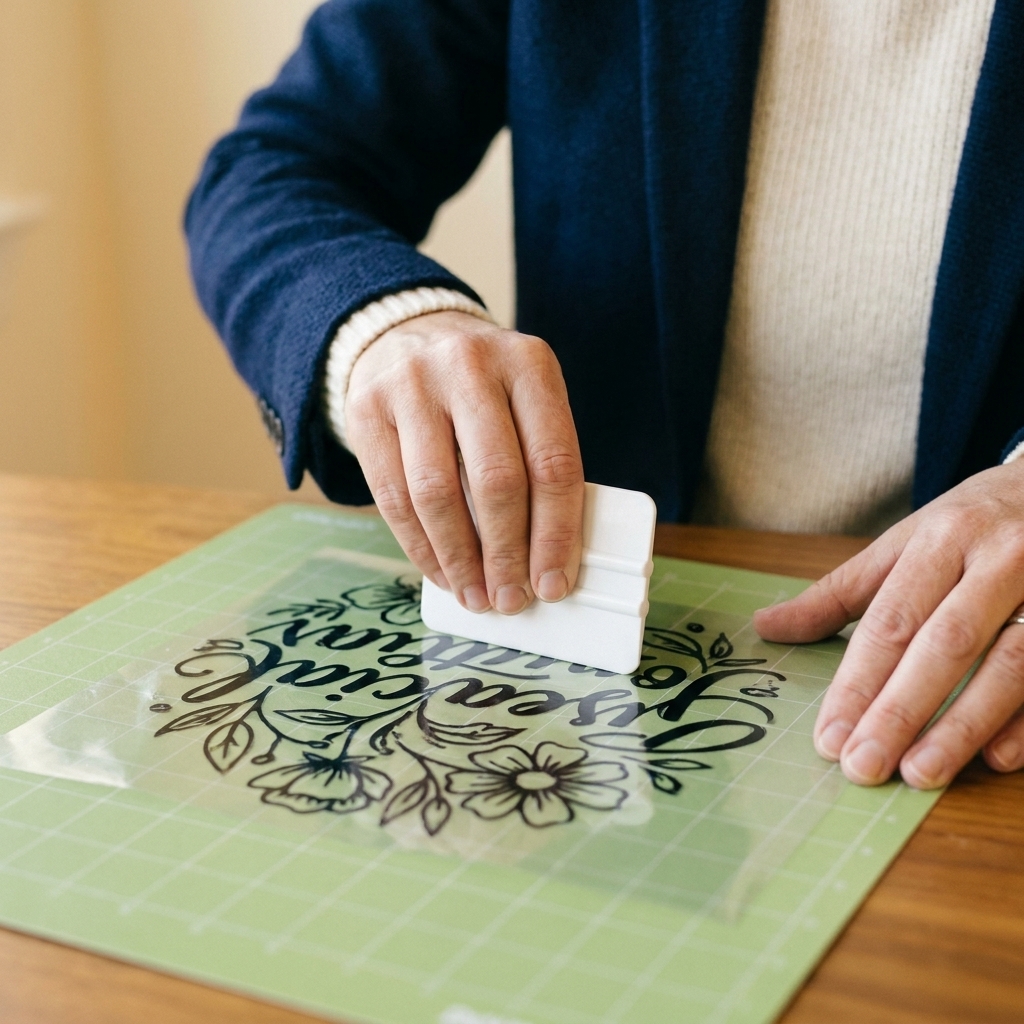
Step 3: Apply transfer tape from one edge
Lay your transfer tape down like you are applying a big sticker. Start at one edge and smooth across to avoid bubbles.
Step 4: Burnish again, firmly
This time you are burnishing vinyl into the transfer tape. Use a scraper with consistent pressure. If you are working with textured vinyl, burnish from multiple directions.
Step 5: Peel the backing away
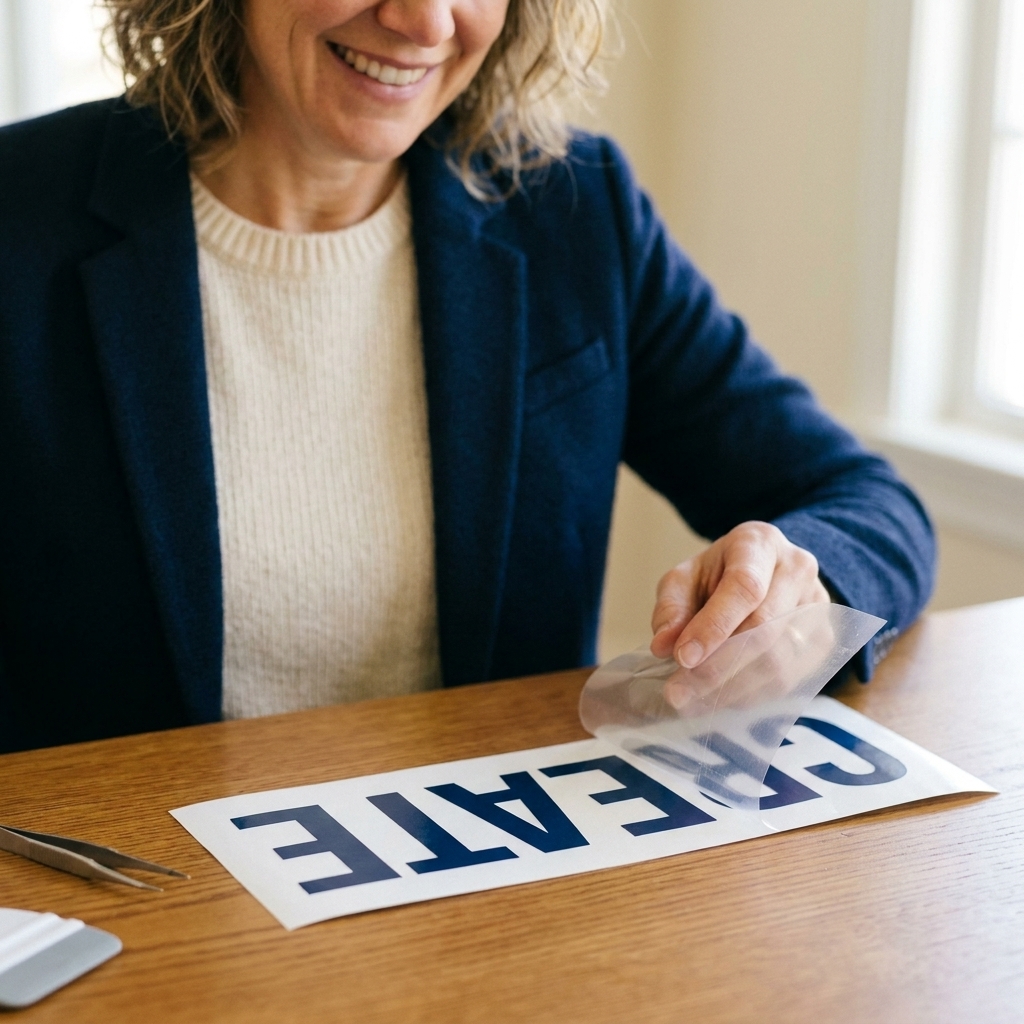
Turn your project over so the backing paper is on top, then peel the backing away at a low angle (almost folded back on itself). This reduces stress on thin lines.
Step 6: Apply to your blank and burnish
Once placed, burnish again. Then peel the transfer tape off slowly at that same low angle.

Troubleshooting: tape will not pick up vinyl
Problem: The vinyl stays on the backing paper
Try this:
- Burnish harder with a scraper, then flip and burnish from the back of the liner too.
- Peel slower and at a lower angle. Most lifting issues are fixed by slowing down.
- Use a slightly stronger tape (standard to strong) for glitter or stubborn specialty finishes.
- Warm it slightly with your hands in a cool room. If you use warm air, keep it gentle. Too much heat can make tape extra grabby or bother some plastics.
- Check your cut. If the cut did not go all the way through the vinyl layer, pieces can stay “anchored” to the sheet.
Problem: Small details will not lift
Try this:
- Use strong grip for that one project, or only for the delicate layer.
- After burnishing, use a weeding tool to gently coax tiny bits onto the tape while peeling the backing away.
- Consider slightly thicker fonts and offsets for decals that need to survive real-life handling.
Troubleshooting: vinyl will not release
Problem: Vinyl sticks to the tape and refuses to transfer
This is the classic “too much tack” situation.
Fixes that often work:
- Switch to standard grip (or a different brand). Not all “standard” is created equal.
- De-tack the tape by pressing it to clean cotton fabric (like a t-shirt) once or twice. You want less grab, not linty tape, so keep it light.
- Burnish on the blank more firmly, then peel the tape back on itself very slowly.
- Peel at a lower angle. Pulling up at 90 degrees encourages vinyl to lift with the tape.
- Pause for a minute after burnishing, then try peeling again. It does not always matter, but it can help stubborn releases.
If you are working on wood: raw, porous wood can steal adhesion. Seal and paint your surface first if you want crisp decals that stay down.
Troubleshooting: bubbles and crooked decals
Bubbles under the transfer tape
- Apply tape from one edge and smooth as you go.
- If bubbles happen anyway, burnish outward from the center with a scraper.
Wrinkled tape
- Use a larger piece of tape than you think you need, so you are not stretching it while aligning.
- For large decals, paper transfer tape is often easier to manage than clear.
Crooked decals
- Use the hinge method: tape one edge of the decal in place with painter’s tape, flip up, remove backing, then lay it back down.
- Measure your blank and add tiny placement marks with painter’s tape.
Compatibility note
Transfer tape can be surprisingly strong on surfaces you care about.
- Painted walls: vinyl (and especially strong tack tape) can pull paint, particularly if the paint is fresh or the finish is matte. Let paint fully cure and test a small decal first.
- Delicate finishes: test on a hidden spot for anything coated, antique, or easily scratched.
Tips that save vinyl
- Keep your tape clean. Dust and pet hair reduce tack and cause bumps.
- Store tape flat or rolled neatly. Creases become permanent attitude problems.
- Match tack to the job. Strong grip is a specialty tool, not a default.
- Use the right tool to burnish. A scraper works better than your fingers for consistent pressure.
- Test on a small decal when you try a new tape brand. It is cheaper to learn on a 2-inch label than a full door sign.
FAQ
Can I use strong grip transfer tape on permanent vinyl?
Yes, but you might not like it. If your permanent vinyl is a normal matte or semi-gloss finish, strong grip can make release difficult. I only use strong grip on permanent vinyl when the finish is textured or specialty, or when a design is extremely detailed.
Do I need transfer tape for HTV (iron-on)?
Usually, no. Most craft HTV comes on a clear carrier sheet that functions as its own transfer layer. Some specialty or printable heat-transfer products may use different carriers or transfer sheets, so follow the directions for the exact material you bought.
Why does my transfer tape not feel sticky?
Some tapes, especially paper tapes, do not feel aggressively sticky to the touch, but still work well when burnished. If it truly is not lifting vinyl even after burnishing, it may be under-tacky for your material, old, dusty, or stored in heat.
Can I reuse transfer tape?
For simple decals, yes. If the tape is clean and still has tack, you can reuse it a few times. Once it starts dropping small details or looks dusty, retire it to “test cuts and practice” duty.
What is the easiest transfer tape for beginners?
A clear standard grip tape with a grid is the most beginner-friendly for placement. If release becomes a struggle, try a standard paper transfer tape for a smoother learning curve.
Quick cheat sheet
- Everyday permanent or removable vinyl: standard grip
- Glitter vinyl: strong grip
- Holographic, metallic, specialty finishes: start standard, move to strong if it will not lift
- Vinyl will not release: your tape is too strong, de-tack or switch tapes
- Vinyl will not lift: burnish more, peel at a low angle, consider strong grip
When in doubt, start with standard grip and let the vinyl tell you what it needs. Most transfer tape drama comes from using too much tack too soon. A small swap, like switching brands or moving from clear to paper, can turn a “never again” project into one you actually want to show off.