A beginner-friendly guide to removable, permanent, and iron-on vinyl for Cricut. Learn which vinyl to choose, how to apply it, and how to avoid common mistakes.
Maker Vinyl
Updated October 17, 2026
Prep Glass, Wood, and Plastic for Vinyl That Stays Put
Stop peeling edges and bubbles. Learn exactly how to clean and prep glass, wood, and plastic blanks so adhesive vinyl sticks smoothly and lasts.

Harper Davis
Harper Davis is a lifelong DIY enthusiast and cutting-machine expert who loves helping beginners conquer Cricut Design Space. With over six years of experience running a custom vinyl shop, she shares practical tutorials, material guides, and creative inspiration.
If you have ever had a beautiful decal lift at the corners or look slightly bubbly no matter how slow you burnish, I promise you are not “bad at vinyl.” Most of the time, the blank is the problem, not your cutting machine.
Adhesive vinyl is basically picky about two things: clean and compatible. This guide walks you through prepping glass, wood, and plastic blanks so your designs go down smooth and stay put.
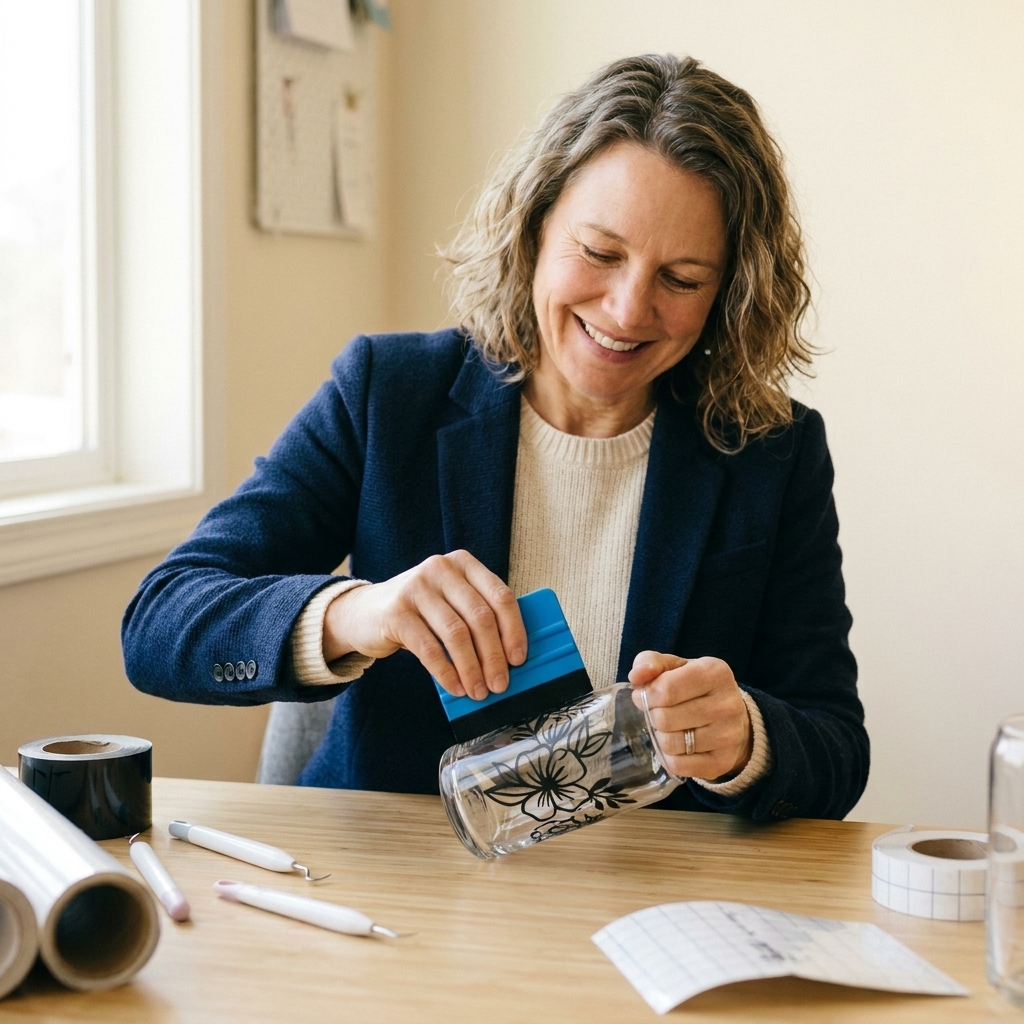
Quick supply list (my grab-and-go prep kit)
You do not need a lab setup. You just need the right basics and a couple of smart upgrades for tricky surfaces.
- Lint-free cloths (microfiber or shop towels)
- Isopropyl alcohol (70% works, 91% is even better for fast evaporation)
- Mild dish soap (for oils and residue)
- Disposable gloves (optional, but they help avoid re-adding skin oils)
- Painter’s tape (for hinges and placement)
- Felt-edged squeegee or old gift card wrapped in a microfiber
- Tack cloth (great for wood dust)
- Fine sandpaper (220 to 320 grit for wood, sometimes glossy plastics)
- Primer or sealer for wood (water-based polycrylic, clear acrylic sealer, or shellac depending on the project)
Skip these for prep: hand sanitizer (often leaves residue), ammonia-heavy cleaners, oily “shine” sprays, and most household wipes that contain moisturizers.
The golden rules of surface prep
Rule 1: Clean first, then degrease
Soap and water remove grime and some oils. Alcohol removes the invisible stuff that ruins adhesion: skin oils, fragrance residue, and leftover cleaner film.
Rule 2: Let it fully dry
Even if it looks dry, give it a minute. Vinyl hates trapped moisture, especially on wood and around edges.
Rule 3: Touch the blank as little as possible
Your fingerprints can be enough to cause corner lifting. I like to clean, then handle by the edges or wear gloves.
Rule 4: Match vinyl type to the blank
On curved drinkware or anything that flexes, use a quality permanent adhesive vinyl. Craft vinyl can work for short-term projects, but it is less forgiving long-term.
How to prep glass (tumblers, mirrors, jars, frames)
Glass is the easiest surface to get flawless results on, but it is also the surface people accidentally sabotage with the wrong “cleaner.” Your goal is squeaky clean, no residue.
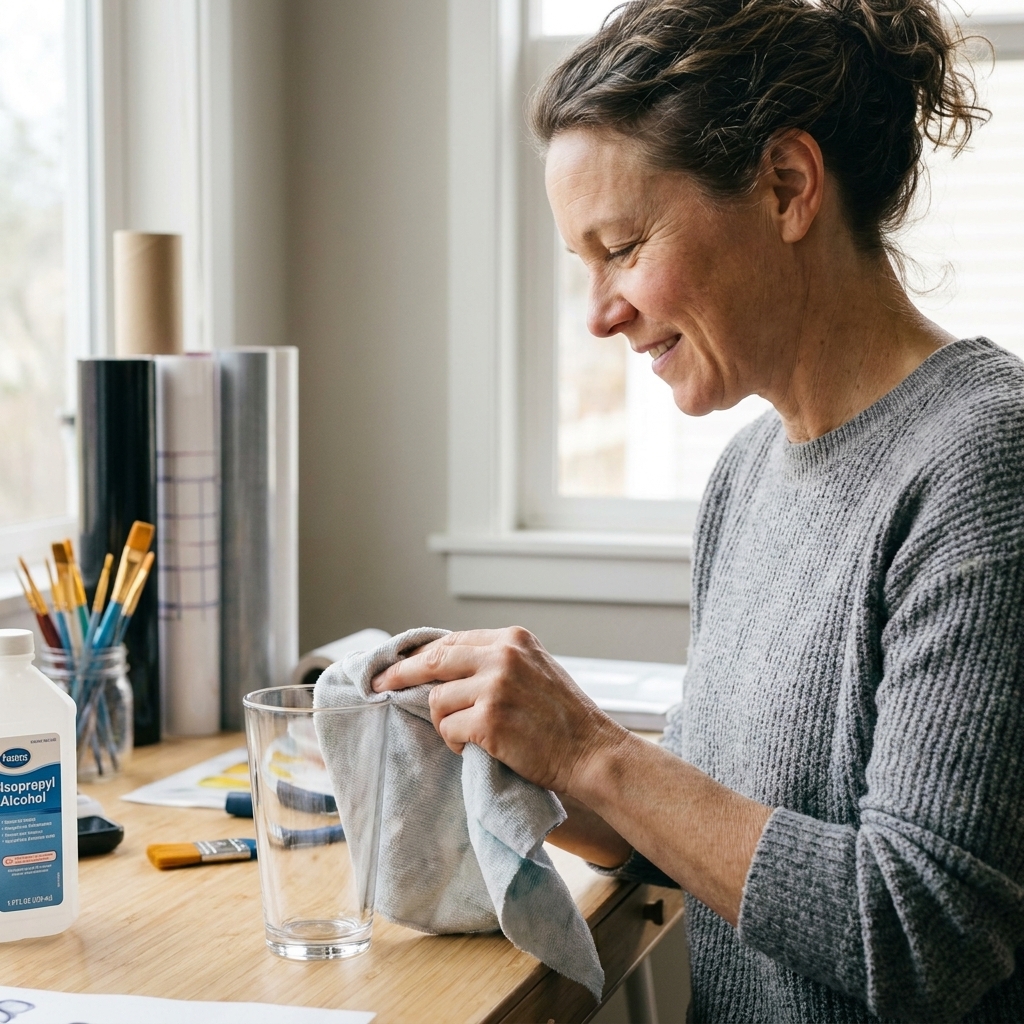
Step-by-step: glass prep
- Wash with dish soap and warm water. This removes oils from manufacturing and handling.
- Rinse well. Any soap left behind becomes a film.
- Dry with a lint-free cloth.
- Degrease with isopropyl alcohol. Put alcohol on the cloth, not directly on the glass if you can help it. Wipe the whole area where the decal will go.
- Air dry 1 to 3 minutes. Alcohol evaporates quickly, but give it a moment.
- Do a final “light check.” Tilt the glass under a bright light. If you see streaks, haze, or smudges, wipe again.
Extra tip for drinkware: If the glass has a waxy, slick feel (some coatings do), lightly scrub with dish soap again, rinse, and alcohol-wipe. If it still feels coated, that is a compatibility issue, not a cleaning issue. In that case, consider a different blank or use a method designed for coated surfaces.
Common glass mistakes (and how to avoid them)
- Using Windex or ammonia cleaners right before vinyl. Many leave residue. Alcohol is your best friend.
- Applying vinyl right after running the glass through the dishwasher. Let it cool and fully dry. Warm glass can create condensation you cannot see.
- Handling the cleaned area. Clean last, then apply.
How to prep wood (unfinished, painted, stained, sealed)
Wood is my favorite and also the most misunderstood. Wood has texture, pores, and dust. Vinyl will stick to wood, but it sticks best to sealed, smooth wood. If you want long-lasting adhesion, sealing is not optional.
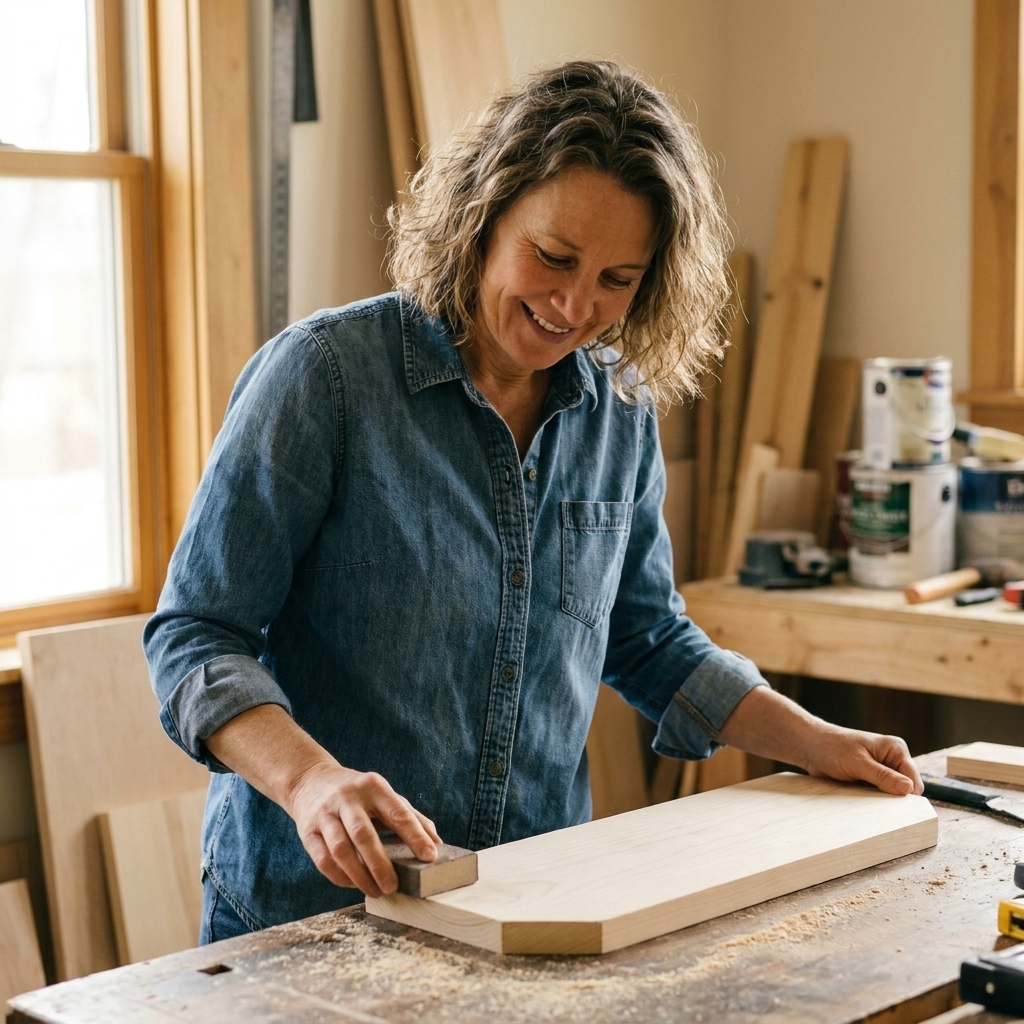
Step-by-step: unfinished wood prep
- Sand smooth. Start with 220 grit. If the wood is rough, begin at 150 then finish at 220. For extra smooth, finish with 320.
- Remove dust thoroughly. Wipe with a tack cloth or a slightly damp lint-free cloth, then let it dry.
- Seal the surface. Use a clear water-based sealer (polycrylic is a common go-to) for most craft signs. Apply thin coats. Let it dry fully.
- Lightly sand between coats (optional but magic). A quick pass with 320 grit knocks down raised grain.
- Final wipe. Once fully cured to the touch, wipe with a clean, dry cloth to remove any sanding dust.
Dry time note: “Dry” and “cured” are not the same. If your sealer still feels soft or smells strong, wait. Vinyl adhesion is worse on finishes that are still off-gassing.
Painted wood: the simple method
- Let paint cure. Dry-to-touch is not enough. If you can dent it with a fingernail, it is not ready.
- Wipe gently. Use a dry microfiber first. If needed, use a barely damp cloth with water. Alcohol can dull some paints, so test in a hidden spot.
- Optional: clear coat. If the paint is matte or chalky, a clear sealer creates a better vinyl-friendly surface.
Stained wood: avoid the sneaky failure
Stain can feel dry but still release oils or solvents. If you apply vinyl too soon, you may get edge lift days later.
- Let stain cure fully according to the label, and longer if humidity is high.
- Seal it. A clear topcoat gives vinyl something stable to grip.
Wood problems and fixes
- Problem: Vinyl looks bubbled over wood grain.
Fix: You need a smoother surface. Sand and seal, or choose a different blank. - Problem: Corners lift on wood signs.
Fix: Dust or an unsealed, porous surface. Seal and reapply, and round your design corners slightly. - Problem: Vinyl will not stick at all.
Fix: Wax, oil, or a powdery paint finish. Clean, seal, or switch to a more appropriate method like paint masks on raw wood.
How to prep plastic (acrylic, tumblers, storage bins, keychains)
Plastic is the wild card because “plastic” can mean acrylic, polypropylene, PET, polycarbonate, and a bunch of blends. Some are vinyl-friendly, some are naturally low surface energy and fight adhesives.
We are going to start with the safe, works-most-of-the-time approach, then troubleshoot the tricky plastics.
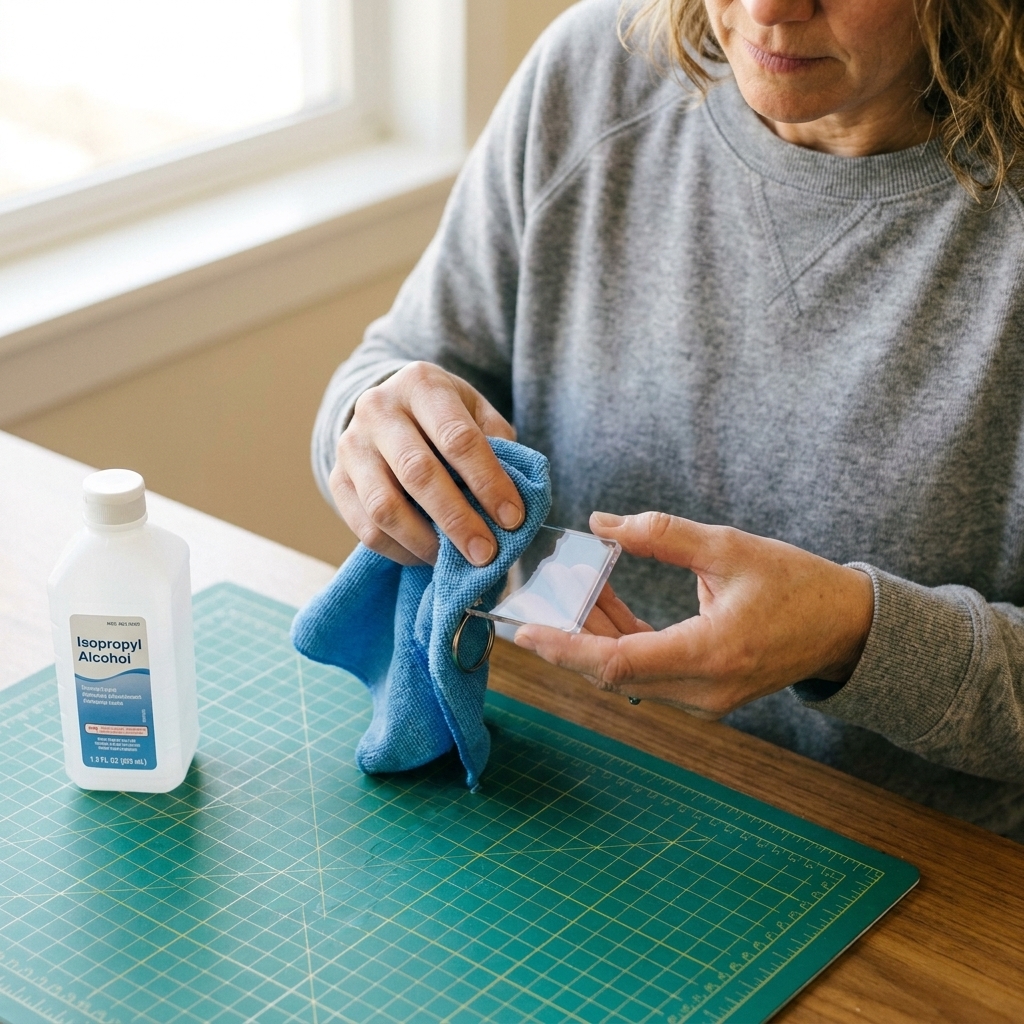
Step-by-step: plastic prep (general method)
- Wash with dish soap and warm water. This removes factory mold-release residue, which is a big adhesion killer on plastics.
- Rinse and dry completely.
- Alcohol wipe. Use isopropyl alcohol on a lint-free cloth and wipe the application area.
- Let it air dry. One to two minutes.
- Test a small piece. If you are not sure about the plastic, stick a small vinyl scrap in an inconspicuous spot and burnish. Try to lift it after 10 minutes. If it peels easily, you need extra help (see below).
For glossy plastics: light scuffing (when needed)
If you have a super glossy plastic that keeps letting edges pop up, lightly scuffing can give the adhesive more grip.
- Use 320 grit sandpaper.
- Sand very lightly in small circles only where the decal will go.
- Wipe away dust, then alcohol wipe again.
Important: Scuffing can make clear plastics look hazy. I only do this on areas that will be fully covered by vinyl, or on opaque blanks.
For “difficult” plastics (like many food containers and some bins)
Some plastics are designed to resist sticking. If your test piece lifts cleanly with almost no effort, you might be working with a low-adhesion plastic.
- Choose a different blank when possible. It saves so much frustration.
- Use larger designs. Tiny details lift first on stubborn plastics.
- Consider a stronger adhesive vinyl. Not all permanent vinyls behave the same.
- Seal edges for durability. For items that will be handled a lot, a compatible clear coat can help, but always test first since some sprays can react with certain plastics.
My no bubbles application habits
Once your blank is clean and ready, these small moves make your vinyl look professionally applied.
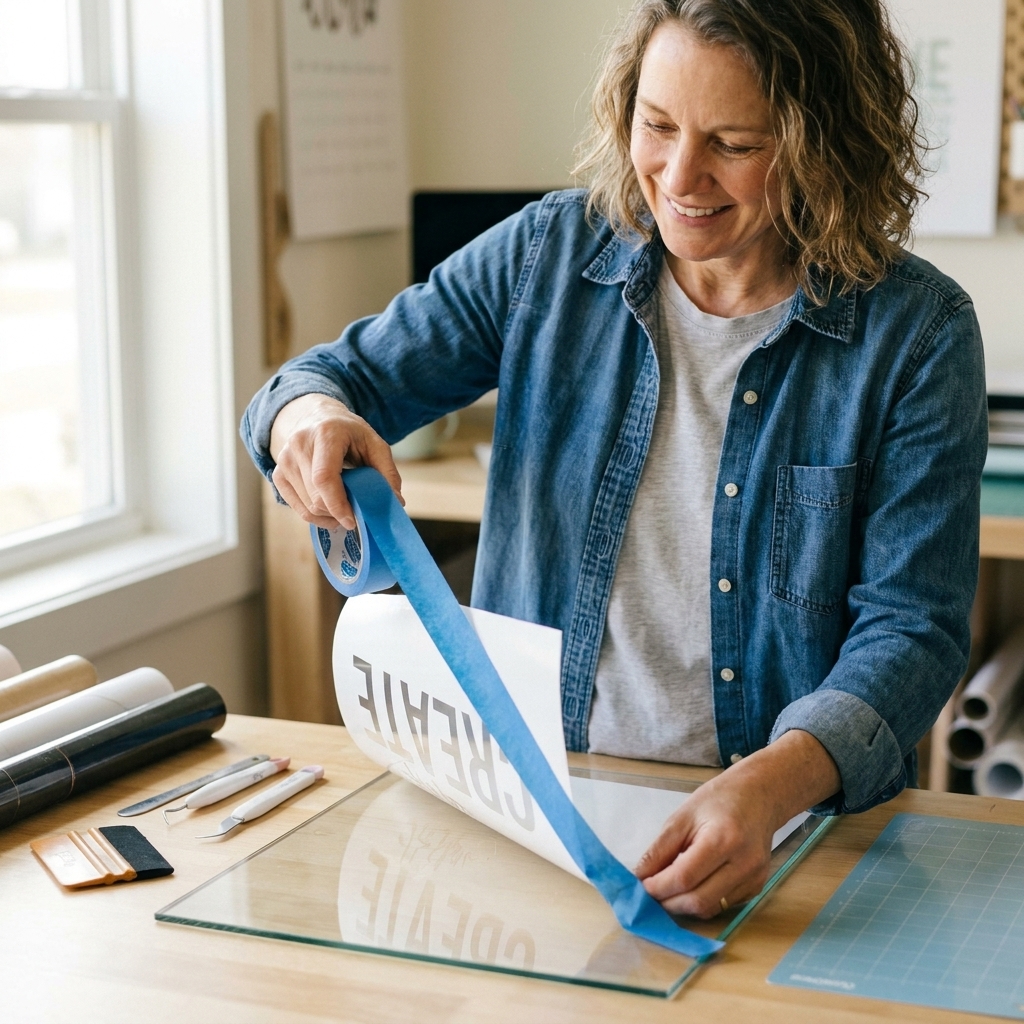
1) Use the hinge method for anything larger than your hand
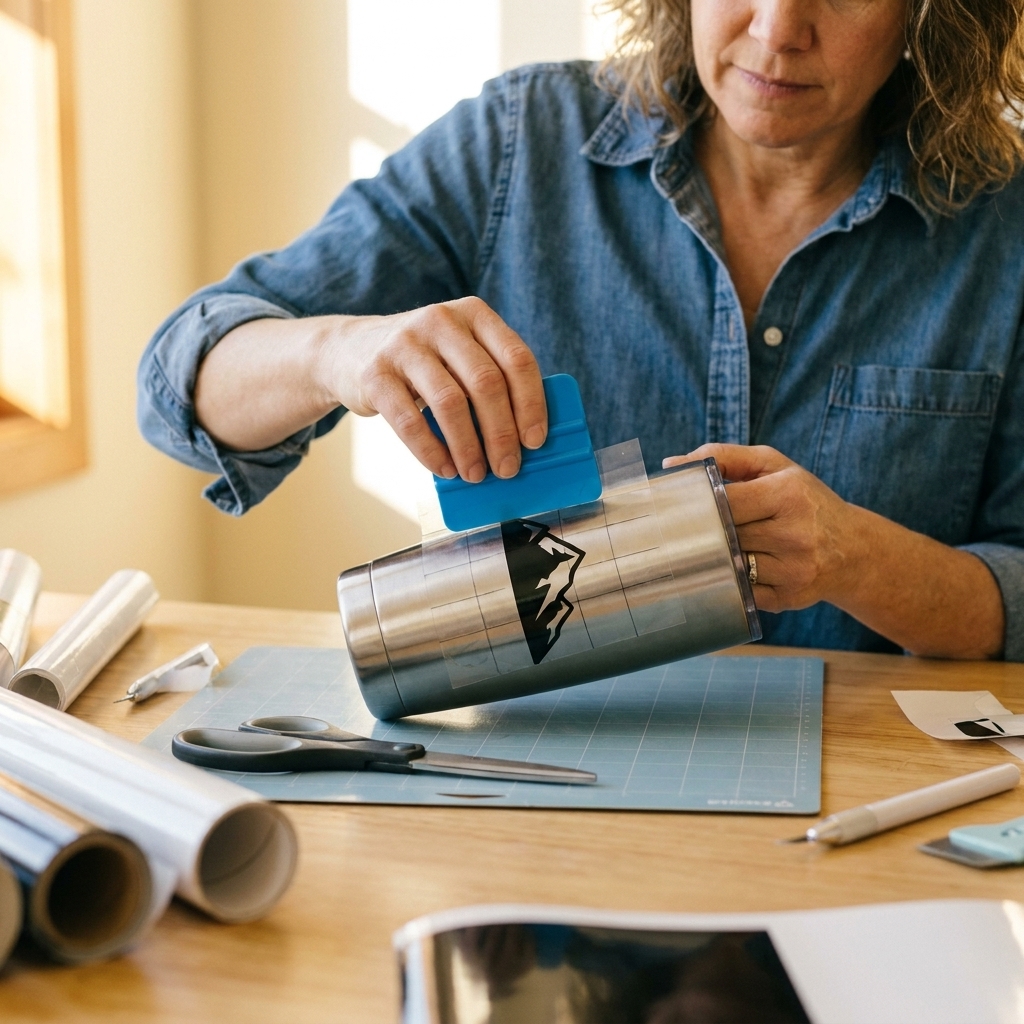
Tape the design in place with painter’s tape, flip it up like a door, peel the backing, then squeegee down from the center outward. This keeps alignment perfect and reduces wrinkles.
2) Burnish like you mean it, then burnish again
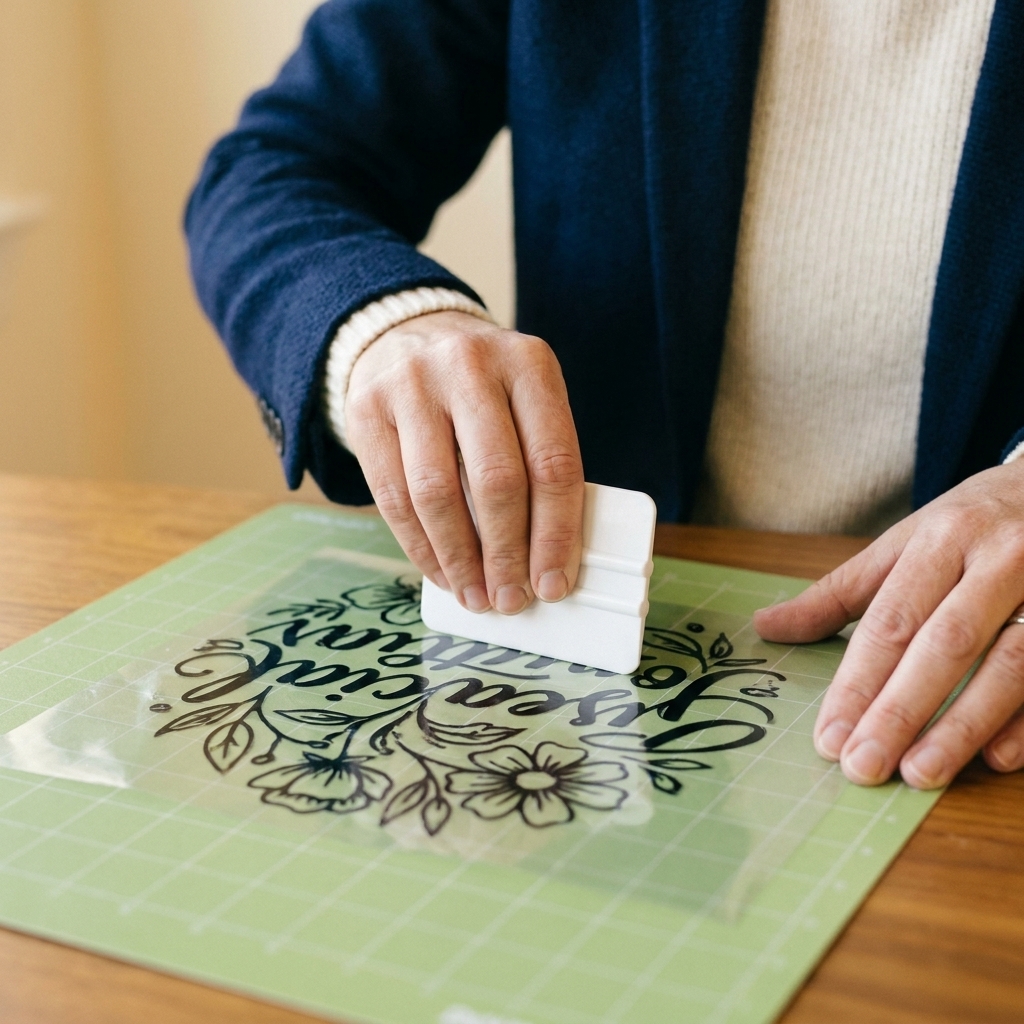
I do a firm pass over the transfer tape, then one more pass focusing on small details and edges. Most lifting issues start at edges.
3) Warmth helps, heat does not
Room temperature blanks apply best. If your blank is cold from a garage or porch delivery, let it acclimate. Do not blast it with a heat gun. Too much heat can soften adhesive and trap bubbles.
Troubleshooting
Edges lifting after a day or two
- Cause: leftover residue, skin oils, or textured surface
- Fix: clean again with alcohol, consider sealing wood, round design corners, and burnish edges firmly
Tiny bubbles under vinyl
- Cause: dust, wood grain texture, or laying vinyl too fast
- Fix: slow down, squeegee from the center outward, and make sure wood is sealed smooth
Vinyl sticks at first, then slides or wrinkles while applying
- Cause: too much cleaner not fully evaporated, or a slick coating
- Fix: let the surface dry longer and re-clean with a minimal amount of alcohol
Transfer tape will not release
- Cause: too strong tape for the vinyl, or not enough burnishing onto the blank
- Fix: burnish the vinyl onto the blank, peel the tape back slowly at a sharp angle, and switch to a gentler transfer tape next time
FAQs
Can I use rubbing alcohol on all surfaces?
It is safe for most glass and many plastics. On painted or freshly finished wood, alcohol can dull or soften some finishes, so test in a hidden spot. When in doubt on painted wood, use a dry microfiber first and only a lightly damp cloth if needed.
Do I need to seal vinyl after applying?
For most indoor decals on glass, no. For high-handling items, outdoor exposure, or wood projects that will be wiped often, a compatible clear coat can add durability. Always test your sealer on a scrap first because some sprays can cause vinyl to wrinkle or yellow.
How long should I wait before using the item?
Adhesive vinyl builds strength over time. If you can, wait 24 hours before heavy handling. For drinkware, I wait 48 to 72 hours before washing, and I recommend gentle hand-washing to extend life.
What is the fastest prep method when I am in a hurry?
For glass and most plastics: a quick dish soap wash, dry, then an alcohol wipe right before applying. For wood, the “fast method” still requires sealing, otherwise you are rolling the dice.
My bottom line
If you remember nothing else, remember this: clean, dry, and sealed when needed. Glass wants degreasing. Wood wants sealing. Plastic wants residue removed and sometimes a compatibility test.
Once your blanks are prepped, your vinyl suddenly feels easier. Fewer bubbles. Cleaner edges. Less wasted material. And that is my favorite kind of craft win.