A beginner-friendly guide to removable, permanent, and iron-on vinyl for Cricut. Learn which vinyl to choose, how to apply it, and how to avoid common mistakes.
Maker Vinyl
Updated October 17, 2026
Flawless Painted Wood Signs With Removable Vinyl Stencils
Make crisp, professional painted wood signs with your Cricut and removable vinyl stencils. Learn the no-bleed prep, sealing tricks, paint tips, and clean stencil removal.

Harper Davis
Harper Davis is a lifelong DIY enthusiast and cutting-machine expert who loves helping beginners conquer Cricut Design Space. With over six years of experience running a custom vinyl shop, she shares practical tutorials, material guides, and creative inspiration.
I started making painted wood signs the same way I started making onesies: full of confidence, followed by immediate regret when everything bled under the stencil. If you have ever peeled up vinyl and found fuzzy edges, paint ridges, or little spiderwebs of seepage, you are not alone. The good news is that clean, crisp paint lines are not magic. They are prep, pressure, and the right kind of “seal.”
This tutorial walks you through my go-to process for using removable vinyl as a stencil on wood, whether you are making a porch sign, a nursery name plaque, or a quick seasonal piece for your mantel.

What you need
Supplies
- Wood blank (pine, birch, MDF, or a pre-made craft sign)
- Sandpaper (120 grit and 220 grit) or a sanding block
- Tack cloth or lint-free rag
- Primer (optional but helpful for raw wood)
- Base coat paint (acrylic craft paint or interior latex sample paint)
- Removable vinyl (Cricut Removable, Oracal 631, or similar)
- Transfer tape (standard grip works well, or use less-tacky tape for delicate base coats)
- Squeegee or scraper tool (a small brayer roller also works great)
- Weeding tools
- Stencil brush, makeup sponge, or dense foam pouncer
- Paint for the design
- Seal option: Mod Podge (matte), polycrylic, or your base coat paint
- Optional topcoat: water-based polycrylic or a clear spray sealer
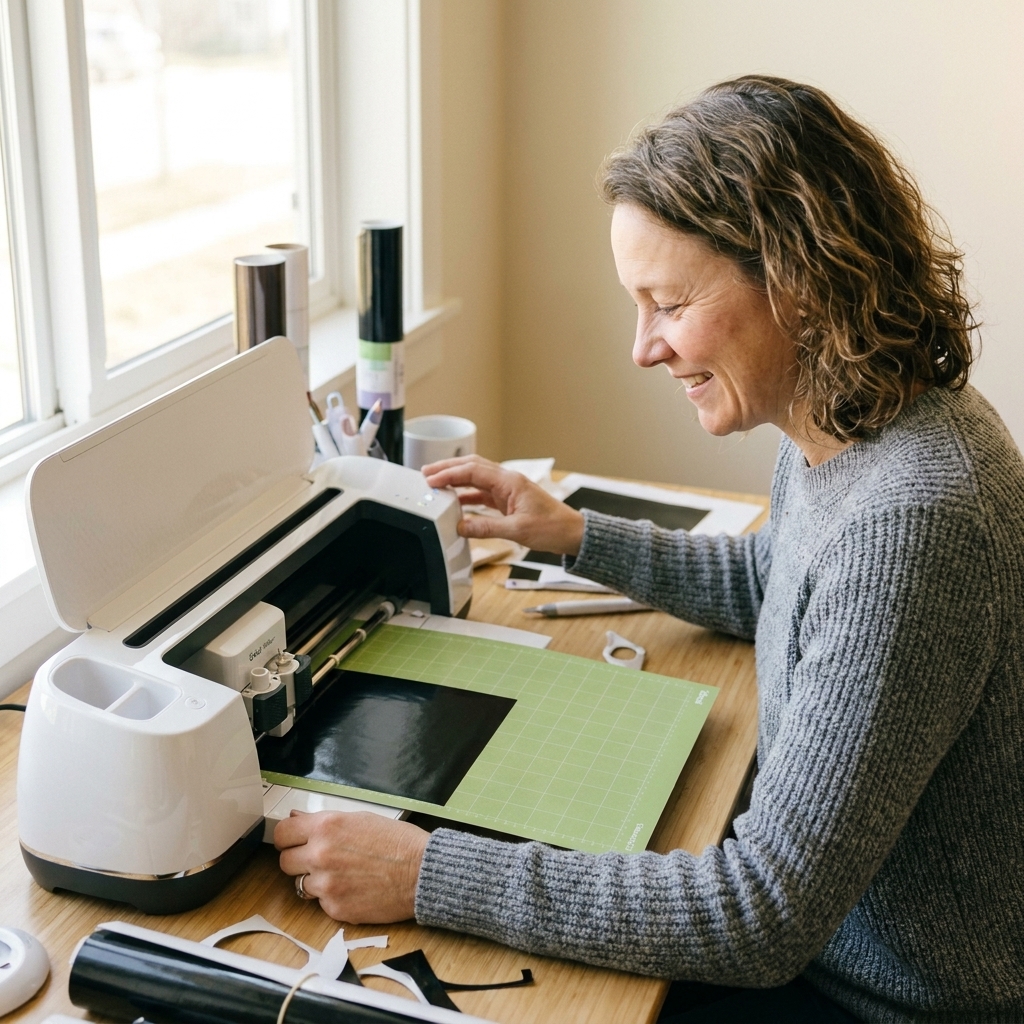
Cutting machine basics
- Cricut Maker, Explore, or Joy (Joy works for smaller signs)
- Fine-Point Blade
- StandardGrip mat (most removable vinyl cuts nicely here)
My quick vinyl pick: If you are new, Oracal 631 removable vinyl is my favorite for stencils because it releases cleanly but still sticks well enough to seal edges.
Step 1: Choose a stencil-friendly design
Not every SVG is a happy stencil. Before you cut, do a quick mental test:
- Thin lines can lift and allow bleed. Thicken them or choose a bolder font.
- Script fonts often have delicate connectors. They can work, but you need excellent adhesion.
- “Islands” (centers of letters like A, O, R, P) need a plan. You can either keep them in place with the stencil itself, or add small “bridges” if you are making a one-piece stencil look.
Beginner-friendly choices: bold serif fonts, chunky sans fonts, simple shapes, and larger letter heights (2 inches or bigger) for porous wood.
Step 2: Prep the wood
Paint bleed is often a surface problem, but it can also come from low adhesion, not enough burnishing, or simply using too much paint. Raw wood has little valleys and open grain that invite paint to travel, so starting smooth matters.
Sand and clean
- Sand the surface with 120 grit to smooth rough spots.
- Finish with 220 grit for a smoother face and crisper stencil edges.
- Wipe with a tack cloth or lint-free rag until no dust is coming up.
Prime (optional, but my “crisp edge” helper on raw wood)
If you are working with raw pine or a very porous blank, apply a thin coat of primer. Let it dry fully, then lightly sand with 220 grit. This gives the vinyl a smoother surface to grip and reduces bleeding.

Step 3: Paint the base coat and let it set
Apply your base coat color first if your sign has a background color. Two thin coats beat one thick coat every time.
- Let the base coat dry thoroughly between coats.
- After the final coat, give it time to set before adding vinyl. Dry-to-the-touch paint can still be soft underneath, and that is when transfer tape likes to cause trouble.
Tip from too many sad peels: If you can press a fingernail into the base coat and leave a mark, it is not ready for vinyl yet.
Real-life timing: Craft acrylic often needs a few hours to firm up. Latex and thicker paints do best with overnight when you can. Humidity slows everything down.
Step 4: Cut the stencil (Cricut settings)
In Design Space, mirroring is not needed for typical wood signs where you apply the stencil right-side-up. (If you are stenciling onto glass from the back, that is when mirror becomes your friend.)
Recommended settings
- Material: “Removable Vinyl” or “Premium Vinyl Removable”
- Pressure: default is usually fine. If your vinyl is not weeding cleanly, bump pressure slightly.
- Blade: Fine-Point blade
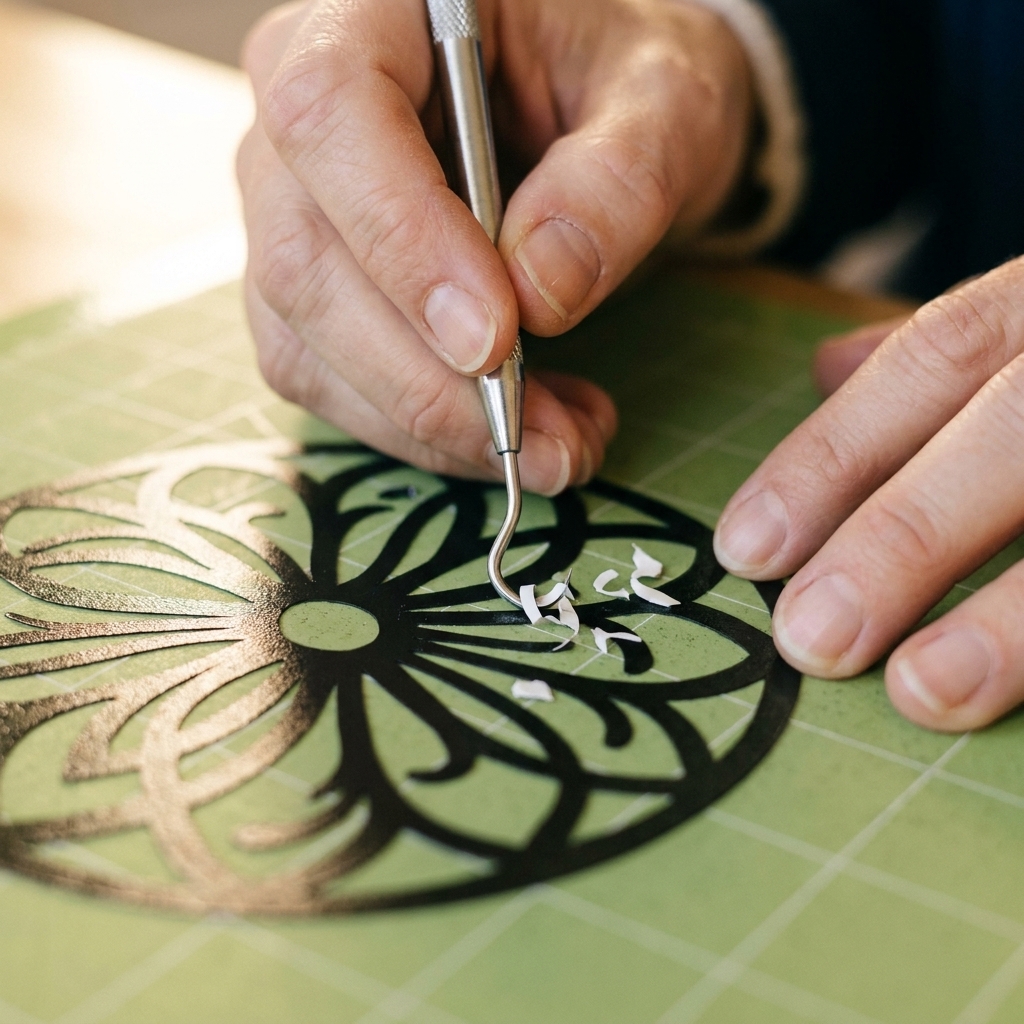
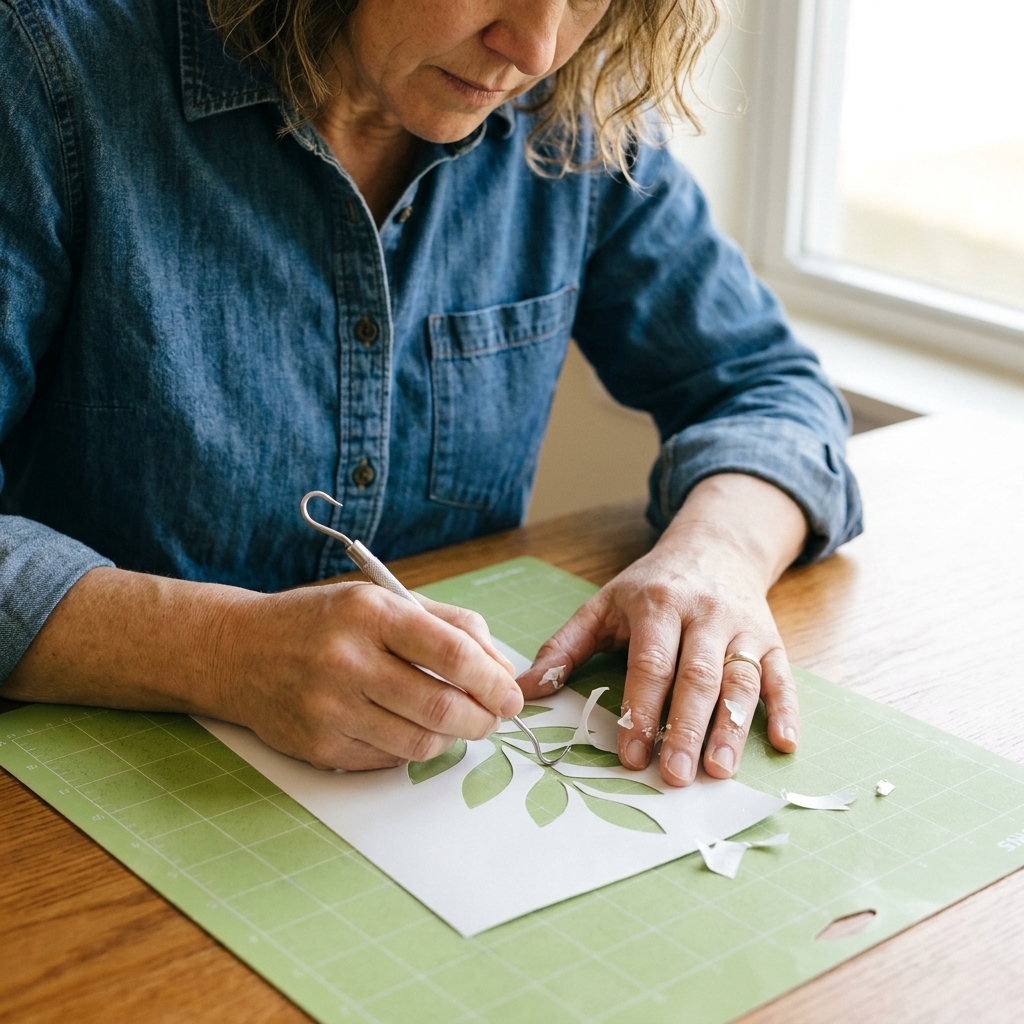
Weed the parts you want painted. For stencils, that usually means removing the letters or shapes so those areas become open windows for paint.
Step 5: Apply the stencil smoothly
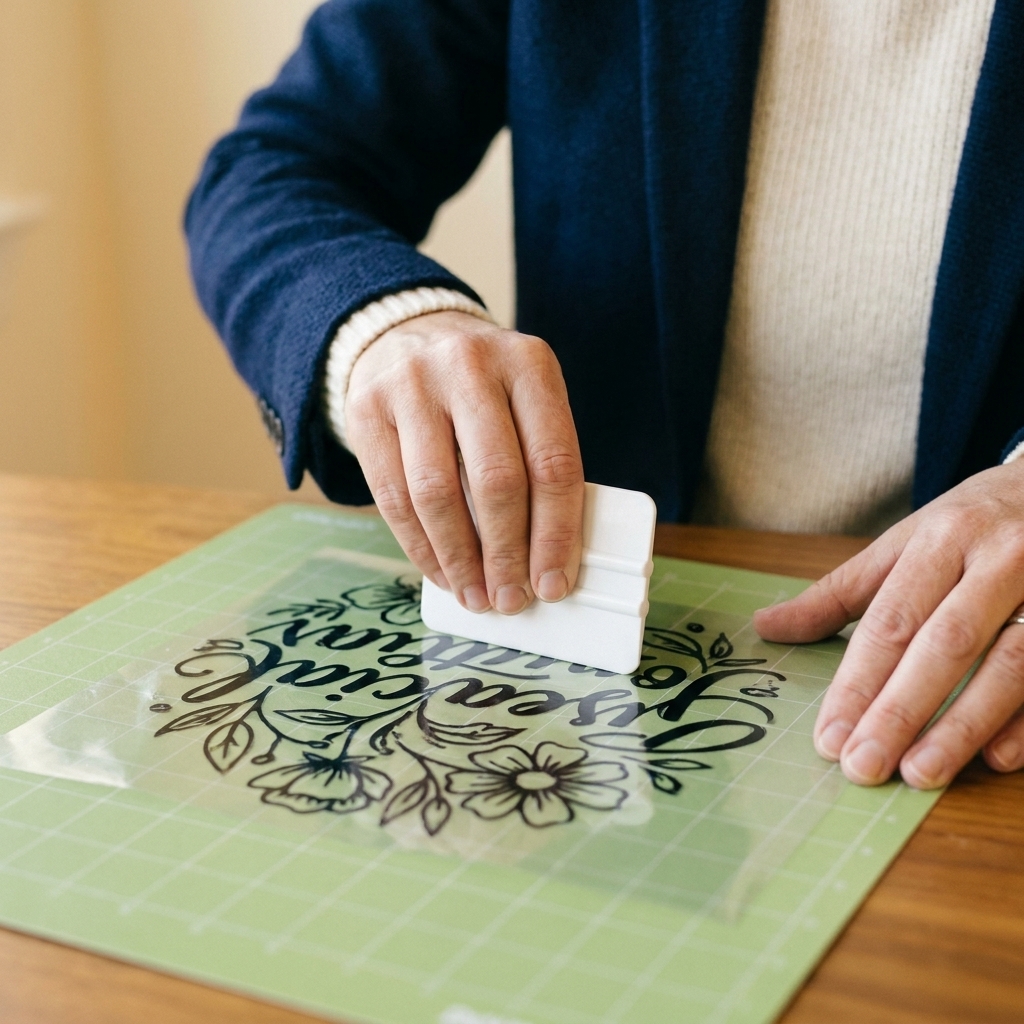
- Apply transfer tape to the weeded stencil and burnish well with a scraper.
- Peel the vinyl and tape off the backing slowly, keeping it low to the surface (almost parallel).
- Position on the wood. Once it touches, press from the center outward.
- Burnish firmly, especially around edges of letters and thin lines. This is where a brayer roller really shines on wood grain.
- Peel transfer tape back on itself slowly at a sharp angle.
If the vinyl lifts with the tape: Lay the tape back down and burnish again. If your tape is too sticky, tap it on your shirt first to pick up lint and reduce tack.
Step 6: Seal the edges
This is the step that takes your sign from “homemade” to “how did you do that?” Sealing fills microscopic gaps along vinyl edges so your colored paint cannot creep under.
Option A (my favorite): Seal with the base coat color
- Dip a sponge or pouncer in a small amount of the same paint as your background.
- Lightly dab along all stencil edges. Less paint is the whole point.
- Let it dry for 5 to 15 minutes (until it is no longer wet to the touch).
If anything sneaks under, it will be the background color, which becomes invisible once you paint your design color.
Option B: Seal with Mod Podge or clear polycrylic
Brush on a thin coat over the stencil edges. This works well, but keep it thin to avoid ridges. Let it dry until clear and dry to the touch, usually 15 to 30 minutes depending on how heavy you applied it and the humidity.
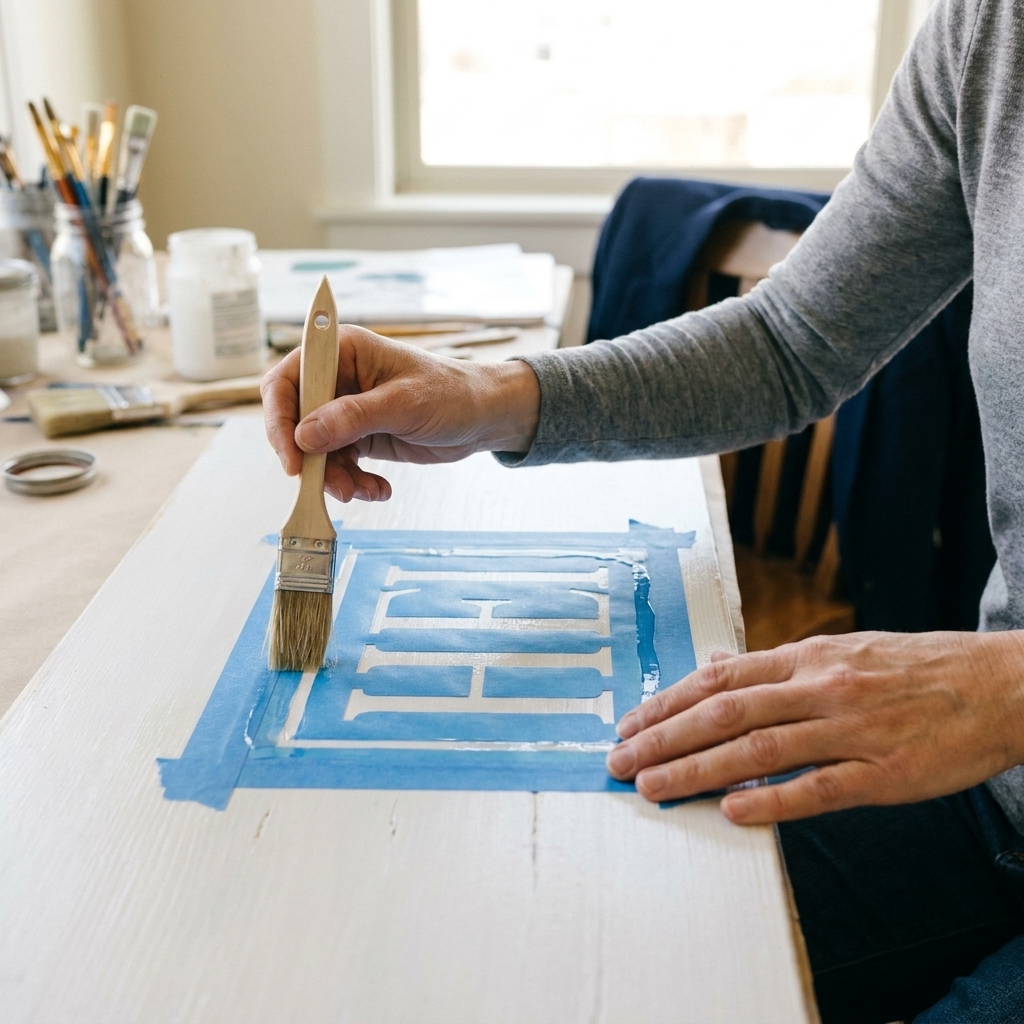
Step 7: Paint with a pounce
Most bleed happens when we brush like we are painting a wall. For stencils, you want a gentle up-and-down motion.
- Load a stencil brush or sponge with paint, then offload most of it onto a paper towel.
- Pounce straight up and down over the openings.
- Build color with 2 to 4 light layers instead of one heavy layer.
- Let the final layer sit for a minute or two so it can set.
Best paints for crisp stenciling: acrylic craft paint, chalk-style paint, and matte interior latex. Very watery paint is harder to control on wood.
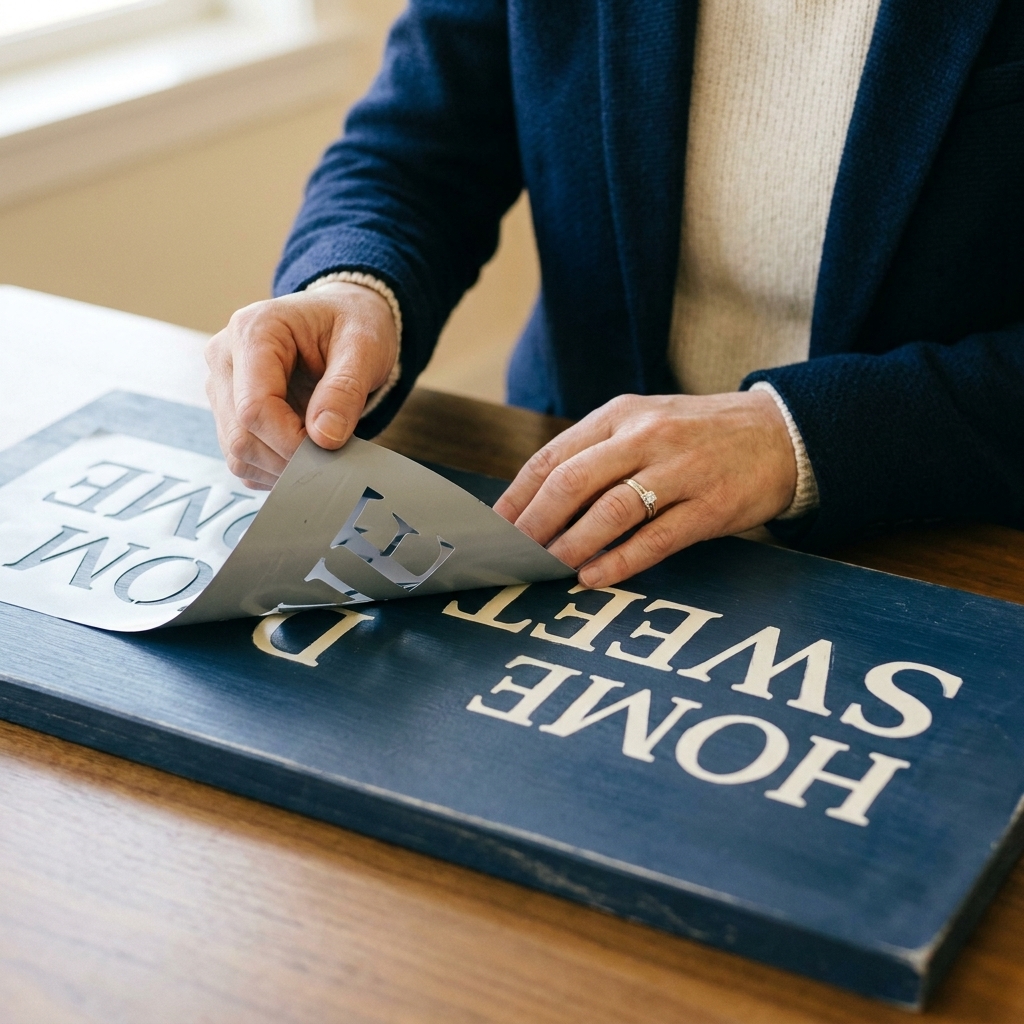
Step 8: Peel at the right moment
I like to remove the stencil when the paint has set but is not fully cured. Too wet and it can smear. Too dry and you can get cracking or lifting along the edge.
My cue: the paint is no longer glossy-wet, and a light touch on a painted area (not along the edge) feels tacky, not liquid.
- Lift a corner with a weeding tool.
- Peel back slowly at a low angle.
- If you have small centers (like the inside of an O), remove them carefully with a hook tool.
If you see a bleed spot: Do not panic. Let everything dry, then touch up with a small detail brush and your background paint.
Step 9: Add a topcoat (optional)
If your sign will be handled a lot or displayed in a high-traffic spot, a topcoat is worth it.
- Water-based polycrylic for a durable clear finish (use light coats to avoid brush marks).
- Clear spray sealer for quick coverage. Start with light mist coats so you do not re-wet the paint and cause spotting or runs.
Make sure your painted design is fully dry before sealing, especially if you used thicker acrylic. If you are spraying, work in a well-ventilated area and follow the label directions.
Crisp edges checklist
- Sand to 220 grit and remove every bit of dust
- Use removable vinyl with good burnish pressure
- Seal edges with base coat paint or clear sealer
- Pounce paint in thin layers, do not brush sideways
- Peel stencil when paint has set, not fully cured
Troubleshooting
“My paint bled under the vinyl.”
- You likely used too much paint or brushed side-to-side. Switch to pouncing with less paint.
- Your wood may be too porous. Prime first, or add a sealing step with base coat paint.
- Your stencil may not be pressed down enough in the grain. Burnish more around tiny details and edges.
“The vinyl lifted my base coat.”
- The base coat was not set long enough. Give it more time, and consider overnight for latex or thicker paints.
- Your transfer tape is too sticky. Use a less-tacky tape, or de-tack it on fabric first.
- Try a gentler removable vinyl. Some brands labeled removable still grip aggressively on fresh paint.
“My stencil won’t stick to the wood grain.”
- Sand smoother and wipe dust again.
- Use a brayer roller to press vinyl down into the grain.
- Seal edges with base coat paint, especially on textured wood.
“I got a raised paint ridge.”
- Too much paint or thick sealant. Use thinner coats and offload paint first.
- Peel sooner, once the paint has set but before it fully hardens at the edge.
FAQ
Can I use permanent vinyl as a stencil?
You can, but I avoid it unless I have to. Permanent vinyl can bond more aggressively, increasing the chance it pulls up your base coat. If you use it, de-tack your transfer tape and go slow when peeling.
Do I need stencil vinyl, or is removable vinyl fine?
Removable vinyl works beautifully for most wood signs. Stencil vinyl is often thicker, which can help on textured blanks, but removable craft vinyl is easier to find and cut. If your wood is rough, plan to burnish more and definitely do the sealing step.
What is the best way to paint letters on wood with a stencil?
Seal the edges, then use a nearly-dry sponge or stencil brush to pounce on thin coats. That combo is what stops bleed and keeps letter edges crisp.
How do I keep the centers of letters in place?
When you weed, leave the centers in place and apply them with transfer tape along with the stencil. After you remove the big stencil, use a hook tool to lift the tiny center pieces last.
One last encouragement
If your first sign is not perfect, keep it anyway. Every “oops” sign taught me something I now do automatically: sanding more, sealing edges, using less paint, and slowing down during that final peel. Once you get this process down, you will start looking at blank boards like they are a canvas, not a gamble.