Learn how to design, cut, weed, and press iron-on vinyl (HTV) onto a cotton shirt using Cricut Design Space, plus my best beginner tips for clean, long-lasti...
Maker Vinyl
Updated October 17, 2026
How to Layer Iron-On Vinyl on T-Shirts
Learn how to layer HTV (iron-on vinyl) on shirts with beginner-friendly steps, press settings, peel tips, and troubleshooting for clean multi-color designs.

Harper Davis
Harper Davis is a lifelong DIY enthusiast and cutting-machine expert who loves helping beginners conquer Cricut Design Space. With over six years of experience running a custom vinyl shop, she shares practical tutorials, material guides, and creative inspiration.
Layering iron-on vinyl (HTV) looks like magic when it’s done right and like a wrinkly sticker situation when it’s not. The good news is you do not need fancy tricks. You just need the right order, the right press times, and one big mindset shift: most layers get a quick “tack press,” and only the final layer gets the full press.
One important caveat before we get into the fun part: always follow your specific vinyl brand’s instructions first. Presses run differently, HTV formulas vary, and specialty finishes play by their own rules. The settings below are my shop-tested defaults for standard PU HTV, and they are meant to be a reliable starting point, not a universal law.
I’m going to walk you through exactly how I layer HTV on t-shirts in my shop, including the temperatures I default to, how long each layer gets, and how to avoid the two most common heartbreaks: bubbling and lifting corners.
Before you start: What layering means
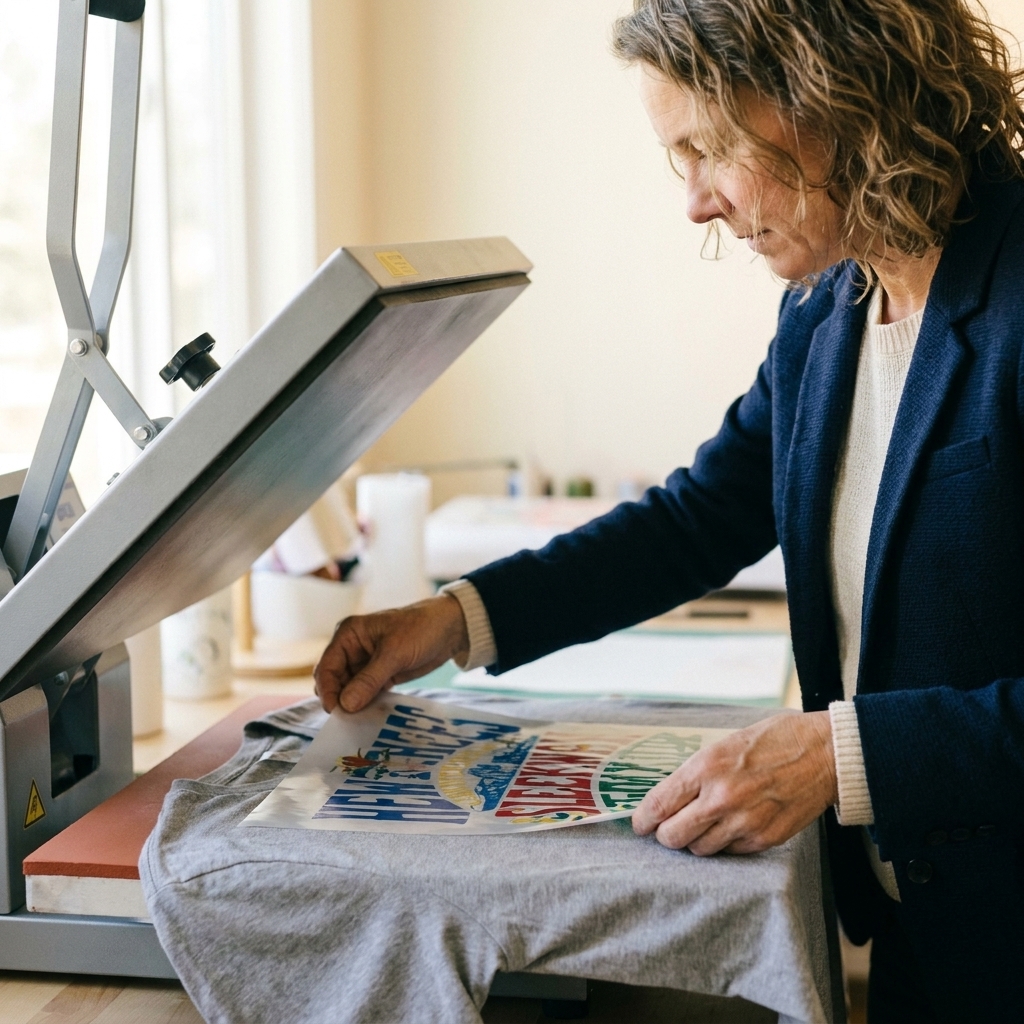
Most HTV has a clear carrier sheet on top. You cut the design in reverse, weed the extra vinyl away, then press the vinyl onto the shirt. When you layer, you press one color down, peel the carrier (unless your brand says to keep it), line up the next color on top, and repeat.
Key rule: when you press the next color, it should make contact with the shirt and or the previously pressed vinyl. Do not press with another carrier sheet trapped between layers. In real life, some pieces will overlap (vinyl-on-vinyl) and that is normal. You just want vinyl touching what it’s supposed to stick to, not a layer of plastic in between.
Supplies (beginner-friendly)
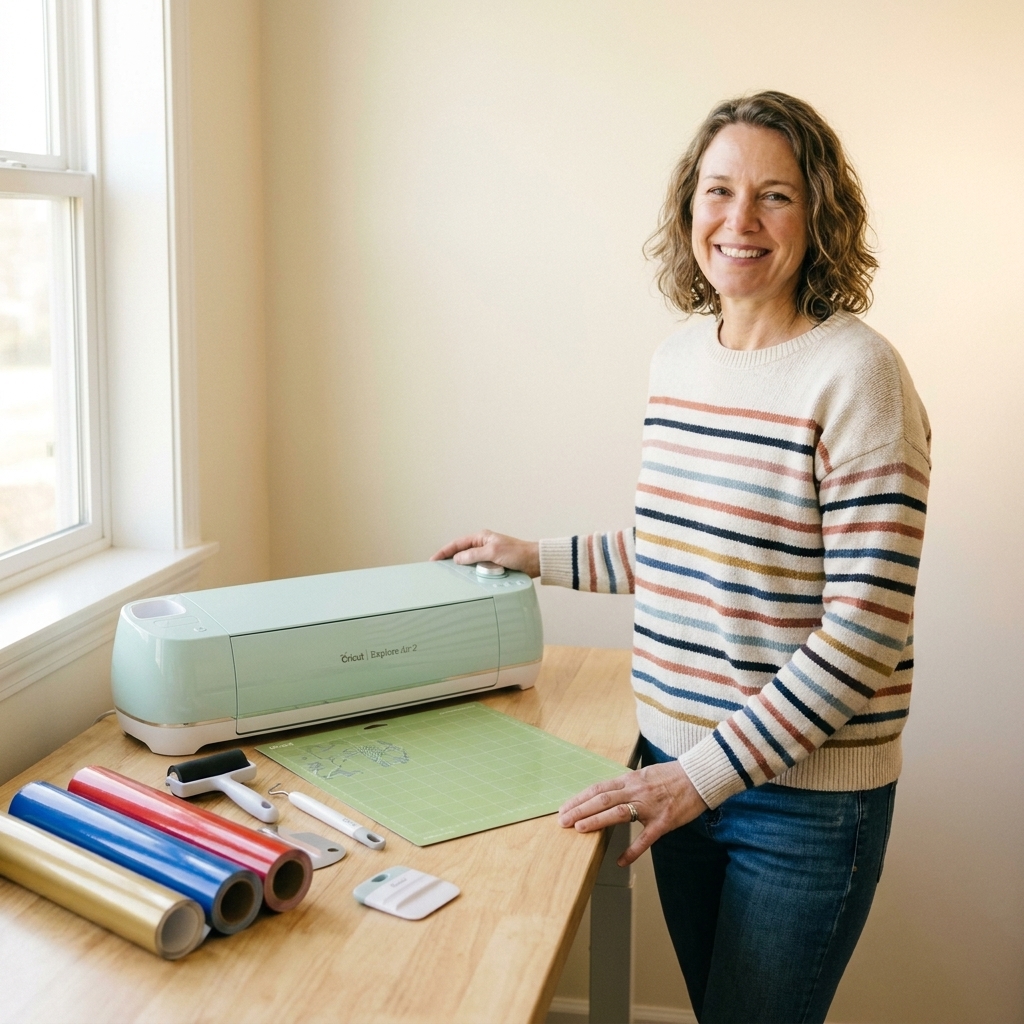
- Cricut machine (Explore, Maker, or Joy Xtra) with a fine-point blade
- Heat press (easy mode) or household iron (works, but needs more care)
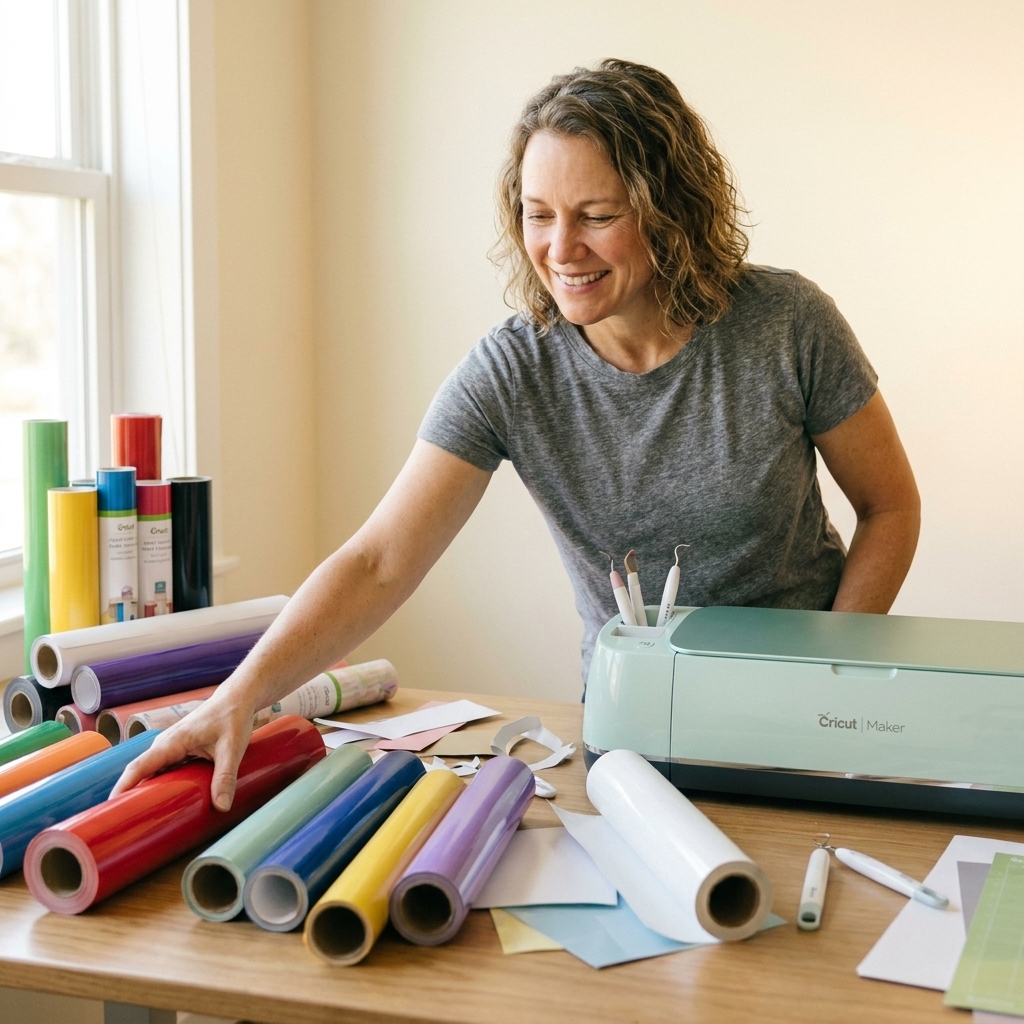
- HTV in multiple colors (same brand and type is easiest)
- T-shirt (100% cotton is easiest to learn on)
- Weeding tools and a scraper or squeegee
- Heat-resistant tape (highly recommended for tiny pieces)
- Teflon sheet or parchment paper (not wax paper)
- Lint roller (strongly recommended)
- Heat press pillow (optional but helpful around seams)
Best settings (my defaults)
HTV settings vary by brand and even by press, so treat these as a baseline for standard, everyday PU HTV (not glitter, not foil, not holographic). If your vinyl’s instructions disagree with any of this, trust the manufacturer.
- Temperature: 305°F to 315°F (152°C to 157°C)
- Pre-press shirt: 5 seconds
- Tack press for each layer: 2 to 4 seconds
- Final press: 10 to 15 seconds
- Pressure: medium to firm (you should feel resistance when you close the press)
Peel method matters: check your vinyl’s instructions for hot peel vs warm peel vs cold peel. If you peel at the wrong time, corners lift and you will think you did something wrong when you didn’t.
If you are using Cricut Everyday Iron-On, a reliable shortcut is to use Cricut Heat Guide for your exact base material plus vinyl type, then apply the layering method in this tutorial (short tacks, full final press).
Quick note: Press accuracy
If you ever feel like you are doing everything right and it still will not stick (or it keeps overcooking), your press may be reading a different temperature than the platen is actually delivering. If you craft a lot, a simple infrared thermometer or heat strips can help you confirm your real surface temp and get consistent results.
Design Space setup
1) Separate by color
In Design Space, your design should be grouped by color, with each color becoming its own layer. If you uploaded an SVG, it is usually already separated.
2) Add alignment helpers (optional)
For designs that must line up perfectly, add two tiny shapes you can use as alignment marks (like small squares) placed outside the design area. Cut them in the first color only or in a color you will weed away. Optional, but it makes layering less stressful.
3) Mirror every mat
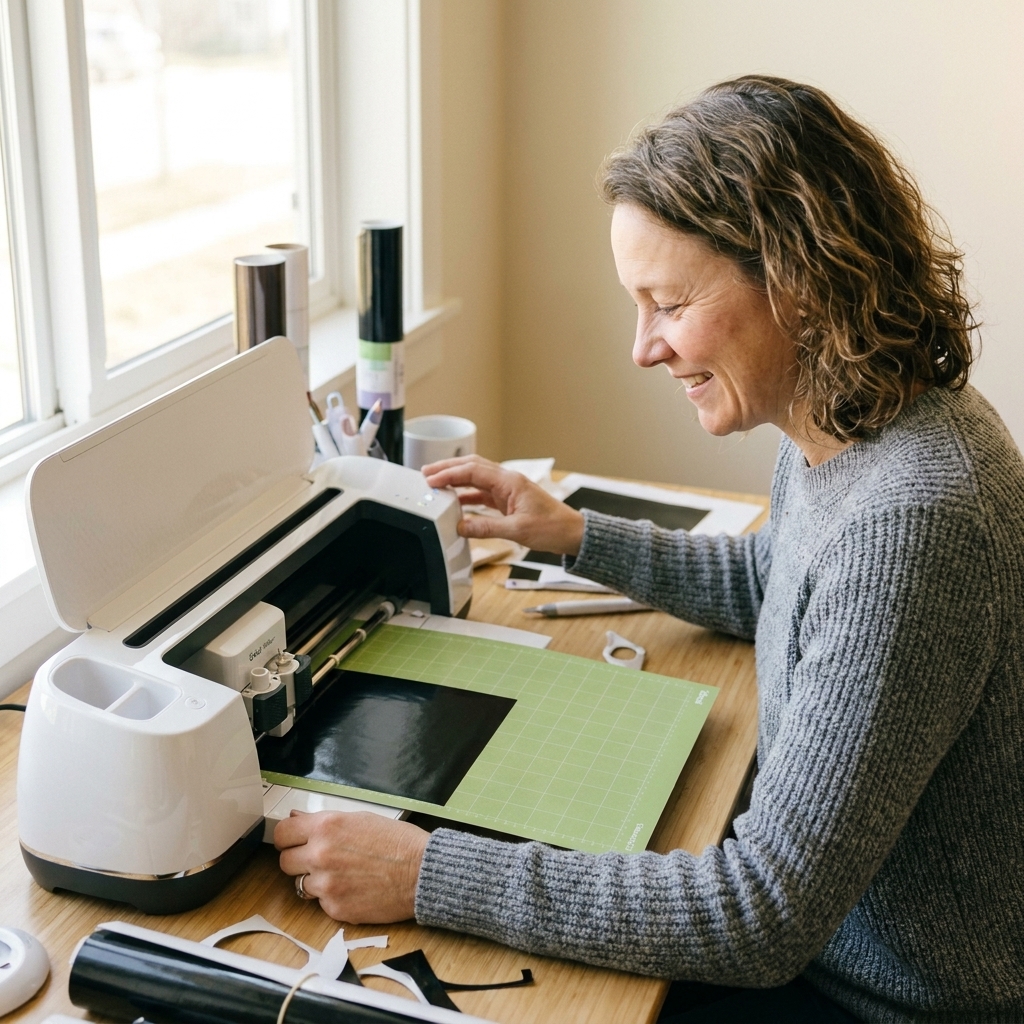
Iron-on vinyl must be cut mirrored. In the Make screen, toggle Mirror for each mat that contains HTV.
4) Choose the right cut setting
Use your material setting for the exact HTV you have, or start with a similar category (Everyday Iron-On, Standard HTV). If your cuts are hard to weed, bump pressure slightly before jumping straight to “More” on everything.
Step-by-step: Layer HTV on a shirt
Step 1: Cut and weed each color
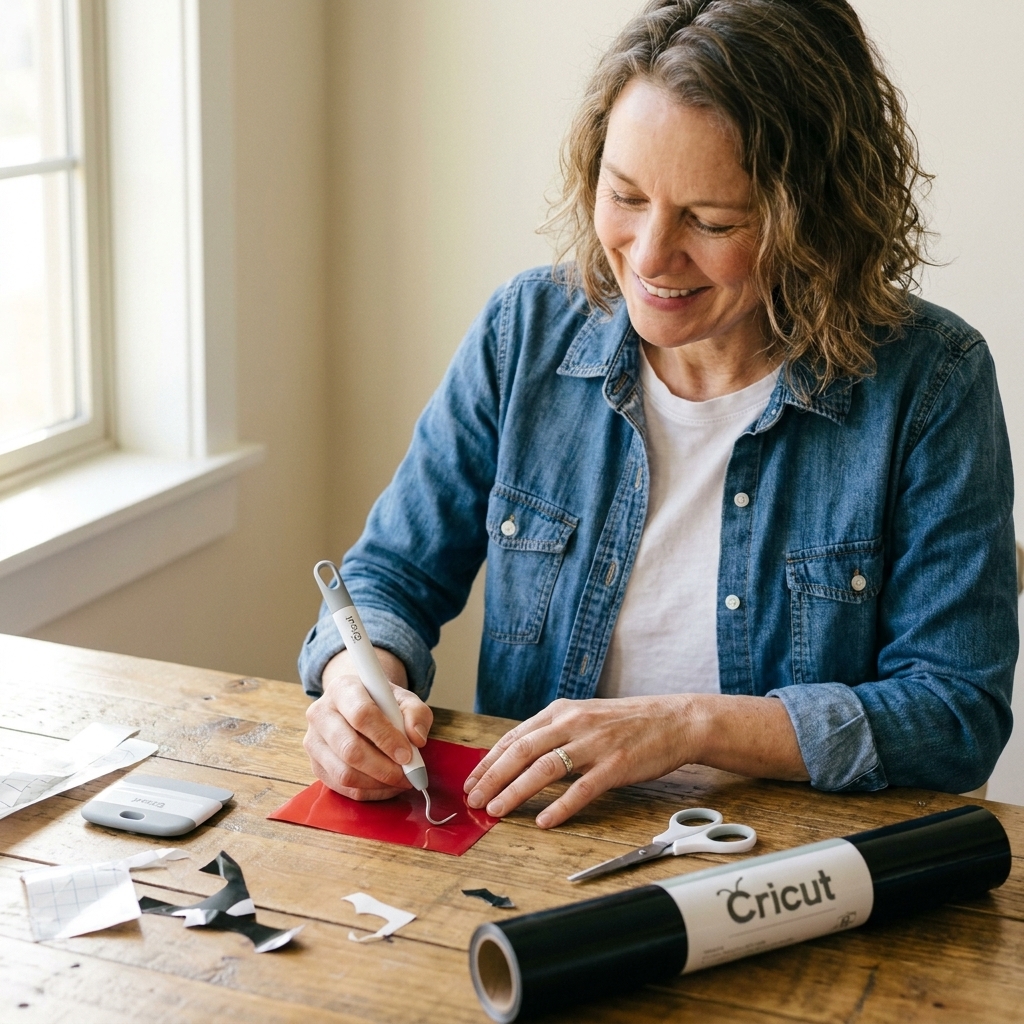
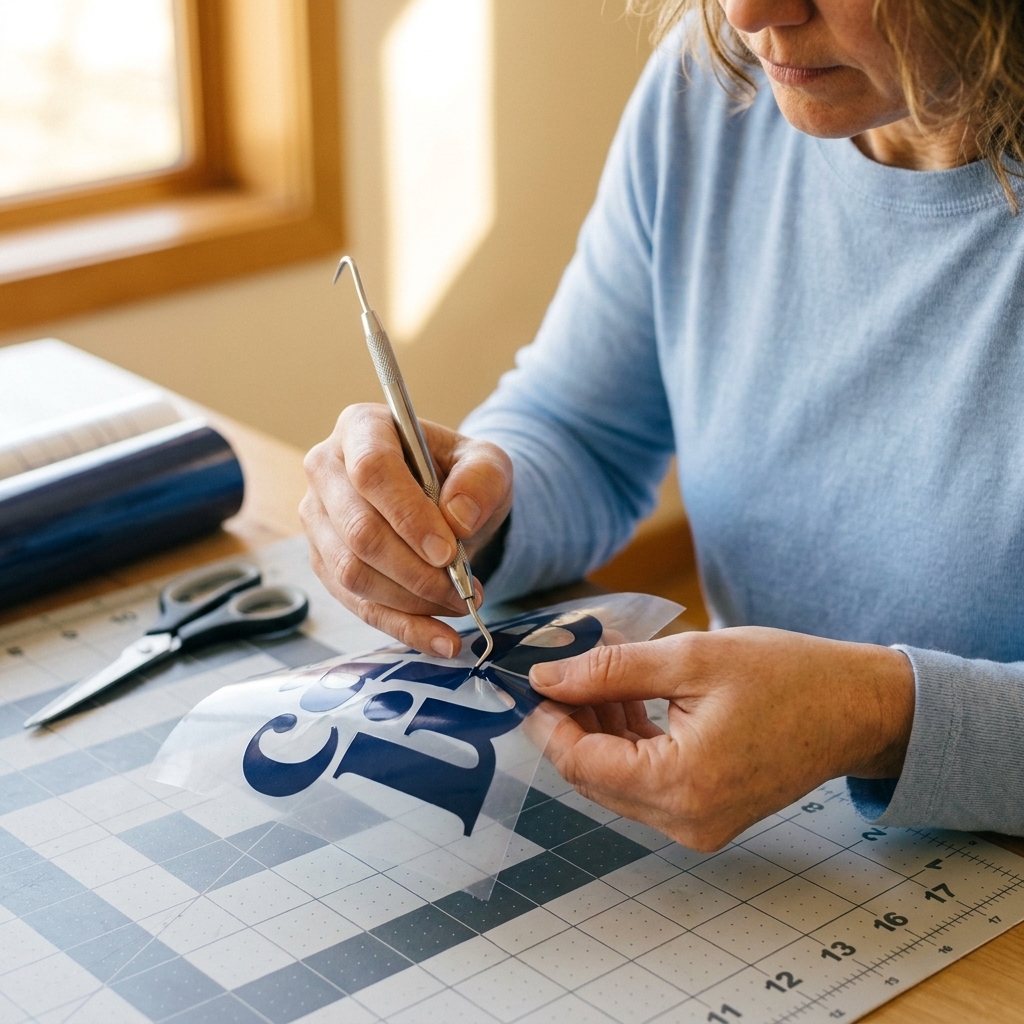
Cut all colors first, then weed. Keep each layer on its carrier sheet and label them (top-left corner with a Sharpie on the carrier works great) so you do not accidentally flip a layer.
Step 2: Pre-press and lint-roll
Place the shirt on your press, smooth it out, and pre-press for 5 seconds. This usually removes moisture and wrinkles and helps your vinyl bond better.
Then lint-roll the area. Tiny fibers can create little bumps under HTV (especially on dark shirts), and it is much easier to prevent than to fix later.
Step 3: Press the base layer first
Pick your base layer wisely:
- Usually the largest layer goes first.
- Try not to stack multiple layers of HTV in big solid blocks. Keep overlaps minimal when possible.
- If one layer is a thin outline that sits on top of everything, save it for last.
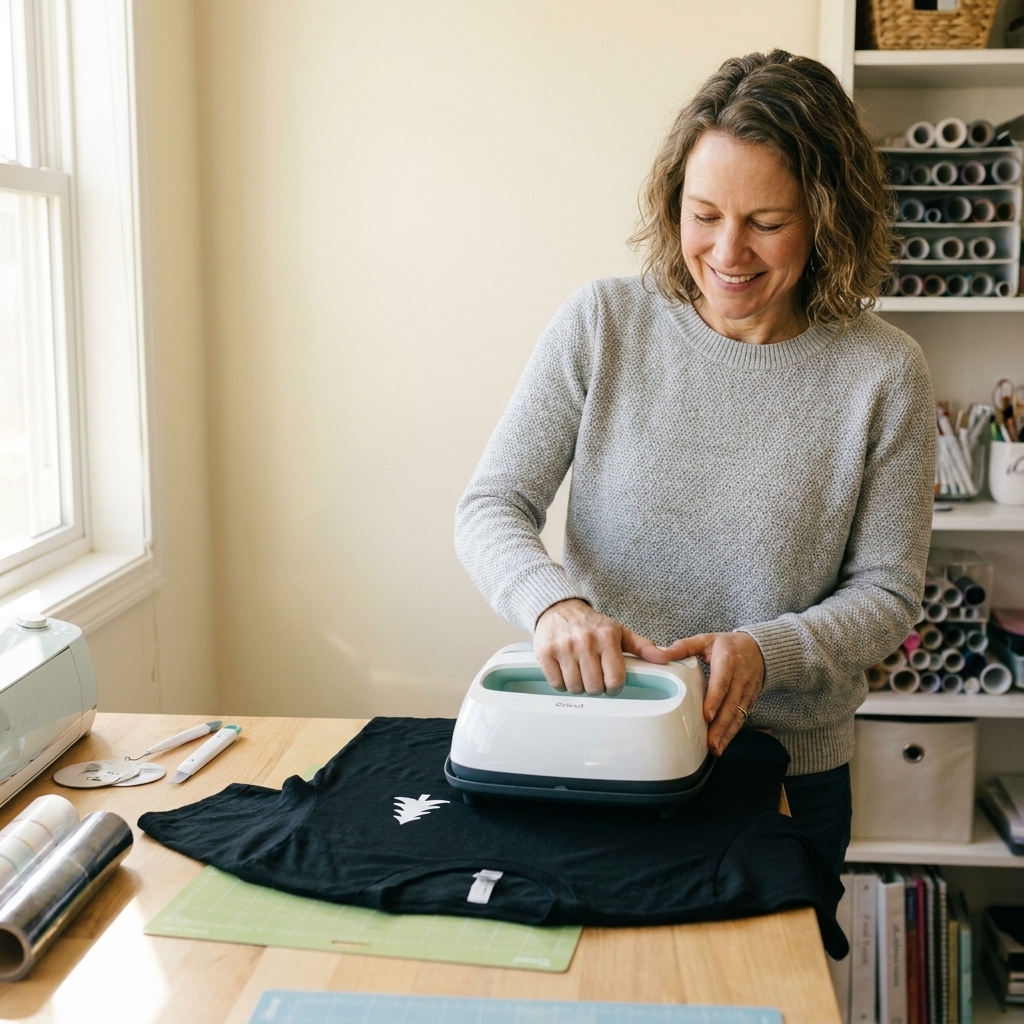
Place the base layer shiny side up, cover with parchment or a Teflon sheet, then tack press 2 to 4 seconds only.
Why a tack press? Because pressing full time on every layer can overheat the adhesive. That is when you see bubbling, shiny press marks, or edges that start lifting later in the wash.
Step 4: Peel the carrier the right way
Follow your vinyl’s peel instructions. If it says warm peel, give it a few seconds, then peel slowly back over itself (low and flat, not straight up).
If a corner lifts:
- Lay the carrier back down
- Press 2 more seconds
- Try peeling again, slower
Step 5: Add the next color and tack press again
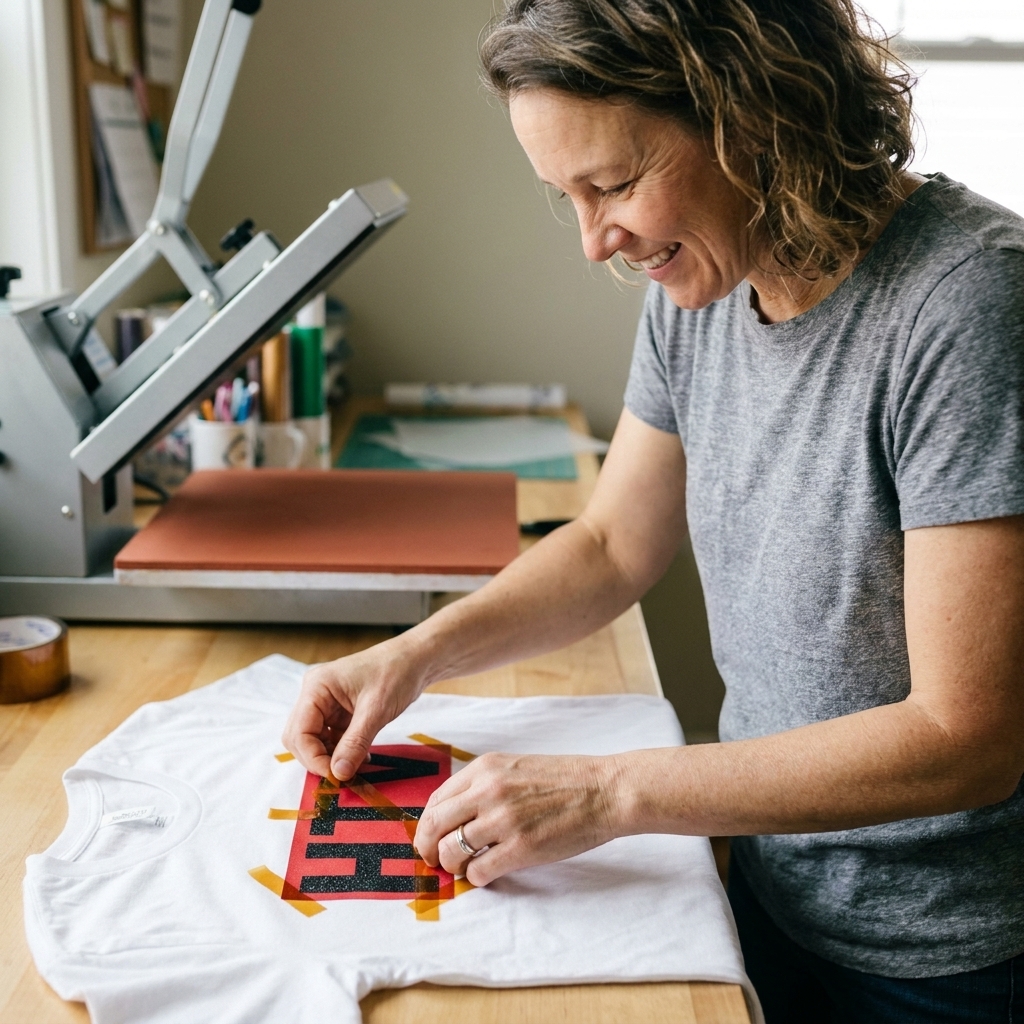
Line up the second layer on top of the first. This is where heat-resistant tape is your best friend, especially for small pieces like dots on letters, tiny eyes, or skinny script.
Cover and tack press 2 to 4 seconds. Peel the carrier sheet as directed.
Step 6: Repeat until the final layer
Continue layering with short tacks. Keep your design as flat as possible and watch out for carrier sheets accidentally touching exposed vinyl. If a carrier sheet lands on pressed HTV, it can leave a dull imprint.
Pro tip from my slightly chaotic Midwest craft room: trim your carrier sheets close to the design. Smaller sheets are easier to align, and you are less likely to accidentally press clear plastic onto areas you already finished.
Step 7: Final press
Once all layers are down and carriers are removed, cover the design with parchment or a Teflon sheet and do a final press for 10 to 15 seconds at your target temperature with medium-firm pressure.
Then let the shirt cool flat for a minute before moving it around too much. HTV adhesive sets as it cools.
Mini example: 3 colors
If it helps to see it in numbers, here is a simple three-color flow using standard PU HTV at 310°F:
- Layer 1: pre-press shirt 5s, tack 3s, peel as directed
- Layer 2: tack 3s, peel as directed
- Layer 3: final press 12s, let cool flat
- Optional seal: if an edge looks raised, cover and press 3 to 5s more
Layer order
If you are ever staring at your layers like, “Which one is supposed to go first?” use this checklist:
- Base first: the biggest background shape
- Middle details next: stripes, inner colors, fills
- Small details last: outlines, highlights, tiny accents, thin text
Try to avoid: using glitter or flock as a bottom layer. Most textured HTV does not like being layered on top or under other vinyl. If you want glitter in the design, plan it as the top layer only or avoid layering over it.
HTV that is tricky to layer
Some HTVs are just more dramatic than others. Before you commit to a full shirt, check the package and consider a small test press if you are using:
- Foil and metallic (often heat-sensitive and can dull or wrinkle when re-pressed)
- Reflective (can be thicker and pickier about pressure)
- Holographic and specialty finishes (may not like multiple presses)
- Printable HTV (often has brand-specific rules and may not be meant for stacking)
- Stretch HTV (can layer, but usually needs very specific settings)
You can absolutely still use these in layered designs, but you may need to plan them as a top layer or adjust your temps, times, and peel timing based on the manufacturer’s directions.
Prevent bulky, peeling layers
Use knockout layers when you can
If you have a big black rectangle and a smaller red shape sitting on top, consider cutting the red shape out of the black layer (so the red sits directly on the shirt, not on black vinyl). This reduces thickness and makes the shirt feel softer.
Keep tack presses short
Long presses on early layers can overbake adhesive. Short tacks hold the layer in place without cooking it.
Press seams smartly
Buttons, seams, and thick collar bands steal pressure. Use a press pillow inside the shirt or slide the shirt so the design area sits on the flat platen and seams hang off the edge.
Skip the folded towel trick if you can. Towels compress unevenly and can create pressure problems that show up as lifting edges later.
Do a quick seal press if needed
If you see edges that look slightly raised after the final press, cover and press 3 to 5 more seconds. Do not crank temperature first. Time and pressure usually fix it.
Layering with an iron
A heat press is easier, but an iron can still work if you control three things: heat, pressure, and time.
- Turn steam OFF.
- Use a hard surface (not an ironing board).
- Set the iron to cotton or linen (and if you have an infrared thermometer, it helps to check you are actually getting hot enough).
- Press straight down with firm pressure. Do not slide the iron.
- Tack each layer for 5 to 8 seconds (irons are less consistent).
- Final press 20 to 30 seconds, then repeat from the back of the shirt for another 10 to 15 seconds only if your vinyl instructions allow it.
Expect a little trial-and-error here. If you layer HTV often, a small clamshell press is one of the best crafting upgrades you can make.
Troubleshooting
My layers look wrinkled or bubbled
- Your early layers were pressed too long, too hot, or with too much pressure.
- Use shorter tack presses (2 to 4 seconds) and save full time for the end.
- Make sure you pre-pressed the shirt. Moisture, texture, and adhesive outgassing can all show up as bubbles.
Edges keep lifting when I peel
- Double-check peel type (hot, warm, cold).
- Add 2 to 3 seconds and try again.
- Increase pressure slightly before increasing temperature.
My layers are slightly off
- Trim carrier sheets smaller so you can see alignment points.
- Use heat-resistant tape to anchor the next layer.
- In Design Space, add tiny alignment marks outside the design area and trim them away after pressing.
The vinyl looks glossy where the carrier touched
- You likely pressed a carrier sheet onto exposed HTV.
- Use parchment or a Teflon sheet every time, and keep carrier edges away from pressed vinyl.
The shirt has press lines (a box outline)
- Use a Teflon sheet and lighten pressure a bit.
- A press pillow can help if the shirt is thick or has seams near the design.
Wash and care
- Wait 24 hours before washing (when possible).
- Wash inside out on cold or warm.
- Avoid high heat drying. Tumble low or hang dry.
- Skip bleach and avoid fabric softener on the design area.
If a corner ever lifts after washing, you can usually fix it by pressing again: cover with parchment, press 10 to 15 seconds, and let cool flat.
FAQ
How many layers of HTV can I stack?
For standard HTV, I try to keep it to 2 to 4 layers in any one spot. You can do more for tiny overlaps, but thick stacks get stiff and are more likely to peel.
Can I layer glitter HTV?
Most glitter HTV should be the top layer only. Because it has texture, other vinyl does not bond as well on top of it.
Do I have to use the same brand for every color?
You do not have to, but it helps. Different brands can have different press temps and peel types. If you mix brands, match the settings to the most delicate vinyl in the stack and always do test cuts and a small test press.
Should I press from the back after layering?
Sometimes. Many standard HTVs allow a short back press, and it can help with adhesion. Just do not use it as a substitute for correct pressure and timing from the front, and avoid overheating specialty vinyl.
Your first layered shirt idea
If you want a low-stress first project, try a two-color design like a bold name with a small shadow layer. You will practice alignment without juggling a million tiny pieces, and the final result looks impressively pro for how simple it is.
If you want, tell me what brand of HTV you are using and what type of press you have, and I can help you dial in the exact temp, time, and peel plan for your specific stack.