A beginner-friendly, step-by-step Cricut tutorial for pantry labels that are evenly spaced and straight using Design Space templates, Smart Vinyl, and the tr...
Maker Vinyl
Updated October 18, 2026
Split an Oversize Vinyl Wall Decal Across Cutting Mats
Learn how to tile a large wall decal in Cricut Design Space: plan sections, add overlap and registration marks, mock up alignment on paper, test your wall surface, then apply cleanly with minimal seams.

Harper Davis
Harper Davis is a lifelong DIY enthusiast and cutting-machine expert who loves helping beginners conquer Cricut Design Space. With over six years of experience running a custom vinyl shop, she shares practical tutorials, material guides, and creative inspiration.
If you have ever designed a gorgeous wall quote, kid’s name sign, or giant floral decal… and then realized it is bigger than your Cricut mat, welcome to the club. This is one of those moments where beginners assume the project is doomed. It is not. You just need to tile your decal into multiple panels that go up like wallpaper strips.
Below is my tried-and-true method for splitting a large wall decal across mats, with overlap seams, registration marks, and a paper alignment mockup so you can apply it straight the first time.
Before you start: what limits the size?
Two things usually cap your wall decal size:
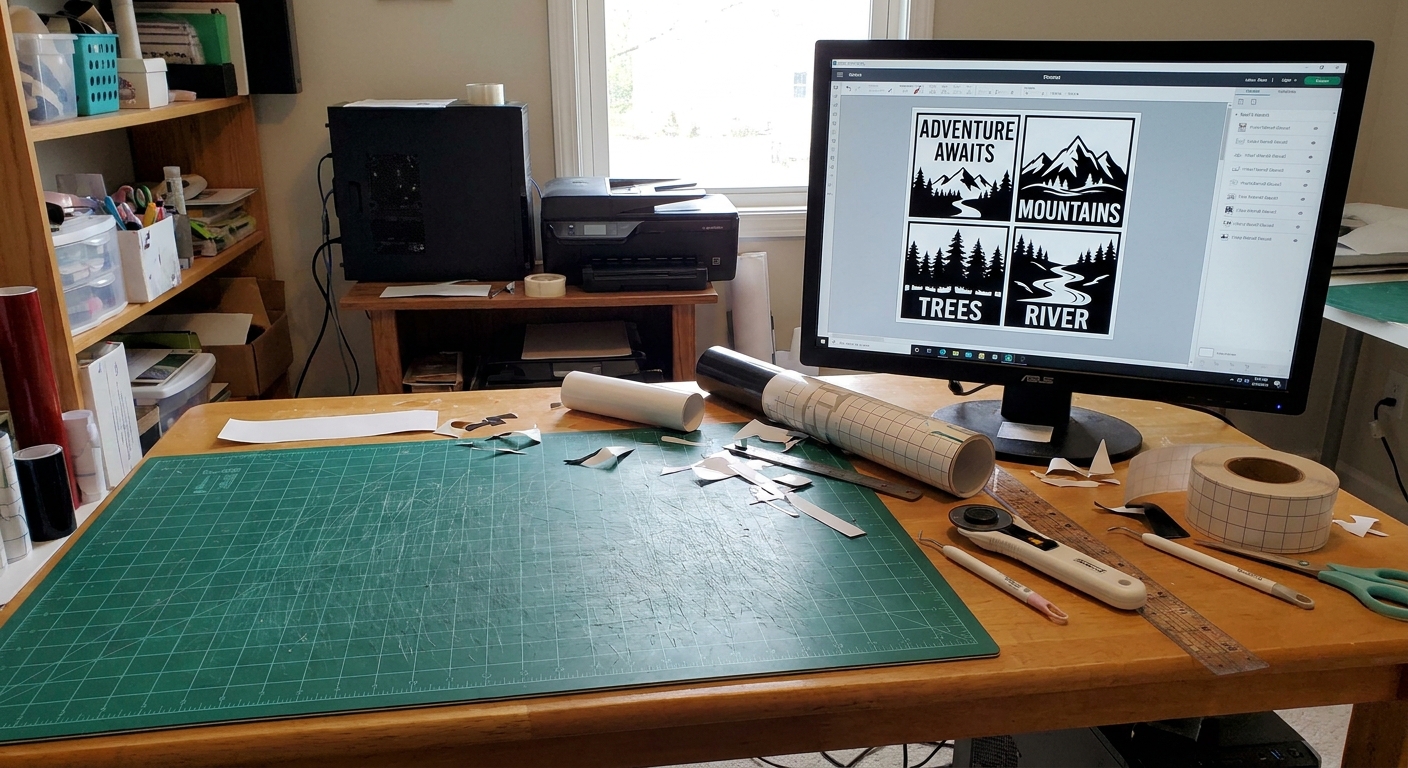
- Mat size: 12 in x 12 in or 12 in x 24 in mats have a usable cut area slightly smaller than the mat itself, and the exact cuttable area can vary by machine, material, and how your mat is behaving that day.
- Vinyl handling: even if you are cutting on a 12 in x 24 in mat, a very detailed design can be annoying to weed if you cram it edge to edge.
The goal is to split your design into panels that are easy to cut, weed, and align, while keeping seams as invisible as possible.
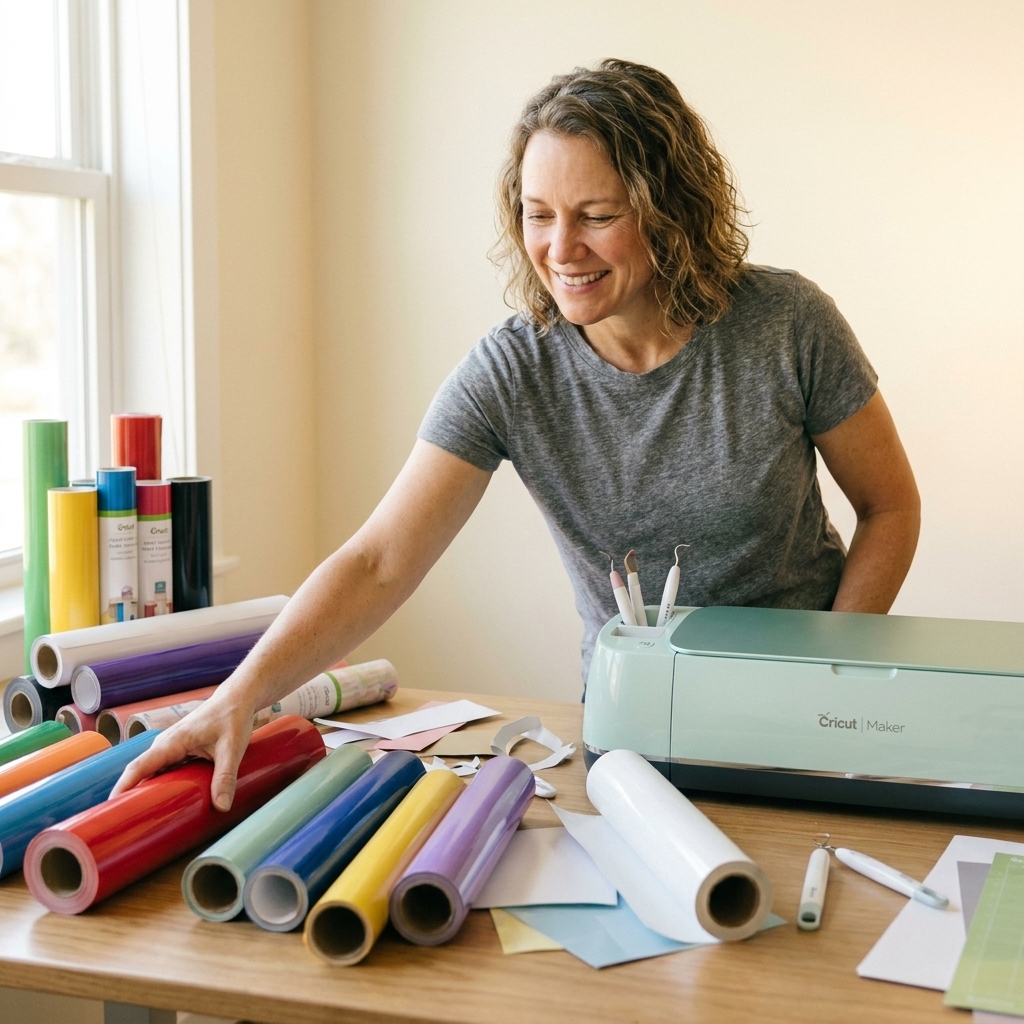
Supplies that make tiling easier
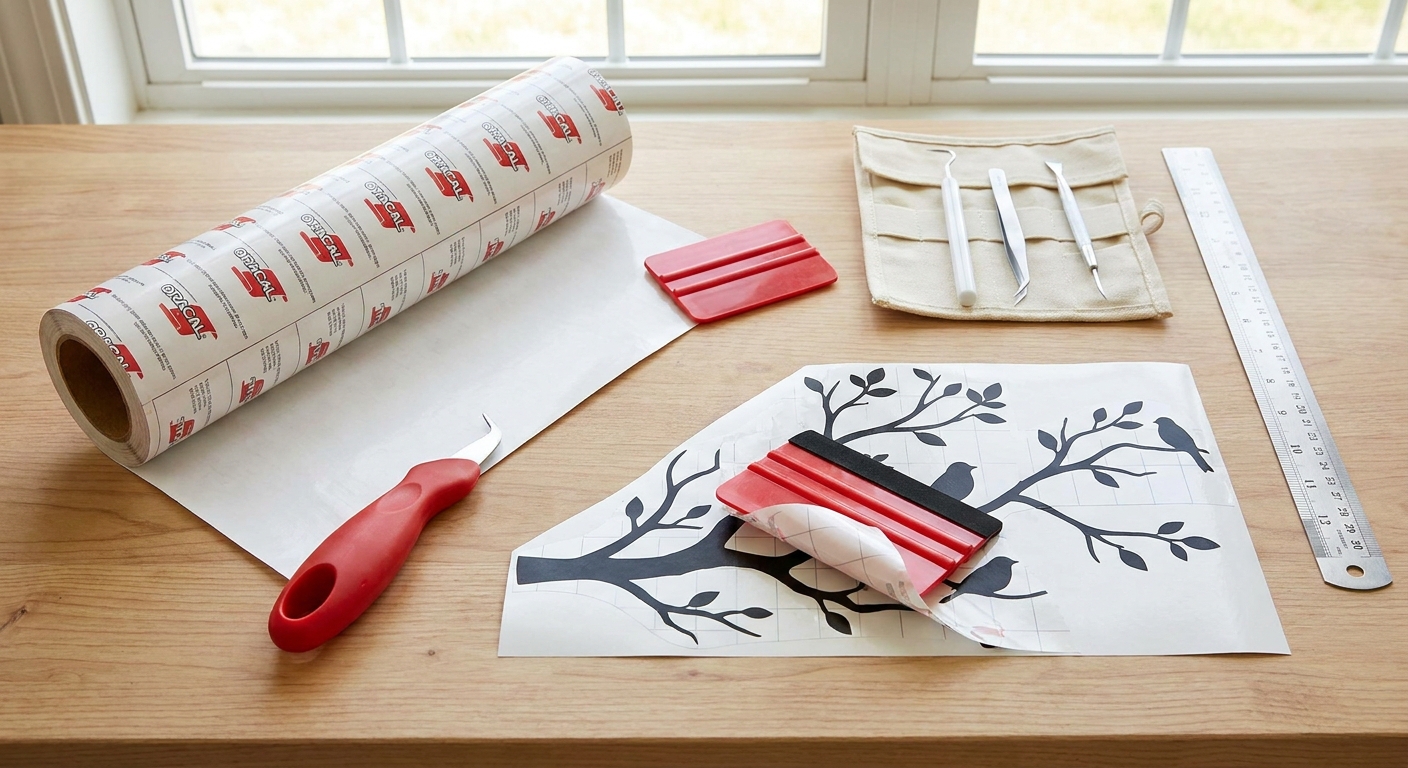
- Permanent vinyl or removable vinyl (more on which one to choose below)
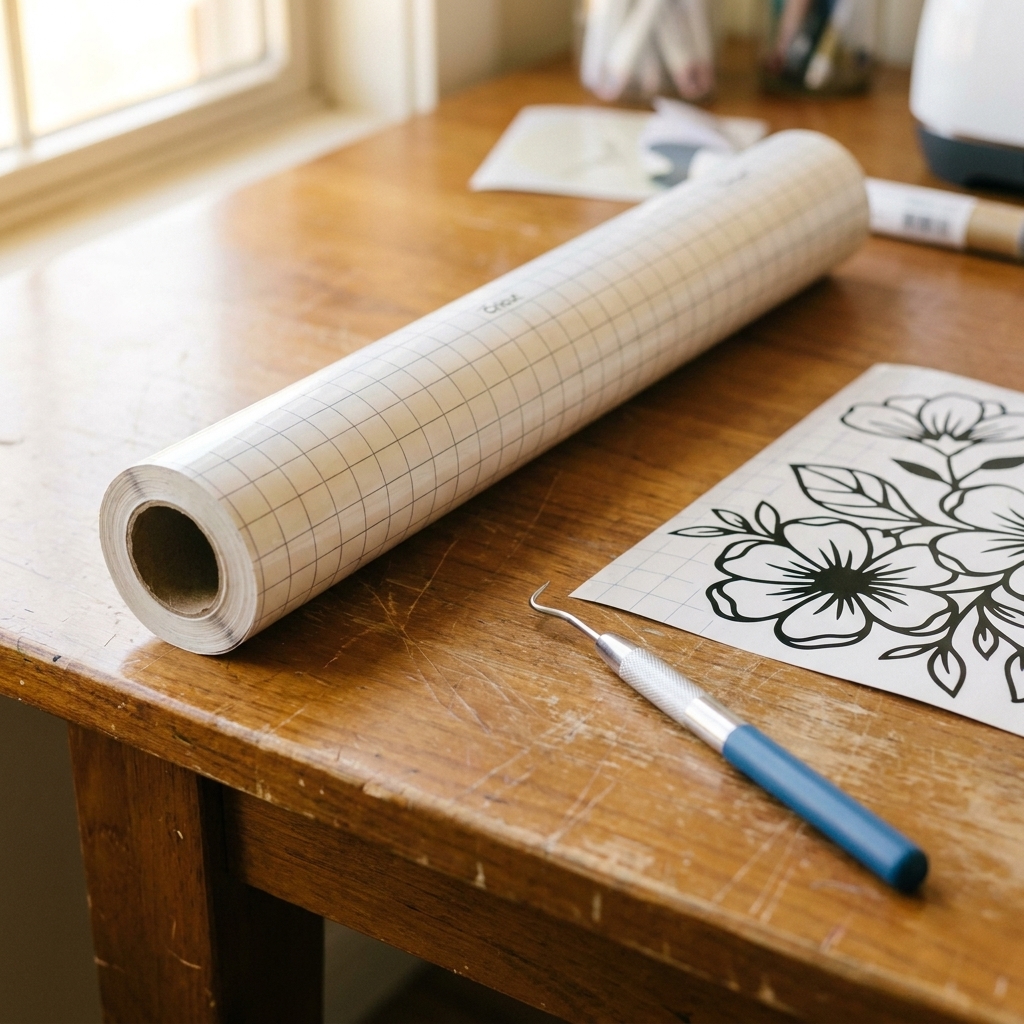
- Transfer tape (I usually start with standard grip, but a less aggressive tape can be a lifesaver on matte walls)
- Painter’s tape (blue or green)
- A measuring tape or ruler
- A level (or your phone’s level app)
- Scrap paper for your mockup (copy paper works)
- Squeegee or scraper tool
- Weeding tools
Step 1: Measure and size
Measure the space where the decal will go, then decide how much breathing room you want around it. A common mistake is designing to the exact width of the wall area, then realizing outlets, trim, or furniture make it feel cramped.
Quick sizing tip
If you are centering a decal above a crib, couch, or console, I usually aim for the decal to be roughly two-thirds to three-quarters of the furniture width. Not a rule, just a solid starting point.
Step 2: Pick seam spots
When you tile a design, you get to choose where the panel breaks happen. Put seams where they are least noticeable:
- Between words (instead of splitting a word down the middle)
- Along natural gaps in the design
- Through low-detail areas (fewer tiny bits to line up)
If your decal is a single big shape (like a mountain skyline), seams are unavoidable. That is where overlap and registration marks become your best friends.
Step 3: Add overlap
Instead of butting two panels edge-to-edge, build a tiny overlap so the seam disappears visually.
How much overlap?
- 1/8 in overlap works for most simple shapes and text
- 1/4 in overlap is easier to align on tall installs or textured walls
For wall decals, I usually overlap the right panel over the left panel so I can work left-to-right during application, but you can choose what feels natural.
Heads up: Overlap works best when the overlapped area is a solid shape, not delicate script with hairline strokes. If your font is super thin, plan seams between words instead.
Step 4: Add registration marks
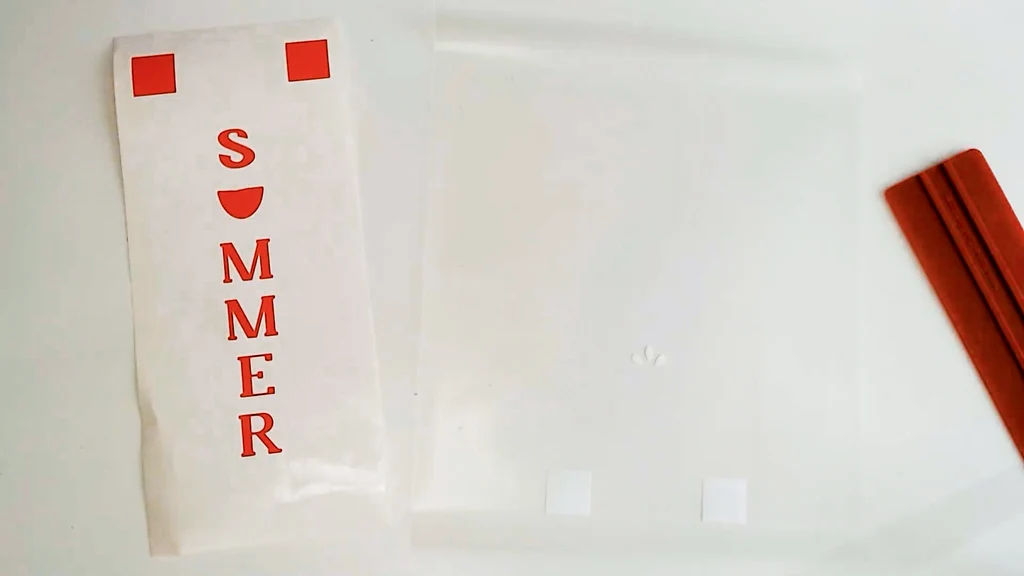
Registration marks are small shapes you cut with each panel so you can line panels up consistently on the wall. Think of them like little targets that tell you, “Yes, this panel is exactly where it should be.”
Best mark shapes
- Small squares (about 1/4 in to 1/2 in)
- Small plus signs
- Tiny triangles
Place your marks in areas that will be easy to remove later, like outside the design boundary or in a spot you can hide behind furniture. If you cannot put them outside the design, tuck them into a part of the design that can lose a tiny piece without being noticeable.
My go-to: two registration marks per seam, one near the top and one near the bottom. For a wide design, add a third near the middle.
Step 5: Split into panels in Design Space
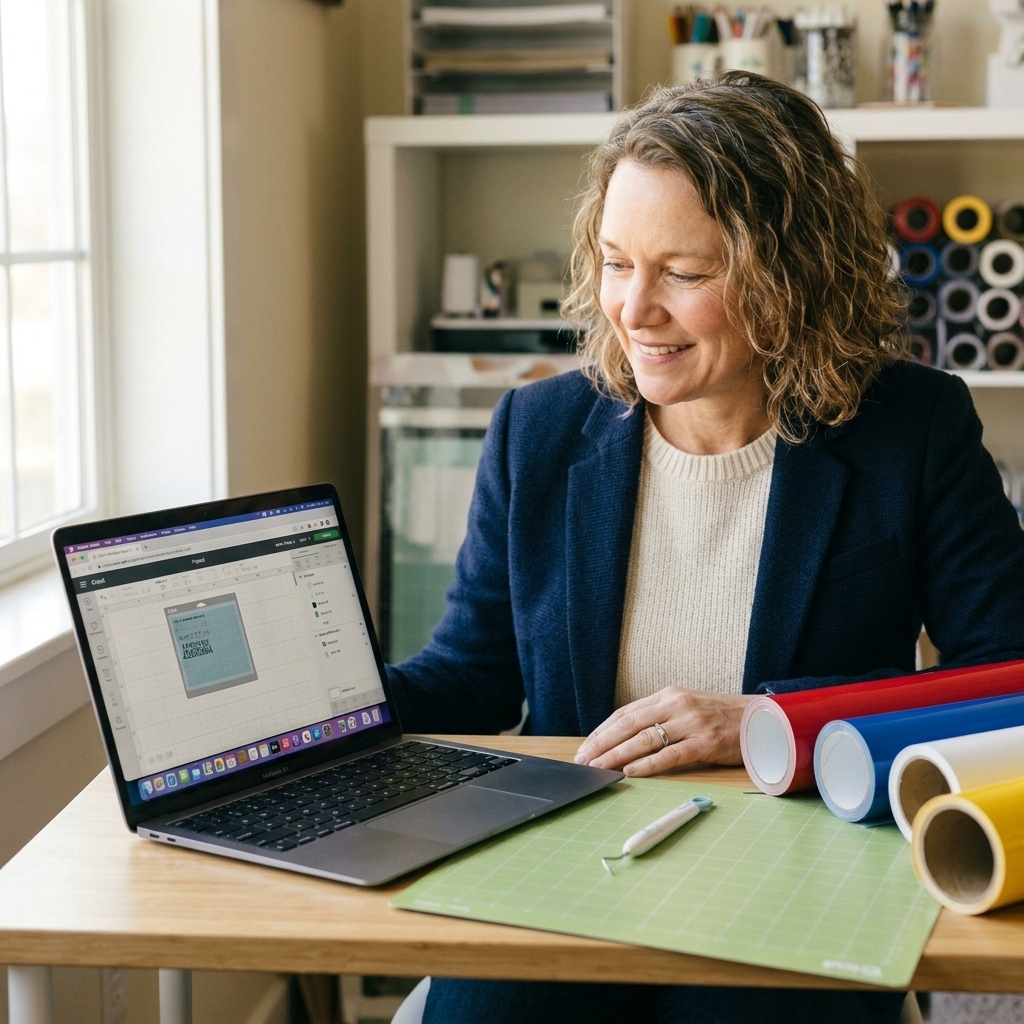
There are a few ways to do this depending on your version of Design Space and how your file is built, but the most reliable method is to make your own panels using basic shapes.
Method: Slice with rectangles
Finalize your full design size first. Select everything and set the width and height you want on the wall.
Duplicate your design so you have a safety copy off to the side.
Create a rectangle that represents your first panel. Make it slightly smaller than your usable mat area so you are not cutting right on the edge. As a rule of thumb, I like to leave roughly 1/4 in to 1/2 in margin around the panel, but adjust based on your machine and material.
Position the rectangle over the part of the design you want for Panel A.
Duplicate the rectangle for Panel B, slide it to the right (or down) and overlap it by 1/8 in to 1/4 in over Panel A’s rectangle. That overlap area is what hides the seam.
Select the design and Panel A rectangle, then use Slice. Keep the sliced piece for Panel A and delete the extras you do not need.
If Slice is greyed out: it only works with two layers selected, and some file types need a quick cleanup first. Try ungrouping, making sure your design is not flattened, and welding where appropriate so you have a clean cut layer to slice.
Repeat for each panel rectangle until you have Panel A, Panel B, Panel C, and so on.
Add your registration marks
Create your mark shape (tiny square or plus), duplicate it, then place the marks so they appear in both panels at the same exact locations across the seam area. Attach the marks to each panel so they cut in the correct spot.
Important: If your design has multiple colors, tile each color layer the same way so your seams match across colors.
Layering note: If your decal is stacked (one color on top of another), build registration marks into each color and use them to line layers up on your work surface before you ever go to the wall. If your design is single-layer (most wall quotes), you are just using the marks to align panels on the wall.
Step 6: Paper mockup
This step is the reason my big wall installs go up straight, even when my coffee is lukewarm and my craft room is chaos.
What you are doing
You are taping paper rectangles on the wall to represent each vinyl panel. This lets you confirm:
- The overall size looks right in the space
- Your seams land in smart places
- You can reach and squeegee comfortably
- The design is level and centered
How to do it
- Cut or tape together paper pieces to the same size as each panel.
- Lightly tape Panel A paper to the wall using painter’s tape.
- Use a level to straighten the top edge.
- Add Panel B paper with the planned overlap amount.
- Stand back and look. Adjust now, not after you cut and weed vinyl.

Step 7: Prep and test the wall
Wall decals are not just about cutting. The wall surface decides whether you are going to have a smooth install or a bad day.
Quick wall prep
- Dust the wall with a dry microfiber cloth.
- If needed, wipe lightly with water (or a mild soap and water mix), then let the wall dry fully.
- Avoid harsh cleaners and heavy scrubbing. You want clean paint, not damaged paint.
Do a small vinyl test
Choose a discreet area, like behind a dresser or low near baseboards.
- Apply a 2 in to 3 in vinyl shape using the same vinyl and transfer tape you will use for the decal.
- Burnish it down.
- Leave it for at least a few hours, ideally overnight.
- Peel it off slowly and check for paint lift, texture issues, or poor adhesion.
Surface notes (real-life crafting truth)
- Fresh paint: paint is usually dry fast, but cure time is often longer. Many products need about 2 to 4 weeks to fully cure, depending on conditions. Check your paint can for guidance.
- Matte and chalky paint: often the hardest for vinyl to stick to long term.
- Heavy texture: vinyl may bridge over bumps and lift later. Consider a painted stencil approach instead, or choose a simpler design with thicker lines.
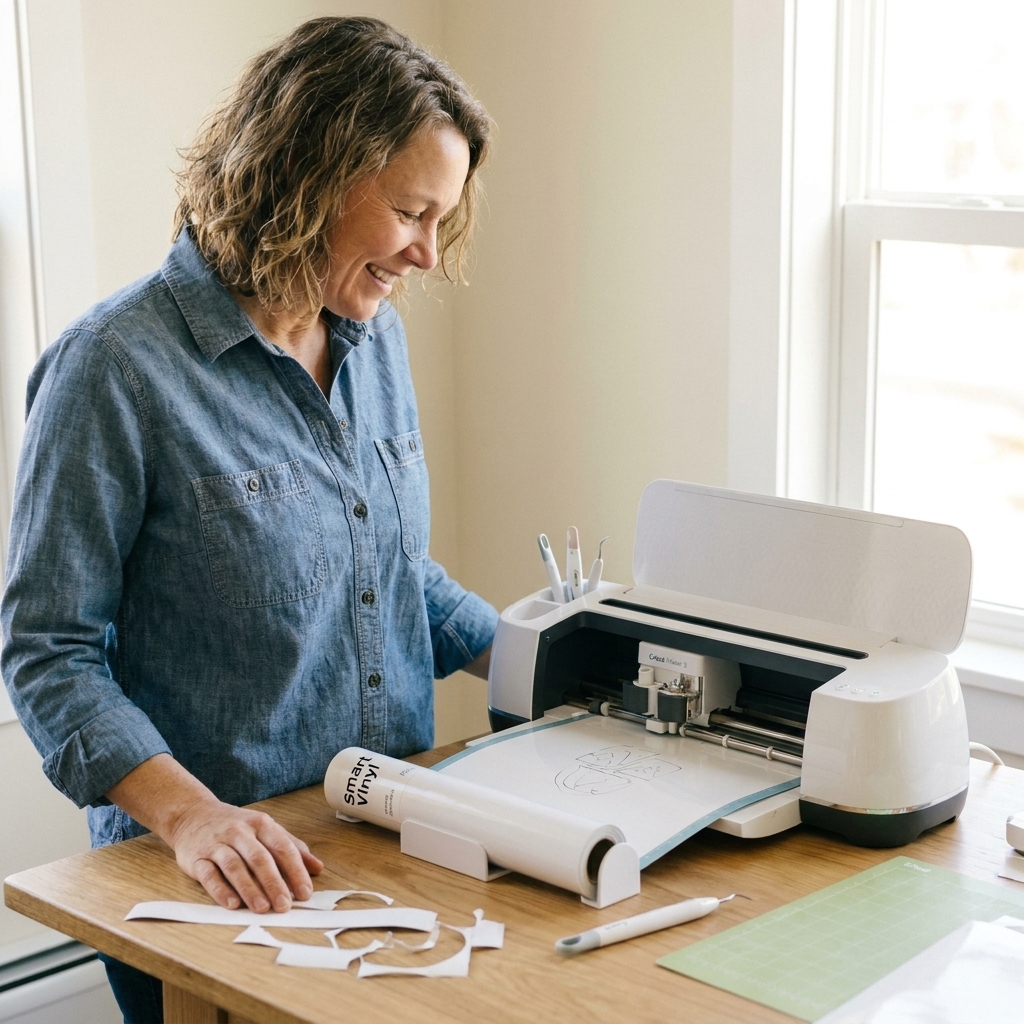
Step 8: Cut, label, weed
Once your panels are ready in Design Space:
- Name your layers or groups: Panel A, Panel B, Panel C.
- Cut one panel at a time if you are new to big installs. It prevents mixing pieces.
- Keep the backing on until you are ready to apply that panel.
My labeling habit
I put a small piece of painter’s tape on the backing paper that says A, B, C and an arrow for which side is “top.” It is a 10-second step that saves you from rotating a panel wrong.
Step 9: Apply with the hinge method
For wall decals, the hinge method keeps things from drifting while you work.
Panel A first
- Position Panel A (with transfer tape on top) on the wall.
- Tape along the top edge with painter’s tape to create a hinge.
- Re-check level now. This is your last easy moment to adjust before anything gets sticky.
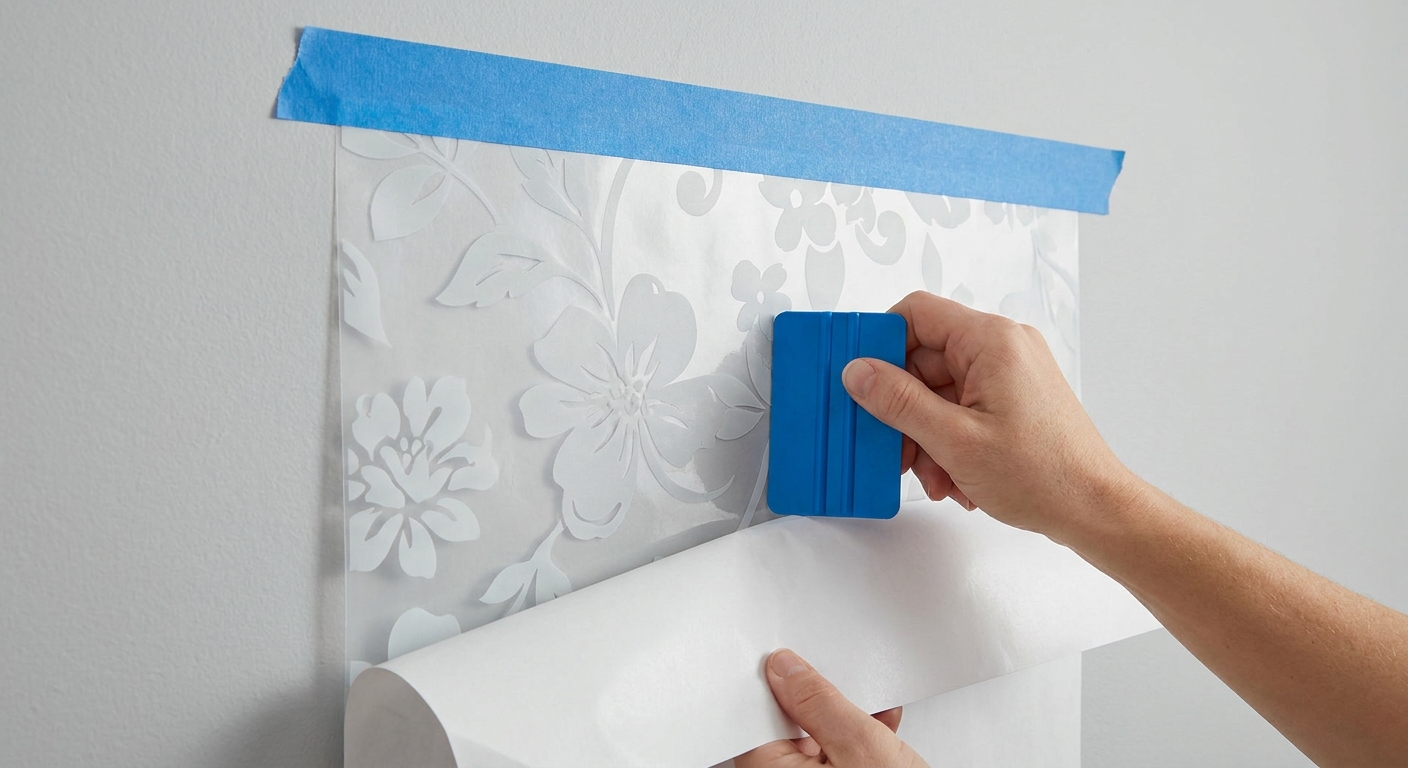
- Flip the decal up on the hinge, peel the backing off, then flip it back down.
- Squeegee from the center outward.
- Peel transfer tape back slowly at a sharp angle.
Panel B and beyond
- Position Panel B so it overlaps Panel A by your planned amount.
- Line up the registration marks at the top and bottom first.
- Tape a top hinge, then apply like Panel A.
- After Panel B is down, remove the registration marks carefully (if they are outside the design) or trim them off with a craft knife if needed.
Pro tip: If a small part lifts with the transfer tape, lay the tape back down and burnish that spot again. Slow beats force every time.
Make seams disappear
Overlaps look best when they are intentional and consistent.
- Burnish the seam line firmly after both panels are down.
- Avoid overlapping in high-detail areas like tiny script loops.
- If the overlap edge is visible, you can sometimes reduce the look by trimming a hairline sliver off the top panel edge with a sharp craft knife after it is on the wall. Go slow and only do this if you feel confident.
Troubleshooting
My panels are slightly crooked
This is usually a first-panel issue. If Panel A is off level by even a little, every seam exaggerates it. Next time, take longer on the paper mockup and use a level when taping Panel A in place.
The seam is gapping
Increase your planned overlap to 1/4 in and add one more registration mark in the middle of the seam.
Vinyl is not sticking to the wall
Make sure the wall is clean and fully cured, and burnish more firmly. If you are using removable vinyl, switching brands can help. And yes, sometimes one removable formula grabs better than another on certain finishes, but it is very wall-and-vinyl dependent. If nothing will stick on ultra-matte paint, consider paint, stencil, or a different surface.
Transfer tape is too sticky
Stick the transfer tape to a clean cotton shirt once or twice to de-tack it, then try again. For delicate wall paint, a slightly less aggressive tape can help.
FAQ
Removable or permanent vinyl?
For most indoor painted walls, I lean removable vinyl because it is more forgiving to remove later. That said, wall paint quality varies wildly. Always do the small test. If removable will not stay put on your wall texture, permanent may be necessary, but removal risk goes up.
Can I tile without registration marks?
You can, but it is much harder to keep long seams straight. Registration marks take minutes to add and can save an hour of repositioning.
What if my design is bigger than 12 in x 24 in in both directions?
Tile it into a grid: multiple columns and rows. Keep seams landing in low-detail zones, and use at least two registration marks per seam. This is also where the paper mockup becomes non-negotiable.
Do I need to mirror anything?
Not for standard wall decals applied from the front. You mirror only when you are cutting something intended to be applied from the back side of clear material, like some window decals.
Any tips for removal later?
If you ever need to take it down, warm the vinyl slightly with a hairdryer on low, then peel slowly at a sharp angle. If you used permanent vinyl, go extra slow and expect a little more resistance.
Final pep talk
Big wall decals look intimidating because we imagine one giant perfect cut. In real life, many installers tile. If you plan your seams, build in a little overlap, and give yourself those registration marks, your finished decal will look like it was meant to be one piece all along.
If you want, tell me what machine you have and your finished decal size, and I can help you pick a clean panel layout that fits your mats.