A beginner-friendly walkthrough of Cricut Design Space: Canvas navigation, Upload and Text tools, Operation settings, and how to understand the Layers panel ...
Maker Vinyl
Updated October 17, 2026
7 Cricut Design Space Hacks to Save Time
Speed up every Cricut project with 7 Design Space hacks: faster slicing, smarter templates, color syncing, cleaner mats, and shortcuts that cut prep time way down.

Harper Davis
Harper Davis is a lifelong DIY enthusiast and cutting-machine expert who loves helping beginners conquer Cricut Design Space. With over six years of experience running a custom vinyl shop, she shares practical tutorials, material guides, and creative inspiration.
If you have ever spent longer in Cricut Design Space than you did actually cutting vinyl, hi, you are my people. When I ran my custom vinyl shop, my “secret weapon” was not a fancy machine. It was a faster workflow. These seven Design Space hacks are the ones I still use constantly because they shave minutes off every single project and minutes add up fast when you are batching decals or trying to crank out shirts before a birthday party.
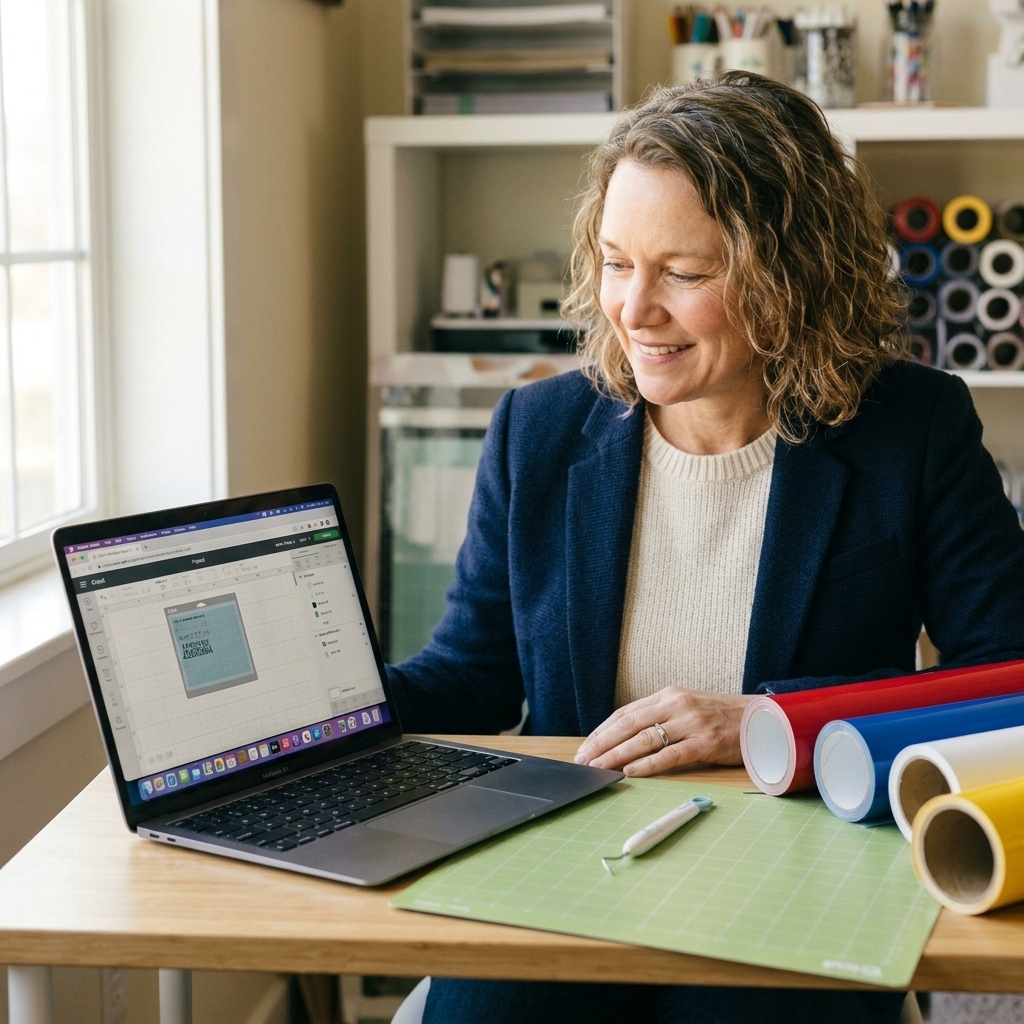
1) Slice faster with clean shapes
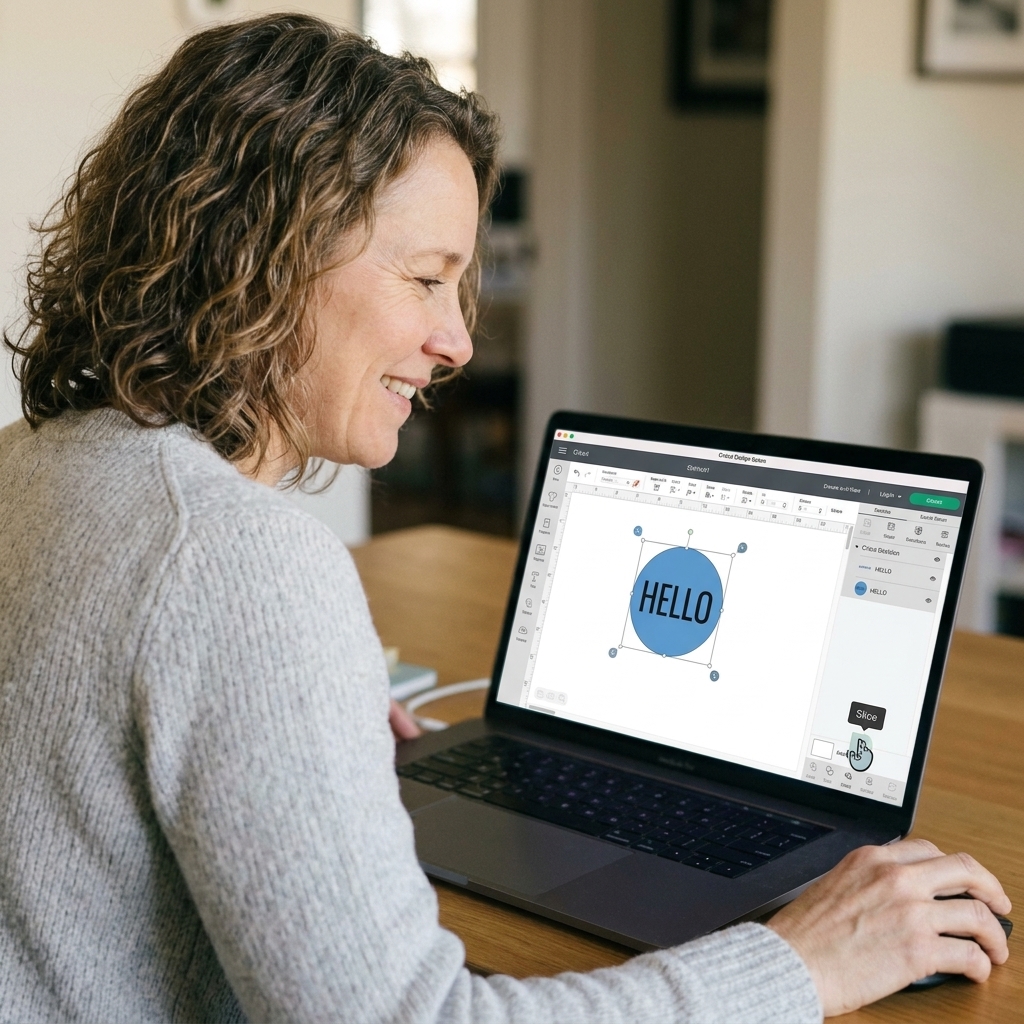
Slice is one of the biggest time savers in Design Space, but it is also one of the easiest ways to get stuck. The trick is to slice with a “simple” shape whenever possible.
When Slice is the best tool
- Making a monogram cutout from a circle, rectangle, or tag shape
- Creating a window in a label for a name or date
- Knocking out text from a solid shape for layering vinyl
My speed workflow
- Duplicate your base shape first (right click or use the Duplicate button). One copy stays untouched as a backup.
- Turn everything into basic shapes where you can. If you are slicing a fancy frame, consider slicing the text from a simple rectangle first, then contour or trim later.
- Slice only two layers at a time. Slice works with two selected layers. If you are trying to slice a pile of stuff, group it into steps: slice, delete scraps, then slice again.
Time-saving tip: If you only need the “hole” created by the slice, immediately delete the sliced pieces you do not need. Keeping extra slice results around clutters your Layers panel and slows your brain down.
2) Use Templates for sizing
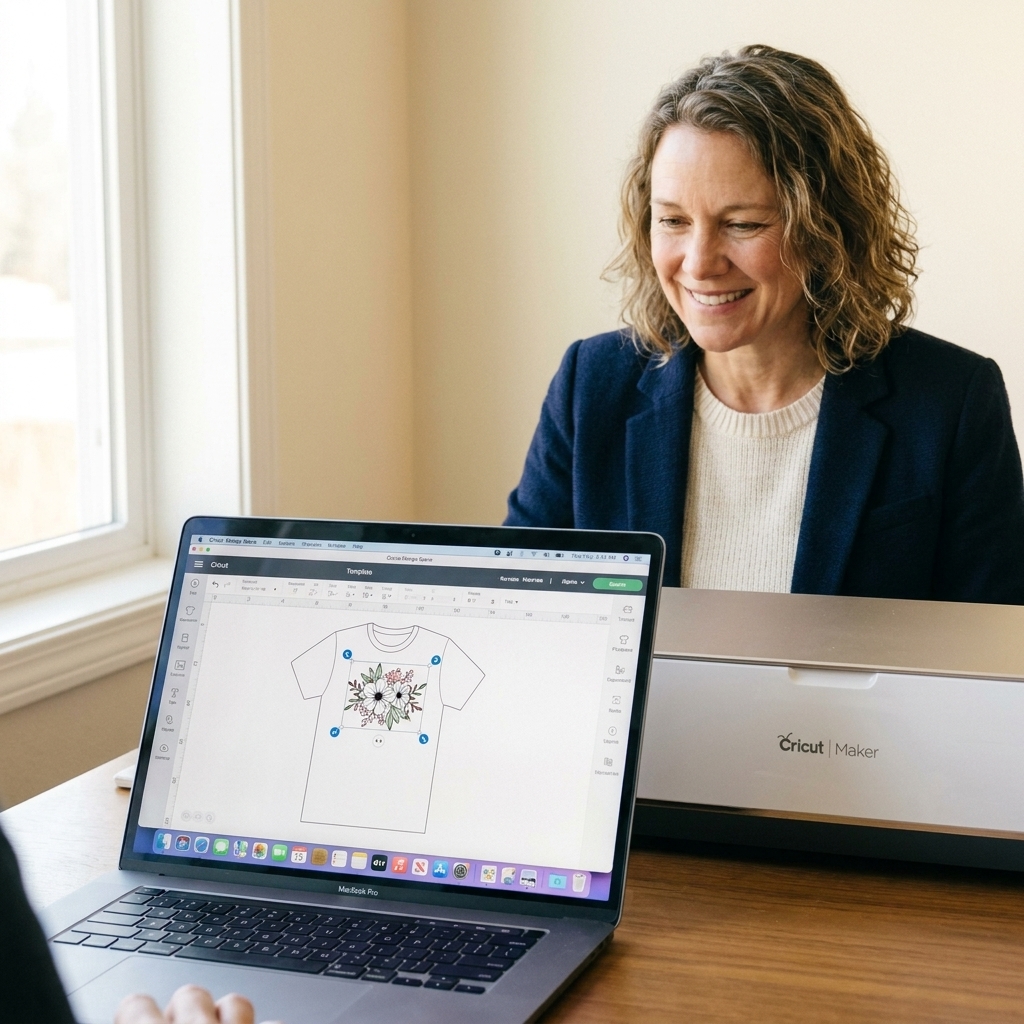
Templates are wildly underrated. They do not cut, they just sit there as a sizing guide. That is exactly why they save time: fewer test cuts, fewer re-measures, fewer “why is this decal tiny?” moments.
My favorite template uses
- T-shirts and onesies: Size your chest designs without hauling out the shirt every time.
- Tumblers and mugs: Get your decal height right before you waste permanent vinyl.
- Labels: Check proportions for bins, spice jars, and pantry containers.
Fast way to work with Templates
- Click Templates on the left panel.
- Pick the closest item (t-shirt, tote, mug, etc.).
- Turn on Grid and use the grid lines to fine-tune width and height.
- When you are done sizing, hide the template (toggle visibility) so your canvas stays clean.
Harper note from the craft room: If you sell finished items, keep a little cheat sheet of your “go-to” widths (like 9.5 inches for adult tees, 4 inches for toddler, etc.). Templates help you dial those in once, then you reuse the numbers forever.
3) Color-sync layers for cleaner mats
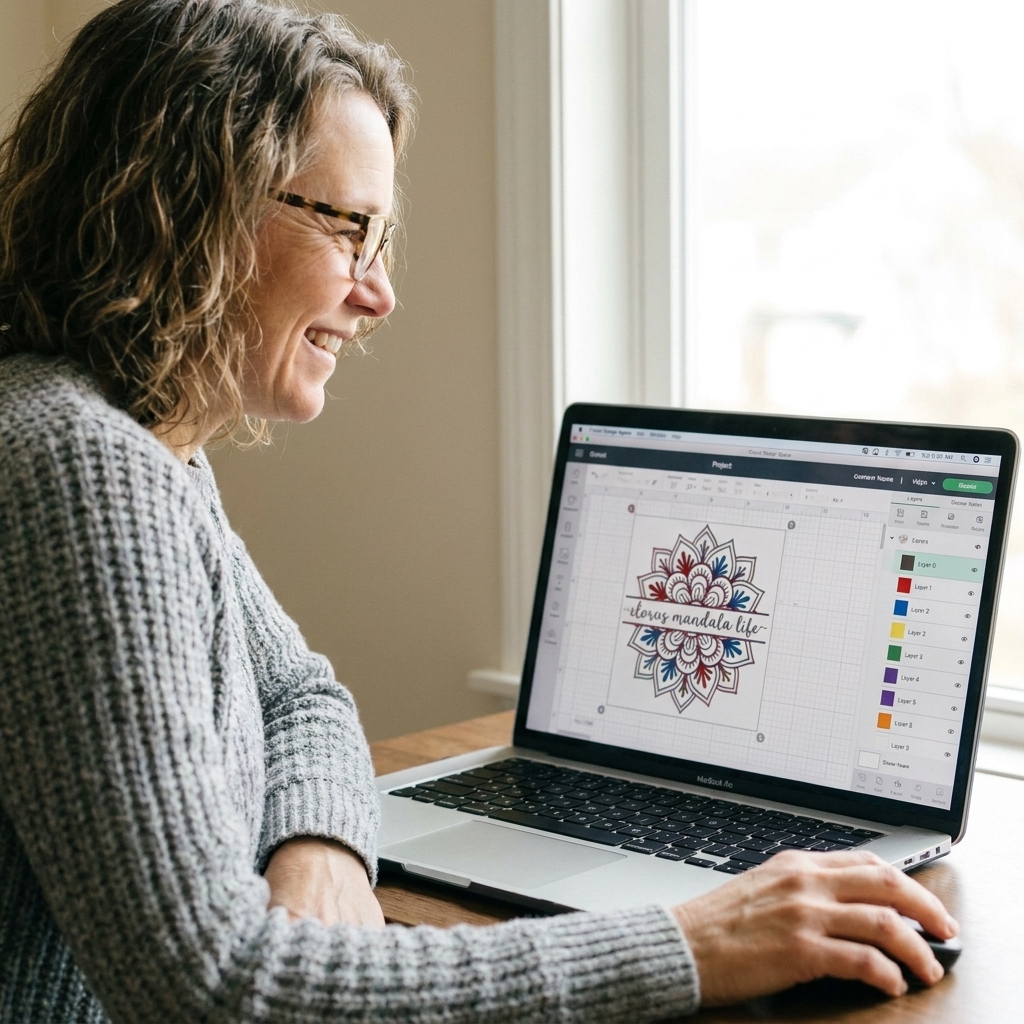
If your mat preview looks like a confetti explosion, you will lose time. The fastest fix is to intentionally color your layers, even if they are all cutting from the same vinyl color. You are basically organizing your project for your future self.
Why this saves time
- Keeps pieces together when you are building multi-layer decals
- Makes it easier to see what should be attached versus separate
- Reduces missed cuts because you forgot one tiny accent layer
Quick method
- In the Layers panel, select related pieces (for example: all parts of the face, or all parts of the shadow layer).
- Change their color swatch to the same color.
- Click Make and check the mat preview. Your grouped-by-color layers will be visually easier to manage.
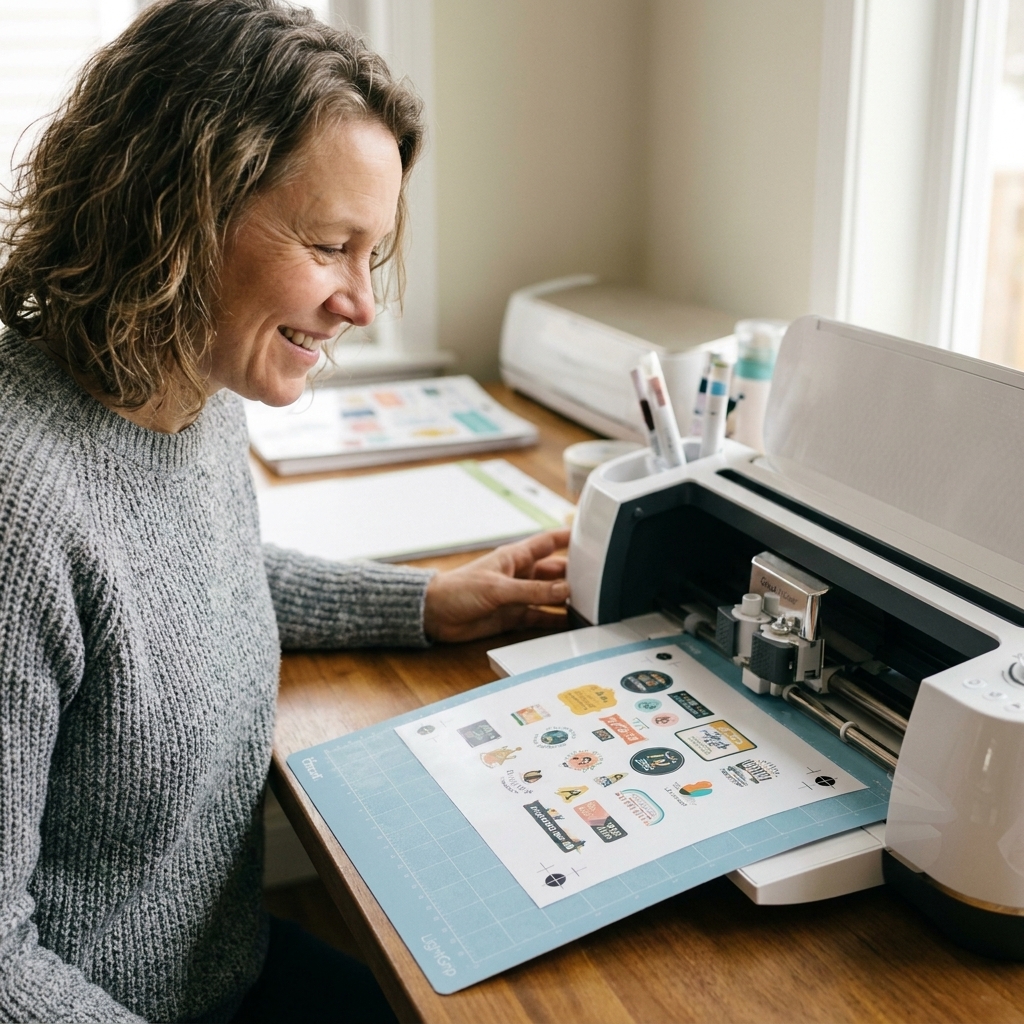
Extra-fast trick: For print then cut sticker sheets, I often set all “kiss cut” sticker shapes to one color and the outer offset to another color. It makes it obvious what is supposed to be cut versus what is just structure.
4) Attach and Combine so nothing drifts
The number one time-waster I see with newer crafters is cutting a design, then realizing the layout changed on the mat. Design Space is not being mean, it is just doing what it is designed to do: it tries to save material by rearranging pieces.
Use Attach when placement matters
- Multi-line text that needs to stay exactly spaced
- Layered vinyl where you want to keep registration consistent
- Score lines that must stay locked to a base shape
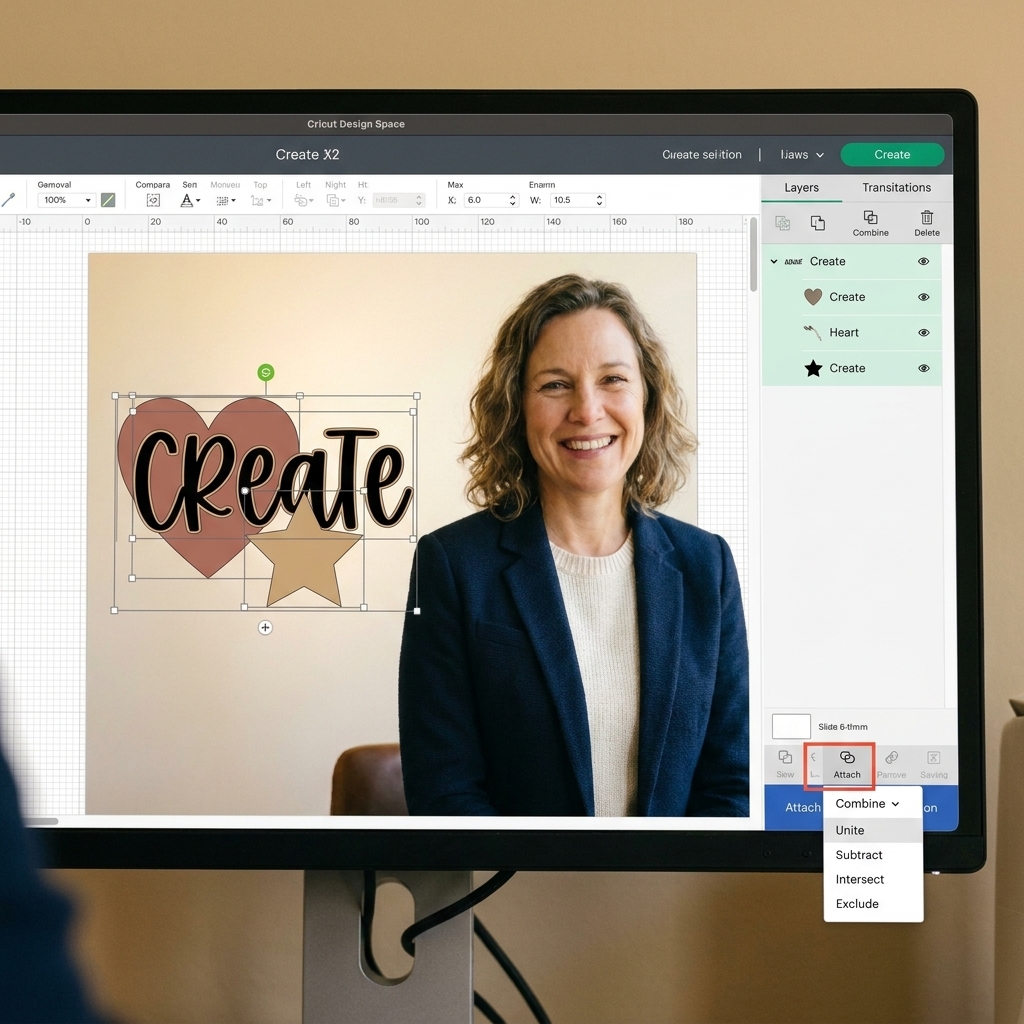
How: Select the items, click Attach. Then check the mat preview to confirm they stayed put.
Use Combine > Unite for a solid cut
If you grew up on Design Space tutorials, you probably heard “Weld everything.” Weld still works, but the modern, faster workflow is usually Combine tools, especially Unite.
- Cursive words where letters overlap
- Script + underline that should be a single shape
- HTV names where you do not want tiny interior cuts between touching letters
How: Select the layers, click Combine, then choose Unite. You get the same “one solid shape” result, but it is non-destructive, which means you can switch it back later without rebuilding your design.
Time-saver note: Because Unite is non-destructive, you usually do not need the old “duplicate and hide a backup” routine. I still duplicate if I am about to experiment with a totally different layout, but for everyday word welding, Unite keeps things flexible and fast.
5) Use Align tools to center once
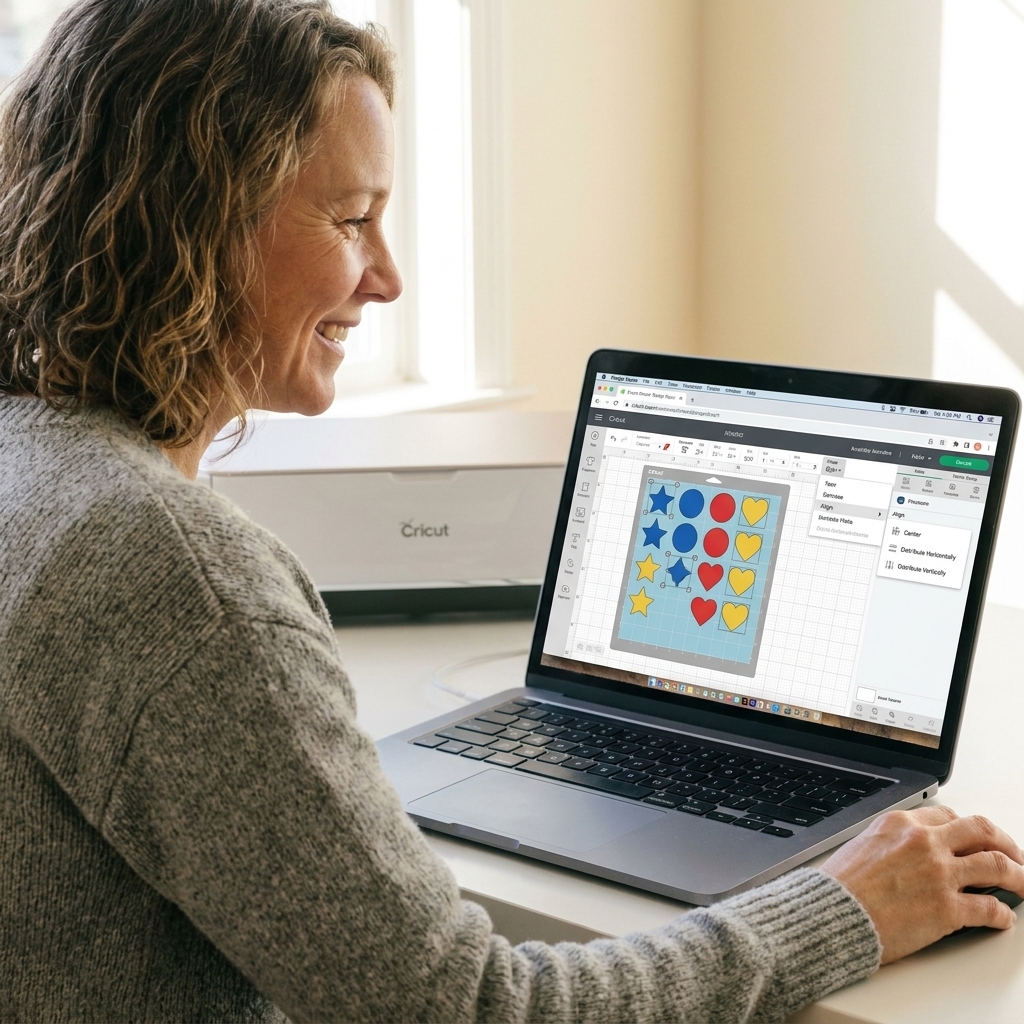
Eyeballing is adorable until you are trying to make ten identical decals. Align tools let you position elements in one click.
The fastest Align combos
- Center Horizontally and Center Vertically for perfectly centered text inside a shape
- Align Top to keep headings level across a set of labels
- Distribute Horizontally for evenly spaced icons or stars
Two quick rules
- Align works based on what you selected. Select the exact pieces you want aligned together.
- For “center within the big shape”, select the big shape last. In many layouts, that helps you think clearly about the anchor object.
My batching tip: Once you get one label layout perfect, duplicate the whole group, change the name, and keep the alignment intact. That is how you crank out pantry labels without losing your mind.
6) Copy, paste, duplicate on purpose
Design Space does have keyboard shortcuts, and they are a quiet little superpower when you are building repeating designs.
Shortcuts that actually save time
- Copy / Paste: Ctrl+C and Ctrl+V (Windows) or Command+C and Command+V (Mac)
- Duplicate: Use the Duplicate button for quick repeats of a selected layer or group
- Undo: Ctrl+Z or Command+Z, your best friend when you accidentally moved something
My favorite real-life use
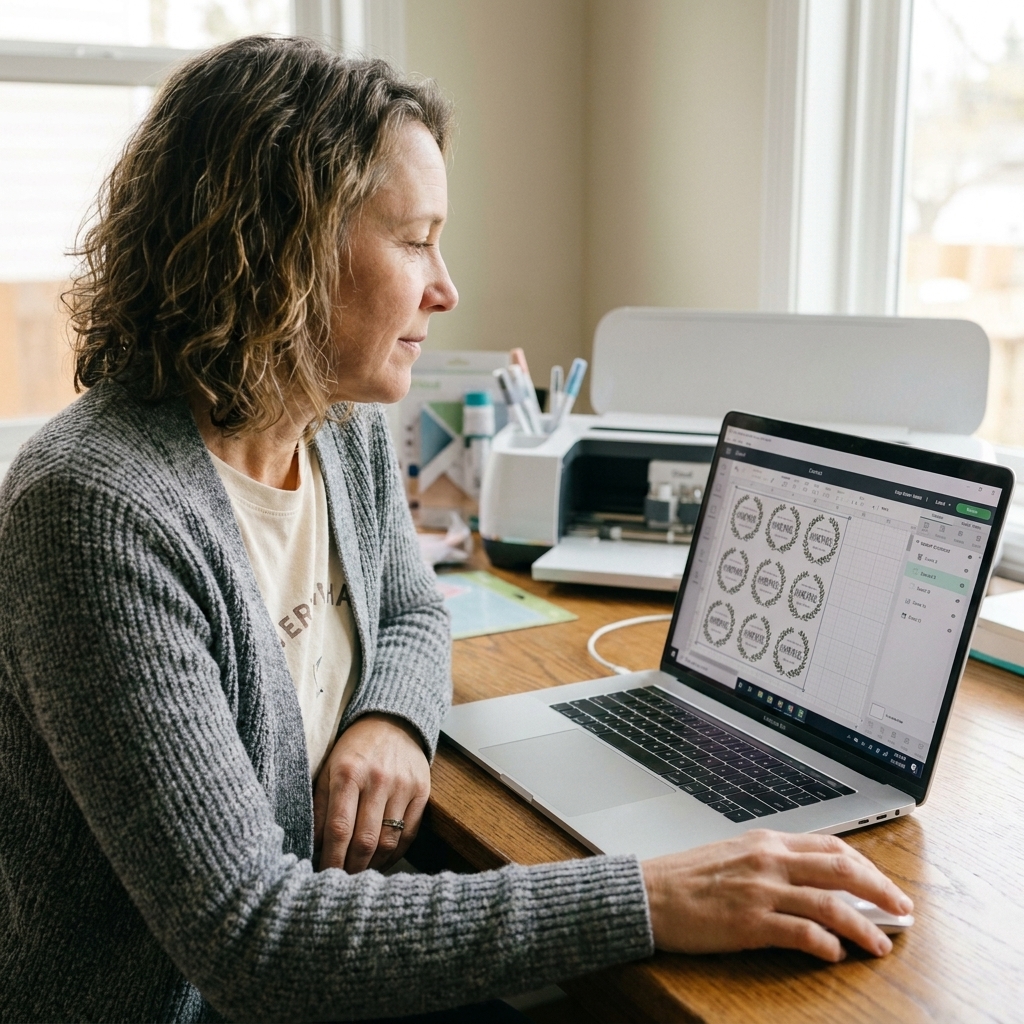
Sticker sheets and label sets. I build one “master” label, group it, duplicate it into a grid, then edit the text one by one. It is faster and it keeps sizing consistent, which means fewer recuts.
Bonus: If you are duplicating text that you plan to Unite later, duplicate before you start experimenting. It is not required, but it makes side-by-side testing (thicker, thinner, different font) much easier.
7) Clean up layers with Hide and Rename
This one feels boring until you have a 40-layer project and you cannot find anything. A tidy Layers panel is a time-saving tool, especially for multi-color vinyl or HTV.
What I do on almost every project
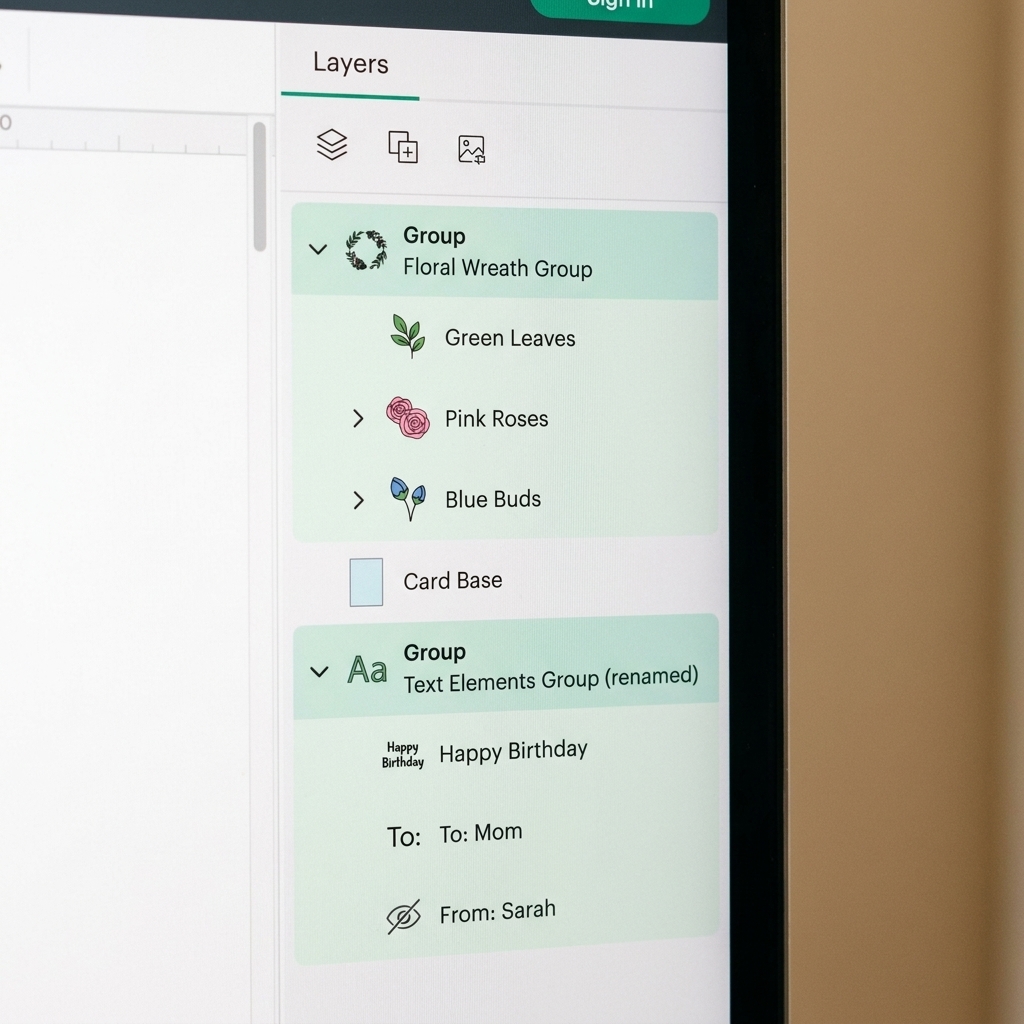
- Rename key layers like “Offset,” “Shadow,” “Score Lines,” “Base,” or “HTV Text” so you can spot them instantly.
- Hide layers you are not cutting yet (like optional versions, test sizes, or alternate phrases).
- Delete scraps after slicing so your canvas is not full of leftovers.
- Group finished sections (like “Front of shirt” or “Back decal”) so you can collapse the chaos.
My “no wasted vinyl” rule: If I am testing size, I hide the original and duplicate a test version labeled “TEST.” That way I never accidentally cut the final at the test size.
Quick troubleshooting
Slice is greyed out
- You selected more than two layers. Reduce your selection to two.
- One of the layers is a grouped set. Try ungrouping, then slice.
- You are trying to slice a non-basic operation layer. Switch layers to Basic Cut when appropriate.
My letters changed position on the mat
- Select the letters and click Attach before hitting Make.
- If it is cursive or overlapping, use Combine > Unite so it becomes one shape.
My multi-layer vinyl cuts are not lining up
- Make sure each layer is sized the same, then use Align on the canvas.
- Use Attach when you need multiple parts to cut in a fixed relationship to each other.
My take: pick two this week
If you try to overhaul your whole Design Space life in one sitting, it is going to feel like a lot. Instead, pick two.
- If you mostly make decals: start with Attach and color-syncing layers.
- If you mostly make shirts: start with Templates and Combine > Unite.
- If you mostly make labels and stickers: start with Duplicate and Align.
And if you hit a weird snag, tell me what you are making and what step is slowing you down. In my craft room, troubleshooting is basically a hobby.