A beginner-friendly walkthrough of Cricut Design Space: Canvas navigation, Upload and Text tools, Operation settings, and how to understand the Layers panel ...
Maker Vinyl
Updated October 18, 2026
Reusable Cardstock Gift Box With Cricut
Make a sturdy, reusable cardstock gift box with Cricut Design Space using one measured template. Learn cut vs score, clean folds, lid fit fixes, and easy closures.

Harper Davis
Harper Davis is a lifelong DIY enthusiast and cutting-machine expert who loves helping beginners conquer Cricut Design Space. With over six years of experience running a custom vinyl shop, she shares practical tutorials, material guides, and creative inspiration.
If you have ever bought a gift bag and thought, “I could totally make this cuter,” this is your sign. Today we are making a reusable cardstock gift box with Cricut, complete with a snug lid, crisp scored edges, and tabs that actually line up. I am giving you one measured box size that works beautifully for small gifts, candles, soaps, jewelry boxes, and those “I swear it is not a gift card” gifts.
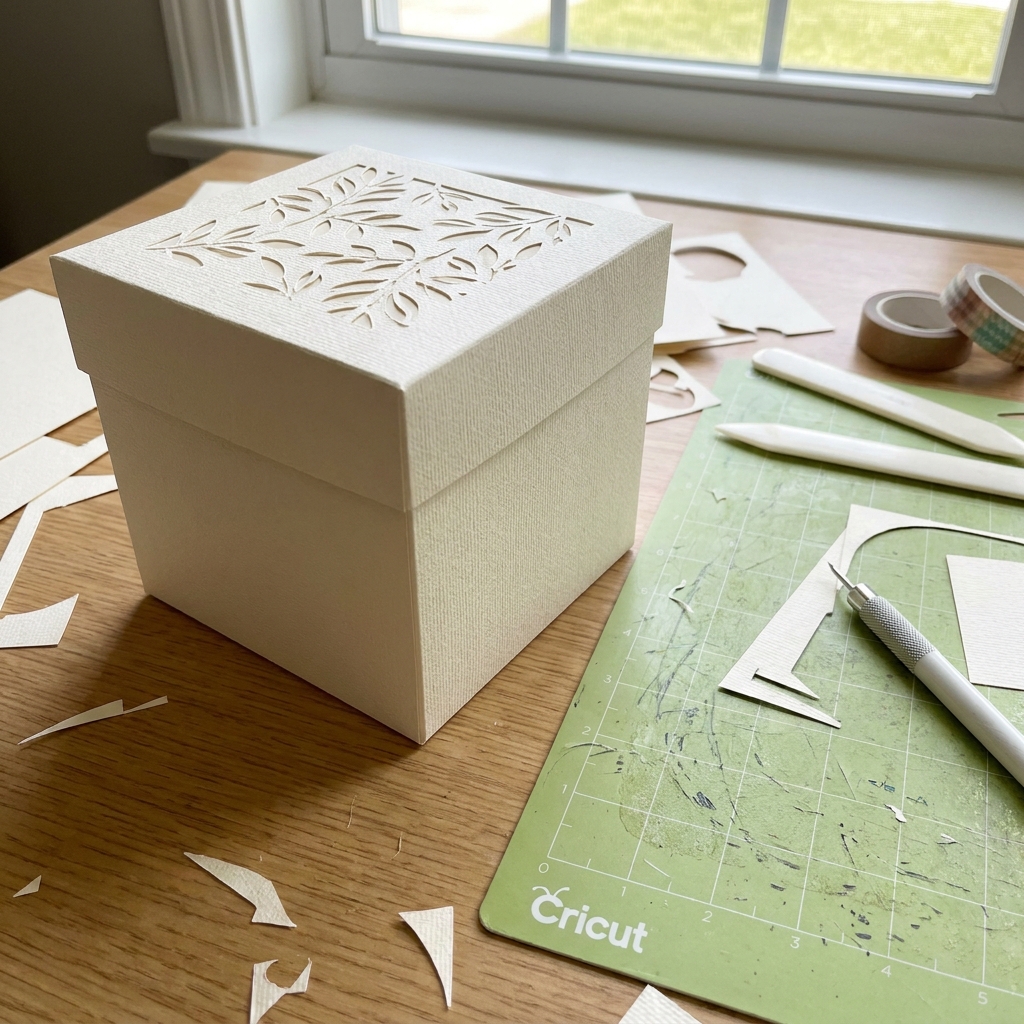
This is also a perfect practice project if you are still building confidence in Design Space and you want a win that does not involve sacrificing expensive materials to the Cricut gods.
Finished size and template measurements
Finished box (assembled): 4 in x 4 in x 2 in (base) with a 4 1/16 in x 4 1/16 in x 1 in lid.
We will build the base and lid from flat “plus sign” style templates with four walls and four corner tabs.
Before you cut: mat size check
You will need a 12 in x 12 in mat (or larger) for the base. While the “plus sign” without tabs fits in an 8 in x 8 in footprint, the corner tabs extend beyond that footprint.
Base maximum cut size (including tabs): 10 in x 10 in.
Lid maximum cut size (including tabs): 7 1/16 in x 7 1/16 in.
Base cut piece (cut lines + score lines)
- Bottom panel: 4 in x 4 in
- Wall height: 2 in on all four sides
- Corner tabs: 1 in wide x 2 in tall (one tab at each corner)
- Plus sign size (no tabs): 8 in x 8 in (because 4 + 2 + 2)
- Overall base template size (with tabs): 10 in x 10 in
- Score lines: along all four edges of the 4 in x 4 in bottom panel, exactly at the seam where the walls begin (2 in in from each outer edge of the plus sign)
Lid cut piece (cut lines + score lines)
- Top panel: 4 1/16 in x 4 1/16 in (that tiny extra is what keeps the lid from being too tight)
- Lid wall height: 1 in on all four sides
- Corner tabs: 1/2 in wide x 1 in tall
- Plus sign size (no tabs): 6 1/16 in x 6 1/16 in
- Overall lid template size (with tabs): 7 1/16 in x 7 1/16 in
- Score lines: along all four edges of the top panel, exactly at the seam where the walls begin (1 in in from each outer edge of the plus sign)
Why the lid is slightly bigger: cardstock thickness adds up fast. If your lid is exactly 4 in x 4 in, it tends to bite the base corners and either bow or rip. That 1/16 in is a tiny change that makes your box feel professional.
Materials and tools (my no-stress list)
- Cardstock: 80 lb to 100 lb cover weight (roughly 216 to 270 gsm, depending on brand). If you do not want to think about gsm at all, you can safely ignore it and shop by the 80 to 100 lb cover range.
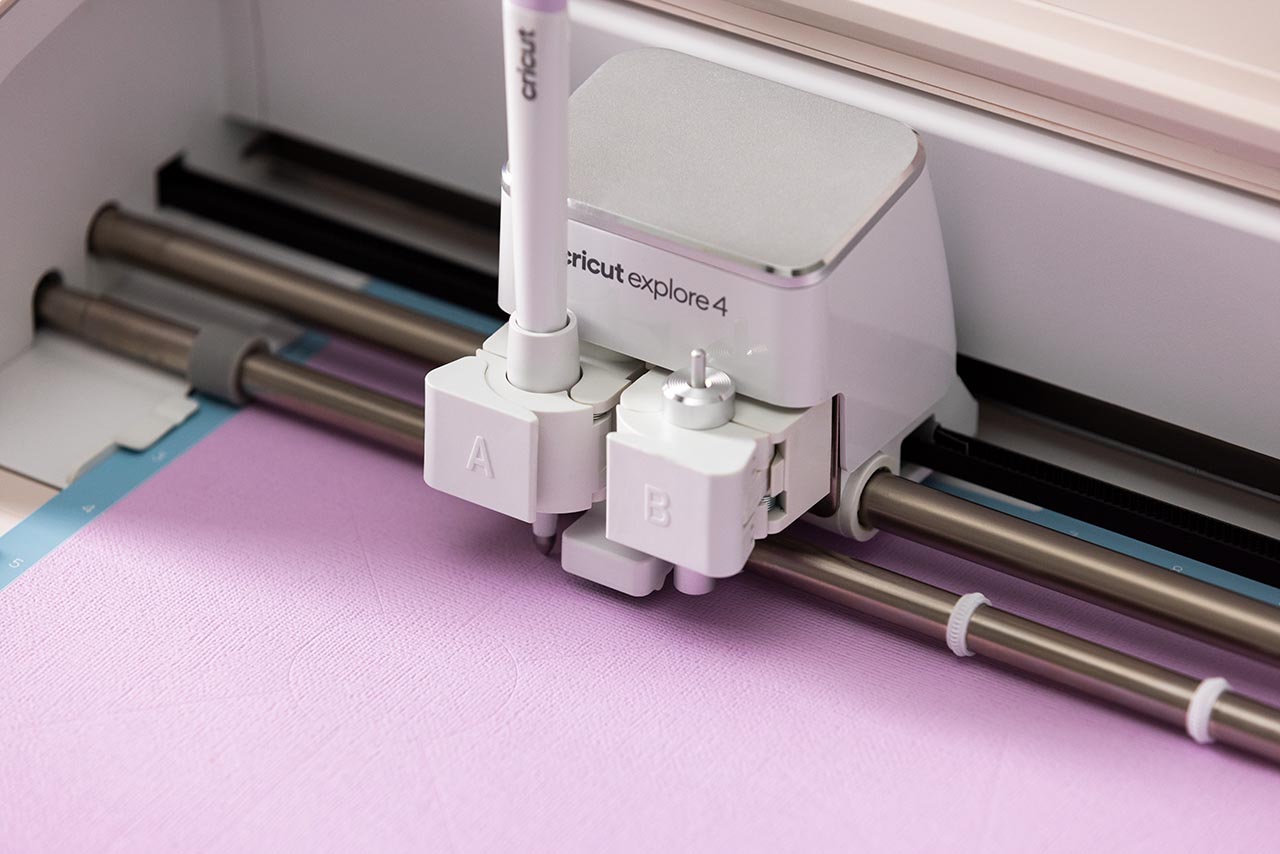
- Cricut machine: Explore Air, Maker, Maker 3, Joy Xtra (see scoring note below).
- Mat: StandardGrip (green) is my go-to for heavy cardstock.
- Blade: Fine-Point Blade (sharp and clean).
- Scoring tool: Scoring Stylus (Explore family) or Scoring Wheel (Maker family).
- Joy Xtra scoring note: Joy Xtra does not use the same scoring tools as Explore and Maker. You can still make this box by setting fold lines to Draw (using a pen) and folding manually, or by scoring by hand with a ruler and bone folder after cutting.
- Adhesive: Quick-grab tacky glue or a strong liquid craft glue. You can use double-sided tape, but glue gives you a few seconds to nudge corners into alignment.
- Extras that make it easier: brayer, scraper tool, weeding tool (for lifting corners), bone folder for crisp folds, binder clips or clothespins for holding tabs while glue sets.
Cardstock tip from my “wasted materials” era: If your cardstock has a pretty side and a plain side, place it on the mat pretty side down so any tiny roller marks land on the inside.
Quick grain tip: If your cardstock has a “grain,” folds are cleaner when you fold with the grain. If your score lines crack or fight you, rotate the template 90 degrees and try again.
Design Space setup: cut vs score
You can absolutely draw the templates in Design Space using basic shapes. Here is the cleanest method that keeps your score lines from accidentally becoming cut lines.
1) Set up the base template
Turn on a grid you like. I use inches.
Add a square for the base bottom: Insert a square and size it to 4 in x 4 in.
Add four rectangles for the walls: Make one rectangle 4 in x 2 in. Duplicate it 3 times. Place one on each side of the square, perfectly flush to each edge.
Add corner tabs (placement matters): Insert a rectangle sized 1 in x 2 in. Duplicate until you have 4. Place one tab at each outer corner so it is attached to a wall and sits outside the 8 in x 8 in plus sign area. Align each tab flush to the wall edge, and snug into the corner so it wraps behind the neighboring wall when folded.
Weld the cut shape: Select all the outer cut shapes (bottom, walls, tabs) and Weld. Now you have one solid cut piece.
Create score lines: Add a score line and place it exactly on the seam between the 4 in x 4 in bottom panel and one wall (this lands 2 in in from the outer edge of the plus sign). Duplicate for all four sides.
Set operation to Score: Select each score line and set the Operation to Score.
Attach score lines: Select the welded base shape plus all score lines, then click Attach. This is what keeps scoring in the correct spot on your cardstock.
2) Set up the lid template
Repeat the same steps with the lid measurements:
- Top panel: 4 1/16 in x 4 1/16 in
- Walls: 4 1/16 in x 1 in (four pieces)
- Tabs: 1/2 in x 1 in (four tabs)
- Score lines: exactly on the seam between the top panel and walls (1 in in from the outer edge of the plus sign)
- Set score lines to Score and Attach everything
If you are using Joy Xtra: set fold lines to Draw with a pen, then fold on those lines. Do not use thin cut rectangles as a scoring workaround, because they will cut.
Important: Your lid and base can be on the same canvas, but keep them as separate attached groups so Design Space does not get creative with your placement.
Cut settings for clean edges
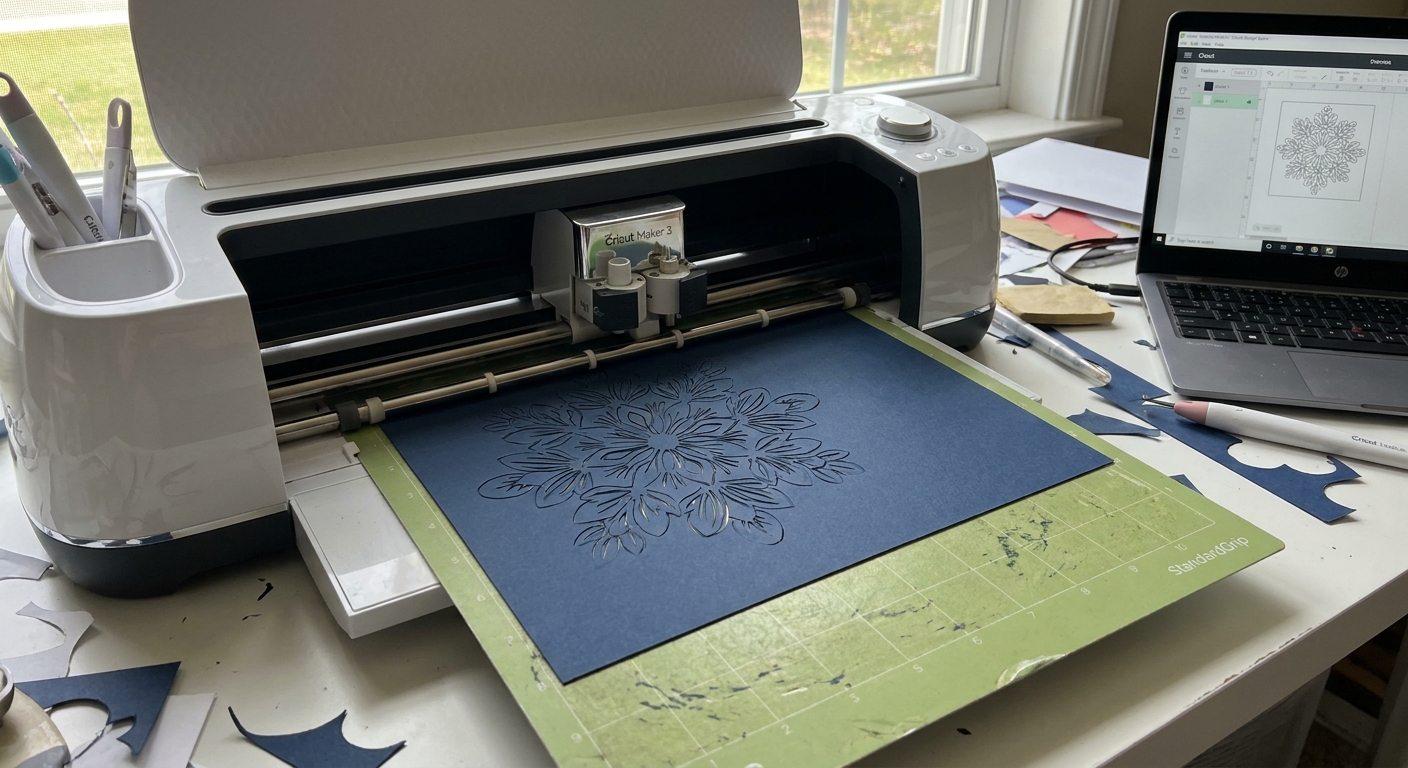
Cardstock is fussy because it wants to fuzz on the edges or tear at corners. These steps prevent most of that.
- Material setting: Start with Medium Cardstock for 80 lb, or Heavy Cardstock for 100 lb.
- Pressure: If you see tearing, reduce pressure one notch before you do anything else.
- Passes: Aim for one clean pass. If it does not cut through, run a second pass without unloading the mat.
- Brayer your cardstock: This prevents the cardstock from lifting during the score step, which is a sneaky cause of crooked folds.
- Do not unload the mat early: If the cut is not complete, press Go again for another pass without unloading.
Assemble the base
This is the part where your box goes from “kinda cute” to “wait, you made that?” Take your time here.
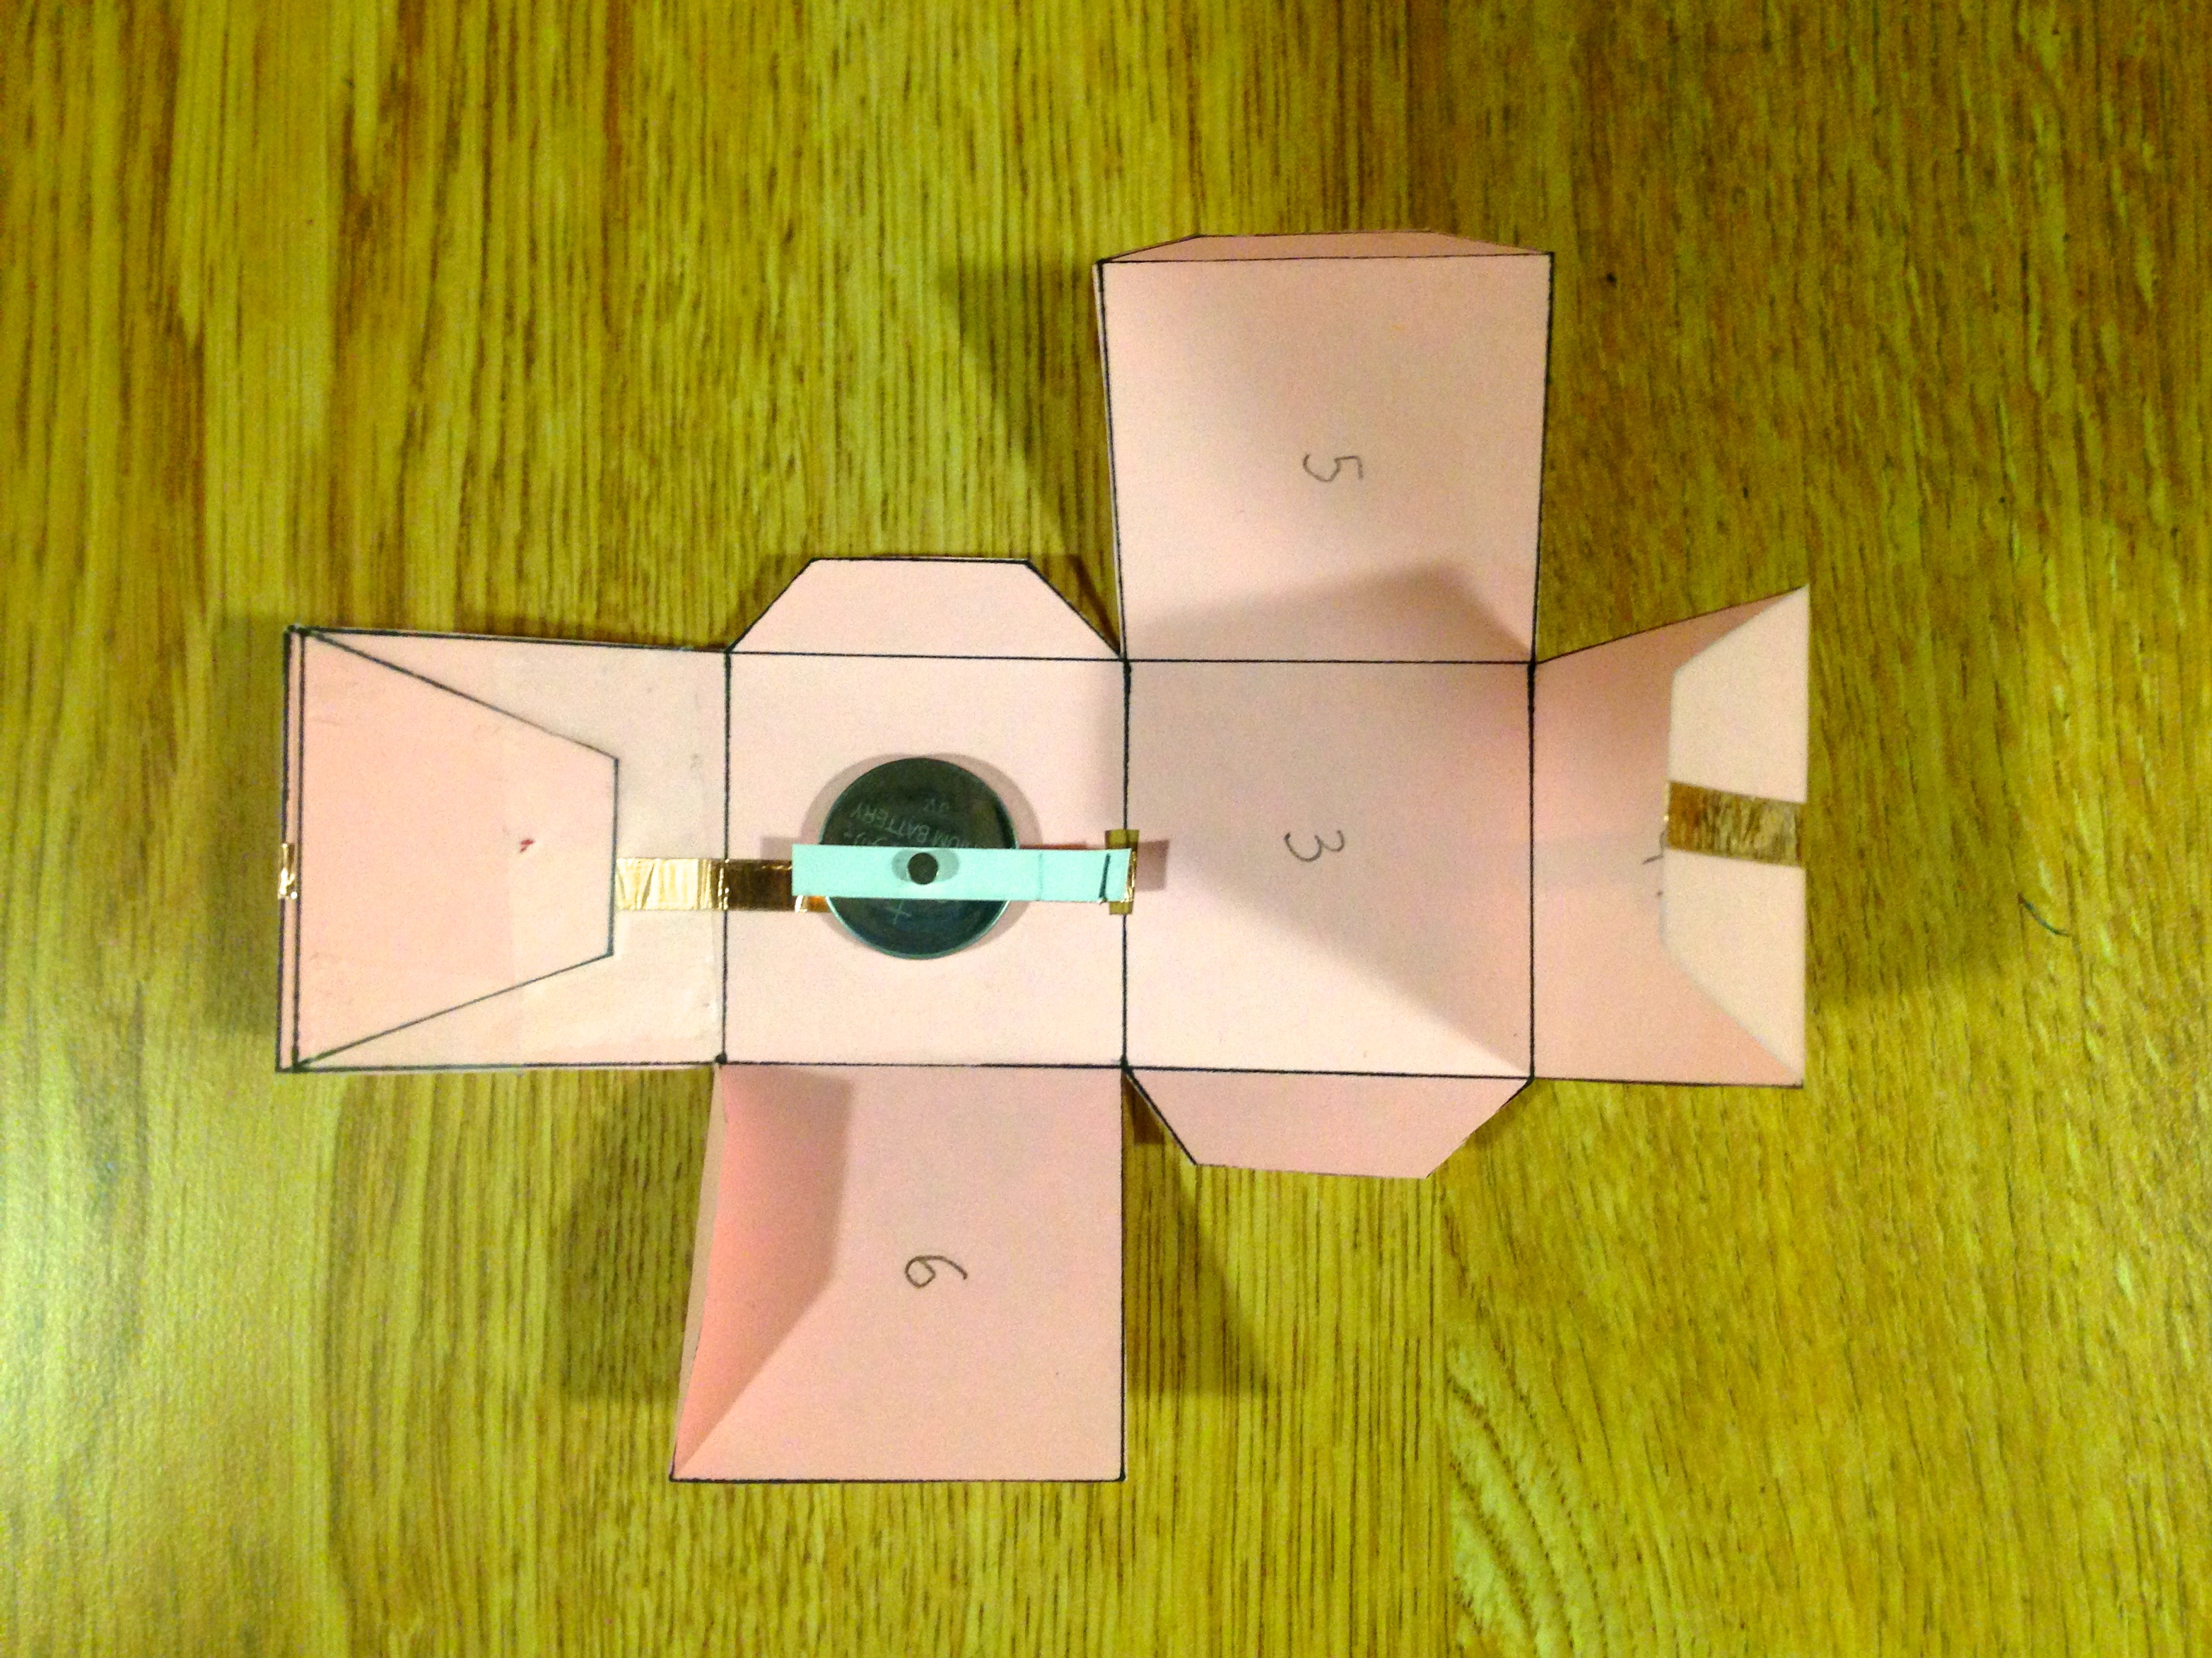
1) Pre-fold on every score line
- Fold all four walls up along the score lines.
- Use a bone folder (or the side of a scraper tool) to burnish each fold.
- Tip: Fold toward the inside first, then fold back the opposite direction once. This trains thick cardstock to behave and reduces cracking.
2) Shape first, then glue
Before you add glue, dry-fit the corners:
- Bring two adjacent walls up.
- Wrap the corner tab behind the neighboring wall.
- Check that the bottom stays flat and the walls meet at a clean 90-degree corner.
3) Glue the corner tabs
Add a thin line of tacky glue to one tab. You want enough to grab, not so much it oozes.
Press the tab to the inside of the adjacent wall.
Hold for 15 to 30 seconds or clip it lightly with a binder clip.
Repeat for all four corners.
My anti-warp trick: After gluing two corners, set the box on the table and press down gently on the bottom panel to keep it flat while the glue grabs.
Assemble the lid and test the fit
The lid is the same process, just shorter walls.
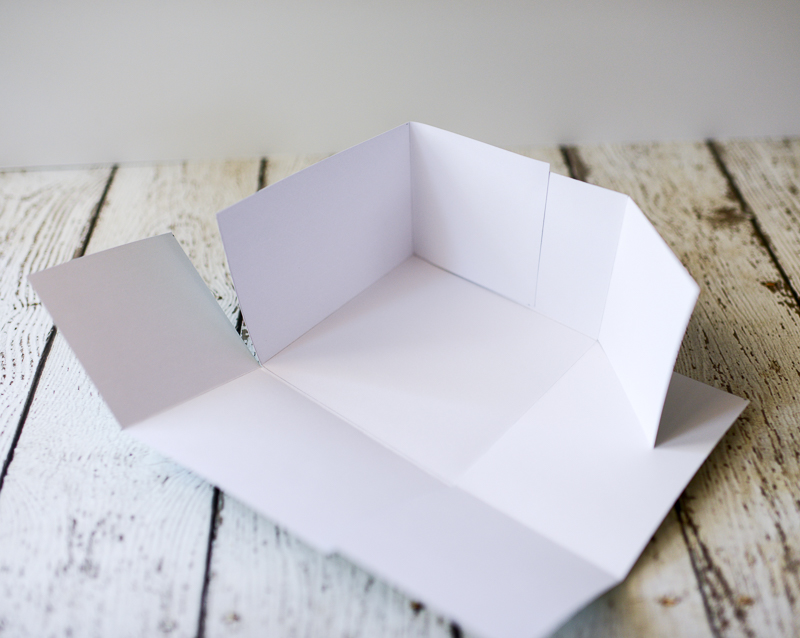
1) Pre-fold and burnish
Score lines on the lid matter even more because a tiny misfold can make the lid skew.
2) Glue tabs and let it set
Glue all four corners, then let the lid sit for a couple minutes before you test it.
3) Test fit (not like me in 2019)
- Lower the lid straight down over the base.
- If it catches, lift it back off and check which corner is tight.
- Gently pinch the lid walls outward with your fingers to relax the cardstock fibers, then try again.
Pro tip: If your lid is slightly snug, that is okay. A lid that is slightly loose looks messy fast. We can tighten a loose lid more easily than we can fix a lid that tears.
Add a simple closure
You do not need magnets or hardware to make this feel special. Pick one closure based on what you have.
Option A: Ribbon wrap
- Place the closed box on top of a ribbon.
- Wrap around the box both directions (like tying a package).
- Tie a bow on top.
This is my favorite reusable closure because nothing is permanently attached. The recipient can reuse the box without peeling anything off.
Option B: Tab and slot
If you want a cleaner look, add a tiny tab and slot:
- Create a small tab on one lid wall: about 1/2 in wide x 3/8 in tall.
- Create a matching slot on the opposite lid wall: about 9/16 in wide x 1/8 in tall.
- Set the slot to Cut, and keep your fold line as Score.
Placement tip: Keep the slot at least 1/4 in away from corners so the cardstock does not rip under tension.
Troubleshooting
If your first box is not perfect, welcome to the club. Here is how to fix the most common issues without rage-cutting five more.
My lid is too tight
- Cause: lid top panel is the same size as the base, or folds are not sharp.
- Fix: Increase lid top panel by 1/16 in to 1/8 in total. Also burnish lid folds harder and make sure walls are truly vertical.
- Material fix: If you used 100 lb textured cardstock, try 80 lb smooth for the lid. Texture adds friction.
My lid is too loose
- Cause: cardstock is thin, or lid top panel is oversized.
- Fix: Reduce lid top panel by 1/32 in to 1/16 in. Also check that your score lines are exactly on the seam line and not drifting outward.
- Quick save: Add a thin cardstock liner inside the lid walls. Cut four strips about 3/4 in tall and glue them inside. It tightens the fit and makes the lid feel luxe.
My corners look rounded or gappy
- Cause: tabs are too wide, folds are soft, tabs are not placed flush to the corner, or glue slid before it set.
- Fix: Burnish folds before gluing, then hold each corner longer or clip it. If your gaps are big, try 7/8 in wide tabs next time so the corner has less bulk.
My cardstock is tearing on the score lines
- Cause: too much scoring pressure, or cardstock grain direction fighting your folds.
- Fix: If your machine allows, choose a lighter score pressure or use a stylus instead of a wheel for delicate cardstock. Also try rotating your template 90 degrees and recutting so the folds run with the grain.
My cut edges look fuzzy
- Cause: dull blade or too much pressure.
- Fix: Swap to a fresh Fine-Point blade and reduce pressure one setting. Fuzzy edges are often a pressure problem, not a need-more-pressure problem.
Make it more reusable
If you want this box to survive multiple gift cycles, these small upgrades help a lot:
- Use 100 lb cardstock for the base and 80 to 100 lb for the lid.
- Add an inner bottom panel: Cut an extra 4 in x 4 in square and glue it inside the base bottom to reinforce it.
- Burnish every fold twice before you glue anything.
- Let glue set, then let it cure: Give seams 10 to 15 minutes before you start tugging on the lid repeatedly. Full cure can take longer depending on glue and humidity, so be kind to your corners.
Quick checklist
- All fold lines are set to Score (or Draw if you are using Joy Xtra), not Cut.
- Score lines are Attached to the correct shape.
- Finished base bottom is 4 x 4 and wall height is 2.
- Finished lid top is 4 1/16 x 4 1/16 and wall height is 1.
- You are using Medium or Heavy Cardstock setting based on your paper.
- Your cardstock is brayered down well on a StandardGrip mat.
- You are cutting on a mat that fits the design (base needs a 12 x 12 mat).
When you are ready, cut one set in practice cardstock first. I keep a stack of plain colored cardstock specifically for test cuts, because it is much cheaper to learn on the boring stuff.
FAQ
Can I make this box bigger or smaller?
Yes. Keep the same structure: your plus sign size (no tabs) equals bottom panel + two wall heights in both directions. For a snug lid, make the lid top panel 1/16 in to 1/8 in larger than the base bottom panel.
Do I have to use a scoring tool?
I strongly recommend it for clean folds. If you do not have one, set the fold lines to Draw and use a pen to mark them, then fold and burnish with a ruler or bone folder. It works, and it is a great Joy Xtra friendly option.
What glue is best for cardstock boxes?
Tacky glue is the sweet spot: strong hold, a little working time, and it dries fairly quickly. Super glue is usually too fast and can stain cardstock.