A beginner-friendly, start-to-finish tutorial for Cricut Print Then Cut sticker sheets, including kiss-cut vs die-cut, size limits, borders, calibration, set...
Maker Vinyl
Updated October 17, 2026
Custom Material Settings in Cricut Design Space
Learn how to create and fine-tune custom material settings in Cricut Design Space for tricky materials like leather, acetate, specialty vinyl, glitter HTV, magnets, and laminated stickers. Dial in pressure and passes without wasting supplies.

Harper Davis
Harper Davis is a lifelong DIY enthusiast and cutting-machine expert who loves helping beginners conquer Cricut Design Space. With over six years of experience running a custom vinyl shop, she shares practical tutorials, material guides, and creative inspiration.
If you have ever loaded a “weird” material and watched your Cricut either barely kiss the surface or cut straight through your mat, you are not alone. Cricut’s preset materials are great for everyday stuff, but thick leather, acetate, glittery specialty vinyl, sticker stacks, and off-brand HTV often need a custom touch.
This is my go-to method for creating custom material settings in Cricut Design Space, then fine-tuning them with small, controlled test cuts so you can stop wasting the good stuff.
One quick vocabulary note before we start: a kiss cut cuts through the top layer (like sticker paper or vinyl) but leaves the backing intact. A die cut cuts all the way through the material and the backing.
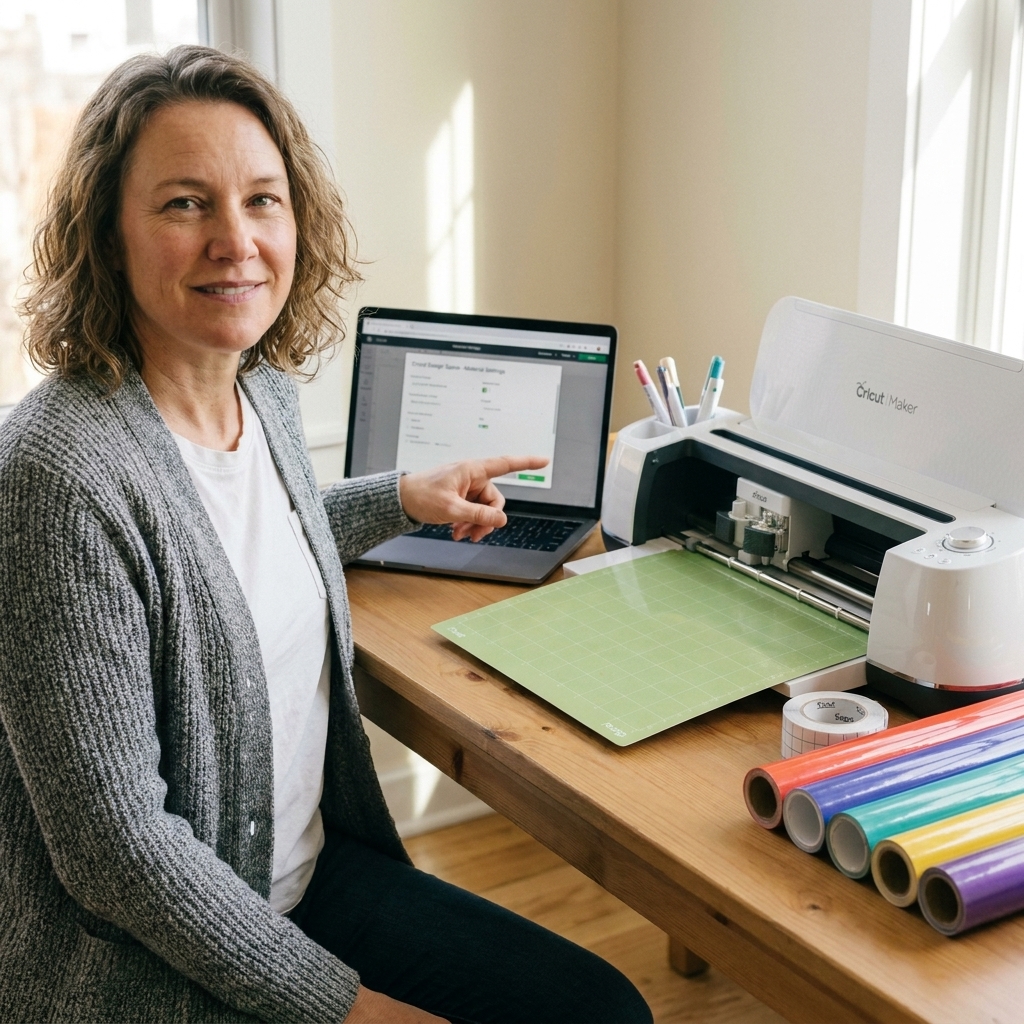
Before you change settings
When a cut goes wrong, it is tempting to immediately crank pressure up or down. I do it too. But most cut issues come from one of these three factors.
- Blade type and condition: A dull Fine-Point blade can mimic “not enough pressure” because it drags instead of slicing. A Deep-Point blade can mimic “too much pressure” because the angle digs in faster. If your blade has been through glitter cardstock, treat yourself to a fresh one before you blame settings.
- Material support: Thick or flexible materials need a strong grip mat, brayer pressure, and sometimes extra tape on the edges. If the material lifts, your blade will snag, tear, and overcut even with perfect settings.
- Cut strategy: Some materials cut cleaner with multiple lighter passes instead of one heavy pass. This is the secret sauce for leather, chipboard and similar dense boards, magnet sheets, and certain acetate thicknesses.
Machine and blade basics
Before you build a custom setting, make sure your machine can actually run the blade you are planning to use.
- Fine-Point blade: Works on Explore family and Maker family. Great for most vinyl, HTV, cardstock, sticker paper, and many specialty films.
- Deep-Point blade: Also works on Explore family and Maker family. My rule of thumb is to reach for it when the material is thicker, denser, or more likely to drag and snag (some faux leathers, poster board, magnet sheets, craft foam, heavy glitter materials).
- Knife Blade: Maker family only and only on models that support it. It does not work on Explore machines. Knife Blade cuts often trigger on-screen prompts and multiple passes, so plan to stay nearby while it runs.
If you are ever unsure, stick with Fine-Point or Deep-Point first. They solve most “why won’t this cut?” situations without pushing into the heavy-duty workflow.
Where to find Custom Materials
Design Space labels and menu locations can shift a little between versions and between Windows and macOS. The idea is the same, though: you are looking for the Custom Materials manager inside settings.
- Design Space (desktop): Open the Menu (top left) → Settings → look for a section or tab related to your machine (often labeled Machines) → Custom Materials.
- Design Space (mobile): Custom material creation and editing is often limited compared to desktop. If you can, create and dial in your custom material on a computer first, then sign into the same Cricut account on mobile to use it.
Once you are in Custom Materials, you can add a new material, duplicate an existing one, and adjust pressure and multi-cut behavior.
The no-waste workflow
Here is the approach that saves my sanity and my vinyl budget:
1) Duplicate the closest preset
Instead of building from scratch, pick a preset that is already in the neighborhood.
- Specialty vinyl: duplicate a vinyl preset that behaves similarly (Permanent Vinyl, Foil Vinyl, Holographic Vinyl).
- Acetate: duplicate a clear material preset (Acetate, Transparency Film, or even Heavy Cardstock depending on thickness).
- Leather: duplicate a leather preset closest to your thickness, or a “thick” preset that already uses multi-cut.
Give it a name you will recognize later, like “Acetate 0.010in clean cut” or “Glitter HTV BrandX 2-pass.”
2) Prep a proper test area
Cut testing works best when you control everything except the setting.
- Use a scrap from the same batch, same color, same finish.
- Put it on the correct mat and brayer it down.
- For curled materials, use painter’s tape on the edges, but keep tape out of the cut area.
3) Use a small test shape
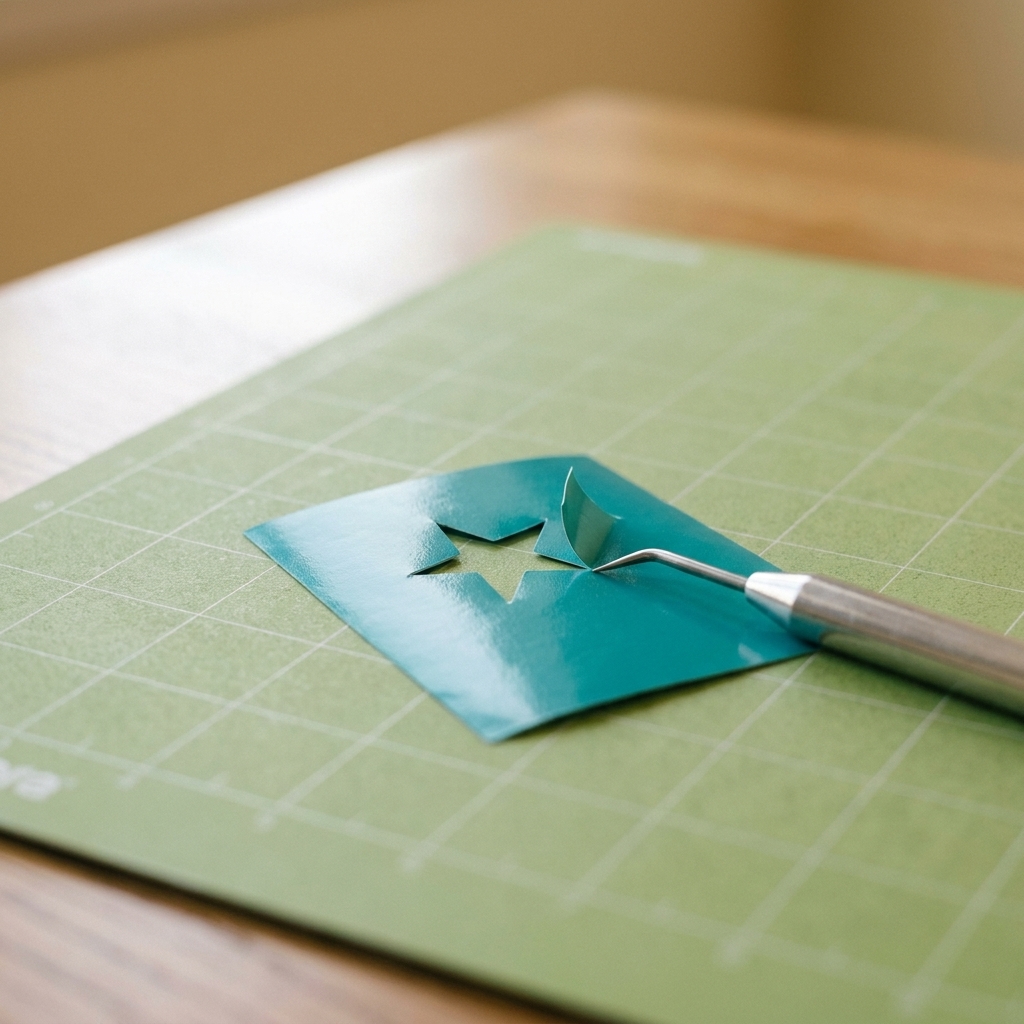
I like a tiny test that includes corners and curves. A 0.5 inch star, a small circle, or a basic monogram works great. If you only test a straight line, you can miss snagging problems that show up on tight turns.
4) Change one variable at a time
If you change pressure, blade, and mat all at once, you will not know what fixed it. Pick one adjustment, test, then adjust again.
Pressure and passes
Pressure
Pressure is how hard the machine pushes the blade down. Too low means incomplete cuts. Too high can cause:
- Cutting into the mat (which can dull blades faster)
- Ragged edges and “chewed” corners
- Material lifting and shifting mid-cut
Multi-cut (more passes)
Multi-cut tells the machine to cut the same lines more than once. For thick materials, I almost always prefer 2 to 4 lighter passes over one aggressive pass. It reduces tearing and helps corners stay crisp.
More pressure vs more passes
- Increase pressure when cuts are consistently too shallow everywhere, and the material is stable on the mat.
- Add passes when the top layer cuts but the bottom does not, or when heavy pressure makes edges messy.
- Reduce pressure when you see deep mat grooves, curling, or distortion around small details.
Starting points by material
Every brand and thickness is different, so think of these as directional guidance, not magic numbers. Your goal is a clean cut that weeds or pops out easily without gouging the mat.
Thick leather (real or faux)
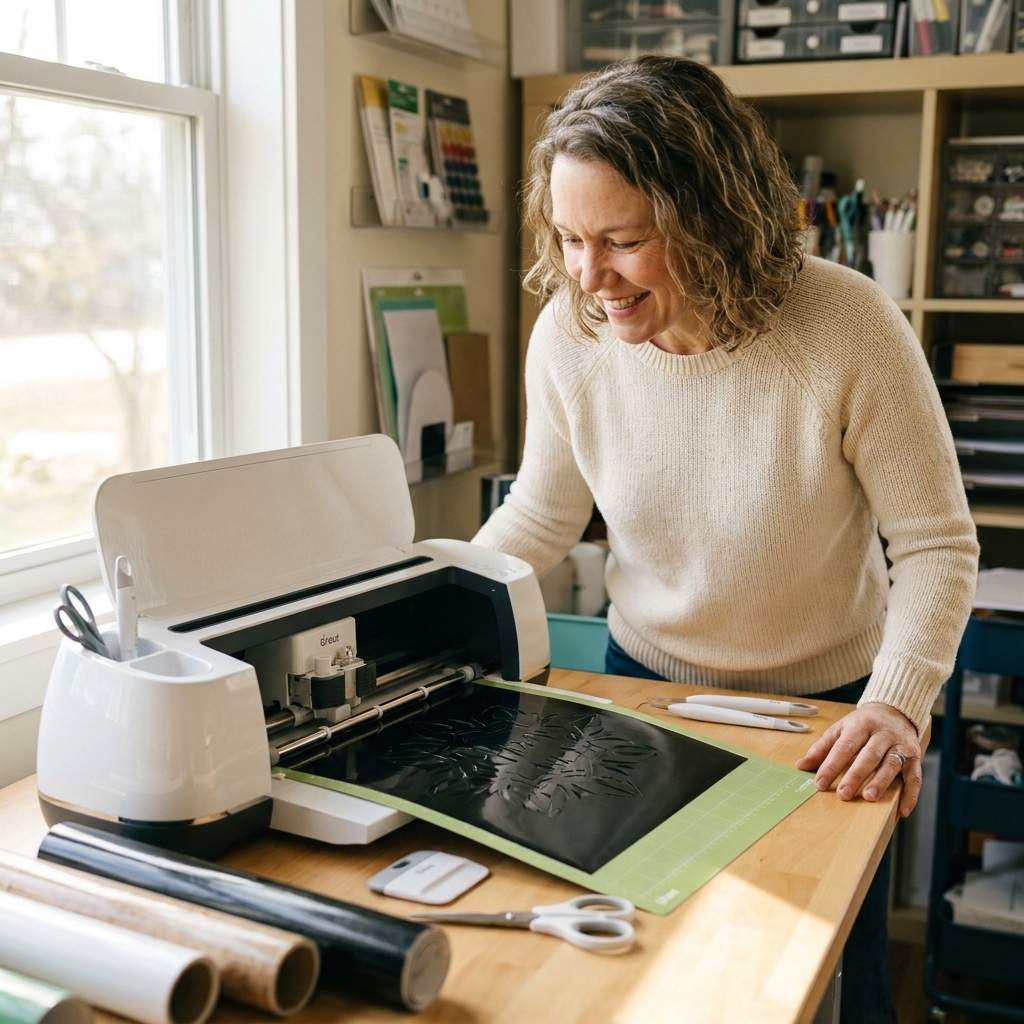
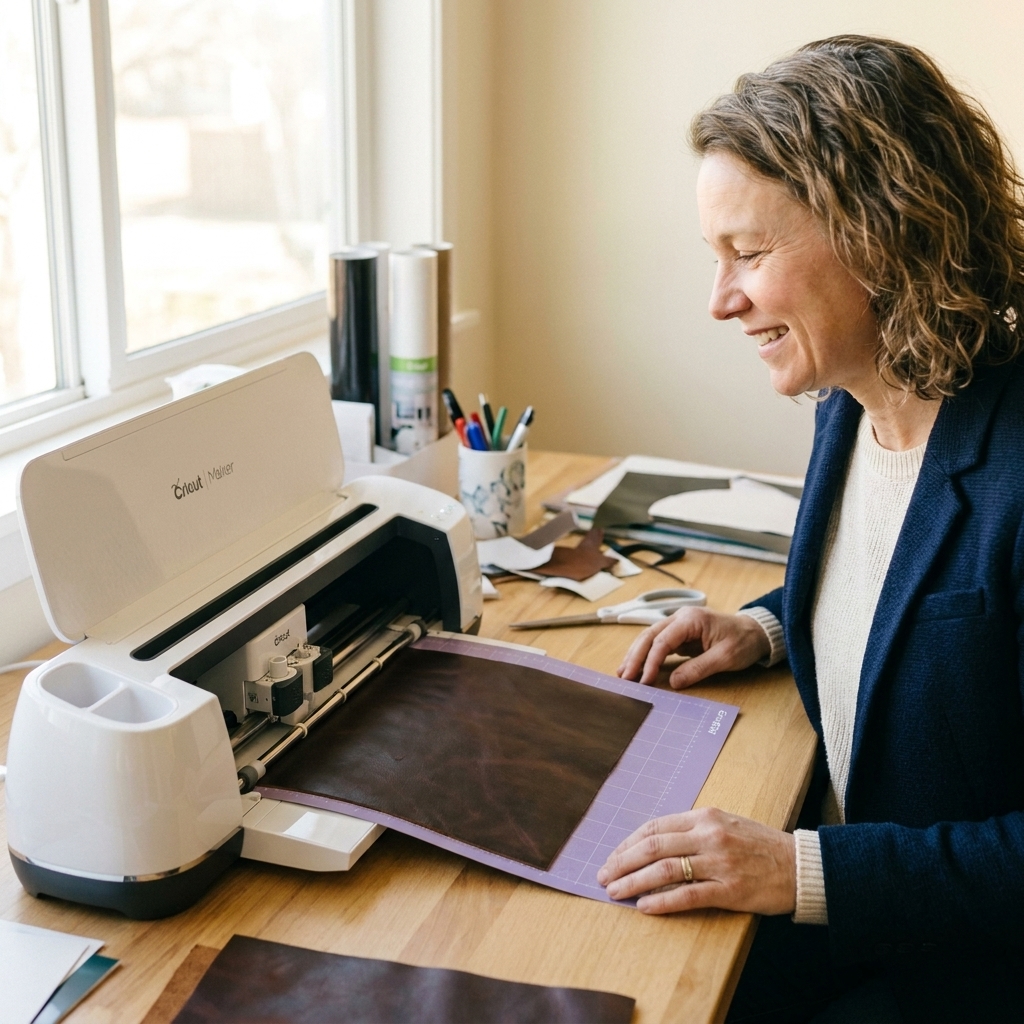
- Best setup: StrongGrip mat, brayer, Deep-Point blade or Knife Blade (Maker family models that support it).
- My typical strategy: moderate pressure + multi-cut.
- Watch for: leather shifting and tearing at corners. If you see drag marks, your blade may be dull or your leather is lifting.
- Pro tip: If your leather has a finish, do a test with the pretty side up and pretty side down. Some coatings crack when cut face-up.
Acetate and clear plastic sheets
- Best setup: StandardGrip or StrongGrip depending on thickness. Keep the protective film on if your sheet has one.
- My typical strategy: lighter pressure + 2 passes to reduce cracking.
- Watch for: chattering (tiny jagged edges), cracking on curves, and static cling pulling pieces back onto the mat.
- Pro tip: If you get rough edges, try a new blade and temper your expectations on tiny details. Thick acetate and fine script do not always play nicely.
Specialty vinyl (holographic, chrome, textured, flock)
- Best setup: Fine-Point blade in good condition, StandardGrip mat, light brayer pressure.
- My typical strategy: start from a similar preset, then adjust slightly. Many specialty vinyls need a little more pressure, but not always.
- Watch for: lifting during cut, especially on small details. That often means pressure is too high or the blade is dragging.
- Pro tip: For stubborn textured vinyl, adding an extra pass often cleans up corners better than pushing pressure higher.
Glitter HTV
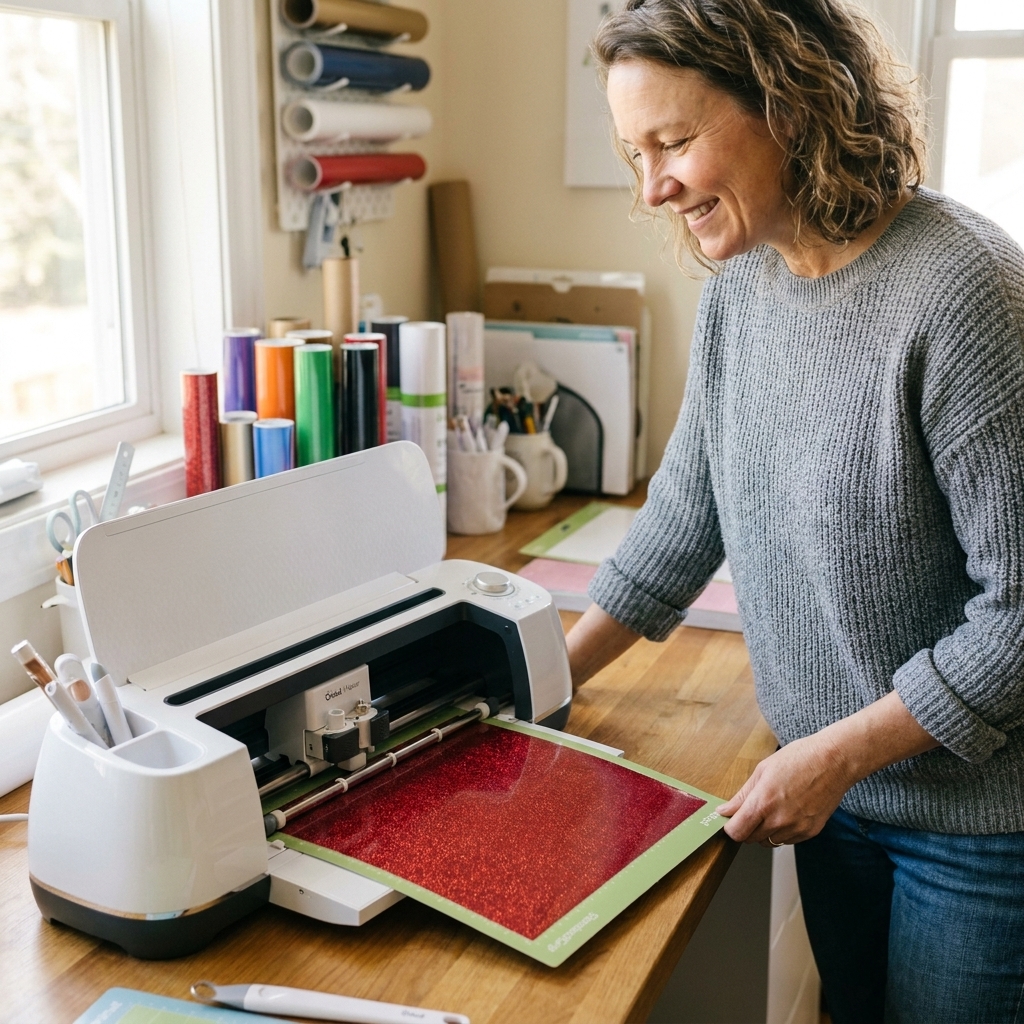
- Best setup: Fine-Point blade (fresh), StandardGrip mat, mirror your design, and make sure the HTV is shiny side down.
- My typical strategy: slightly higher pressure than everyday HTV, or 2 passes if corners get rough.
- Watch for: incomplete cuts on small glittery details. Glitter can act like sandpaper on blades, so dullness shows up fast.
Magnet sheets
- Best setup: StrongGrip mat, brayer, tape edges if needed, Deep-Point blade for many craft magnets.
- My typical strategy: medium pressure + multiple passes.
- Watch for: shifting and skipped sections. If the sheet starts creeping, reduce pressure and increase passes.
Laminated sticker paper (Print Then Cut stacks)
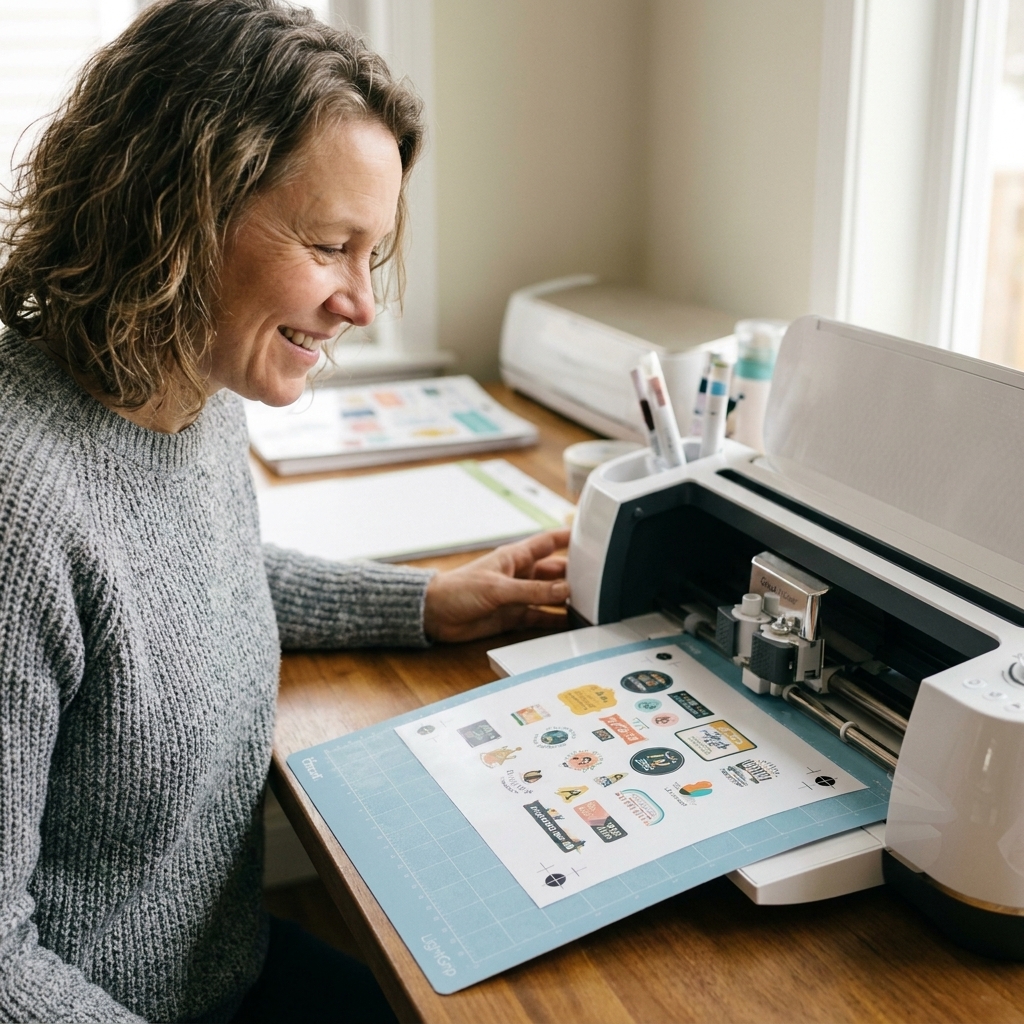
- Best setup: StandardGrip mat, Fine-Point blade, brayer. If your laminate is thick, plan on extra passes.
- My typical strategy: for kiss cuts, start lighter than you think and work up. For die cuts, use passes instead of brute force pressure.
- Watch for: confusing calibration issues with material issues. If your cut line is drifting off the printed border, your fix is likely Print Then Cut calibration, not pressure.
Fine-tune with a ladder test
If you want to land on a setting quickly without playing cut roulette, use a simple ladder test.
Step 1: Pick a baseline
Choose the duplicated material you made, then do one test cut.
Step 2: Adjust in small jumps
Change pressure in small increments and test again. Your goal is to find the lowest pressure that cuts cleanly. Lowest pressure means less mat damage, fewer lifted corners, and longer blade life.
Step 3: When close, add passes
If you are almost cutting through, add a pass instead of cranking pressure. This is especially true for leather, thick sticker stacks (sticker paper plus laminate), acetate, and magnet sheets.
Step 4: Test small detail
Once the basic shape weeds well, test something with tight corners and thin lines. Some settings look perfect on a circle but destroy a delicate script.
Save and name settings
Future-you will thank you for a clean naming system. In my shop, I name settings like this:
- Material (Acetate, Glitter HTV, Faux Leather)
- Brand (if it matters)
- Thickness or description (0.008in, textured, laminated)
- Key behavior (2-pass, light kiss cut, deep cut)
Example: “Sticker Paper Orajet + Laminate 2-pass” or “Faux Leather Pebble 3-pass”.
Also, keep a quick note in your phone or a craft journal with:
- Machine model
- Blade type
- Mat type
- Any prep notes (tape edges, film on, etc.)
Troubleshooting
Not cutting through
- Swap to a fresh blade before anything else.
- Increase pressure slightly, or add a pass if you are close.
- Make sure your material is fully adhered to the mat. Lift is the enemy.
Cuts through backing or gouges the mat
- Reduce pressure first.
- If you need depth, use more passes at lower pressure.
- Double-check you did not accidentally choose a thick preset with aggressive settings.
Jagged or chewed edges
- New blade. Seriously.
- Reduce pressure a touch.
- Try more passes rather than more pressure, especially on plastics and textured materials.
Small pieces lift
- Reduce pressure slightly so the blade is not dragging pieces up.
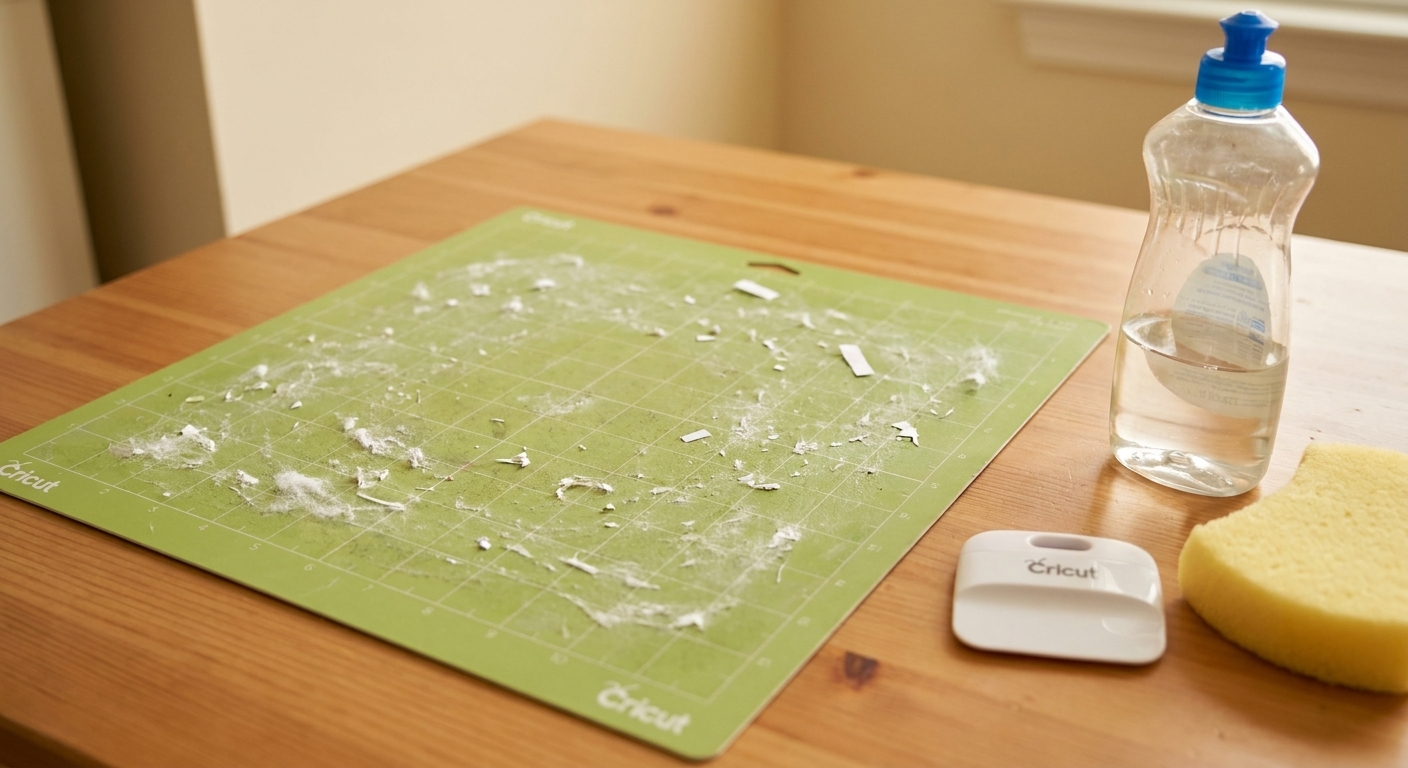
- Use a cleaner mat surface or a slightly less sticky mat if the material is delicate.
- For adhesive vinyl, make sure it is burnished onto the carrier. Some off-brand rolls have weaker carrier adhesion.
Material shifts mid-cut
- Switch to a StrongGrip mat and brayer well.
- Tape edges if needed.
- Reduce pressure and add passes, because high pressure can push the material around.
Safety notes
- Stay nearby when cutting leather, thick plastics, magnet sheets, or anything rigid. If it starts to lift, pause the cut.
- Do not force-remove pieces from the mat. Flip the mat over and peel the mat away from the material to prevent curling and cracking.
- Protect your mats. If you are testing aggressive settings, use an older mat you do not mind scuffing while you dial things in.
FAQ
Will custom material settings sync across devices?
In many cases, yes, as long as you are signed into the same Cricut account. Because mobile support can vary, I still recommend creating and editing custom materials on desktop, then using those saved settings wherever you craft.
Should I use “More” pressure instead of a custom setting?
“More” is fine for quick tweaks, but I prefer custom settings for anything you cut regularly. Custom materials give you repeatable results and let you build in multi-cut behavior.
Is multi-cut the same as “Cut Twice”?
Same concept, different control. Multi-cut is baked into a material setting so it happens automatically. Cut Twice is a separate option you may see in certain contexts to repeat a cut. Either way, the machine re-cuts the same lines without unloading your mat.
What is the fastest way to stop wasting material?
Duplicate the closest preset, test on a scrap, and aim for the lowest pressure that works. When you are close, add a pass instead of pushing pressure higher.
Before you hit Go
Custom material settings feel intimidating until you do it once. After that, it is just a repeatable little science experiment. Start with scraps, change one thing at a time, and let multi-cut do the heavy lifting for thick and stubborn materials.
If you want, tell me what machine you have and exactly what material you are cutting (brand, thickness, and whether it is laminated). I can suggest a starting point so you are not going in blind.