A beginner-friendly walkthrough of Cricut Design Space: Canvas navigation, Upload and Text tools, Operation settings, and how to understand the Layers panel ...
Maker Vinyl
Updated October 17, 2026
Download and Upload Free SVGs to Cricut Design Space
Learn how to download free SVGs, unzip the folder, and upload clean cut files to Cricut Design Space on desktop or mobile. Beginner-friendly steps plus fixes for common errors.

Harper Davis
Harper Davis is a lifelong DIY enthusiast and cutting-machine expert who loves helping beginners conquer Cricut Design Space. With over six years of experience running a custom vinyl shop, she shares practical tutorials, material guides, and creative inspiration.
If you have ever downloaded a “free SVG bundle” and then stared at a mysterious ZIP file like it is judging you, you are in the right place. Once you learn the quick rhythm (download, unzip, upload the SVG), you will be adding designs to Cricut Design Space in under a minute.
Below, I’ll walk you through exactly what to click on Windows, Mac, iPhone, iPad, and Android, plus how to pick the correct file inside those folders so you do not end up uploading the wrong format and wondering why your cut looks weird.
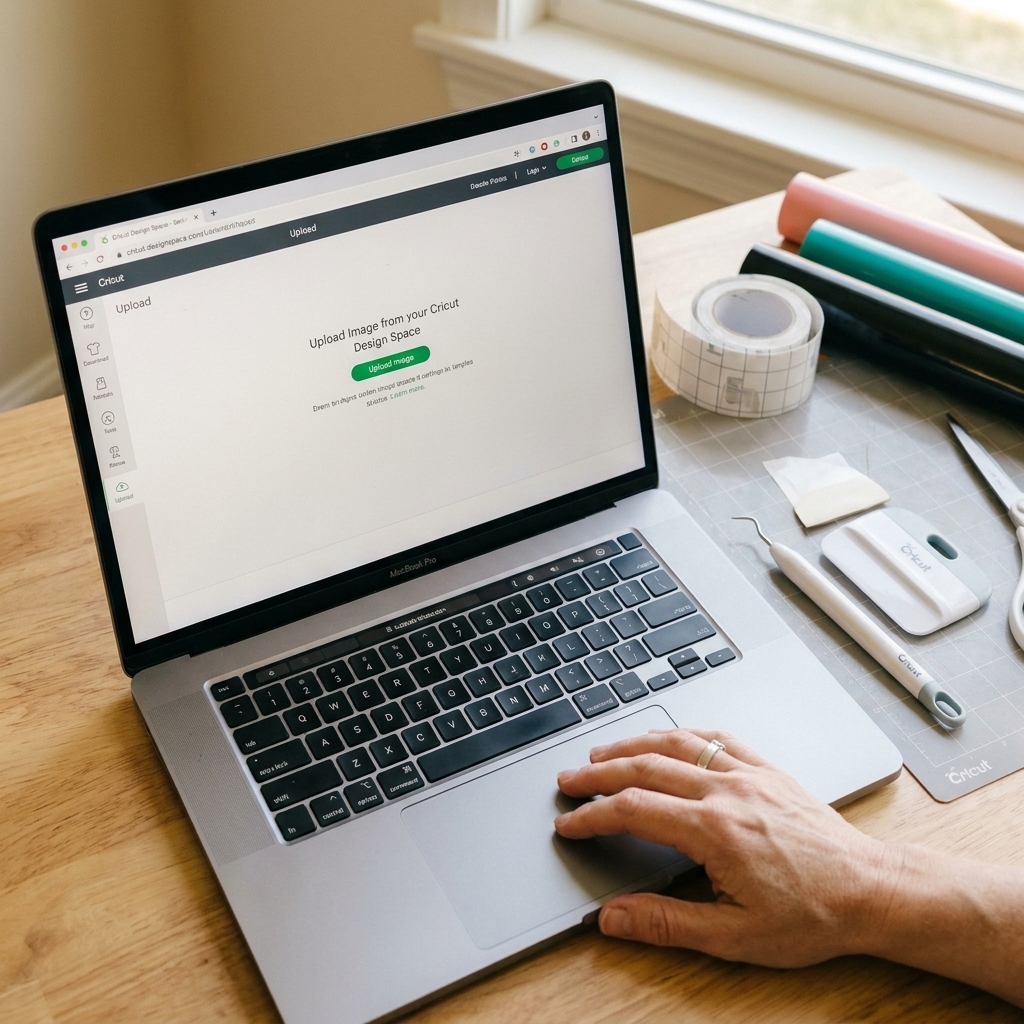
Quick note for true beginners: when we say “Upload” in Design Space, we mean adding a file to your Uploads library so you can insert it onto your Canvas.
Before you start: what you are downloading
Most free SVGs come as a ZIP file, which is basically a compressed folder. Your computer or phone has to extract (unzip) it so you can access the individual files inside.
Common file types you might see
- .svg (this is what you want for most Cricut cut projects). Clean lines, scalable, best for vinyl and HTV.
- .png (a flat image). Great for Print Then Cut. If you meant to cut vinyl, it may import as a single image that needs extra cleanup.
- .dxf (older vector format). Design Space can import DXF on desktop, but it often comes in as basic cut paths with limited layer and color info. For this tutorial, we are using SVG.
- .jpg (photo style image). Not ideal for cutting.
- .pdf (usually a printable guide or license info). Not for uploading to Design Space.
If you accidentally upload the PNG when you meant to cut vinyl, you may end up with fuzzy edges, extra background to remove, or even a big box you did not expect. Our goal is to unzip the folder and upload the actual SVG.
Step 1: Download the bundle
Where your download lands matters, especially on phones. I recommend saving to a spot you can find again in 10 seconds.
On a computer (Windows or Mac)
- Download the file.
- When your browser asks where to save, choose Downloads (easy) or a dedicated folder like Cricut Files.
- Do not rely on a browser preview. Save the ZIP first so you can find it again.
On iPhone or iPad
- Tap the download link.
- Open the file in the Files app (not Photos).
- Save it to On My iPhone/iPad or iCloud Drive. If it disappears into Recents, move it into a named folder you can easily browse back to.
On Android
- Download the file.
- Open your Files app or My Files.
- Look in Downloads.
Step 2: Unzip (extract) the folder
This is the make-or-break step. Design Space expects the extracted file (like the .svg), not the .zip container itself. So in most cases, you need to unzip first.
How to unzip on Windows
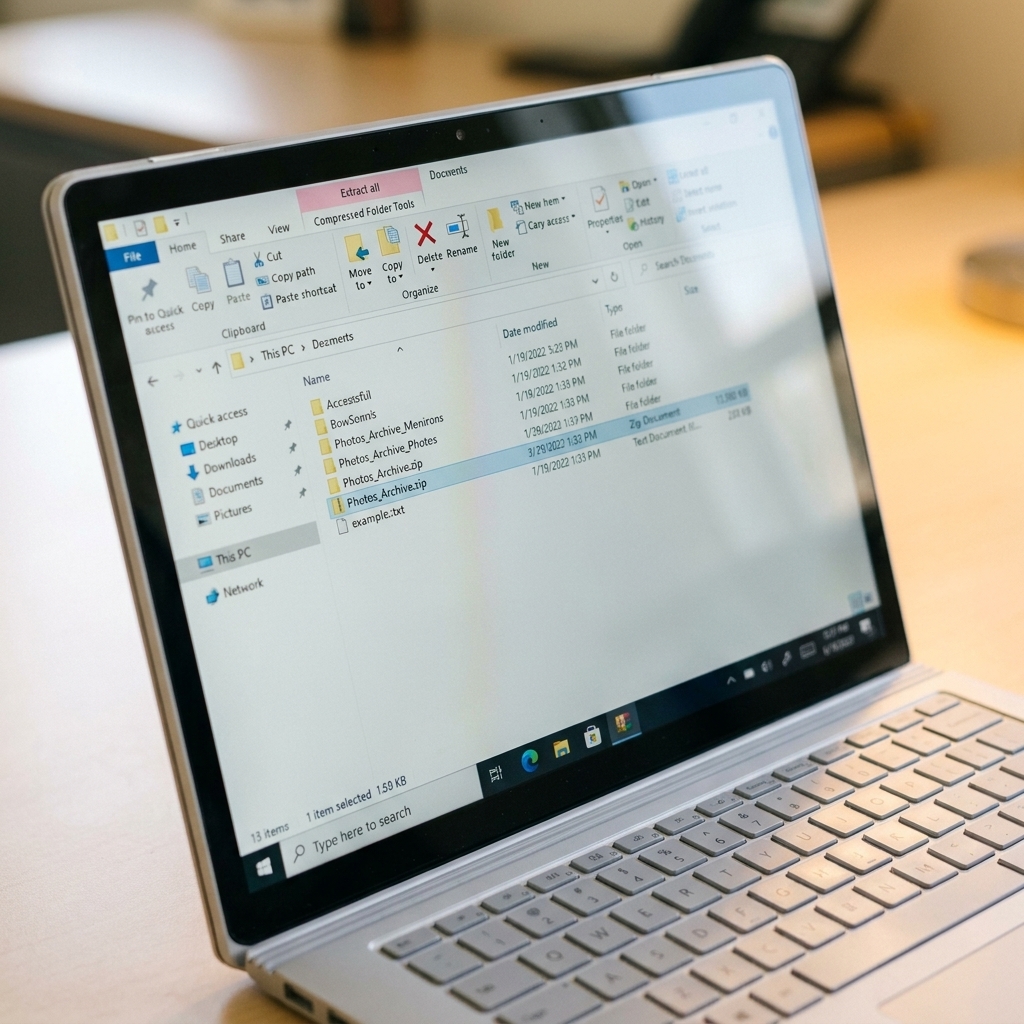
- Open File Explorer and go to Downloads.
- Find the ZIP file (it usually ends in .zip and looks like a folder with a zipper).
- Right-click it and choose Extract All.
- Pick a location (Downloads is fine) and click Extract.
- Open the new folder that appears. That is your unzipped folder.
How to unzip on Mac
- Open Finder and go to Downloads.
- Double-click the ZIP file.
- Mac will automatically create a new folder with the contents.
- Open that new folder to find your SVG.
How to unzip on iPhone or iPad (Files app)
- Open the Files app.
- Go to where the ZIP is saved (often Downloads).
- Tap the ZIP file once.
- Your device will create a folder with the same name containing the extracted files.
How to unzip on Android
- Open Files (or My Files).
- Open Downloads.
- Tap the ZIP file.
- Choose Extract or Unzip.
- Open the extracted folder.
Harper tip: If you only see one file and it is still a ZIP, you are not fully extracted yet. Keep going until you can see individual files like .svg and .png.
Step 3: Find the right file
Inside the unzipped folder, you might see multiple versions of the same design. That is normal.
What to look for
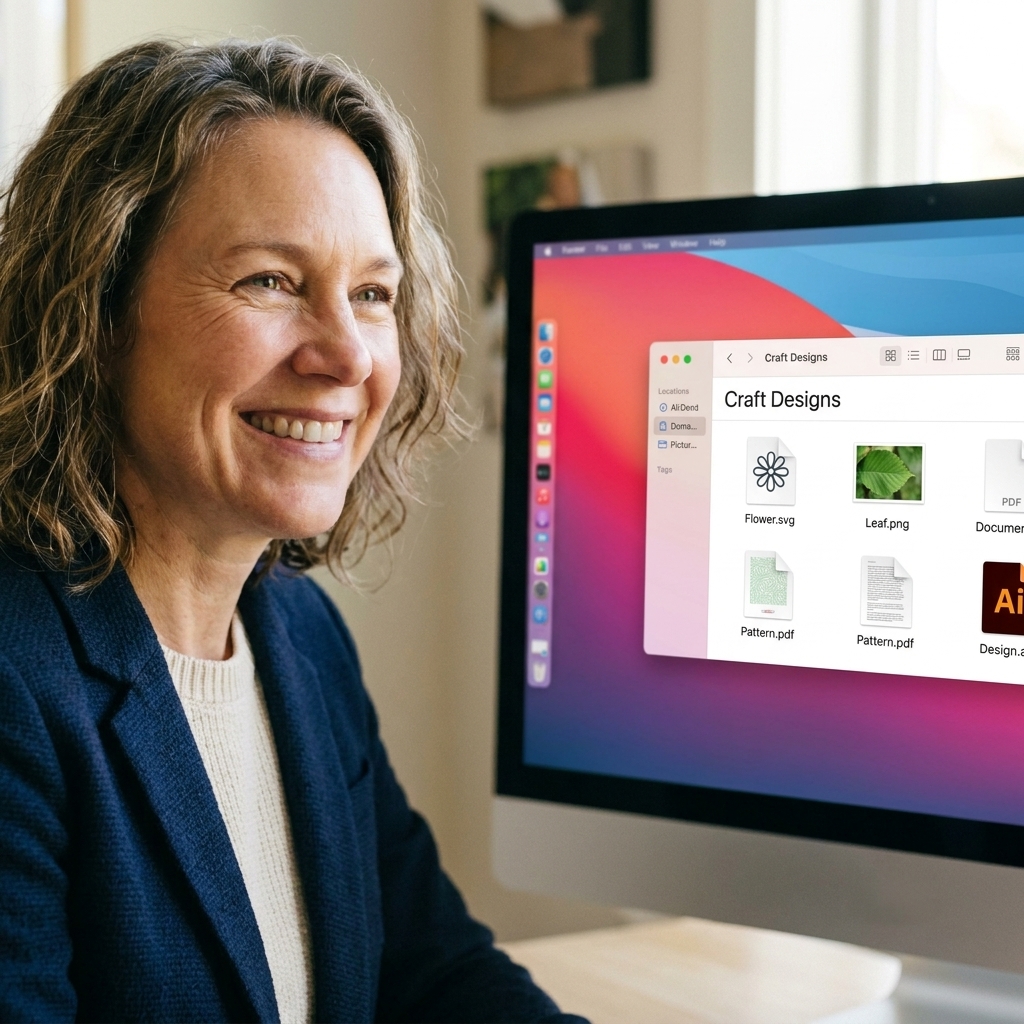
- Look for the file that ends in .svg.
- If your device hides file extensions, look for the file labeled SVG under “Kind” (Mac) or “Type” (Windows), or use the search bar and type svg.
- Ignore folders named things like License, Read Me, or Terms for now.
If there are multiple SVGs (for example “Design layered.svg” and “Design solid.svg”), choose based on your project:
- Layered: great for multi-color vinyl or HTV, or if you want separate cut pieces.
- Solid: best for one-color decals and quick cuts.
Step 4: Upload the SVG (desktop)
Once you have the SVG file located, uploading is easy. The trick is using the Upload option inside Design Space, not trying to drag in a ZIP and hoping for the best.
Desktop steps (Windows and Mac)
- Open Cricut Design Space.
- Start a New Project to open the Canvas.
- Click Upload in the left panel.
- Click Upload Image.
- Click Browse.
- Navigate to your extracted folder and select the .svg file.
- Click Open, then Upload.
- You will now see it in your Recent Uploads. Click it and choose Add to Canvas.
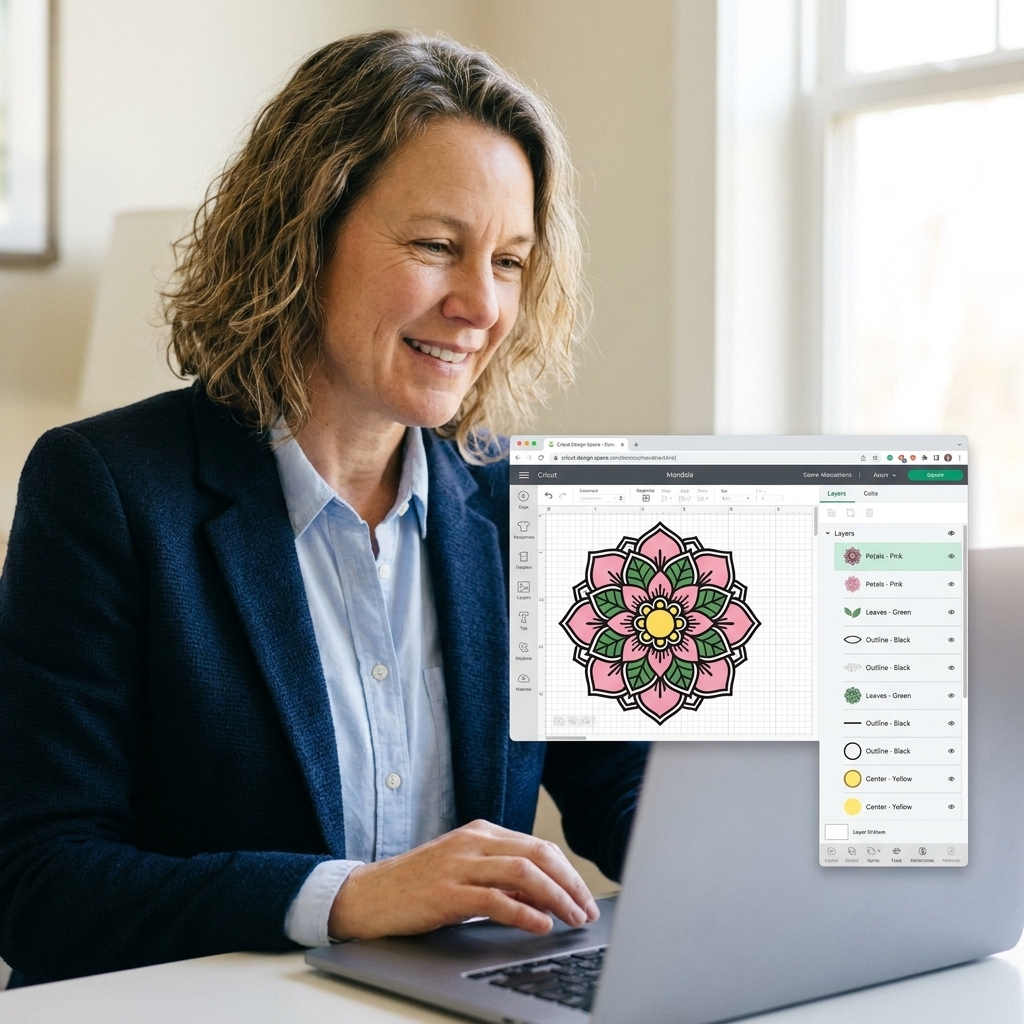
That is it. If your SVG was built cleanly, it should arrive already cut-ready with separate layers (if it is layered).
Heads up: Design Space labels can vary a bit by app version, but the path is always the same idea: Upload, browse to the extracted SVG, then add it to Canvas.
Step 5: Upload the SVG (mobile)
Mobile works great, but your file has to be unzipped first and saved somewhere the Cricut app can access.
iPhone and iPad (Cricut app)
- Open the Cricut Design Space app.
- Start a New Project.
- Tap Upload, then choose Browse Files (wording can vary slightly).
- Go to the extracted folder in the Files app.
- Select the .svg file.
- Tap Upload, then tap the design to Insert.
Android (Cricut app)
- Open the Cricut Design Space app.
- Start a New Project.
- Tap Upload and choose Browse (wording can vary slightly).
- Navigate to Downloads or your extracted folder.
- Select the .svg, upload it, and insert it onto the canvas.
Quick sanity check: If your phone only shows the ZIP and not the SVG, go back to your Files app and make sure you are inside the extracted folder, not the compressed ZIP.
How to tell if it worked
Here are the green flags I look for before I ever cut into my good vinyl:
- In the Layers panel, you see separate layers (if it is a layered design) instead of one single flattened image.
- When you click Make, the shapes appear as clean cut lines on the mats, not a big box.
- The design resizes smoothly without getting pixelated.
Common problems and easy fixes
“Design Space will not upload my file”
- Make sure you are selecting a supported file. For this tutorial, that is an SVG. (DXF can work on desktop, but it imports differently.)
- Unzip first. This is the most common issue.
- Rename the file using simple characters: letters, numbers, spaces, hyphens. Remove symbols like & and #, and also remove parentheses. If the name is extremely long, shorten it. Avoid emojis and non-Latin characters if you suspect upload issues.
- If the download seems incomplete or corrupted, re-download the file. If needed, try a different browser.
“It imported as a solid rectangle”
- You may have uploaded a PNG or JPG instead of the SVG.
- Go back, locate the .svg, and upload that.
- If you did mean to use a PNG (Print Then Cut), make sure you are following the image upload steps and cleaning up the background when prompted.
“My design looks huge or tiny”
- This is usually just sizing. Click the design and set the Width or Height in the top size boxes.
- If it is wildly off, the file may have been saved with an odd artboard. Try a different SVG version in the folder if there is one.
“All my layers are jumbled or the colors changed”
- Colors inside SVGs are often just placeholders for layer separation. Focus on the number of layers and the shapes.
- Select the full design and use Attach if you need pieces to keep their layout on the mat.
- Use Weld or Union only when you truly want to combine cut lines.
“It uploaded, but it is one single layer”
- Some free SVGs are made as a single compound path. That can still cut fine, but it will not separate into colors.
- Look for a file name that includes layered or separated.
“It says unsupported file type, but it is an SVG”
- Some SVG features do not play nicely with Design Space. Common culprits include embedded raster images, clipping masks, and certain effects from design programs.
- Try another SVG from the same bundle, or download the file again.
- If you are comfortable with it, open the SVG in a vector program and re-save it as a plain SVG, then upload the new copy.
My quick workflow
This is my 60-second routine before cutting any new freebie:
- Download the ZIP.
- Extract it.
- Upload the SVG.
- Add to Canvas.
- Click Make and check the mat preview for weird extra lines.
- Do a small test cut if you are using a new material or a super detailed design.
That last step has saved me more premium vinyl than I care to admit.
FAQ
Do I have to unzip SVG files for Cricut?
If you downloaded a ZIP (and most bundles are), yes. Design Space expects the actual .svg file, not the compressed ZIP container.
Can I upload SVGs to Cricut Design Space for free?
Yes. Uploading your own SVGs is free. Cricut Access is mainly for certain designs, fonts, and in-app content inside Design Space, not for uploading your own files.
Why do free SVGs sometimes come with a commercial license file?
Many designers include a license or terms-of-use PDF in the ZIP. It is worth a quick read so you know whether you can sell finished products made with that SVG.
What is the difference between SVG and PNG for Cricut?
SVG is a vector cut file that stays crisp at any size and often imports with layers. PNG is a flat image that is best for Print Then Cut and can require extra cleanup if you are trying to turn it into a cut file.
You are ready to upload
Once you get the hang of unzipping, free SVGs go from “why is this so confusing?” to “oh, that was nothing.” If you run into a weird upload issue, take a breath and go back to the basics: extract the ZIP, find the real SVG, and upload from the Upload panel.
If you want, tell me what device you are using (Windows, Mac, iPhone, or Android) and what you are seeing on your screen, and I will help you troubleshoot it like we are standing in the craft room together.