A beginner-friendly walkthrough of Cricut Design Space: Canvas navigation, Upload and Text tools, Operation settings, and how to understand the Layers panel ...
Maker Vinyl
Updated October 17, 2026
3D Layered Mandalas With Cardstock and Vinyl Accents
Learn how to cut, stack, and space layered mandalas in Cricut Design Space, then finish them with delicate vinyl accents for stunning shadowbox-style wall art.

Harper Davis
Harper Davis is a lifelong DIY enthusiast and cutting-machine expert who loves helping beginners conquer Cricut Design Space. With over six years of experience running a custom vinyl shop, she shares practical tutorials, material guides, and creative inspiration.
If you love the look of intricate mandala art but you also love a project that feels doable at your craft table, this is your sweet spot. We are going to build a 3D layered mandala using cardstock as the main “structure,” then add small vinyl accents that catch the light and make the whole piece feel extra finished.
I started making these when I wanted something more elevated than a flat paper cut, but I still wanted it to be beginner-friendly and repeatable. Once you nail the order of layers and your spacing, you can crank these out as gifts, seasonal decor, or that one empty spot on the wall that has been bothering you for months.
What you will make
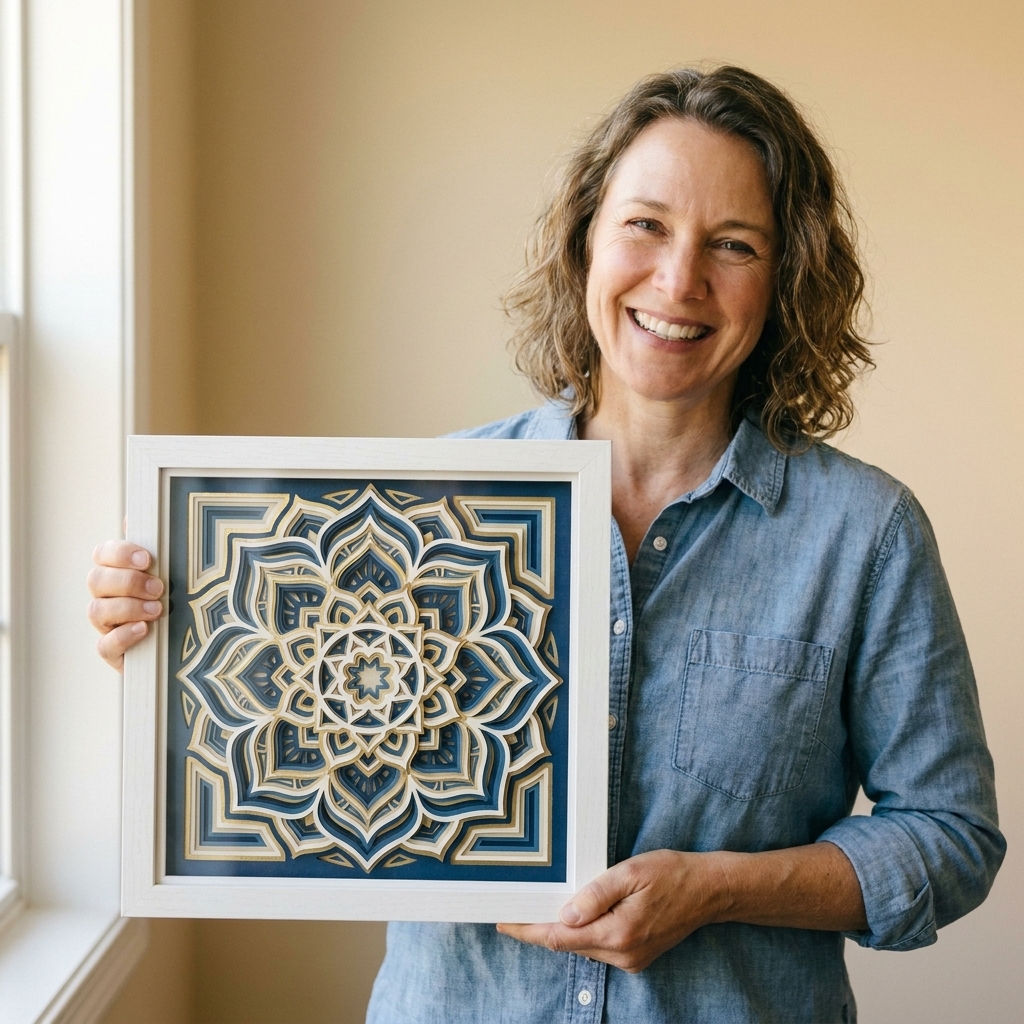
This project is a stacked mandala, usually 6 to 12 layers of cardstock, glued with foam spacers (or foam tape) so each layer sits slightly above the one below it. Then we add small vinyl details on top of select layers, like:
- metallic dots or outlines
- tiny “sparkle” accents on petal tips
- a name, date, or short phrase in the center
- subtle iridescent overlays in a few cutout areas
The goal is not to cover the mandala in vinyl. A little goes a long way, and cardstock stays the star.
Supplies and materials
Cardstock
- 65 lb cardstock (approximately 175 to 180 gsm, depending on the brand) works for most layers and cuts beautifully.
- 80 to 110 lb cardstock (approximately 215 to 300 gsm, depending on the brand) is great for the base layer and any layer with skinny details that need stiffness.
- Optional: glitter cardstock for one layer (go slow, and expect a little extra cleanup).
Vinyl accents
- Permanent adhesive vinyl for subtle overlays and tiny accent shapes.
- Metallic or holographic permanent adhesive vinyl for “pop” details that reflect light.
- HTV is not my first choice here since cardstock can scorch or warp under heat. Adhesive vinyl is easier and safer for paper.
Adhesives
- Liquid glue with a fine tip (my preference for paper projects). Craft favorites like Bearly Art Precision Craft Glue, Art Glitter Glue (with the fine tip), or Aleene’s Tacky Glue all work. Use a light hand.
- Foam dots, foam squares, or thin foam tape for dimension (I like 1/16 inch to 1/8 inch thickness for most shadowboxes).
- Double-sided adhesive for mounting, like strong double-sided tape or foam tape.
- Optional: adhesive sheets for ultra-clean paper-to-paper bonding on flat layers.
Tools
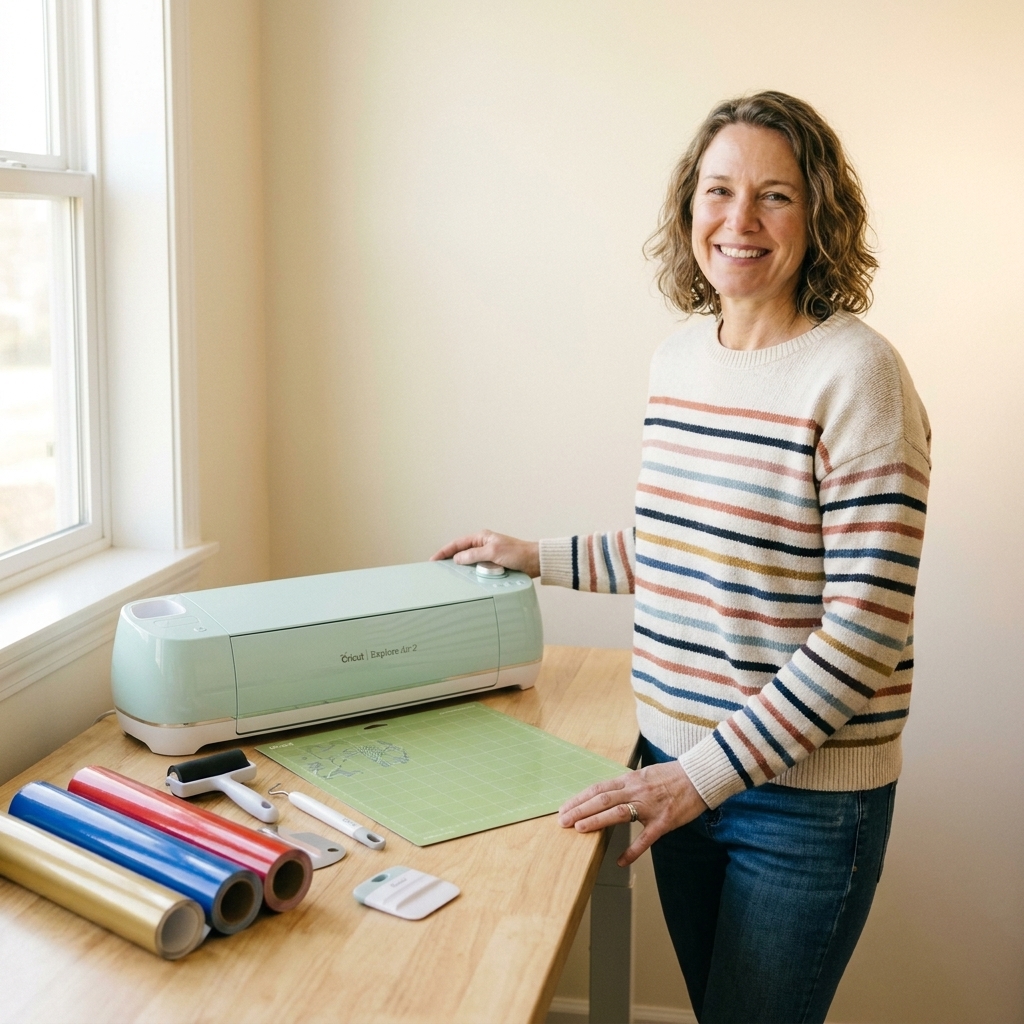
- Cricut machine (Explore, Maker, or Joy Xtra all work, size just changes your max design)
- Fine-Point Blade (and a fresh one if your cardstock has been tearing lately)
- StandardGrip mat (green) for most cardstock
- LightGrip mat (blue) if your paper is prone to curling or tearing on removal
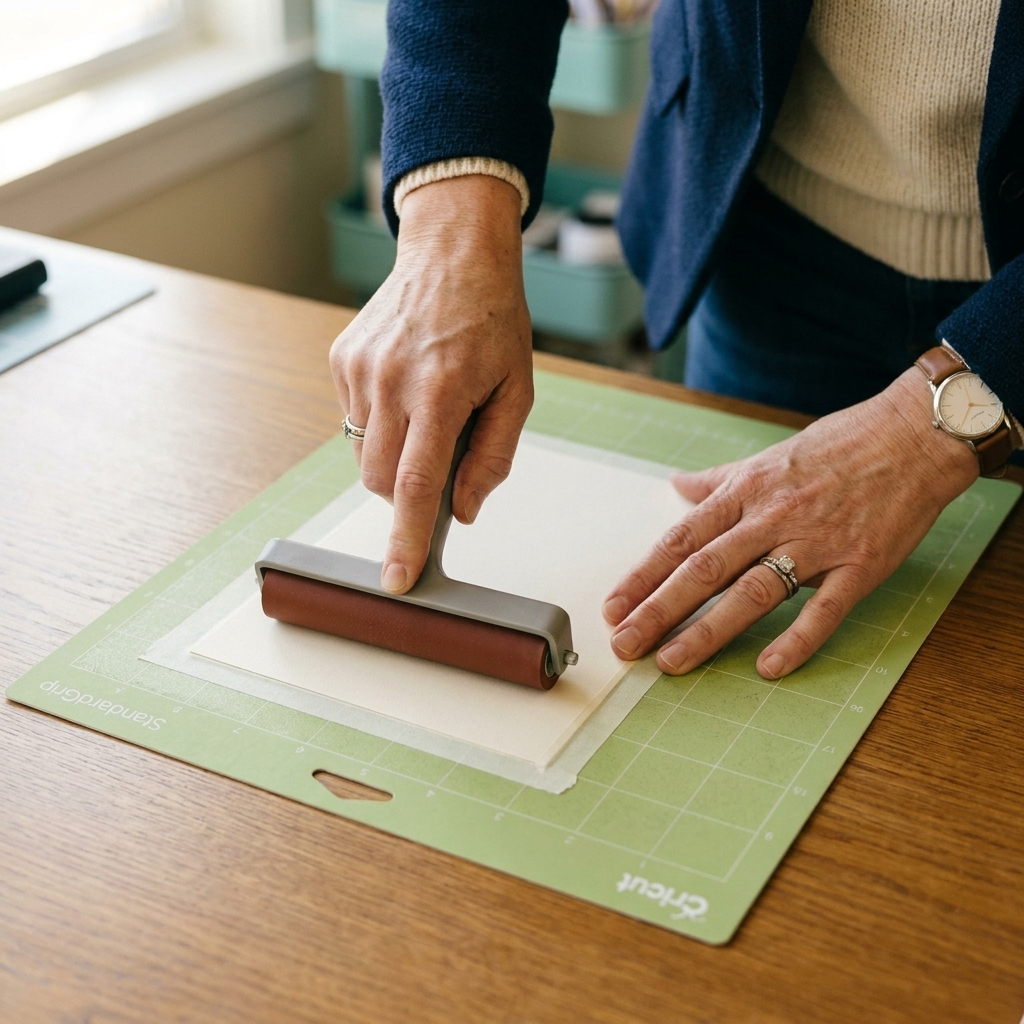
- Brayer (highly recommended for clean cuts)
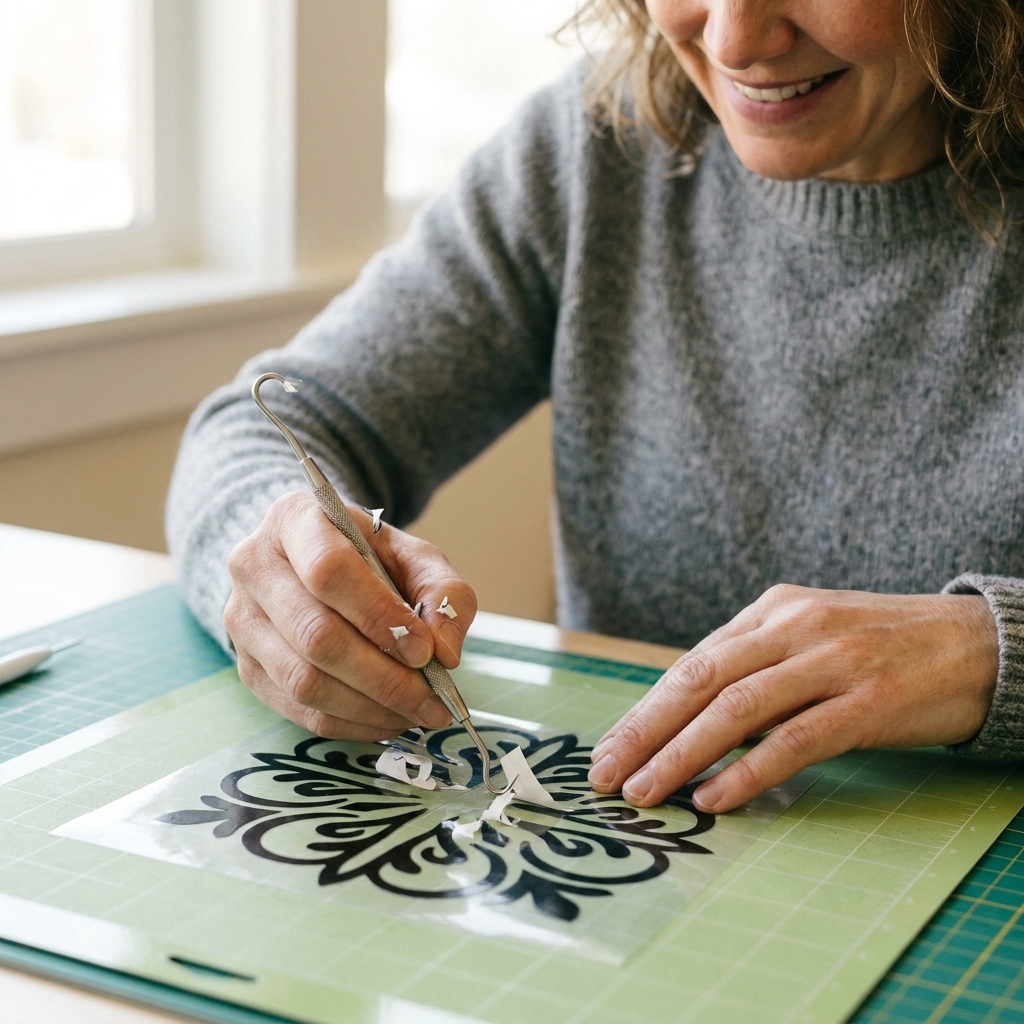
- Weeding tool and tweezers
- Scraper or an old gift card
- Transfer tape (standard grip is usually perfect, but for delicate cardstock or finicky metallic films, a low-tack tape can be gentler)
- Ruler or spacer guide (even a stack of pennies works) for consistent depth
Nice-to-haves
- Cardstock sampler pack for easy color planning
- Self-healing cutting mat for trimming and prep
- Shadowbox frame (deep frame) sized for your final art
Quick care tip: Keep mats covered when not in use so they stay clean, and handle blades carefully when swapping them. A Fine-Point blade is small but it is still sharp.
Step 1: Choose a mandala design
Not all mandalas are created equal when it comes to layering. For a clean 3D stack, look for a design where:
- Each layer has enough solid area to glue without warping.
- Delicate lines are supported by thicker “bridges” of paper.
- The layers are clearly separated, not one single cut file meant to be one piece.
My beginner tip: If you are new to layered paper art, start with 6 to 8 layers max. You can always add more once you know how your machine handles tiny details.
Step 2: Set up Design Space
Import and organize
Upload your SVG (or open your purchased design) and make sure each layer is its own piece. In the Layers panel:
- Rename layers by order (Layer 1 base, Layer 2, Layer 3, and so on).
- Assign a color to each layer that matches your cardstock plan.
- Resize the full design to match your frame or backing.
Make alignment foolproof
Most layered mandalas come with built-in alignment because every layer is the same overall footprint. Still, I like to do a quick check:
- Select all layers.
- Click Align then Center.
This ensures everything is stacked perfectly in Design Space before you cut.
Add vinyl accent shapes (optional but fun)
If your file does not already include accent pieces, you can create your own:
- Use Shapes to add tiny circles, stars, or hearts.
- Duplicate them and place them symmetrically around the design.
- Size accents slightly larger than you think if you struggle with very tiny weeding.
Then set those accent shapes to a vinyl color and keep them separate from cardstock layers.
Step 3: Dial in cut settings
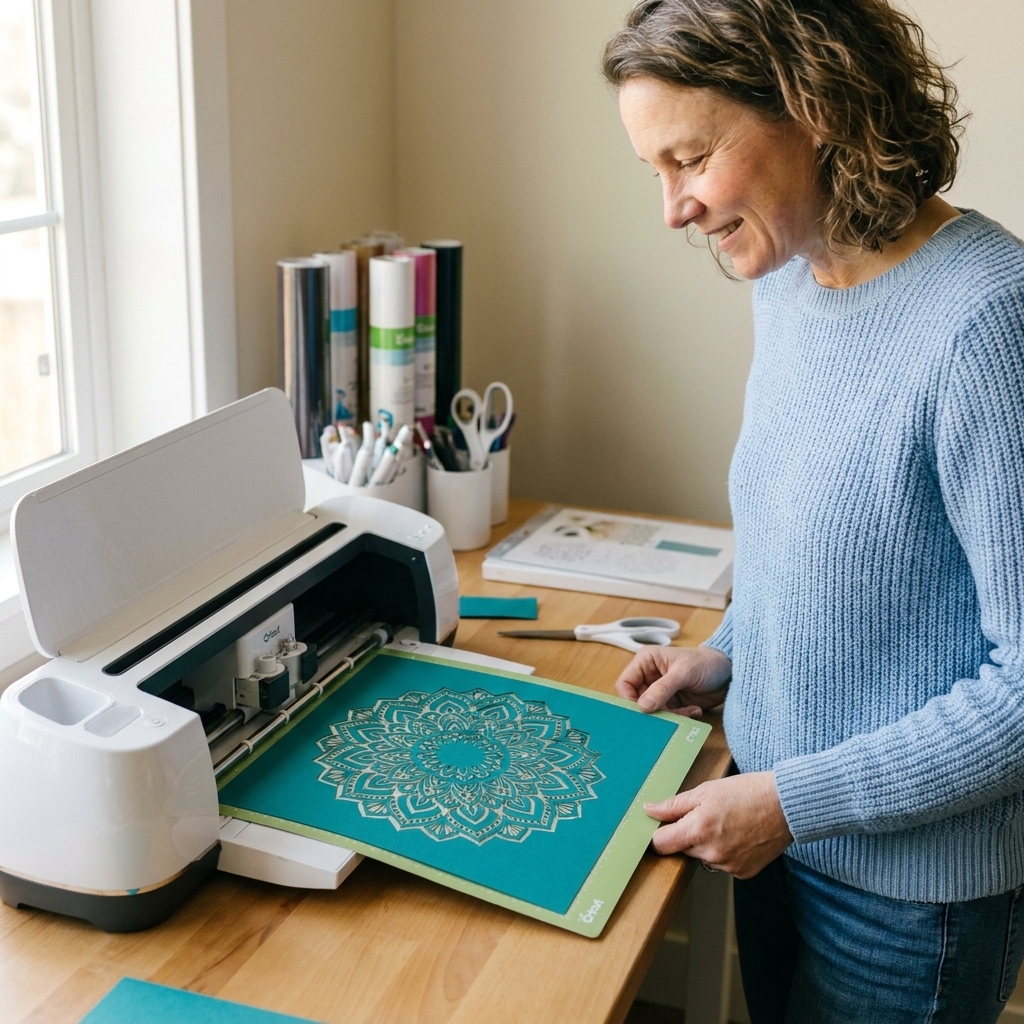
Clean cuts are everything on layered mandalas. If your cuts start looking fuzzy, your finished piece will too.
My go-to cut approach
- Choose a cardstock material setting that is close to your cardstock weight. The exact names can vary by machine and Design Space version, so aim for the nearest match and adjust from there.
- If your machine is cutting but leaving little “hang tags,” add a small amount of pressure or choose the “More” pressure option.
- If your cardstock is tearing or curling, reduce pressure, check your blade, and consider switching to a LightGrip mat.
Two habits that prevent bad cuts
- Brayer your cardstock down before cutting, especially near corners.
- Unload only when done. If you stop mid-cut and reload, alignment can shift.
Mat tip: If your StandardGrip mat is brand-new and extra sticky, it can be too aggressive for delicate cardstock. A LightGrip mat or a slightly “broken-in” StandardGrip mat is often a better match for intricate layers.
Step 4: Cut and prep layers
Cut order
I like cutting from top detail layers to base layers. That way, if I need to adjust pressure for delicate cuts, I learn it before I cut my pretty heavy base.
Remove cardstock without curling
This is the “flip the mat, not the paper” trick, and it saves so much heartbreak:
- Turn your mat face down on your table.
- Peel the mat away from the cardstock slowly while holding the paper flat.
Keep tiny bits under control
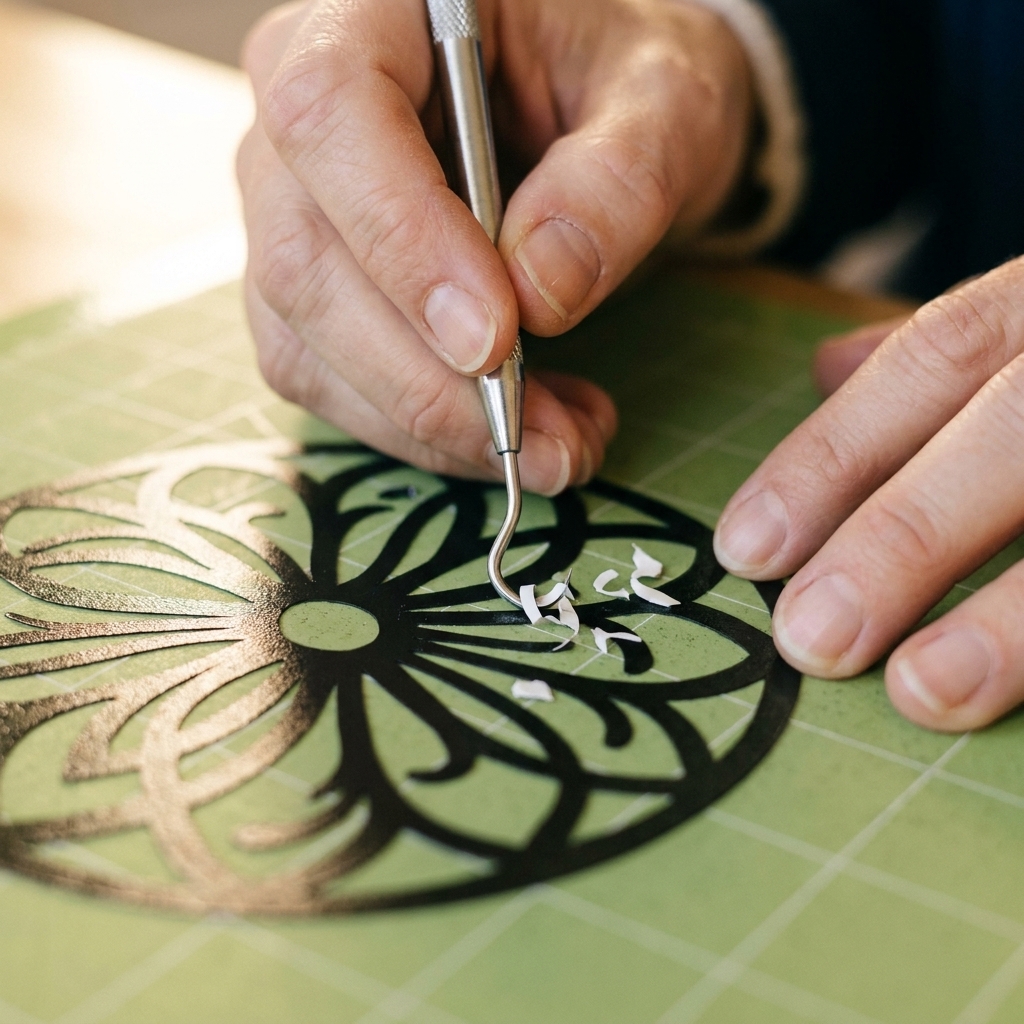
- Use tweezers for the tiny inner cuts.
- Save the negative pieces until you are sure you do not need a replacement layer.
Step 5: Plan your color stack
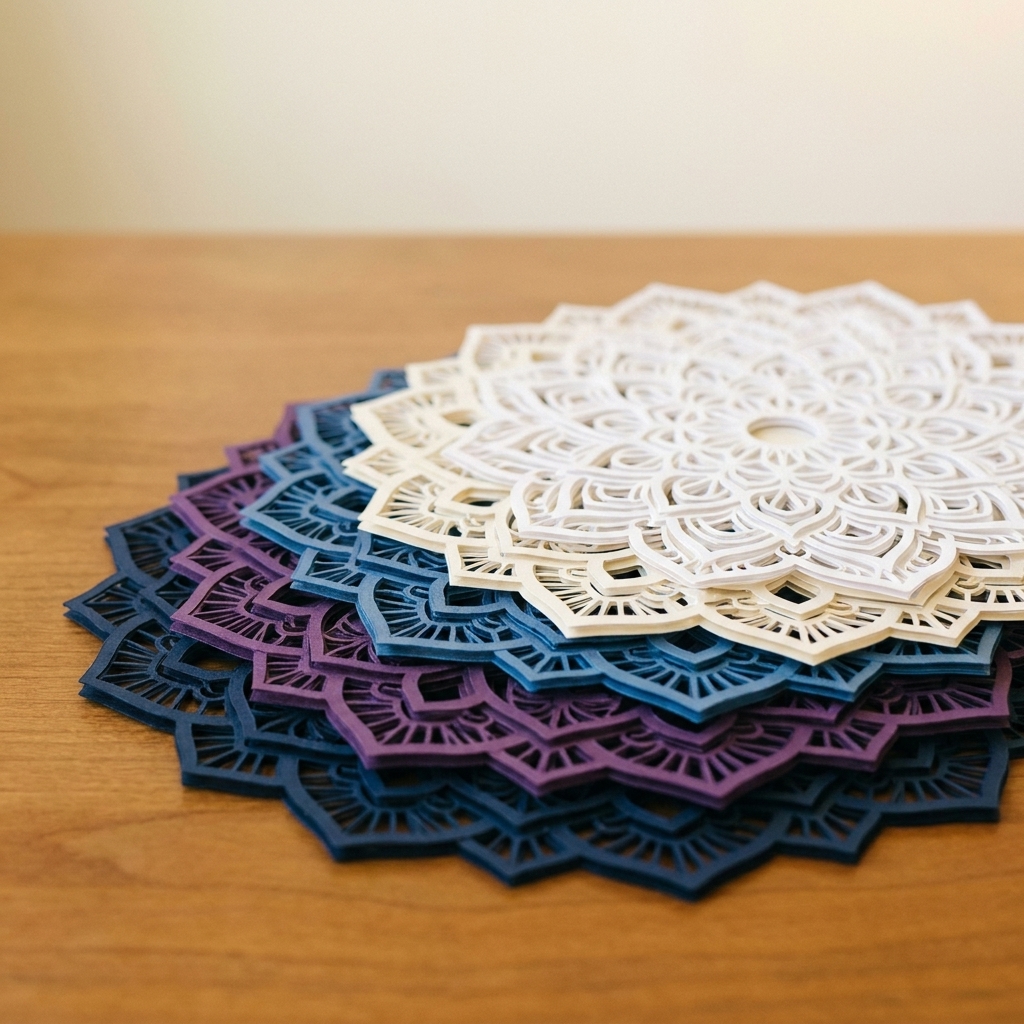
Before you glue anything, stack your layers dry and test the look. This is where you can decide if your mandala reads crisp and dimensional, or if it looks muddy.
Easy color formulas that always work
- Ombre stack: darkest on the bottom, lightest on top.
- High contrast: alternate light and dark layers so the cutouts show clearly.
- Neutral plus pop: creams and grays with one bold accent layer.
Pro tip from my old vinyl shop days: If you are adding metallic vinyl accents, pick cardstock colors that are a little more matte. Matte paper plus shiny vinyl looks expensive.
Step 6: Add vinyl accents
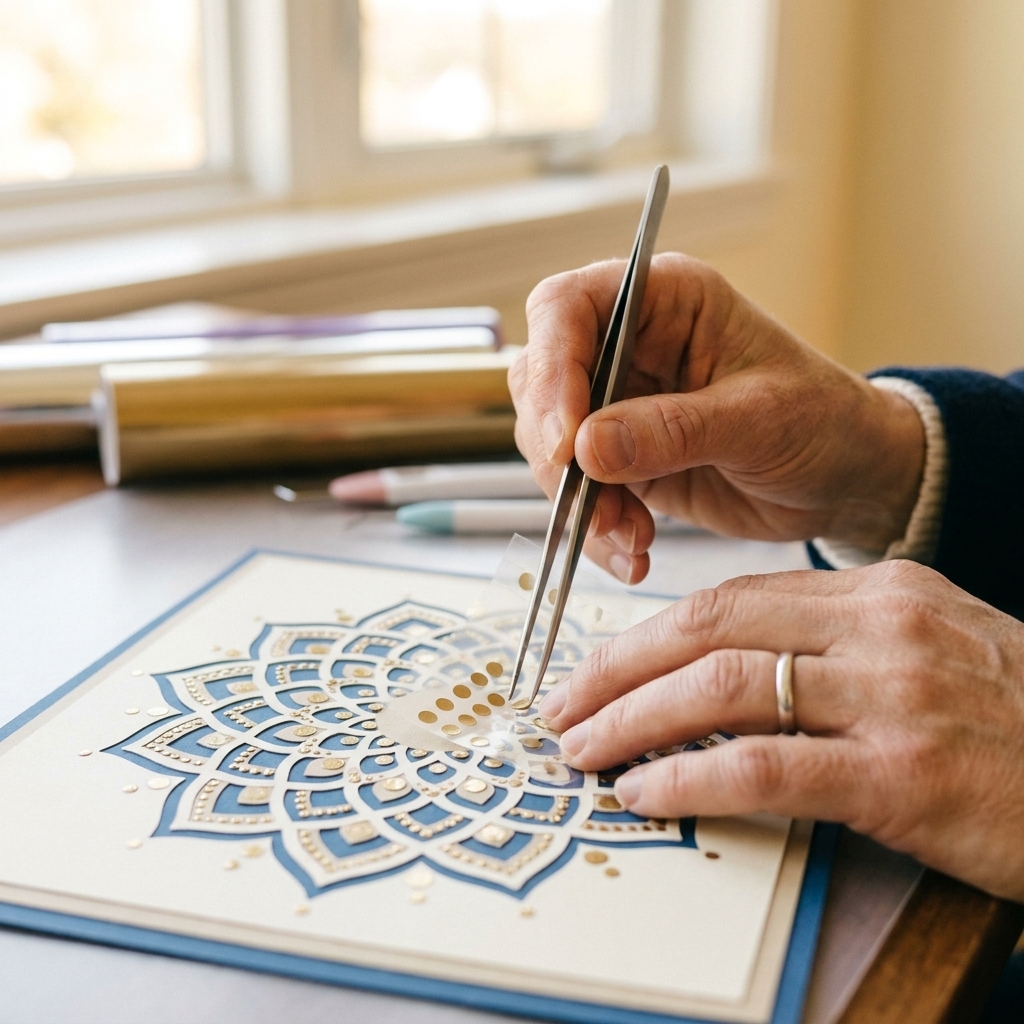
Here is the trick: apply vinyl accents before you assemble the 3D stack. Trying to place tiny vinyl on a bumpy layered surface is an easy way to ruin your mood.
Do a quick test first: Before you commit, place one small vinyl accent on a scrap of the same cardstock. Some textured papers can grab transfer tape or lift fibers, and it is better to find that out on a scrap first.
Weed smart for tiny accents
- Use a bright light, or weed near a window.
- Trim your vinyl down close to the design so it does not flap around.
- If a piece is extremely tiny, cut two sets. It is less stressful.
Transfer tape tips
- Use standard grip transfer tape first. If your cardstock is very fibrous or your accents are tiny, low-tack transfer tape can be gentler.
- Burnish gently with a scraper. You want it to stick, not stretch.
- Peel the backing off the vinyl slowly and keep it low to the table.
Apply to cardstock cleanly
- Place the cardstock layer on a firm surface.
- Hover your accent over the cut area, then tack down one edge first.
- Burnish lightly with your finger or scraper.
- Remove transfer tape back on itself, slow and low.
Where accents look best: petal tips, the center ring, or a repeating motif that shows up on multiple layers.
Step 7: Assemble the stack
Choose your spacing method
- Foam dots or squares: fast and clean.
- Foam tape: great for long sections, but be careful around tiny cutouts.
- Cardstock spacers: you can stack scrap cardstock to create a custom height, but it takes more time.
Glue plus foam is the magic combo
I use glue for strong, flat contact and foam for height:
- Add tiny dots of liquid glue on solid areas (not on skinny lines).
- Add foam dots evenly around the layer, especially near edges so nothing droops.
Assembly order
- Set your base layer down with the pretty side facing up (the side you want visible through the cutouts).
- Flip Layer 2 over so you are looking at its back side. Add foam and a few tiny glue dots to the back of that layer.
- Flip Layer 2 back over, line it up on the base, and press gently.
- Repeat with each layer, always applying adhesive to the back of the layer you are adding.
Alignment hack: If your layers have a clear “top,” mark a tiny pencil dot on the back at 12 o’clock as you go. You will erase it later, but it keeps everything oriented.
Depth reality check: For a common 8x8 or 10x10 shadowbox, 6 to 10 layers with 1/16 inch foam between layers usually fits nicely. If you go thicker (like 1/8 inch foam) on every layer, your stack gets tall fast.
Step 8: Mount and frame
Backing options
- Solid cardstock backing in a coordinating color
- Foam board for extra rigidity
- A premade shadowbox backer
Attach your mandala to the backing
Use a few strips of foam tape or a strong double-sided adhesive. If your mandala is heavy (lots of layers), add support near the center and edges.
Frame it
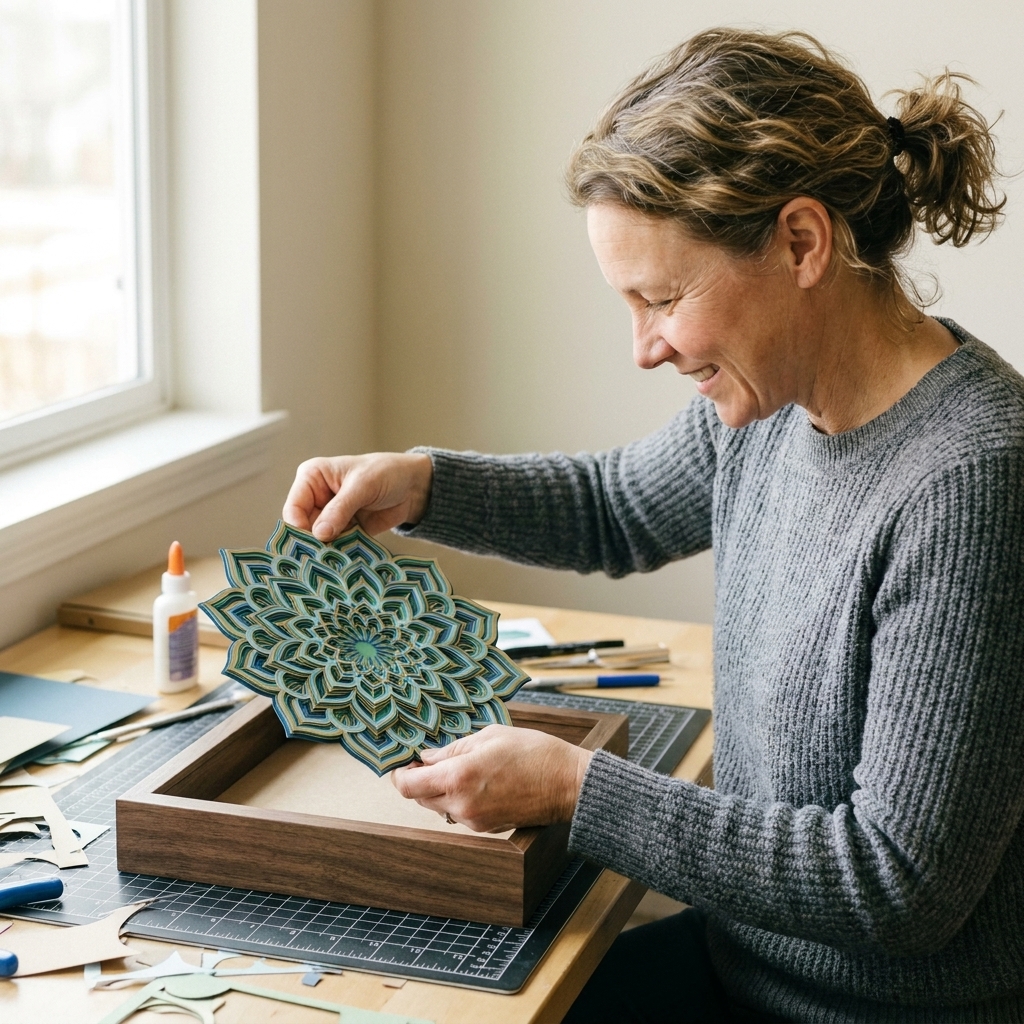
A shadowbox frame is ideal because it gives your layers room to breathe. If you use a standard frame, you may need to remove the glass or add a spacer so your mandala does not get squished.
Troubleshooting
My cardstock is tearing
- Try a fresh Fine-Point blade.
- Switch to a lighter pressure setting.
- Use a brayer and make sure your mat is clean.
- Rotate to a different area of the mat if the adhesive is uneven.
- If your mat is too sticky, switch to LightGrip or lightly de-stick a mat by pressing a clean cotton shirt onto it.
My layers are not lining up
- In Design Space, select all layers and Align then Center.
- Make sure you are not resizing individual layers.
- Slow down during assembly and line up using a few repeating landmarks in the design.
My vinyl accent is lifting
- Burnish again gently with a scraper.
- Avoid touching the adhesive with your fingers before applying.
- If cardstock is textured, use slightly larger accent pieces so there is more contact area.
My mandala looks flat
- Use thicker foam squares on every other layer.
- Increase contrast between adjacent cardstock colors.
- Add a darker base layer to create a shadow effect.
Variations to try
- Name or monogram center: Add a small vinyl name in the middle for a nursery or wedding gift.
- Seasonal palette swaps: Same file, different colors. Autumn mandalas are especially pretty.
- Gold edge accents: Add thin vinyl outlines to one or two layers only.
- Glow effect: Use glow-in-the-dark vinyl dots behind a few cutouts so the center glows at night.
Longevity note: Paper projects are happiest kept dry and out of direct sun. Also, if you are using very aggressive adhesive vinyl on certain papers, it can sometimes discolor over time. If this is a gift or keepsake, stick to small accents and test on a scrap first.
If you make one, take a second to admire it before you wrap it up. These are the kind of projects that look wildly impressive, but once you learn the workflow, they are totally repeatable. And that is my favorite kind of craft win.
FAQ
What Cricut machine works best?
Any Cricut that cuts cardstock cleanly can do this. Maker models handle intricate cuts beautifully, but Explore machines also do great with a fresh blade and the right settings. The main limiter is size, since smaller machines cap your maximum design dimensions.
Do I need a shadowbox frame?
It is the easiest way to protect the layers and show off the depth. If you use a standard frame, you may need to remove the glass or add a spacer so the mandala is not compressed.
Can I use cardstock instead of foam dots?
Yes. Stack small squares of scrap cardstock as spacers. It takes longer, but it is a nice option if you want a more rigid, all-paper build.
Will permanent vinyl stick to cardstock?
It generally sticks well to smooth cardstock. On heavily textured cardstock, keep vinyl accents slightly larger and burnish gently but thoroughly for the best hold.