A beginner-friendly breakdown of SVG, PNG, and DXF in Cricut Design Space, with simple rules for choosing the best format for vinyl cuts, Print Then Cut stic...
Maker Vinyl
Updated October 17, 2026
Inkscape vs. Canva for Editing SVGs
Trying to tweak a downloaded SVG before cutting? Here’s a Cricut-friendly comparison of Inkscape vs. Canva for resizing, recoloring, welding, and customizing free SVGs without wasting vinyl.

Harper Davis
Harper Davis is a lifelong DIY enthusiast and cutting-machine expert who loves helping beginners conquer Cricut Design Space. With over six years of experience running a custom vinyl shop, she shares practical tutorials, material guides, and creative inspiration.
If you have ever downloaded a cute free SVG, opened it in Cricut Design Space, and immediately thought, “Wait, why can’t I just change this one little thing,” you are not alone. I ran my vinyl shop for years and I still edit most downloaded files before they ever touch Design Space. The good news is you do not need expensive software to do it.
Two of the most popular free options are Inkscape and Canva. They can both help you customize SVGs, but they shine in totally different situations. Let’s walk through what each one does best for Cricut and vinyl projects, and which one will save you the most frustration (and wasted material).
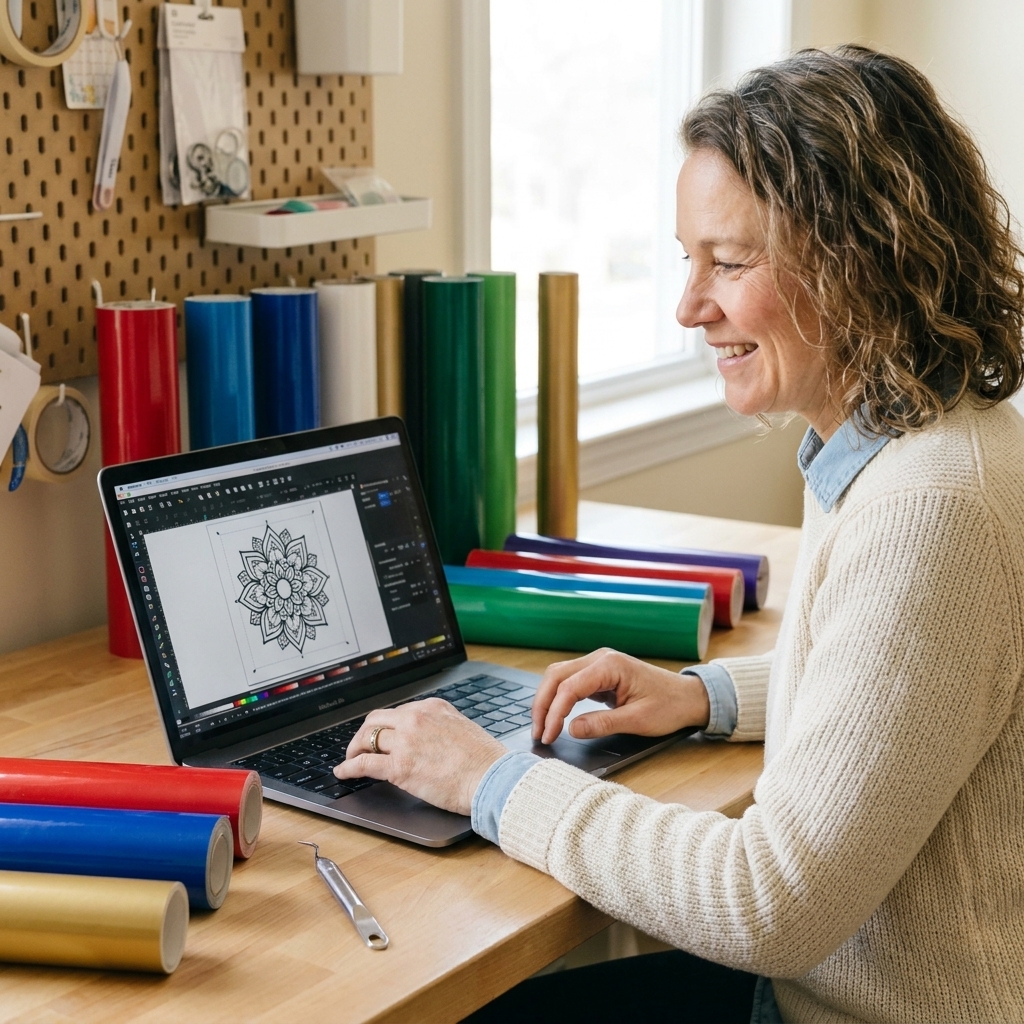
Quick takeaway
- Pick Inkscape if you want the most control over an SVG: editing nodes, fixing weird cut lines, welding shapes, splitting layers, creating clean cut files, and saving true SVGs for Cricut.
- Pick Canva if your goal is quick personalization and pretty layouts: adding names, making a sticker sheet look cute, building a simple sign mockup, or creating a Print Then Cut design with images and text. (Canva can upload SVGs, but editability and SVG export depend on your plan and the specific SVG and assets used.)
My personal rule: if it needs to cut perfectly, I go Inkscape. If it needs to look polished fast, I start in Canva and only switch if the SVG gets fussy.
What SVG editing means
Downloaded SVGs are supposed to be “ready to cut,” but in real life they often need a little TLC. Common tweaks Cricut crafters want include:
- Recoloring layers to match your vinyl stash.
- Resizing while keeping proportions correct.
- Swapping text (like “Grandma” to “Nana”) with a font you actually own.
- Welding script text so it cuts as one piece.
- Splitting a design into layers for HTV or permanent vinyl.
- Cleaning up stray cut lines that turn into mystery slices in Design Space.
- Making a Print Then Cut file for stickers or sublimation-style print projects.
Both tools can help, but the difference is how deeply they let you edit the actual vector paths that control your cut.
Design Space basics
Before you pick a tool, it helps to remember what Design Space is going to do with your file:
- Basic Cut uses the SVG’s paths as cut lines. Clean paths matter a lot.
- Draw, Score, Foil can also come from SVG paths, but you will usually assign the line type in Design Space after upload.
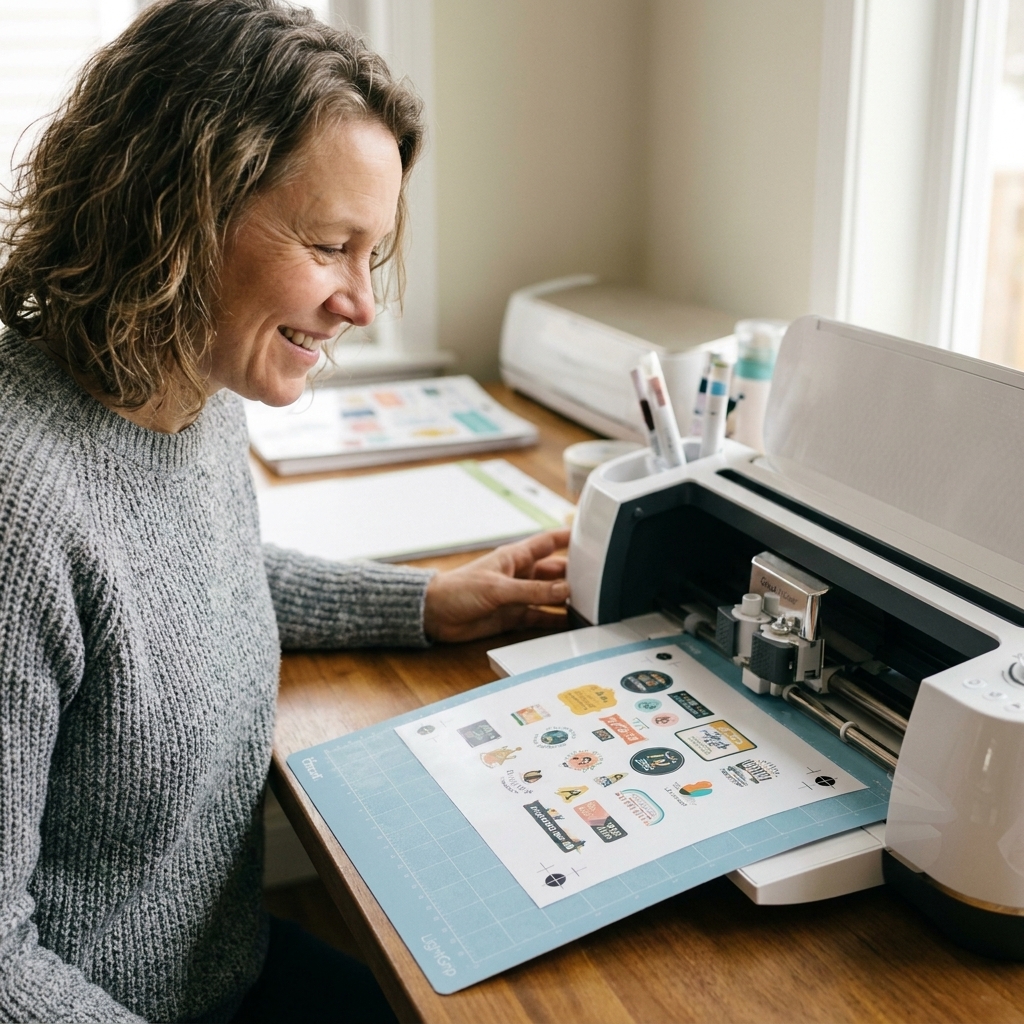
- Print Then Cut is usually a raster image workflow (PNG or JPG). You can still use SVG artwork for Print Then Cut, but once you export or upload it as a flattened PNG, you give up most vector cut control. That is totally fine for stickers and print projects.
Quick beginner clarity: tools like Weld, Attach, and Flatten inside Design Space are helpful for layout and assembly, but they do not replace true path cleanup. If a file has messy nodes, duplicate paths, or stroke lines that are becoming surprise cuts, fixing the SVG in Inkscape is the cleaner solution.
Inkscape at a glance
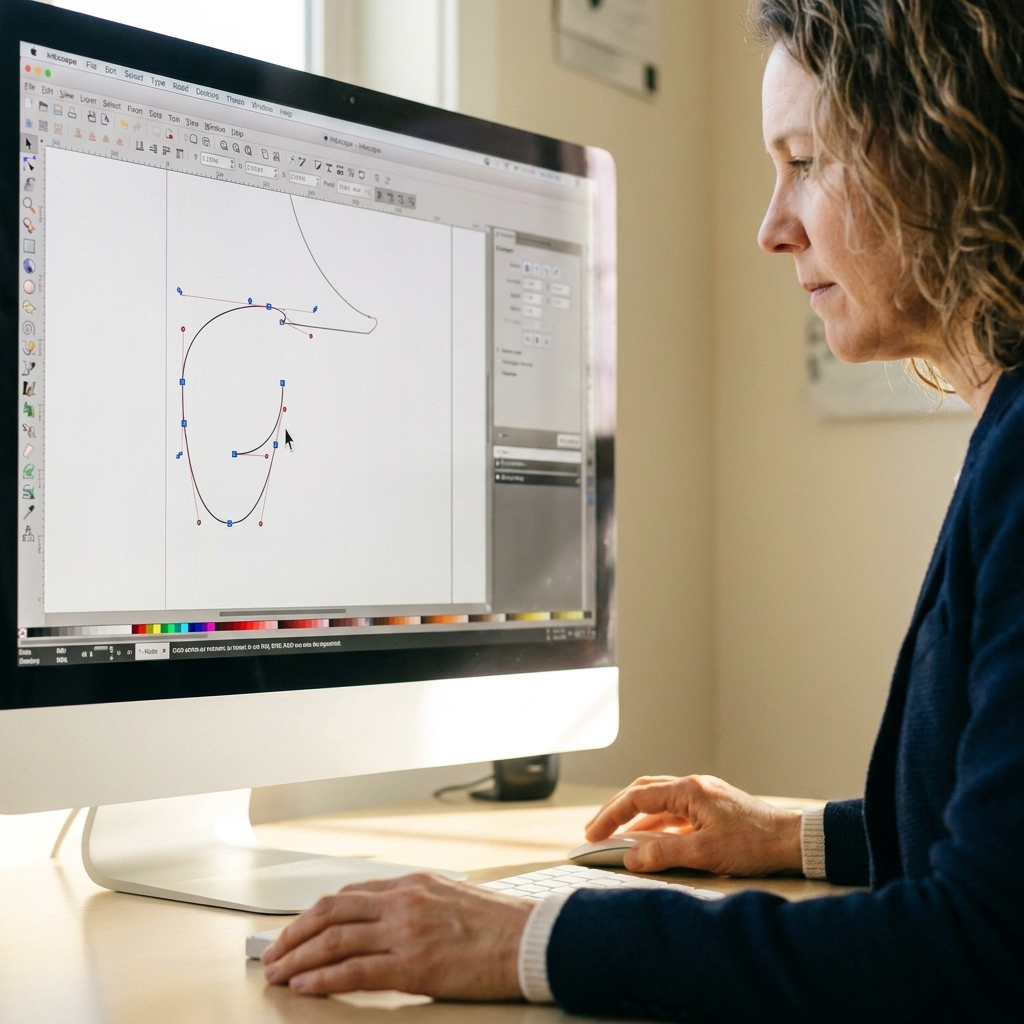
Inkscape is a free, open-source vector design program. Think of it like a free alternative to Adobe Illustrator. It is built for working with paths, nodes, and shapes, which is exactly what an SVG is.
Best for
- True SVG edits that affect how the machine cuts
- Fixing problem files that upload weird into Design Space
- Creating offsets, shadows, and layered vinyl designs
- Turning a PNG into a cuttable SVG (with some cleanup)
Where it can feel tricky
- The interface is not “cute.” It is powerful, but not bubbly.
- There is a learning curve around paths, unions, and node editing.
- Some advanced SVG features (like clipPath, masks, filters, or embedded images) may still confuse Design Space even if you save as SVG, so “Plain SVG” helps but is not magic.
Canva at a glance
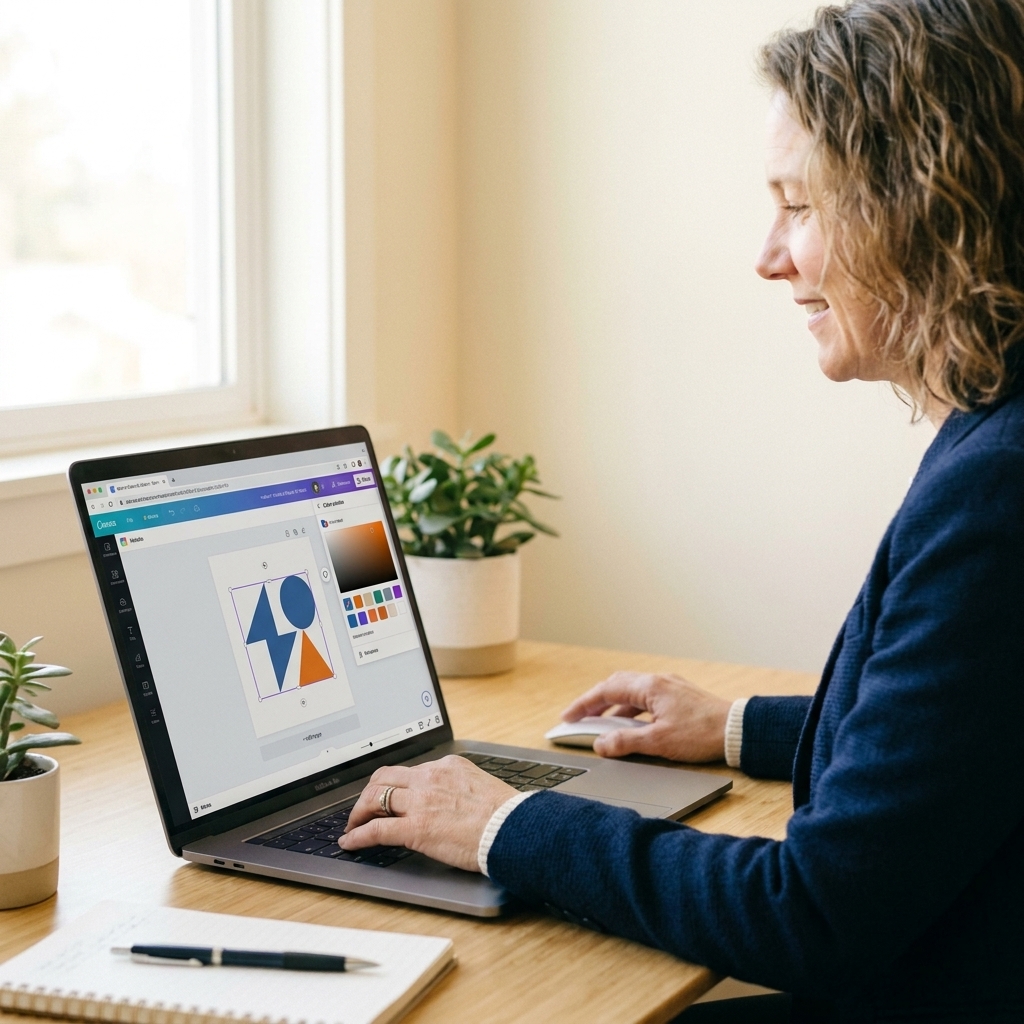
Canva is a browser-based design tool that is fantastic for layouts, quick personalization, and print projects. Canva can upload SVGs, but how editable they are (and whether SVG export is available) depends on your plan, the specific SVG, and whether you used any Pro elements or effects.
Best for
- Fast text personalization (names, dates, short phrases)
- Print Then Cut sticker layouts and labels
- Mockups for clients or craft fair listings
- Simple recolors and rearranging elements (when the SVG imports in editable pieces)
Where it can feel limiting
- It is not a true vector editor in the same way as Inkscape.
- Complex SVGs can import as grouped elements that are annoying to separate.
- Export options vary. A flattened PNG is great for Print Then Cut, but it will not behave like a cut-ready SVG for vinyl.
- Effects like shadows, glows, gradients, and textured backgrounds may rasterize on export or import, so always do a small test before you cut a full sheet of vinyl.
Inkscape vs. Canva
Recoloring layers
Inkscape: Excellent. You can recolor fills and strokes precisely, select by color, and confirm whether a shape has a stroke that might turn into an extra cut line.
Canva: Good for simple files. Many SVGs let you click and change colors easily, but some come in as a single grouped object or with limited editable parts.
Editing cut lines
Inkscape: This is the whole reason to use it. You can delete stray nodes, smooth jagged edges, and combine or break apart paths.
Canva: Limited. Canva is more about arranging elements than manipulating vector geometry. If your SVG needs real path cleanup, Canva is not your best friend.
Welding, uniting, and slicing
Inkscape: Strong. Use Path > Union to weld, Difference to knock out shapes, and Division to slice things cleanly.
Canva: You can overlap shapes visually, but you do not get the same dependable “this will cut as one piece” control. For script text that must weld cleanly, Inkscape wins.
Fonts and text
Inkscape: Uses fonts installed on your computer, so you get consistent results. You can also convert text to paths so your design does not break if a font is missing later. One important note: once you convert text to paths, it is no longer editable as text. I like to duplicate the text first and hide the editable copy, just in case I change my mind.
Canva: Super beginner-friendly and fast. But Canva fonts live inside Canva, and export behavior depends on format and design elements. It is fantastic for Print Then Cut. For clean vinyl cuts, you may still end up doing the final vector step in Inkscape.
Print Then Cut
Inkscape: Totally possible, especially if you want tight control over vectors and want to export high-resolution PNGs. But it is not as quick for building sticker sheets or label pages.
Canva: This is Canva’s comfort zone. It is easy to arrange stickers, add backgrounds, and export a crisp PNG for Print Then Cut.
Learning curve
Inkscape: Medium to high at first, then it becomes your crafting superpower. Once you learn Union, Difference, Break Apart, and how to save a Cricut-friendly SVG, you will use it constantly.
Canva: Low. You can get moving immediately.
Free features
Inkscape: Fully free. No “this feature is Pro” surprises.
Canva: The free plan is very usable, but some elements and export options are Pro or asset-dependent. For SVG cutting workflows, the bigger limitation is depth of vector control, not just pricing.
When to use Inkscape
- Your SVG uploads with random cut lines. Inkscape lets you find strokes, duplicate paths, and tiny scraps that become annoying cuts.
- You need to turn a design into clean layers. Great for multi-color HTV and layered permanent vinyl decals.
- You are working with script fonts. Weld in Inkscape, then upload one solid word instead of a bunch of touching letters that lift during weeding.
- You want offsets that behave. Inkscape can create an offset path that is smooth and cuttable, especially for sticker borders or shadow layers.
- You need to simplify a file. Reducing nodes can make cuts smoother on small, detailed designs.
If your goal is a clean cut file, Inkscape is the safer bet.
When to use Canva
- You are making sticker sheets. Drop in your elements, duplicate, align, and export a PNG for Print Then Cut.
- You want quick name personalization. Onesies, teacher gifts, team water bottles, party favor tags.
- You need a mockup fast. Canva is excellent for visualizing colors and layouts before you commit vinyl.
- You are designing simple signs. A clean quote, a simple icon, and easy spacing.
If your project is more layout and typography than path cleanup, Canva will feel faster and more fun.
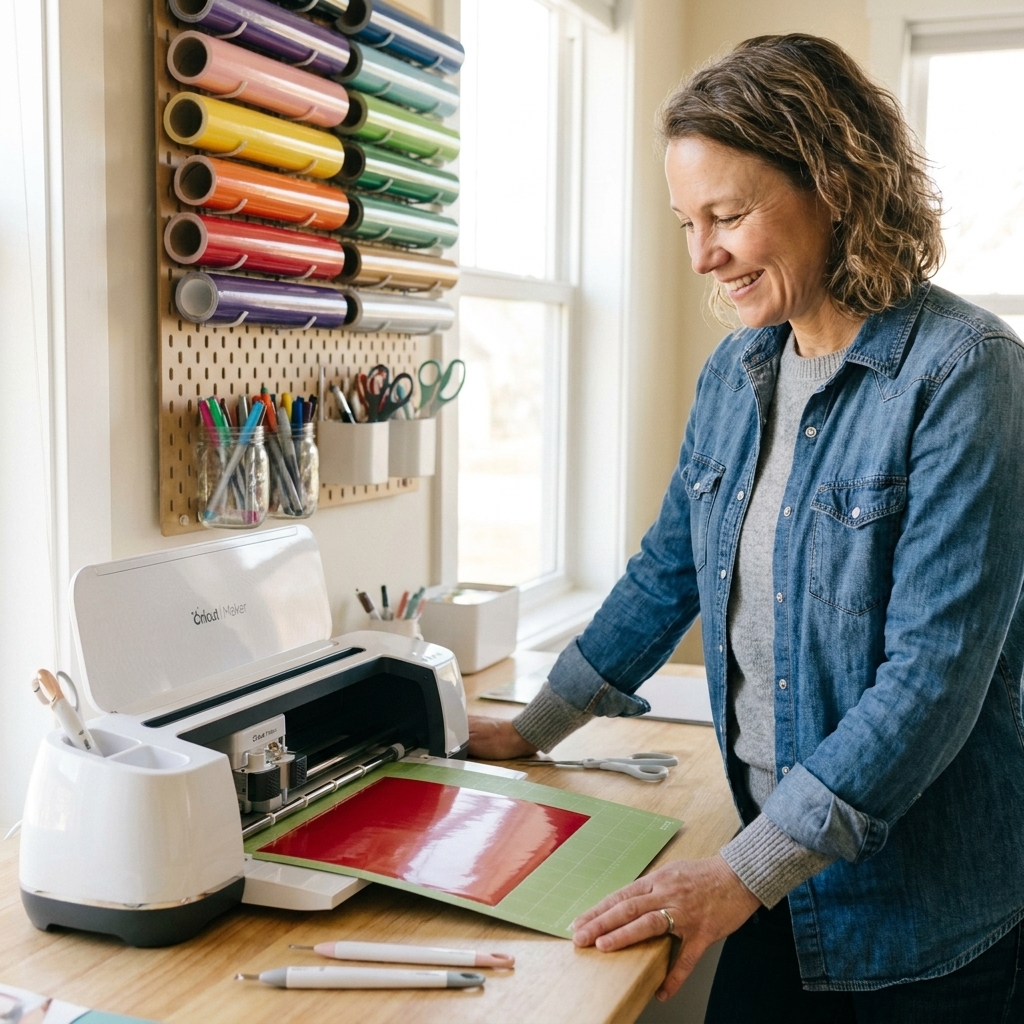
Exports for Cricut
Exporting from Inkscape
- Best for cut projects: Save as Plain SVG whenever possible.
- Text safety tip: If you used fonts, duplicate the text first (so you keep an editable copy), then convert the cutting copy to paths. In Inkscape, select text and use Path > Object to Path.
- Heads up on SVG features: Design Space can struggle with clipPath, masks, filters, patterns, and embedded raster images. Text that is not converted to paths can also behave unpredictably if fonts are missing or handled differently. If an SVG imports strangely, simplifying the file (or converting tricky pieces to plain paths) usually helps.
- If you need Print Then Cut: Export a PNG at high resolution (aim for 300 DPI, or export with a large pixel width) so it prints crisp.
Exporting from Canva
- For Print Then Cut: Export as PNG. Use a transparent background if your plan and design allow it. Keep your design at the size you want to cut so you are not enlarging later.
- For basic cut shapes: If your Canva plan and design allow SVG export, it can work for simple shapes. If the upload acts weird, switch to Inkscape to clean it.
- Keep it simple for vinyl cuts: Avoid heavy effects (glows, shadows, textured backgrounds) if you intend to cut it from vinyl. Those effects do not translate to clean cut lines. If you export a flattened PNG, expect Print Then Cut behavior, not vinyl-cut behavior.
Sanity saver: If Design Space tells you a file is “too large” or imports as a black box, it is often the file, not you. Common culprits are huge canvas dimensions, clipPath, masks, filters, or embedded images. Opening the SVG in Inkscape, simplifying it, and resaving as Plain SVG fixes a lot of those headaches.
My simple workflow
For vinyl decals and layered HTV
- Open the SVG in Inkscape.
- Check for strokes and stray bits.
- Break apart groups and confirm each color layer is its own piece.
- Weld anything that should cut as one shape.
- Save as Plain SVG.
- Upload to Design Space and assign colors and mats.
For sticker and label sheets
- Bring the art into Canva (SVG or PNG).
- Arrange multiples, add names, add simple backgrounds if you want.
- Export a PNG at high quality.
- Upload to Design Space as a Print Then Cut image.
Common issues
“My SVG is one solid piece and I cannot separate colors.”
Try Inkscape. Use Object > Ungroup repeatedly, then try Path > Break Apart if needed. Some designs are intentionally made as a single layer, but many are just grouped tightly.
“Design Space is adding extra cut lines I did not design.”
Open the file in Inkscape and look for strokes and duplicate paths. In many cases, strokes can import as separate cut paths unless they are converted to fills (outlined) or removed. Tiny hidden shapes can also become surprise confetti.
“My Canva export looks blurry in Design Space.”
Export a larger PNG (bigger canvas size) and avoid enlarging after upload. Print Then Cut is picky about resolution. If you designed it small and then scale it up later, blur happens.
“My text changed when I uploaded it.”
In Inkscape, convert text to paths before saving (but keep a duplicate text copy first, so you can still edit later). In Canva, keep text simple and consider exporting as PNG for Print Then Cut if you are not relying on cut lines.
Licensing note
One thing I always mention when we are talking “free SVGs”: check the license. A lot of free files are personal-use only. If you sell decals, shirts, or finished items, make sure you have commercial-use rights for that design.
Which one should you use?
If you are customizing SVGs specifically for Cricut cutting, Inkscape is the best all-around free choice because it gives you real control over the vector paths that become cut lines.
But if your projects lean toward Print Then Cut, quick personalization, and polished layouts, Canva is the easiest on-ramp and a great companion tool. Just remember that Canva’s SVG editability and SVG export depend on your plan, the file, and the assets you used.
If you are building your craft toolkit from scratch, I would install Inkscape and also keep a free Canva account. They cover different parts of the workflow, and together they will save you a lot of vinyl-learning-tax.
FAQ
Can I edit an SVG in Canva for free?
You can upload SVGs into Canva and often do basic edits like resizing, recoloring (depending on the file), and adding text. Editability and export options, including SVG export, depend on your plan and the specific SVG and assets used. If you cannot export an SVG or your file needs deeper edits, use Inkscape.
Is Inkscape safe and truly free?
Inkscape is free and open-source. Download it from the official Inkscape site to avoid sketchy third-party installers.
Will editing in Inkscape keep my SVG layered for Cricut?
Yes, as long as you keep your layers as separate shapes and save properly (Plain SVG is my go-to). In Design Space, those separate pieces typically import as separate layers that you can assign to different mats.
Which is better for sticker making?
For sticker sheets and layouts, Canva is usually faster. For creating clean cut lines, offsets, and precise borders, Inkscape is stronger. A lot of sticker makers design the layout in Canva and do final cut-line cleanup in Inkscape.