A step-by-step prep guide for flawless adhesive vinyl on glass, wood, and plastic blanks, plus the top mistakes that cause lifting and bubbles.
Maker Vinyl
Updated October 17, 2026
DIY Glass Etching with Cricut Vinyl
Learn how to etch glass safely using Cricut-cut vinyl stencils and etching cream. Make durable, personalized wine glasses, jars, and gifts with crisp edges.

Harper Davis
Harper Davis is a lifelong DIY enthusiast and cutting-machine expert who loves helping beginners conquer Cricut Design Space. With over six years of experience running a custom vinyl shop, she shares practical tutorials, material guides, and creative inspiration.
If you have ever picked up a plain glass at a craft store and thought, “This could be so cute with a monogram,” you are in the right place. Glass etching looks fancy, but with a Cricut, permanent vinyl, and a little patience, you can make a clean, permanent design that will not peel like a decal and holds up really well to everyday use.
This is the exact process I use for gifting and for small-batch orders: cut a stencil from vinyl, apply it like a decal, then use etching cream to frost the exposed glass. I will walk you through it step-by-step, plus my best “save your glass” tips for crisp edges.
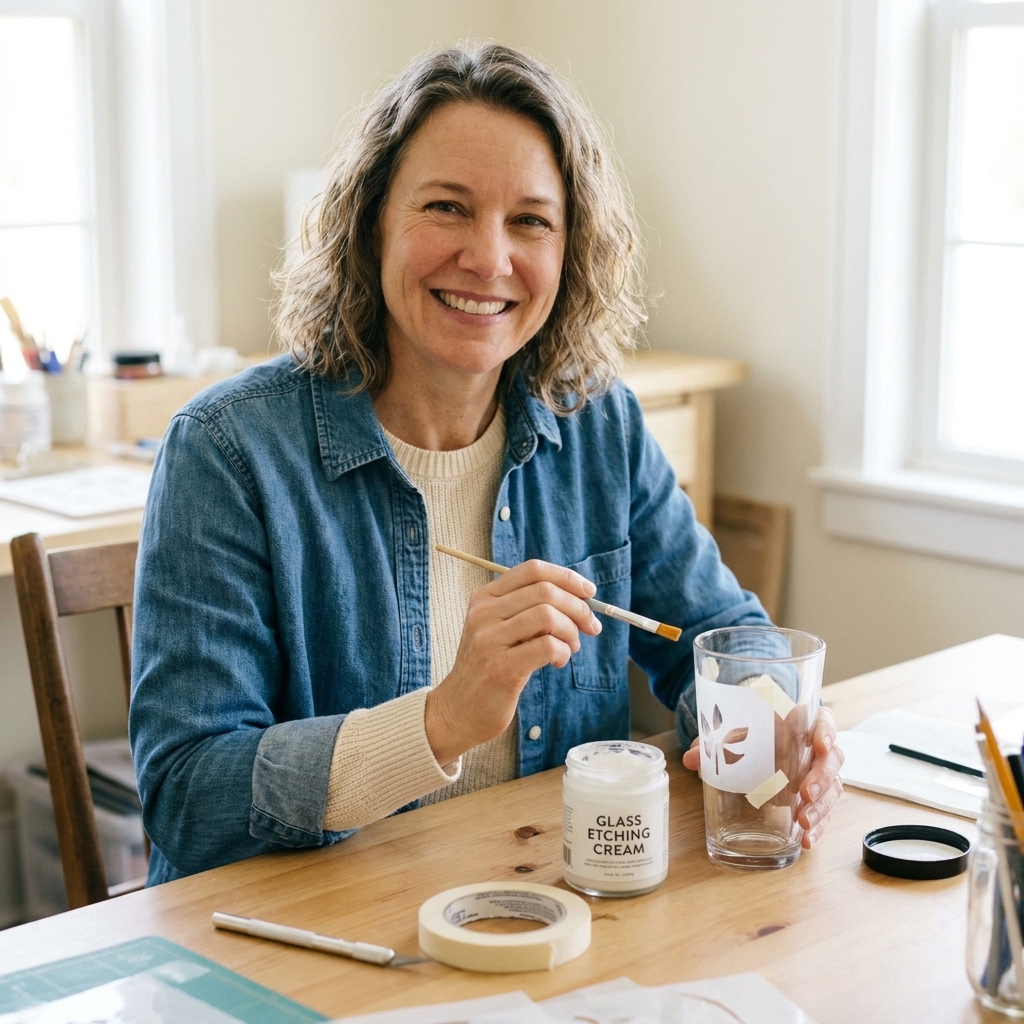
What glass etching is (and why vinyl matters)
Most popular etching creams chemically react with the surface of glass to create a frosted look. It is not a mild product, so treat it like the serious chemical it is.
The vinyl does not etch the glass. The vinyl is simply a stencil that protects the parts you want to stay clear.
That means your results depend on two things:
- A tight, well-burnished stencil so cream cannot sneak under edges
- Good timing and coverage so the frosted area etches evenly
Permanent adhesive vinyl is my go-to because it often holds up better than removable vinyl during the cream step, especially on fine details. That said, some removable vinyl can seal beautifully on glass too, so do not feel like you have to buy a whole new roll if you already have removable on hand. The key is a great seal.
Supplies checklist
Tools and materials
- Cricut machine (any model that cuts vinyl)
- Cricut Design Space
- Permanent adhesive vinyl (Oracal 651 style or Cricut Premium Permanent)
- StandardGrip mat (optional, depending on your vinyl type)
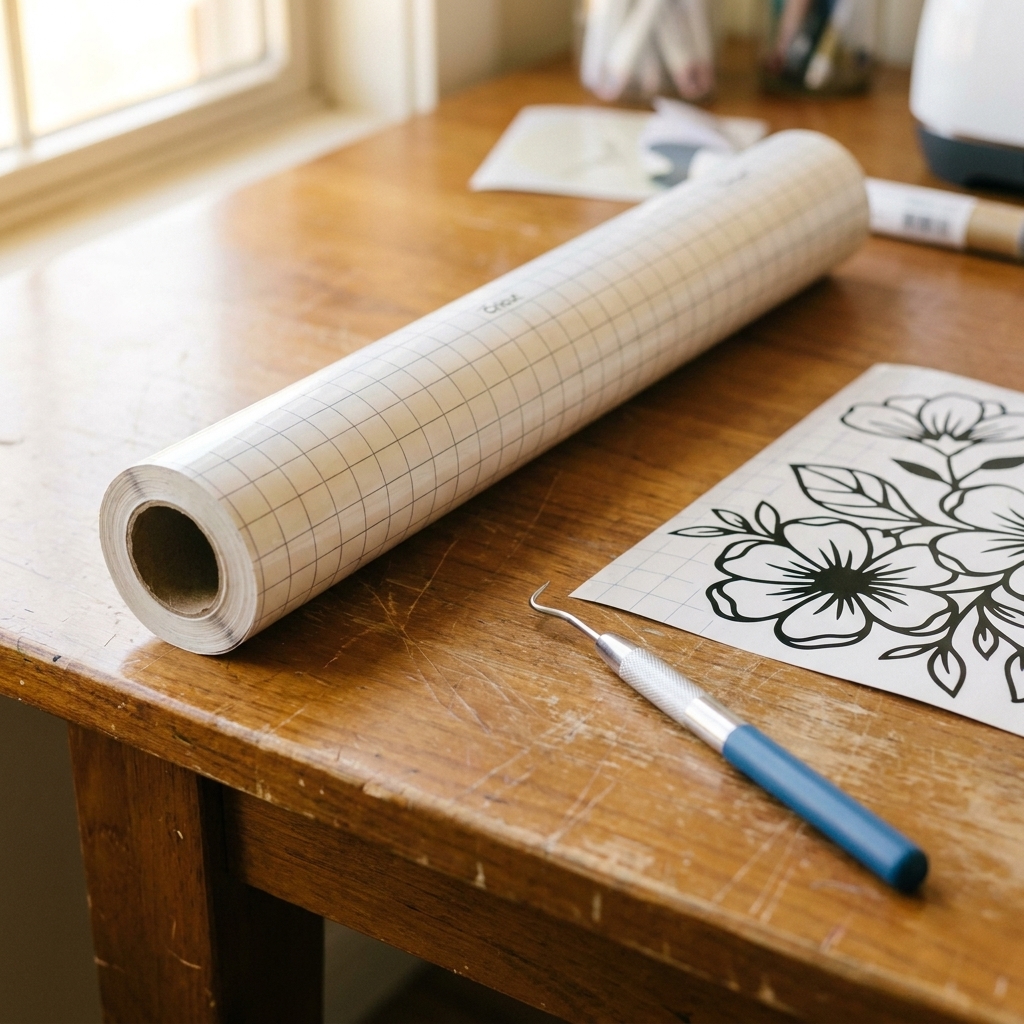
- Weeding tools (hook, tweezers)
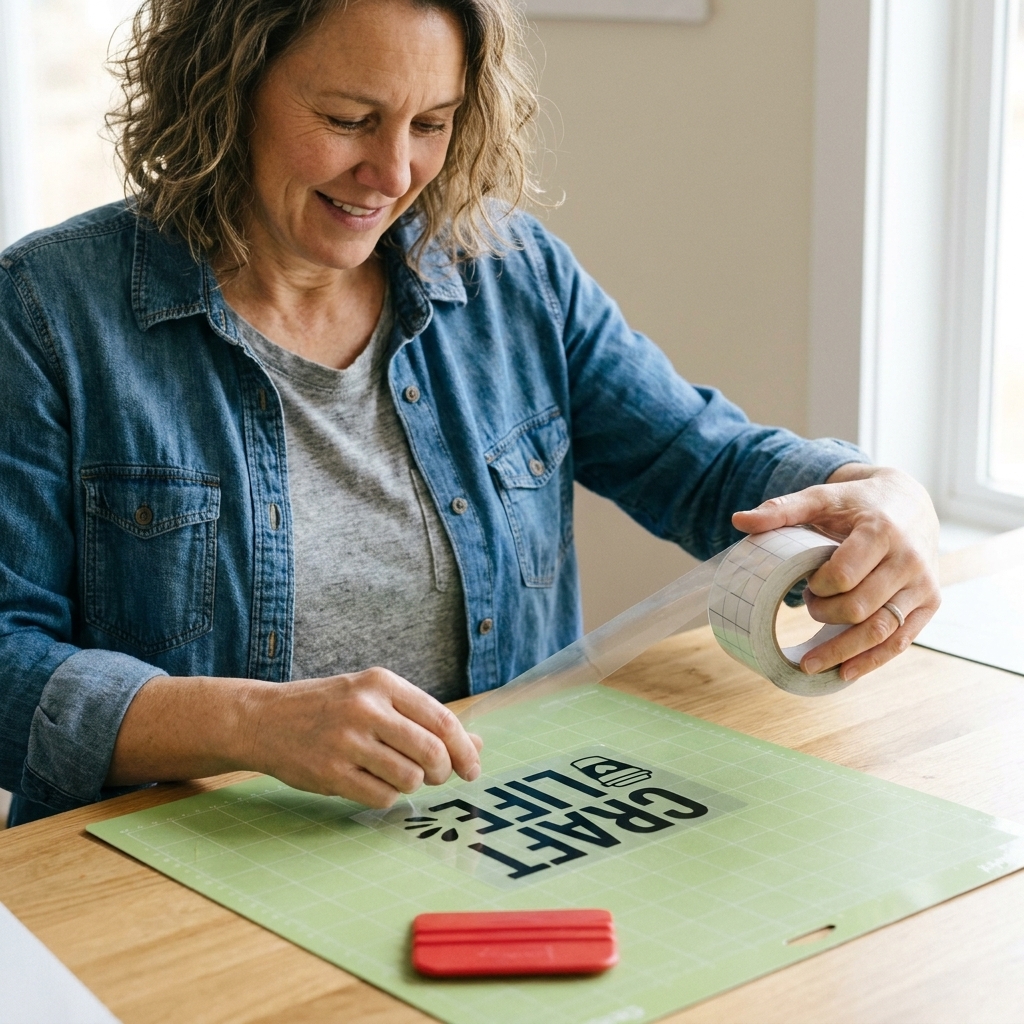
- Transfer tape (standard grip is usually perfect)
- Etching cream (follow your brand’s instructions)
- Small craft brush or a disposable foam brush
- Nitrile gloves
- Safety glasses
- Paper towels and cotton swabs
- Rubbing alcohol (or dish soap and water)
- Painters tape (optional, for masking larger areas)
- Plastic scraper or an old gift card (for burnishing)
- Glass item (mug, jar, wine glass, mirror, etc.)
Best glass types for beginners
- Clear soda-lime glass (most drinkware and jars)
- Flat glass like picture frames or mirrors (easy stencil placement)
Heads up: Some tempered glass, coated glass, or specialty finishes etch unevenly. When in doubt, test a tiny hidden spot first.
Also worth noting: Be cautious with anything labeled crystal, lead crystal, or “special coating.” Some of these can etch unpredictably, and some coatings can be damaged. Testing a small hidden area is the safest move.

Safety first
Etching cream is not a “wipe on with bare hands” product. Treat it with respect and you will be totally fine.
- Wear gloves and eye protection.
- Work in a well-ventilated area.
- Keep it off skin, eyes, and clothing.
- Do not use food-prep brushes or bowls for etching cream.
- Protect your surfaces. I like to work over a craft tray or a few layers of paper, and I keep a damp paper towel nearby for quick cleanup.
- Follow your cream brand’s label for timing, cleanup, and disposal.
If you craft with kids around, do this step when you can focus without tiny hands “helping.” Ask me how I know.
Step 1: Make a design
Simple shapes and bold fonts give the cleanest results. Glass etching is not the best place to start with hairline script and teeny details.
Design tips for crisp etching
- Go bigger than you think. Thin lines can look lighter after etching.
- Avoid distressed textures on your first try. They create lots of tiny edges where cream can creep.
- Weld script fonts so letters do not separate when you weed.
- Mirror? You usually do not mirror for etching because the stencil is applied to the outside of the glass. Mirror only if you specifically want the design to read correctly from the inside looking out.
My beginner-friendly favorites: single initials, last names in a chunky serif, simple botanical silhouettes, or clean geometric icons.
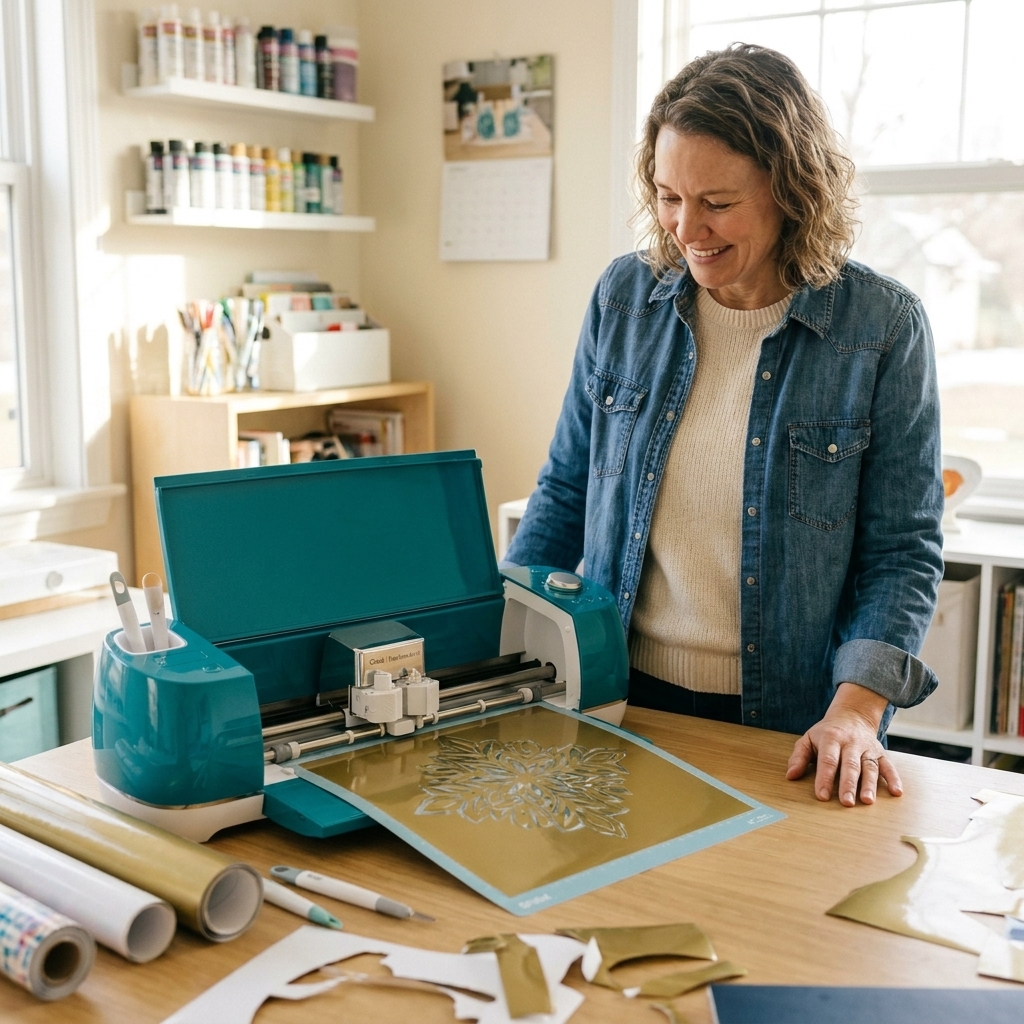
Step 2: Cut the stencil
Place your vinyl on the mat liner side down (if you are using a mat), smooth it down, then load it into your Cricut and cut as usual.
- Material setting: choose your brand in Design Space if available, or start with “Premium Vinyl” type settings.
- Test cut: if you are using a new vinyl brand, do a small test shape so you do not fight the weeding step.
Step 3: Weed the stencil
The most common beginner mistake is weeding the wrong part. Remember: the etched area is the glass you leave exposed.
- If you want frosted letters, weed out the letters so the glass shows through.
- If you want frosted background with clear letters, keep the letters and weed away the surrounding area.
Weeding tips
- Use good light. Vinyl is sneaky.
- Go slow on small counters (centers of O, A, R, etc.).
- Keep spacing consistent if you are layering multiple elements.
If your design has delicate pieces, consider adding a simple box border around it. That gives you an easy masking edge and reduces the chance of cream spreading where you do not want it.
Step 4: Prep the glass
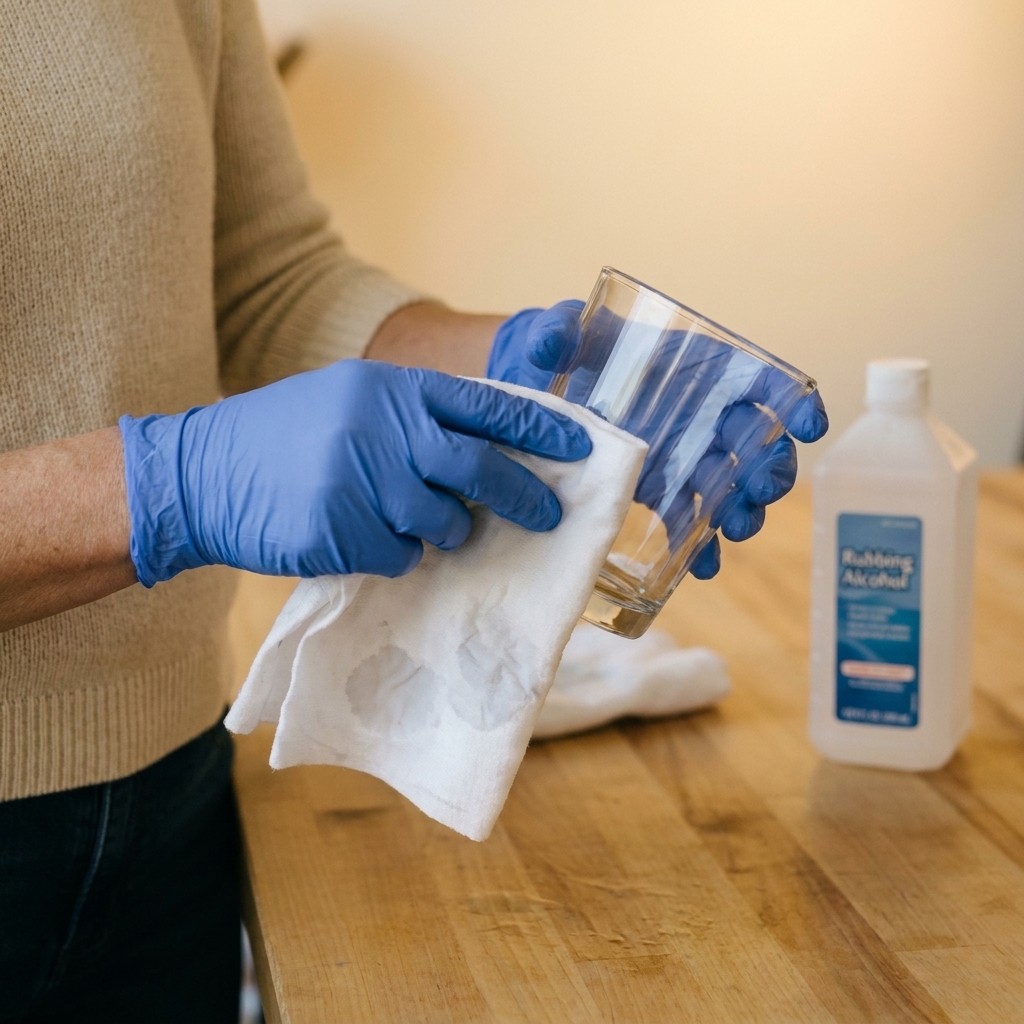
Clean glass is everything. Any oils from your fingers can keep vinyl from sealing, and that is when you get fuzzy edges.
- Wash the glass with dish soap and water, then dry completely.
- Wipe the etching area with rubbing alcohol and a lint-free cloth.
- Avoid touching the cleaned area with bare fingers.
Step 5: Apply the stencil
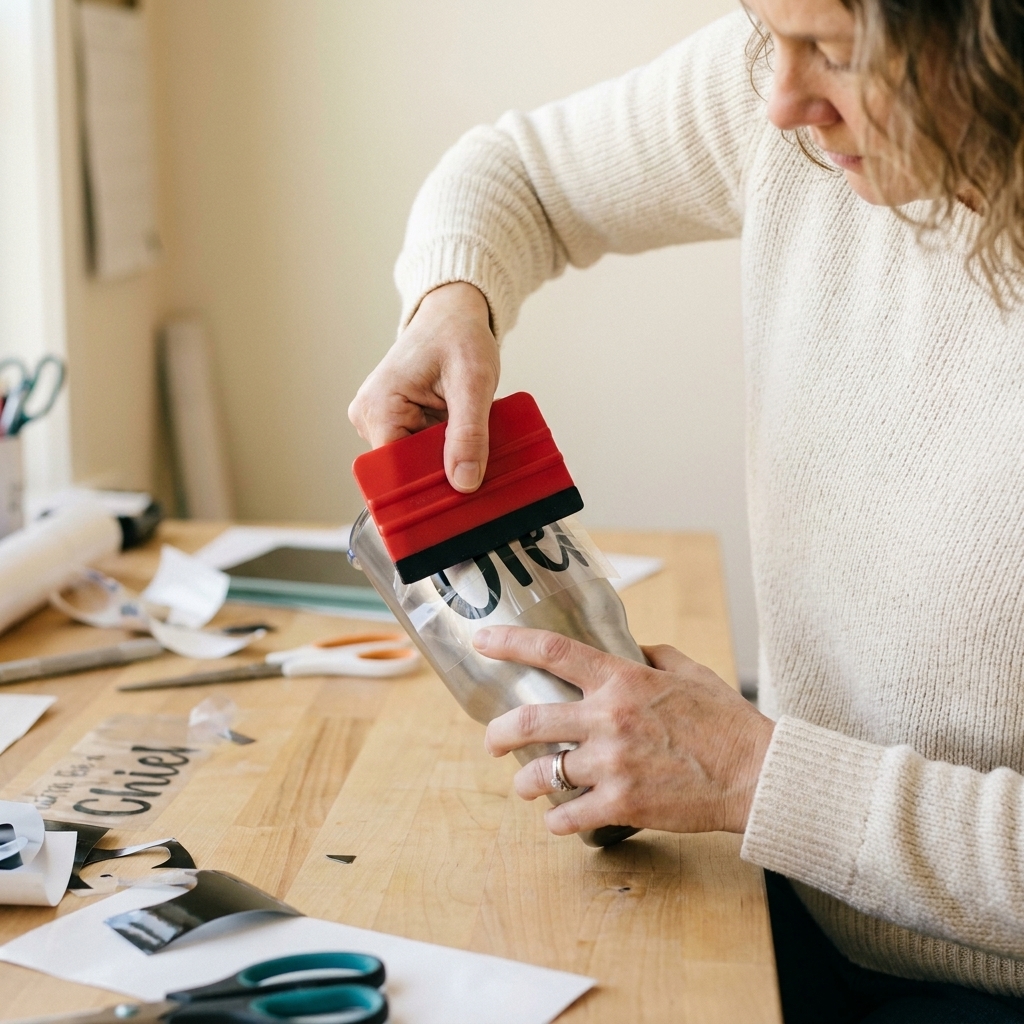
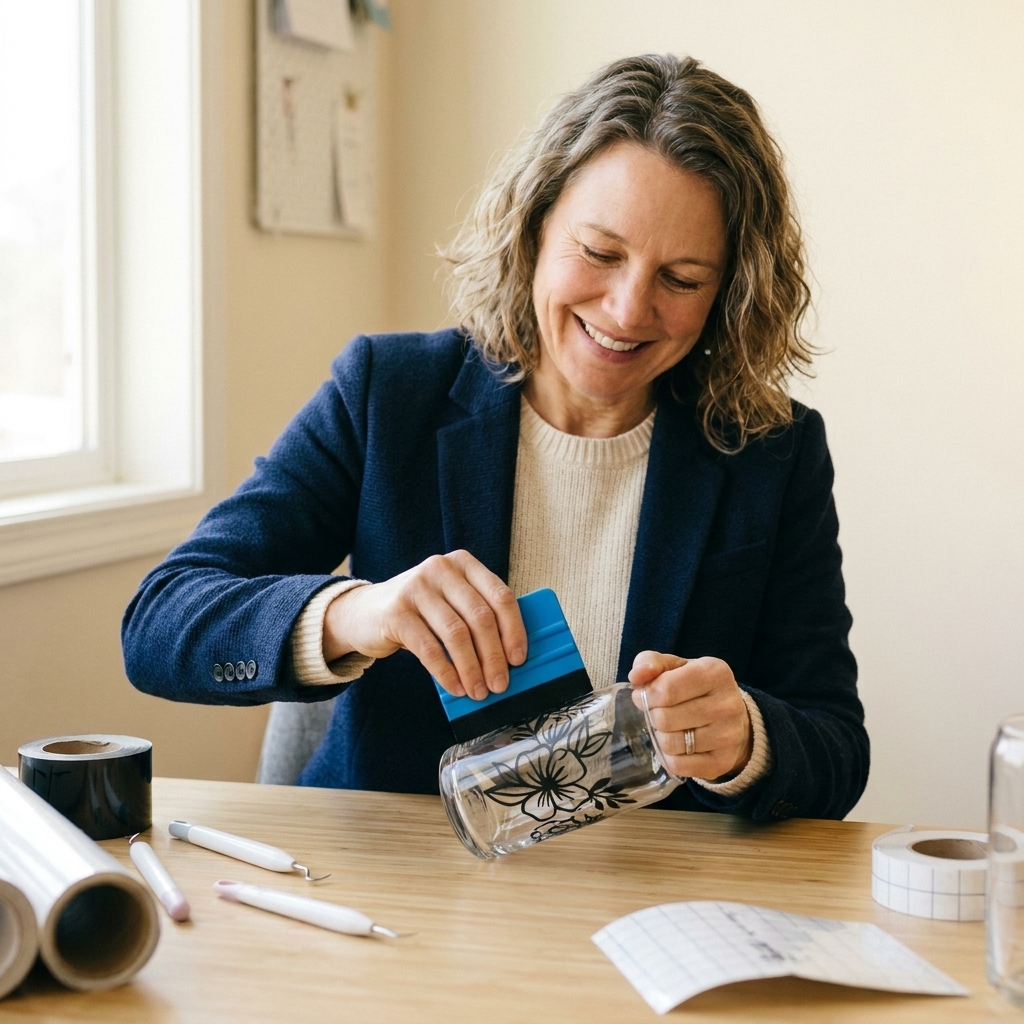
Apply transfer tape to your weeded stencil, burnish it, then peel the vinyl up from the backing. Place it on the glass and take your time lining it up.
Curved glass tips
- Work from the center outward as you burnish.
- Make relief cuts in the transfer tape (just the tape, not the vinyl) so it can flex around curves without wrinkling.
- Use slow, steady pressure with a scraper or your fingers.
Once the vinyl is down, peel the transfer tape off slowly at a sharp angle.
Burnish hard
This is the step that prevents bleed. Burnish every edge of the stencil, especially inside corners and thin strokes. I like to do a quick pass, then a second pass focusing on the tiniest edges.
Optional but recommended: Use painters tape to mask around the stencil so any accidental cream smudges do not etch outside your design area.
Step 6: Apply etching cream
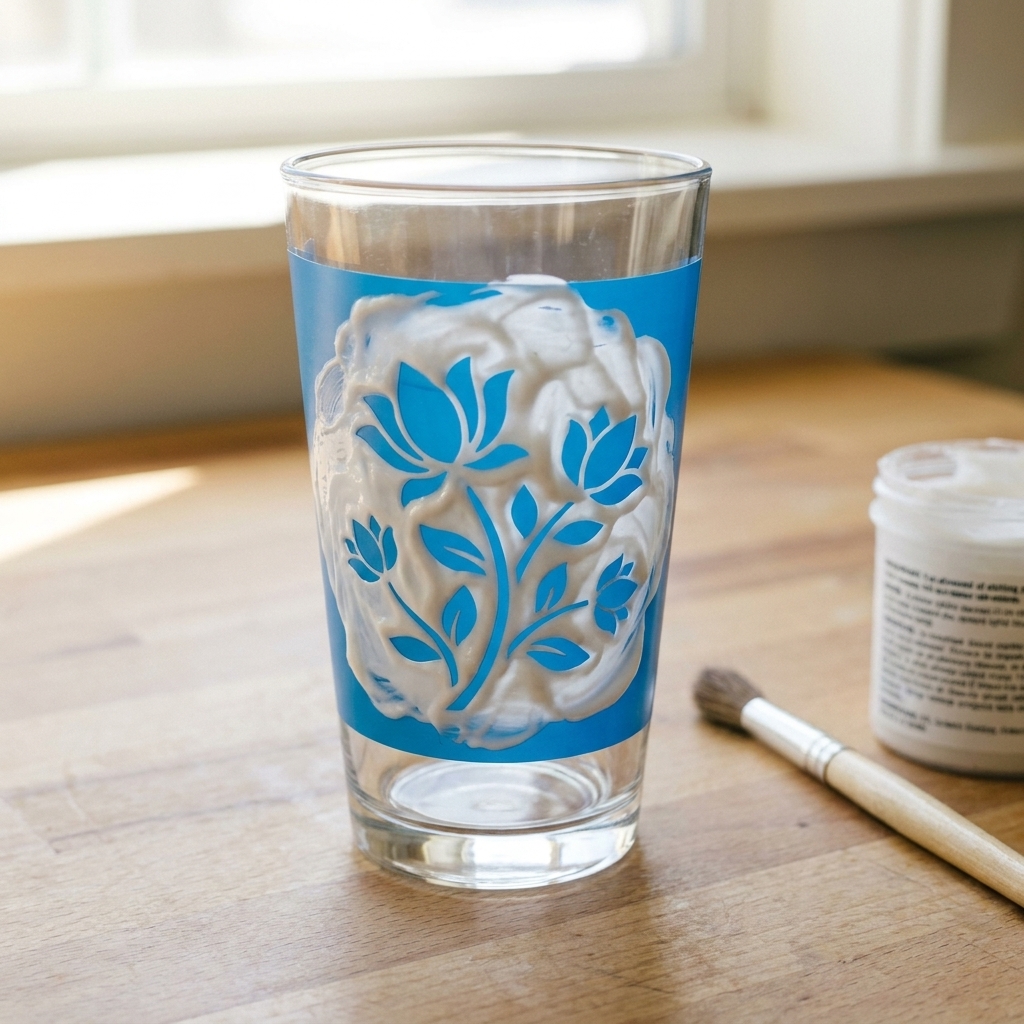
Put on gloves and eye protection before you open the cream. Using a craft brush, dab a thick, even layer of cream onto the exposed glass.
- Dab, do not paint. Brushing back and forth can push cream under the vinyl edge.
- Go thicker than you think. A thin coat can etch unevenly.
- Stay inside the masked area. Cream can permanently mark any glass it touches.
Let it sit for the amount of time listed on your etching cream. If you are feeling unsure, many hobby creams are in the 1 to 5 minute range, but trust your specific label over any general rule.
Step 7: Rinse and reveal
When time is up, take the glass to a sink and rinse thoroughly. I like to rinse first with the vinyl still on to keep residue contained, then peel the vinyl away under running water.
- Rinse with plenty of water until the glass feels squeaky clean, meaning there is no slippery residue.
- Remove the stencil and any masking tape.
- Wash with dish soap and dry.
Your design should look frosted and permanent. If it looks faint while wet, do not panic. It becomes more obvious as it dries.

Crisp edge tips
- Choose bold designs. Tiny details are where bleed happens first.
- Use fresh vinyl. Old vinyl can lift or not stick evenly.
- Press down edges twice. I do an initial burnish, then I re-check every letter edge.
- Mask more than you think you need. Painters tape is cheaper than replacing a glass.
- Do not overwork the cream. Dab it on and walk away.
Common mistakes
- Touching the glass after cleaning. Finger oils are sneaky.
- Rushing the burnish step. Crisp edges start here.
- Using too little cream. Thin spots can etch patchy.
- Brushing the cream back and forth. Dabbing is safer for clean lines.
Troubleshooting
Vinyl lifted when I removed the transfer tape
- Burnish the vinyl onto the glass more firmly before removing the tape.
- Peel the transfer tape back slowly at a sharp angle.
- Try a less sticky transfer tape if yours is very aggressive.
I got fuzzy edges from cream bleed
- Next time, burnish edges longer and dab the cream instead of brushing.
- Check for tiny bubbles or wrinkles near detail cuts.
- Use a slightly thicker vinyl (some brands seal better than ultra-thin films).
The etch looks patchy
- Make sure the glass is perfectly clean before applying vinyl.
- Apply a thicker, more even coat of cream.
- Some coated or textured glass will etch inconsistently. Test first on a spare piece.
Can I re-etch if it is too light?
Sometimes, yes, but it is tricky to line a stencil back up perfectly. If you want to try, clean the glass thoroughly, apply a new stencil (or the same one if it is still perfect), and etch again following your cream’s directions. For beginners, it is often better to treat the first attempt as a “test glass” and adjust your process for the next one.
Quick project ideas
- Monogram wine glasses for weddings and showers
- Cookie jars with frosted labels
- Bathroom canisters (cotton balls, q-tips)
- Beer mugs with a simple logo silhouette
- Glass vases with repeating patterns
- Holiday glassware with snowflakes or names for place settings
FAQ
Is etched glass dishwasher safe?
The etch itself is permanent because it changes the glass surface, so it will not peel like vinyl. For plain glass, it generally holds up well, but heavy abrasion, harsh detergents, and glasses knocking into each other over time can affect how the frosted area looks. Also, hard-water minerals can build up on etched areas and make them look cloudy. If that happens, a quick vinegar soak and gentle wash usually helps.
If your glass has painted details, metallic rims, or manufacturer care warnings, follow those first, etched or not.
Do I need special vinyl for etching?
You do not need “stencil vinyl,” but permanent adhesive vinyl is my top choice because it often seals edges well. If you have stencil vinyl, it can be great too. The key is strong adhesion and clean edges.
Can I etch Pyrex or tempered glass?
Sometimes it works, sometimes it etches unevenly. Tempered and specialty glass can be unpredictable. If the piece is important, test a small area on the bottom first.
Can I etch colored glass?
Yes, but the frosted effect can look different depending on the color and finish. The process is the same. Test first if it is a pricey item.
Wrap-up
Once you do one glass etch project successfully, it gets addictive fast. The biggest “aha” is realizing that crisp results come from stencil prep, not from rushing the cream step. Clean glass, strong burnishing, and a thick dabbed-on layer of cream will take you so far.
If you make a set you love, do yourself a favor and etch one extra glass as a practice piece for the next holiday or gift idea. Future you will be very thankful.