A beginner-friendly guide to transfer tape for Cricut vinyl projects, including tack levels, grid tips, compatibility notes, and troubleshooting for stubborn...
Maker Vinyl
Updated October 17, 2026
Transfer Tape: Pick the Right Grip and Avoid Bubbles
Confused by strong grip vs standard grip transfer tape? Learn which tape to use for vinyl, when masking tape works, and the burnishing technique that helps prevent bubbles and lifting.

Harper Davis
Harper Davis is a lifelong DIY enthusiast and cutting-machine expert who loves helping beginners conquer Cricut Design Space. With over six years of experience running a custom vinyl shop, she shares practical tutorials, material guides, and creative inspiration.
Transfer tape seems like it should be the easy part. You cut your vinyl, weed it, slap on tape, and move it to your blank. Except somehow this is the step where letters stretch, bubbles pop up like tiny landmines, or half your design stays stuck to the backing like it is protesting.
I have been there. Back when I started selling custom decals, I wasted a painful amount of permanent vinyl because I used whatever tape was on sale and tried to muscle it with my scraper. The good news is transfer tape is predictable once you match the grip level to your vinyl and use a couple of simple burnishing habits.
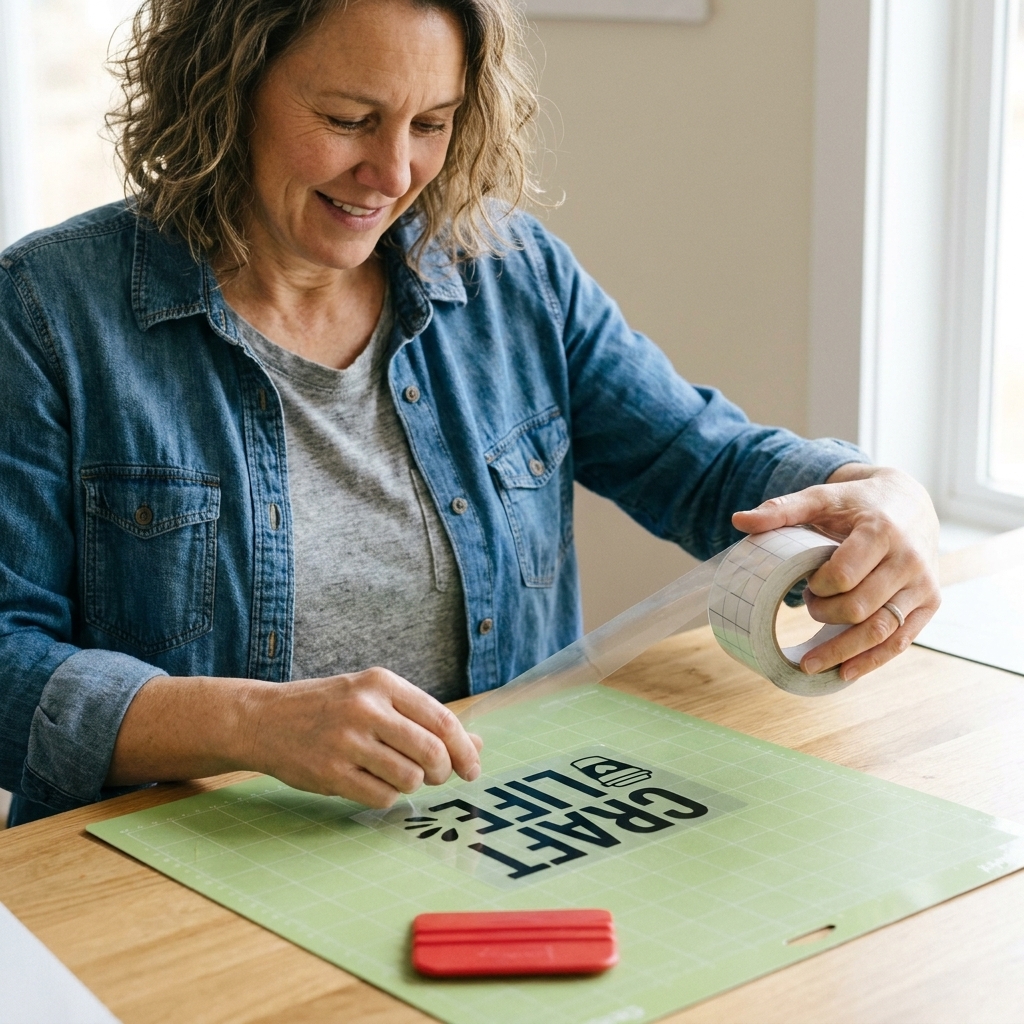
Transfer tape grip levels
Transfer tape has one job: pick your vinyl up off the backing, hold it steady, then let go when you apply it. The “right” grip is the one that does that with the least drama.
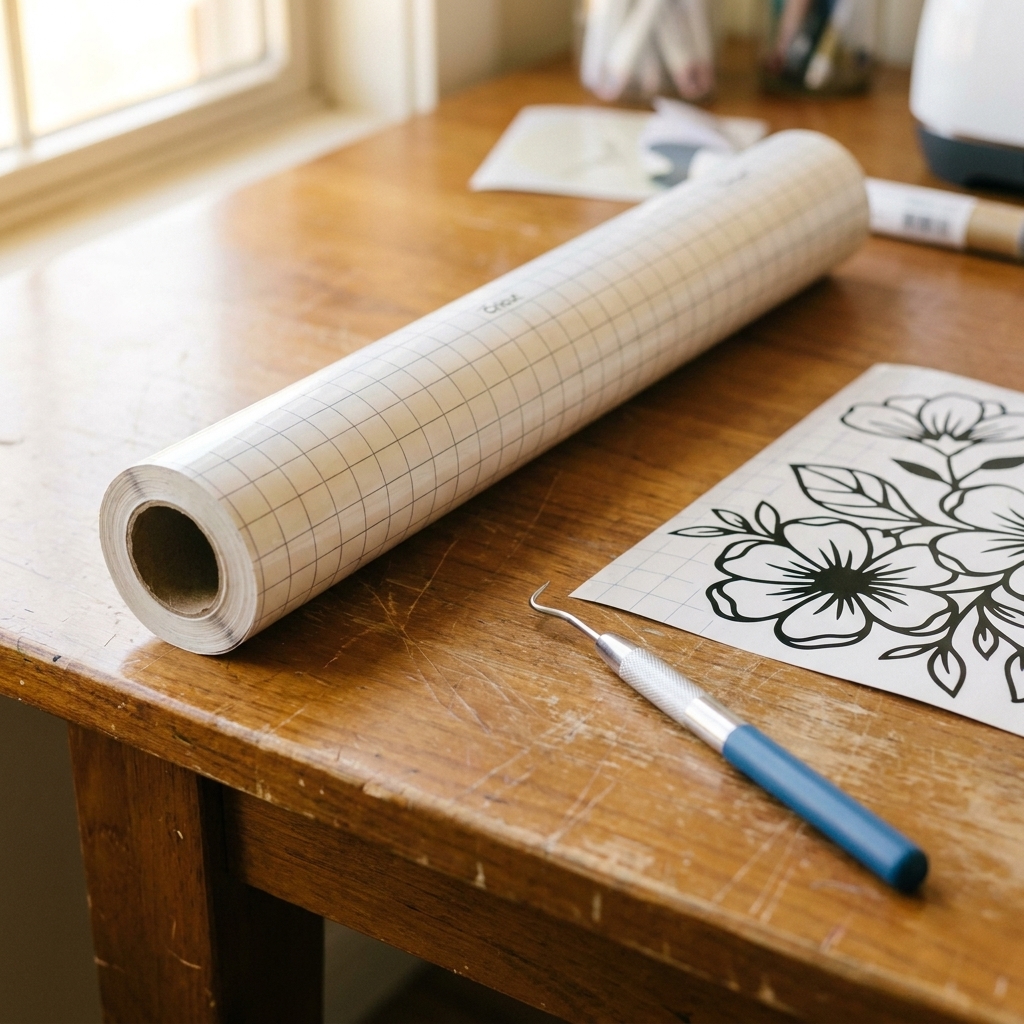
Standard grip transfer tape
Best for: most everyday adhesive vinyl like Oracal 651-style calendared permanent vinyl, removable vinyl, and the majority of decals and labels.
- Why it works: strong enough to lift small pieces and fine text, but usually releases cleanly onto your surface.
- What it looks like when it is wrong: if the grip is too low, parts of your design stay on the backing when you peel the tape up.
Strong grip transfer tape
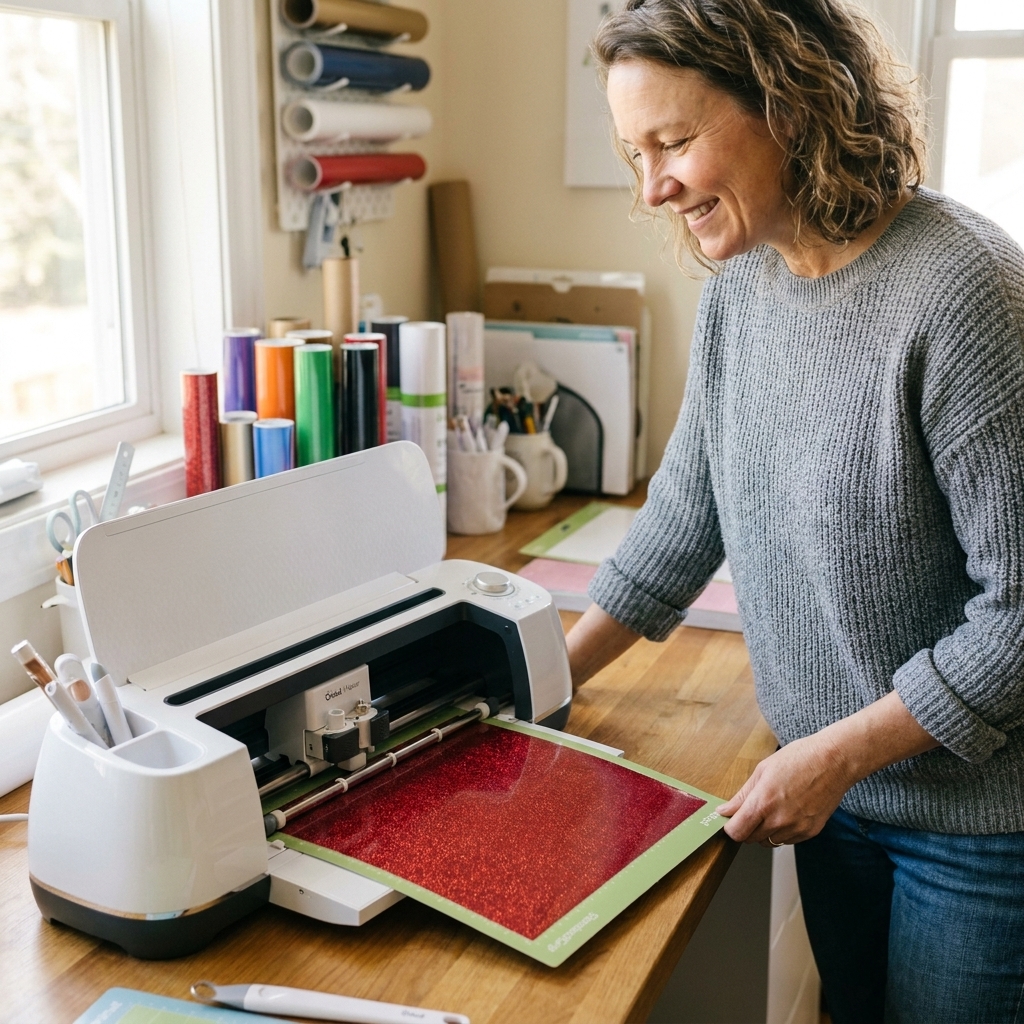
Best for: thicker specialty vinyls (think glitter adhesive vinyl) and situations where standard tape will not lift your design cleanly.
- Why it works: extra tack helps grab textured finishes and chunky vinyl.
- What it looks like when it is wrong: it can pull up vinyl from your surface during release, stretch thin lettering, or leave you fighting to get the tape off without lifting corners.
Harper tip: Strong grip is not “better.” It is just stronger. Use it when you need it, then go back to standard for everything else.
Paper vs clear transfer tape
- Clear transfer tape: great for alignment, especially layering. It can feel a little grabby on some matte vinyls, so peel low and slow.
- Paper transfer tape: often releases easier on matte, textured, or more delicate cuts. You lose the see-through alignment, but gain a calmer release.
Masking tape and other budget alternatives
Best for: quick, simple shapes, big block letters, or temporary transfers when you do not have proper transfer tape on hand.
- Blue painter’s tape: can work for larger decals, but it is narrow so you often have to overlap strips, which can create ridges and trap air.
- Washi tape: sometimes works for tiny labels, but it can be inconsistent and may tear when you burnish.
- Clear shelf liner (select types): some crafters use this successfully as a lower-cost alternative, but stickiness varies wildly by brand.
If you are using overlapping strips of masking tape, press the overlaps down firmly before you try to lift the decal. Those seams are where bubbles love to hide.
Quick picker
Use this as your “do not overthink it” guide.
- Regular permanent or removable adhesive vinyl: Standard grip transfer tape.
- Glitter adhesive vinyl: Strong grip transfer tape.
- Holographic or textured adhesive vinyl: Start with standard grip. Move to strong grip only if it will not lift.
- Very thin fonts, tiny dots, or delicate script: Standard grip, plus extra burnishing on the back of the vinyl backing before lifting.
- Wall decals on matte paint: Standard grip, and go slow on release to avoid lifting paint or vinyl.
Important: Most heat transfer vinyl (HTV) does not use transfer tape. It comes on a carrier sheet. Some specialty HTV and certain workflows can use a low-tack heat transfer mask, but that is the exception, not the default.
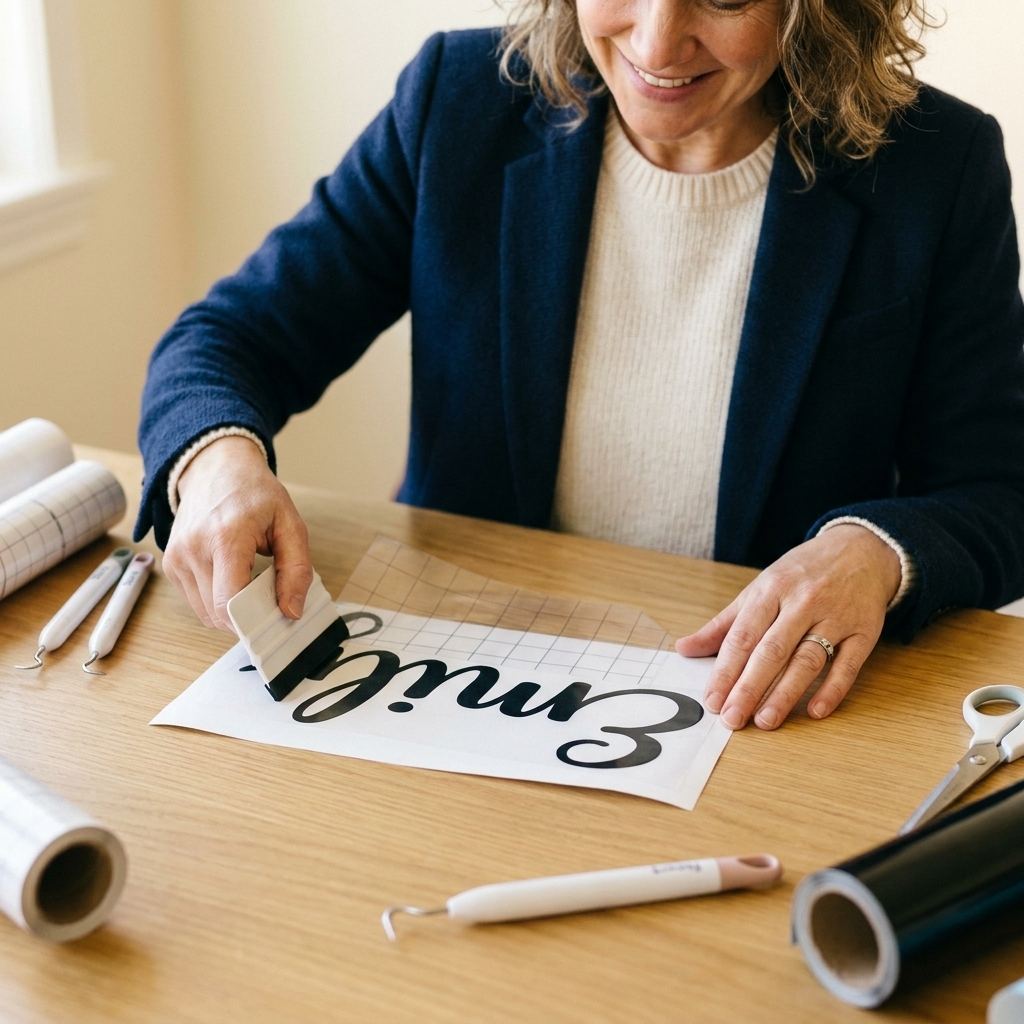
The bubble-free method
Bubbles usually come from one of two things: laying the tape down too fast, or burnishing in a way that traps air instead of pushing it out. Here is the routine that keeps my decals smooth even when I am working fast.
Step 1: Clean and dry the surface
For mugs, glass, acrylic, and metal, a quick wipe with isopropyl alcohol (IPA) on a lint-free cloth makes a huge difference. Oils from your fingers can create micro areas where vinyl does not fully bond, which then lifts and forms bubble edges later. If you are working on painted, finished, or delicate surfaces, spot-test first.
Step 2: Apply transfer tape slowly
Instead of dropping the whole sheet on at once, tack one edge first, then smooth the tape down gradually.
- Hold the tape slightly arched so it only touches in one line at a time.
- Use your hand to float it down while your other hand presses it forward.
Step 3: Burnish center-out
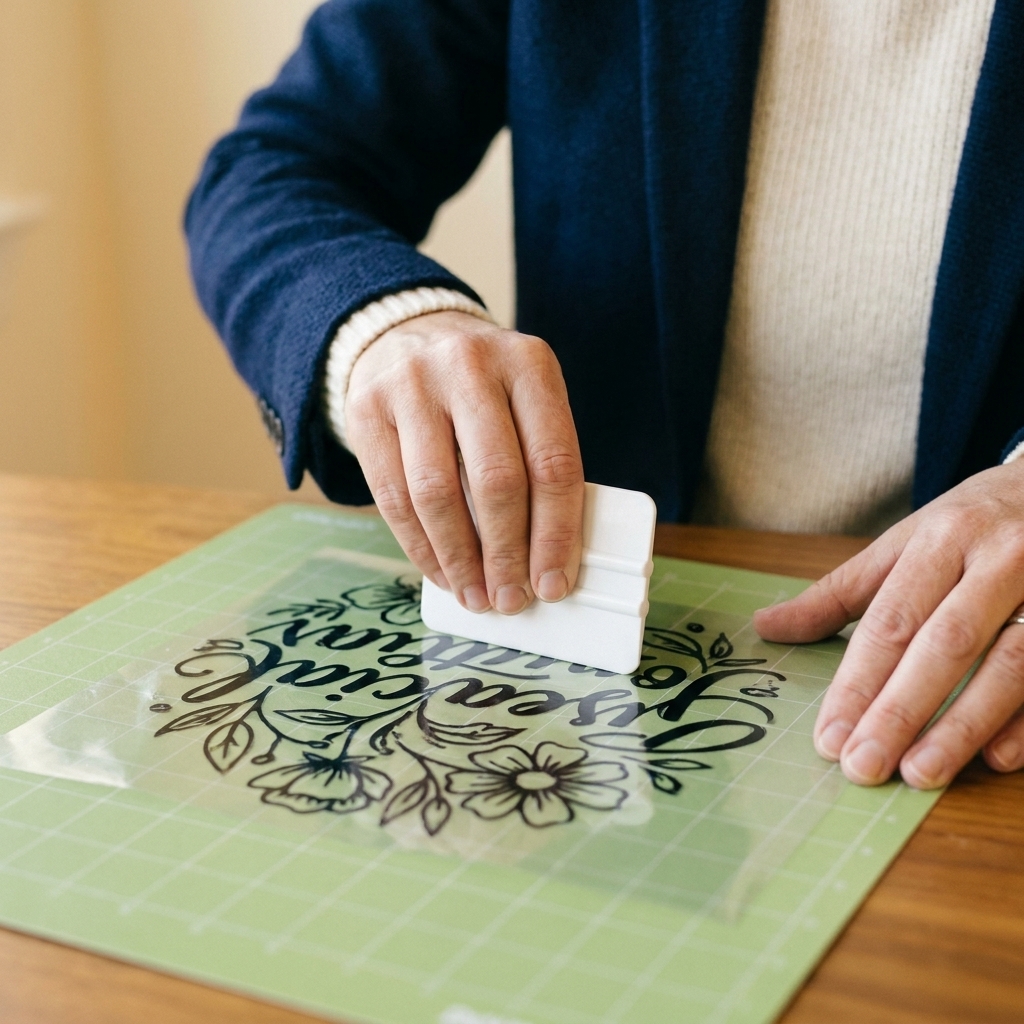
Quick definition, so we are speaking the same language: burnish means squeegee the tape firmly with a scraper to push air out and help the vinyl bond. This is the single biggest bubble-preventer.
- Start in the center of the design.
- Scrape outward in short strokes: center to left, center to right, then center to top and bottom.
- Keep the scraper at a low angle (closer to flat than upright) so it glides and pushes air out.
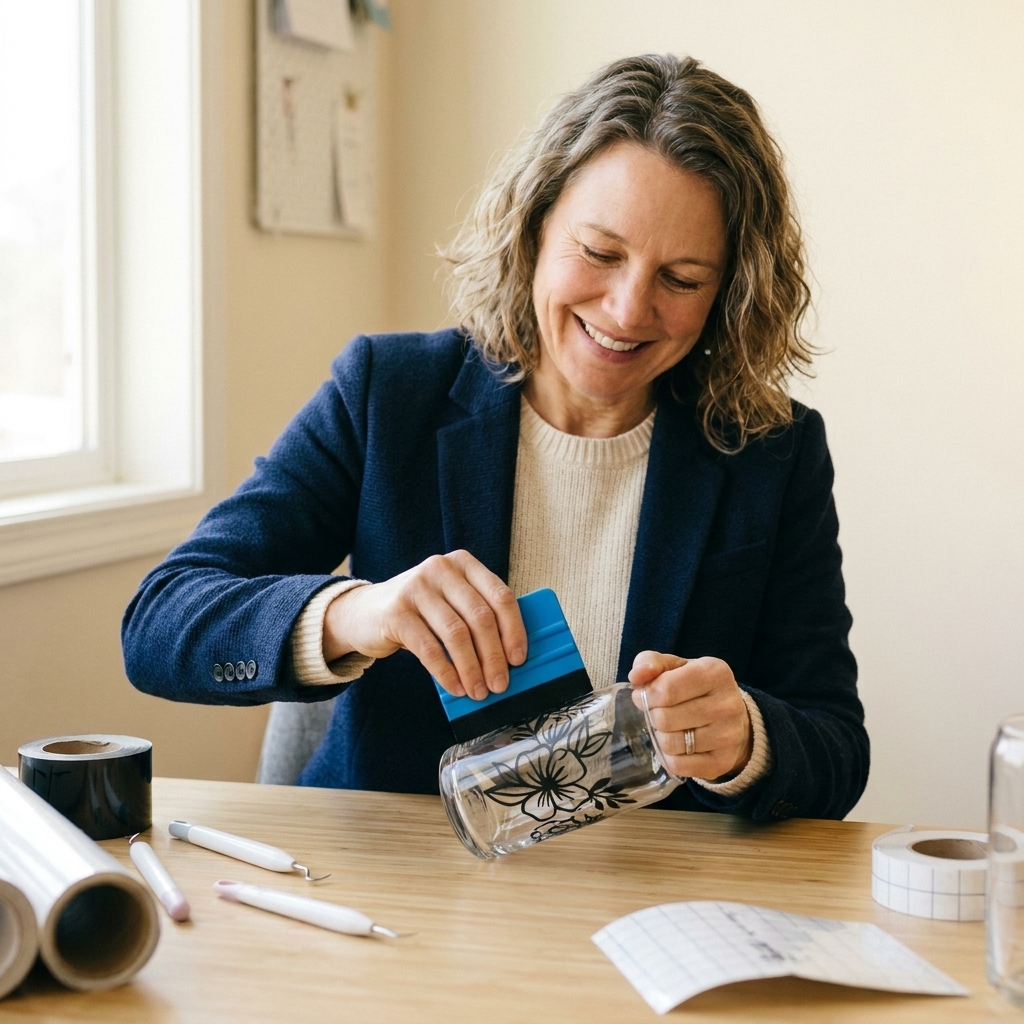
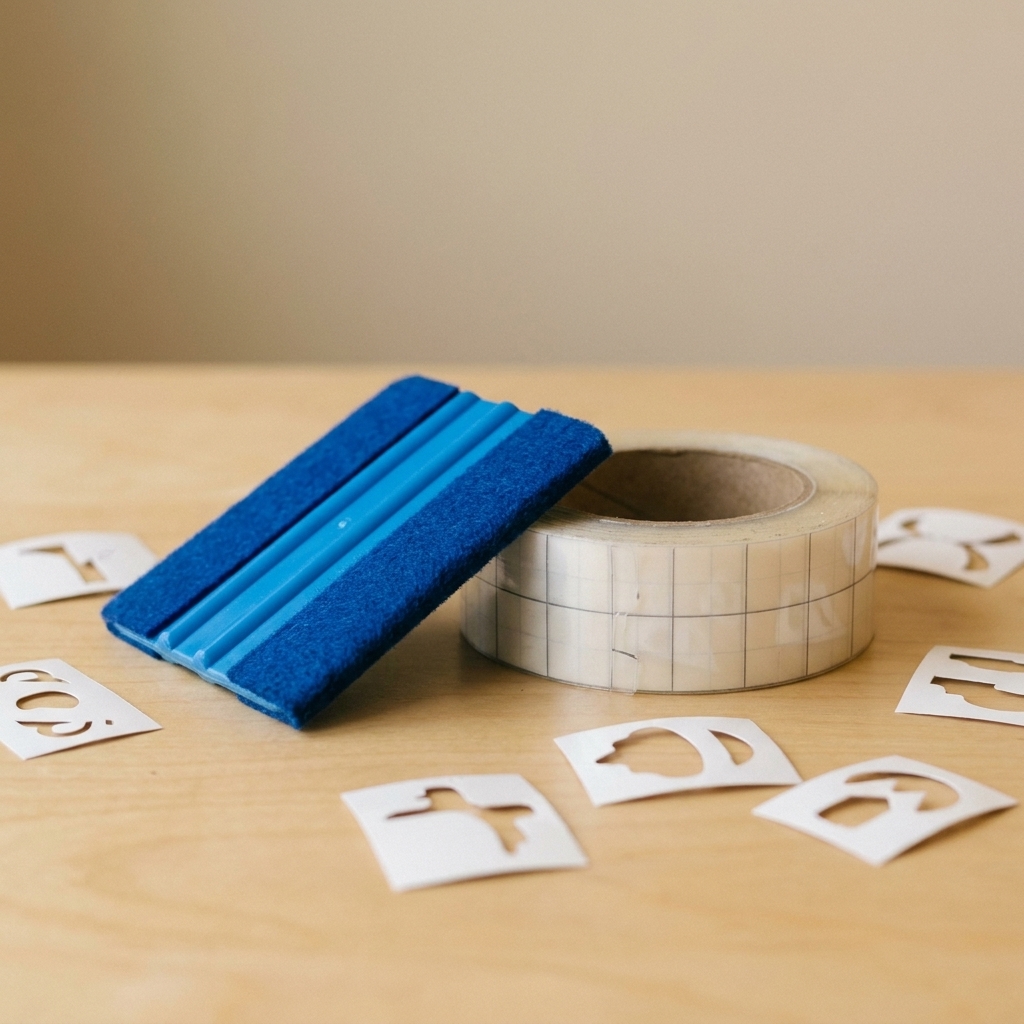
If you have a felt-edged scraper, this is the moment for it. It helps prevent scuffs on glossy vinyl and reduces the chance of wrinkling the tape.
Step 4: Flip and burnish the back
Once the tape is on, flip the whole thing over so you are looking at the backing paper. Burnish the back firmly. This encourages the vinyl to release from the backing and stick to the tape.
Step 5: Peel the backing away
Do not pull the tape straight up. Instead, peel the backing away from the vinyl at a sharp angle, almost folding the backing back onto itself. If any vinyl stays behind, lay it back down and burnish that spot again.
Harper tip: Do a quick test strip
If you are trying a new vinyl or a new tape, test with a small corner first. If the tape feels too aggressive, you can de-tack it by pressing it to a clean cotton T-shirt or towel once before applying it to your decal.
Step 6: Hinge the decal onto your blank
If placement matters, use a simple hinge method:
- Set the taped decal on your blank where you want it.
- Put a strip of masking tape across the top edge to hold it like a hinge.
- Flip it up, remove the backing, then flip it down and burnish.
Step 7: Burnish again, then remove tape slowly
After the vinyl is on the surface, burnish again using the same center-out strokes. Then peel the transfer tape back on itself at a low angle. If a corner lifts, stop, lay the tape back down, and burnish that area with firm pressure.
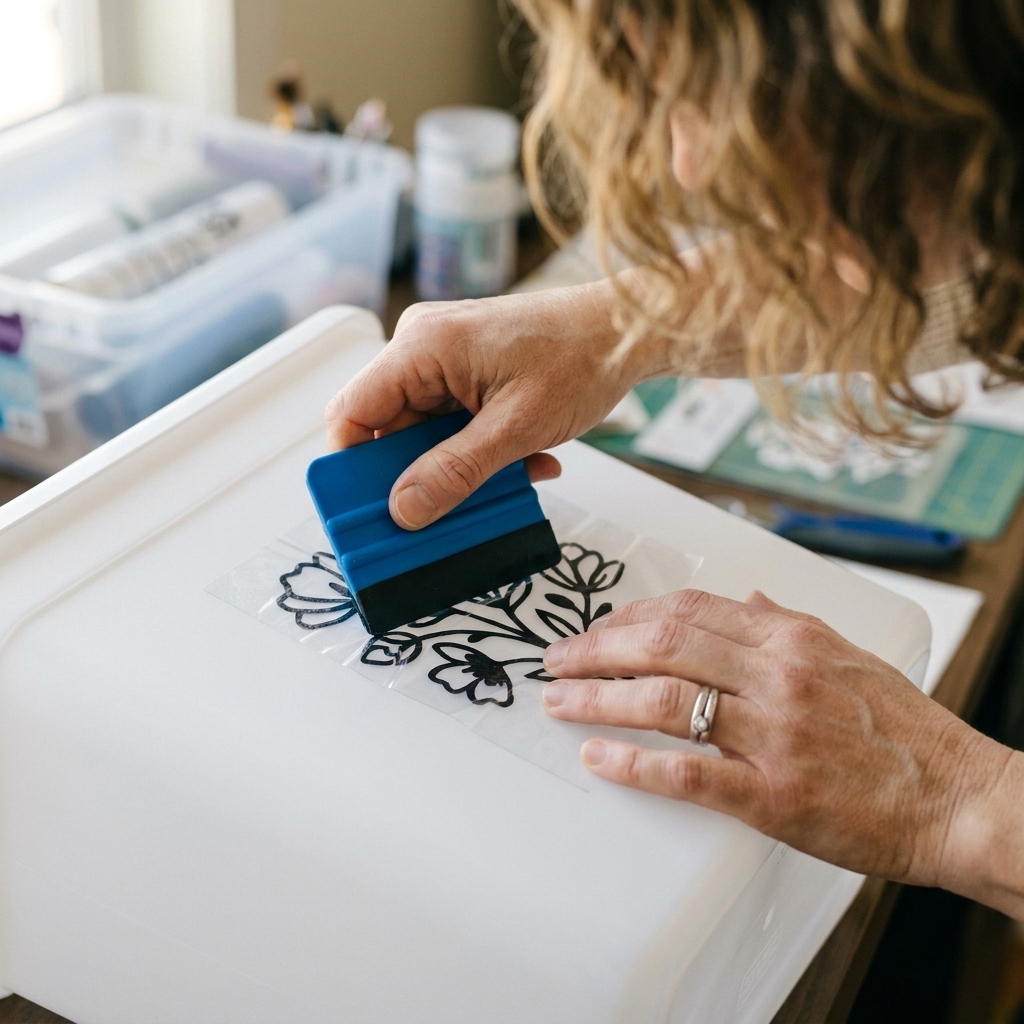
How to prevent bubbles
- Use the right size tape: Give yourself about 1 inch of tape margin around the design so you can control it without touching adhesive edges constantly.
- Do not overstretch the tape: If you pull transfer tape tight like plastic wrap, it can rebound and create ripples or trapped air.
- Work on a hard, flat surface: Burnishing on a squishy surface like carpet or a soft lap desk makes it harder to push air out.
- Warm hands, room temp materials: Super cold tape and vinyl can feel stiff and fight you. Let materials sit in the room for a bit if they came from a chilly porch delivery.
- Curved surfaces: On mugs and tumblers, smaller decals are easier. If you are applying something wider, you can add a couple of small relief cuts in the transfer tape margin (not through your design) so the tape can flex while you burnish from the center outward.
When bubbles happen
Even with good technique, bubbles can sneak in, especially on textured surfaces or large decals. Here is how I handle the most common scenarios.
Small bubbles under vinyl
If the bubble is tiny and the vinyl is well-adhered, it can relax over 24 to 48 hours, especially on smooth, non-porous surfaces as the adhesive settles. If it is bugging you:
- Poke the bubble with a fine pin or craft knife tip.
- Press the air out gently with your finger or a felt scraper.
Wrinkles in transfer tape while applying
Wrinkles trap air. If you see a wrinkle forming as you lay tape down, stop and peel the tape back up slowly, then re-lay it from the last smooth section.
Edge lift after you remove transfer tape
- Lay the transfer tape back down over the lifting area.
- Burnish firmly, focusing on the edge.
- Peel the tape back even flatter and slower.
Large decals full of air pockets
For big designs, the hinge method plus slow application is your best defense. If it is already down and bubbly, lift only as much as you need to re-squeegee. Pulling the entire decal up usually stretches it.
Troubleshooting
The vinyl will not lift off the backing
- Most likely: tape is not tacky enough, or you did not burnish the back.
- Try this: burnish the back of the backing paper again, then peel the backing away at a lower angle.
- If it is glitter vinyl: switch to strong grip transfer tape.
The transfer tape will not release on the blank
- Most likely: tape is too strong, or the surface is fighting adhesion (dust, oils, texture).
- Try this: burnish the vinyl onto the surface more, then peel tape back slowly and very flat.
- Next time: step down to standard grip, or try paper transfer tape for an easier release.
Thin letters stretch or distort
- Most likely: pulling the tape upward instead of peeling low, or using strong grip when you do not need it.
- Try this: peel tape back on itself and support the vinyl with a finger as you release delicate areas.
Transfer tape leaves sticky residue
This can happen with some off-brand tapes or shelf liner style products. On glass and metal, isopropyl alcohol will often remove residue, but spot-test first. Some plastics, acrylic, painted, or finished surfaces can haze or dull with alcohol, so use a gentler cleaner that is safe for your material if needed.
Scraper moves
If you take nothing else from this guide, take these two habits. They are the difference between “why is this bubbling?” and “wow, that looks store-bought.”
- Center-out strokes: Start in the middle and push air out toward the edges. Long aggressive swipes from one side to the other are more likely to trap air.
- Low angle pressure: Keep the scraper low so the leading edge stays in contact and glides. High angle scraping can chatter and create tiny air tunnels.
For delicate vinyl, swap to a felt edge or wrap your scraper in a clean scrap of soft cloth. You still get pressure, but you reduce scuffs and grabby spots.
FAQ
Can I use strong grip transfer tape for everything?
You can, but you will probably hate it for small lettering and smooth vinyl. Strong grip is fantastic for glitter adhesive vinyl, but it can make release harder and increase lifting or stretching on standard permanent vinyl.
Is blue painter’s tape an okay substitute?
For simple shapes and big designs, yes, especially in a pinch. For detailed decals or layered projects, it tends to be frustrating because seams between strips can create bubbles and it does not always hold tiny pieces securely.
Why do I get bubbles even when my surface looks smooth?
Usually it is application speed and burnishing direction. Laying tape or vinyl down all at once traps air. The slow, arched laydown plus center-out burnishing fixes most bubble problems.
Do I need to wait before removing transfer tape?
Not usually. If the vinyl is lifting with the tape, burnish more and peel the tape back flatter and slower. On textured items, giving the vinyl a couple minutes to settle can help, but technique matters more than waiting.
Pick the right tape
If transfer tape has been your crafting nemesis, start with this simple reset: standard grip for everyday vinyl, strong grip for glitter and stubborn textures, masking tape only when the design is simple. Then burnish from the center out and peel back low and slow. Those two moves fix most bubble problems immediately.
And if you tell me what vinyl brand you are using and what surface you are applying to, I can usually help you pick the right tape and tweak your steps so your next transfer goes down smooth the first time.