A beginner-friendly, step-by-step guide to applying permanent vinyl on curved drinkware: sizing, cutting, weeding, transfer tape, alignment, and aftercare ti...
Maker Vinyl
Updated October 17, 2026
Apply Permanent Vinyl to Curves
Learn foolproof ways to apply permanent vinyl on mugs, tumblers, and ornaments without wrinkles or bubbles. Includes relief slits, the parchment hinge method, design tips, and care advice.

Harper Davis
Harper Davis is a lifelong DIY enthusiast and cutting-machine expert who loves helping beginners conquer Cricut Design Space. With over six years of experience running a custom vinyl shop, she shares practical tutorials, material guides, and creative inspiration.
Curved blanks, meaning the undecorated mug, tumbler, or ornament you are working on, are where permanent vinyl goes from “this is fun” to “why is my decal suddenly fighting me.” If you have ever watched a perfectly cut design turn into a wrinkly mess the second it touches a tumbler, you are in the right place. The good news: curved surfaces are totally manageable when you use the right transfer tape, the right pressure, and two little tricks that change everything: relief slits and the parchment paper hinge method.
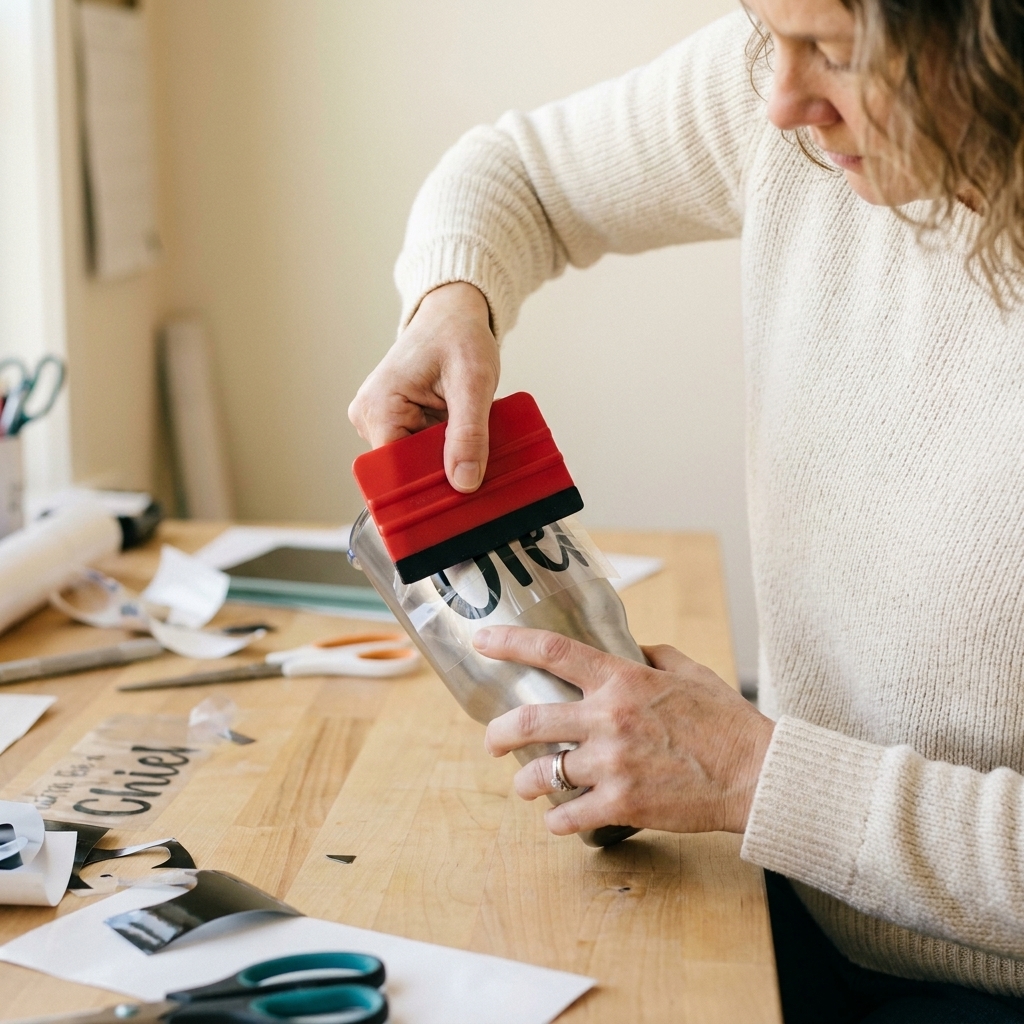
Why vinyl wrinkles on curves
Permanent vinyl is happiest on flat surfaces. When you press a flat decal onto a curve, the vinyl and transfer tape have to travel different distances. The outside edges want to stretch and the inside wants to bunch, so you get:
- Wrinkles (transfer tape buckling as it tries to wrap)
- Bubbles (air trapped because the decal touches down too fast)
- Lifted edges (not enough burnish, or oils on the blank)
Your goal is to control the “touchdown” so the decal adheres gradually, from the center outward.
What you need (and what I avoid)
Supplies
- Permanent adhesive vinyl (Oracal 651 style, Cricut Premium Permanent, or your favorite)
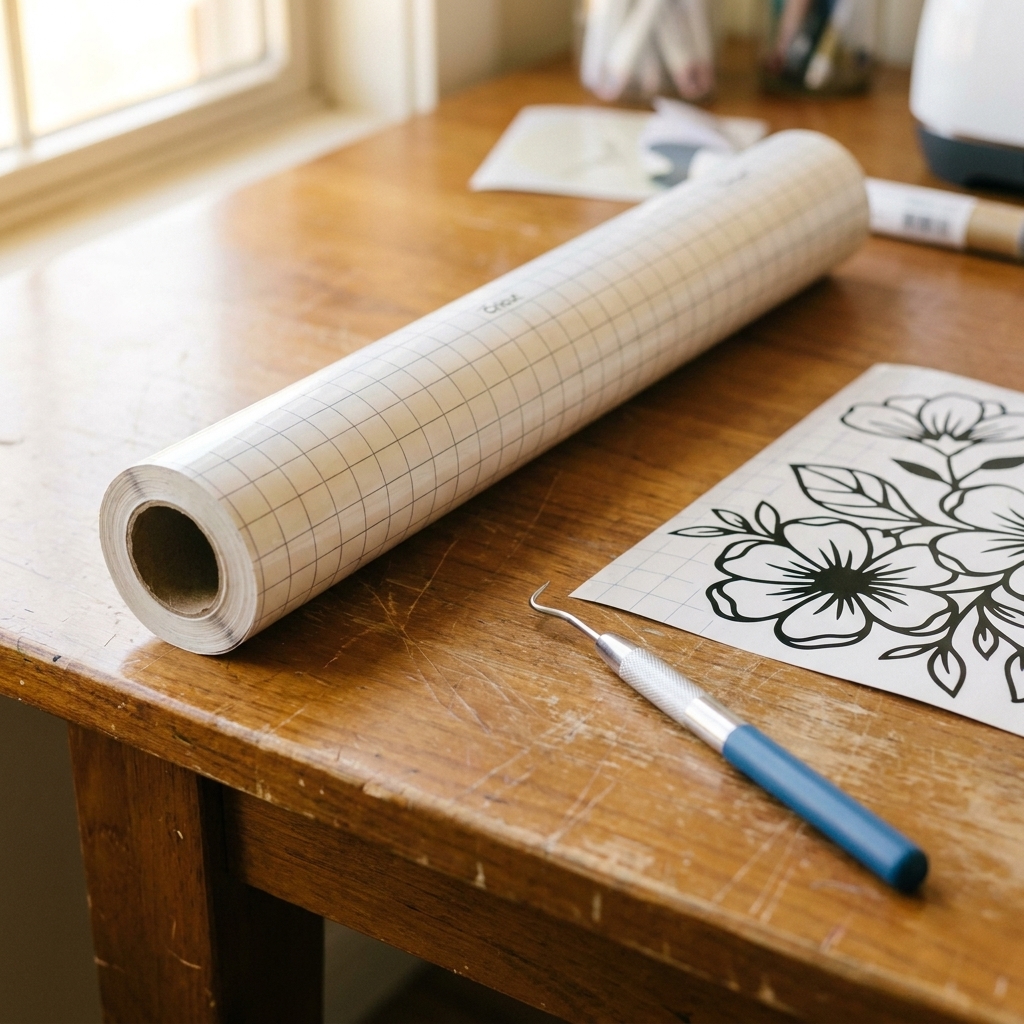
- Transfer tape: clear or paper, depending on the project (more on this below)
- Squeegee or scraper tool (a gift card works in a pinch)
- Isopropyl alcohol (70% to 91%) and a lint-free cloth
- Parchment paper (not wax paper)
- Craft knife or small scissors (for relief slits)
- Optional: heat tool or hair dryer (low heat), especially for stubborn curves
My avoid list
- Applying to oily or dusty blanks without cleaning first
- Super-strong transfer tape on tiny details (it can pull your vinyl back up)
- Wax paper as a barrier layer (it can leave residue and behaves differently than parchment)
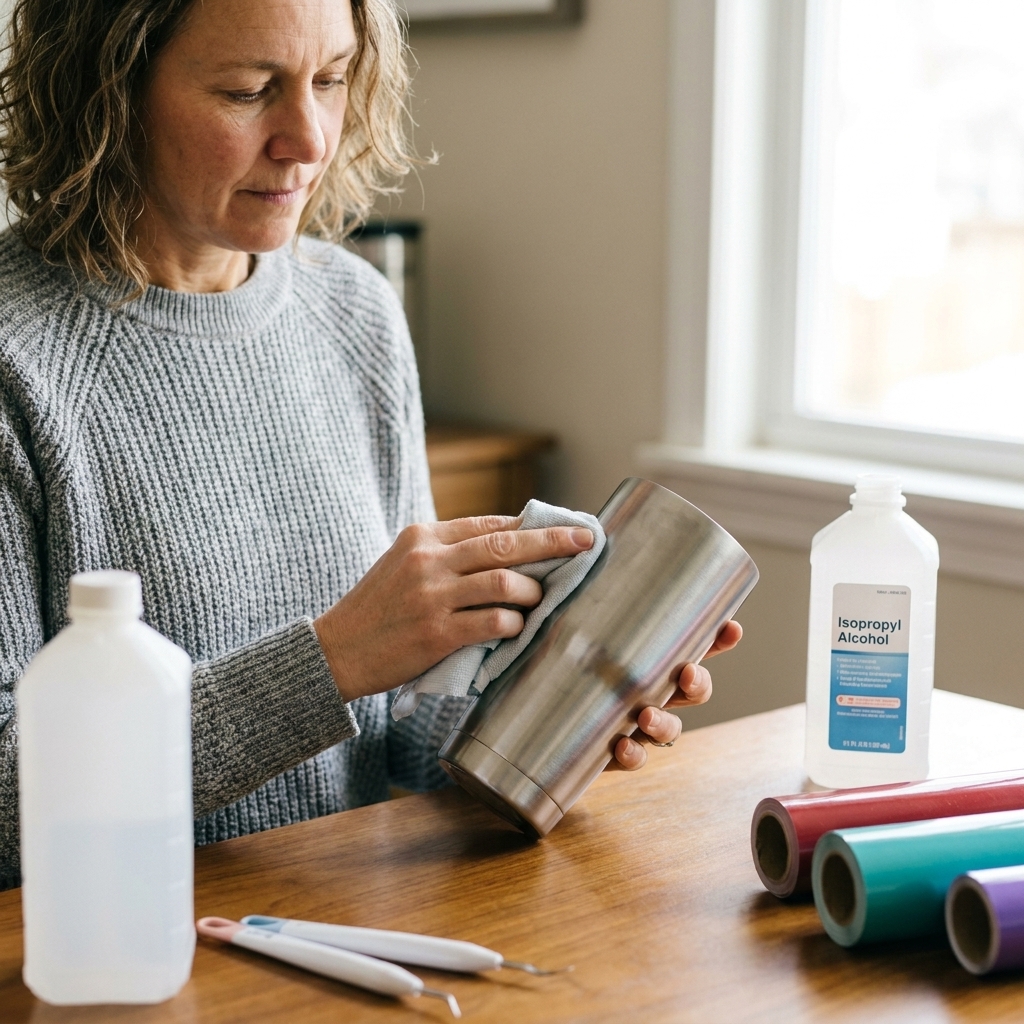
Prep that matters
1) Clean like you mean it
Even brand-new tumblers can have factory residue. Wipe the area with isopropyl alcohol and let it fully dry. Try not to touch the cleaned area with your fingers after that.
2) Pick a landing zone
Decide where the decal should sit and use visual anchors: handle position, logo seam, straw opening, or the centerline of an ornament. If your blank has a seam, avoid placing thin text directly across it if you can.
3) Choose transfer tape for the curve
- Gentle curves (most mugs): Clear transfer tape is great for alignment because you can see through it.
- Big wraps (skinny tumblers) or delicate designs: Paper transfer tape often conforms a little easier and releases vinyl more gently.
- Glitter or textured vinyl: Use strong-grip transfer tape, but burnish the vinyl onto the tape well before you ever go near the blank.
Method 1: Parchment hinge
This is the technique I use when I cannot afford a misalignment, especially on tapered tumblers or anything with lots of lettering. Lettering shows distortion fast, because tiny spacing changes are obvious once the decal wraps. Parchment paper gives you a pause button so the vinyl cannot grab until you are ready.
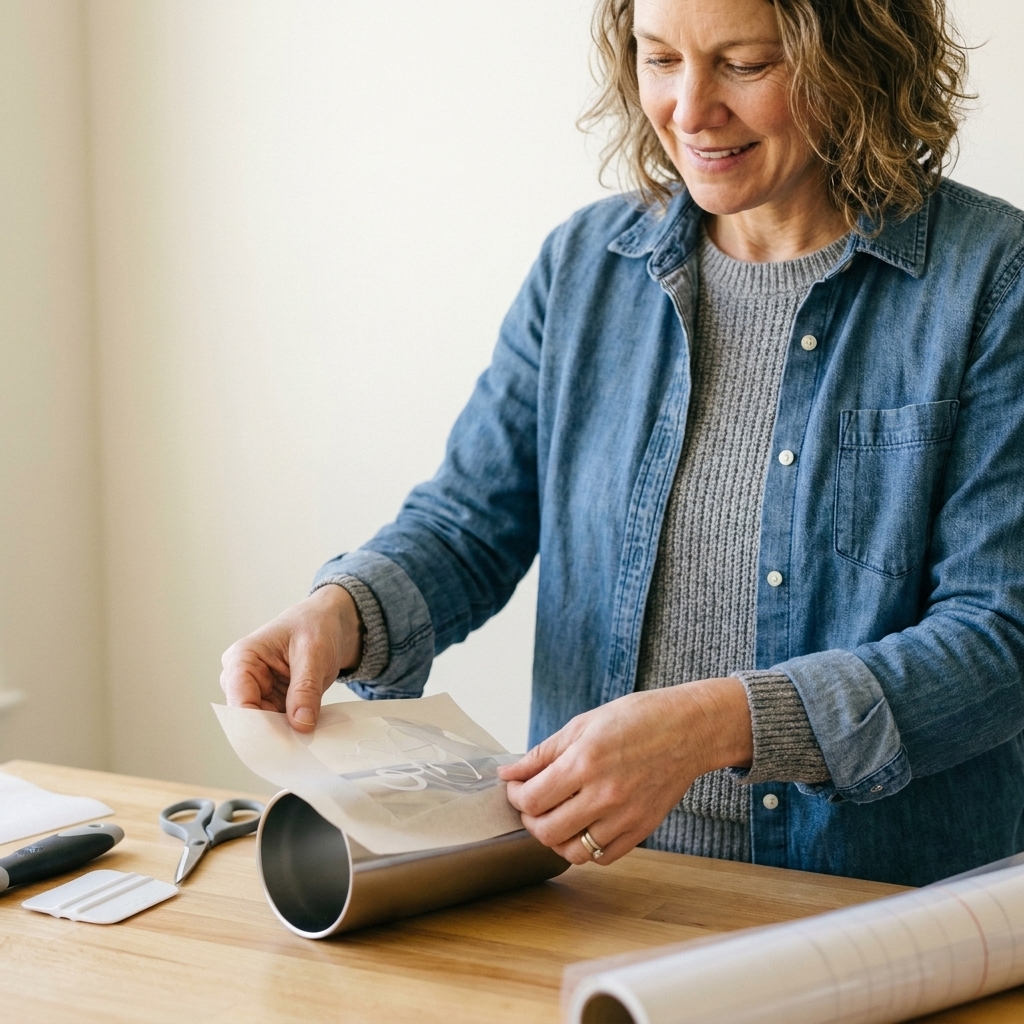
Step-by-step
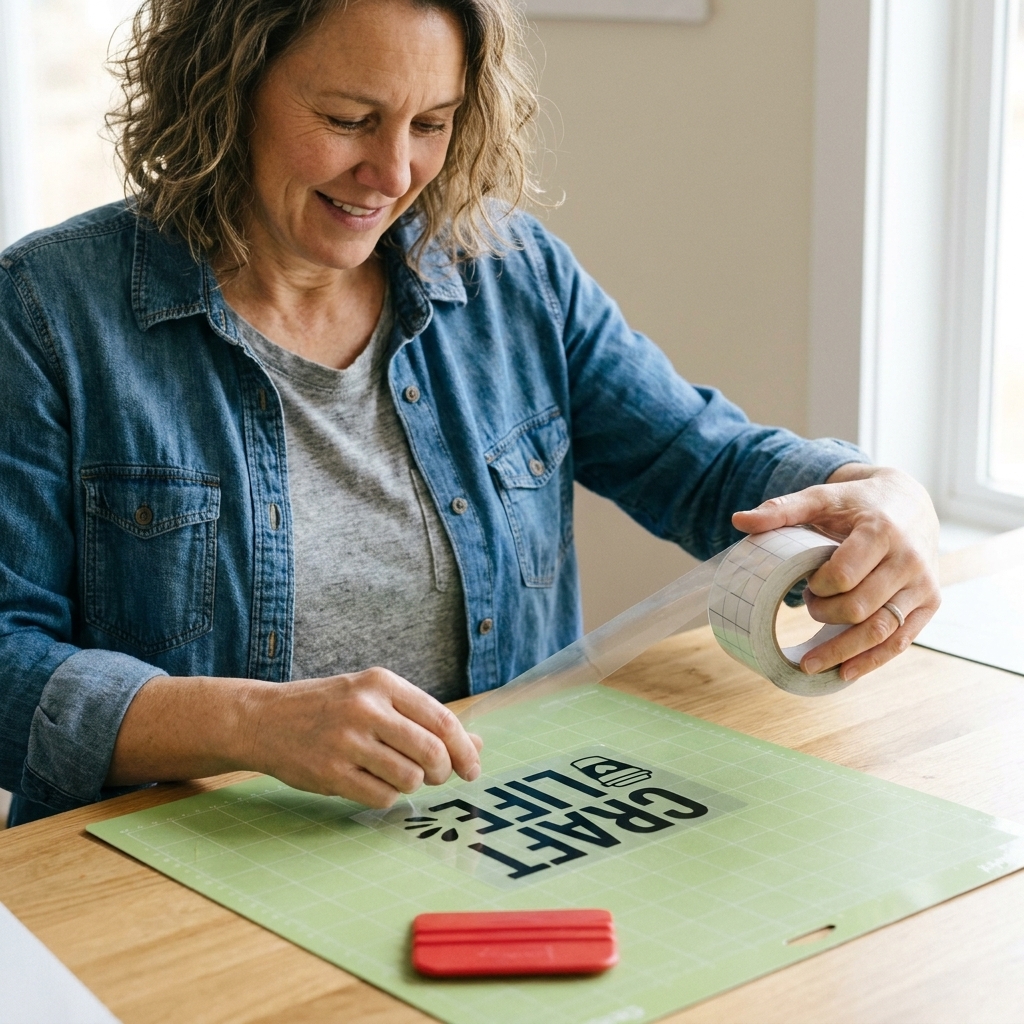
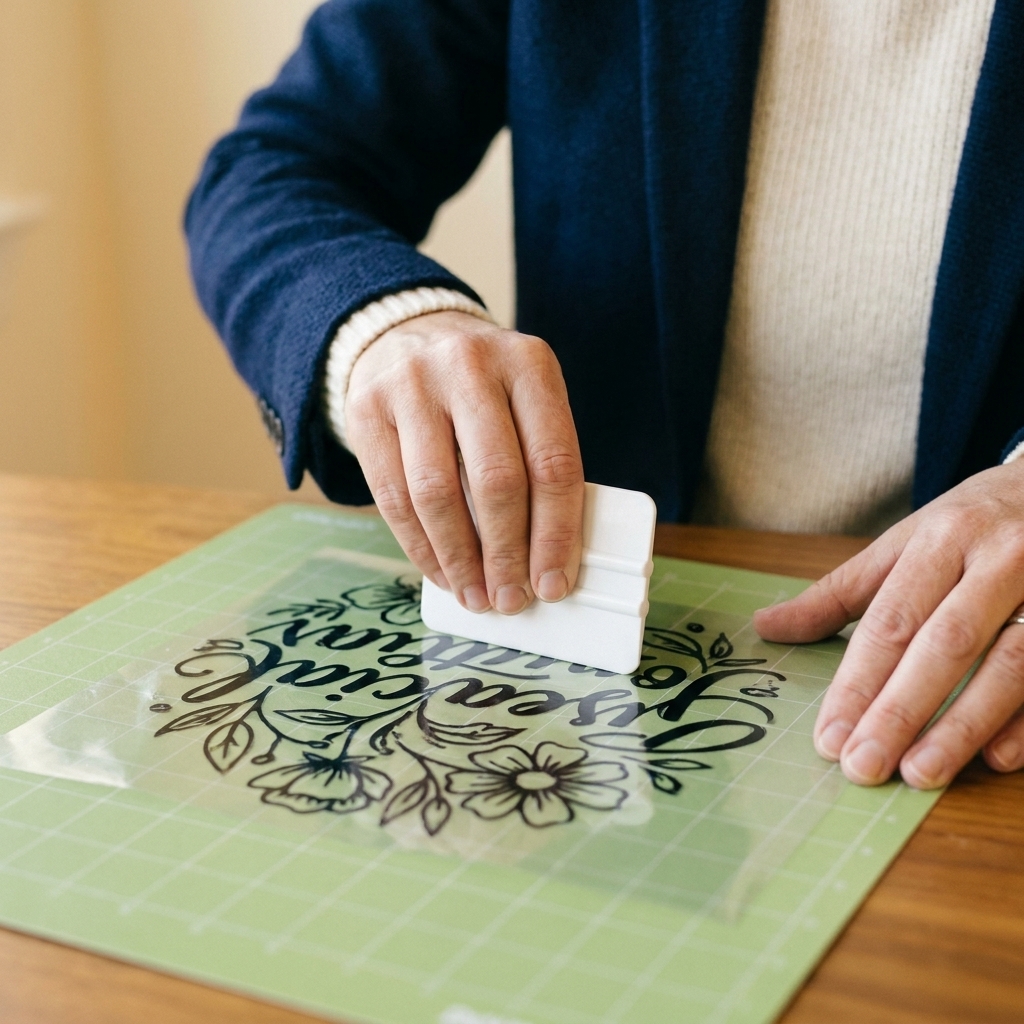
- Weed and tape your decal. Burnish the transfer tape onto the vinyl on your backing paper. Flip and burnish from the back too if you can.
- Make a hinge. Position the decal on the blank (still on its backing) and tape one edge in place with painter’s tape. This becomes your hinge so the decal returns to the same spot.
- Lift the decal on the hinge. Peel the vinyl backing away, leaving the vinyl stuck to the transfer tape.
- Slide parchment paper underneath. Place parchment between the adhesive vinyl and the blank so nothing is sticking yet.
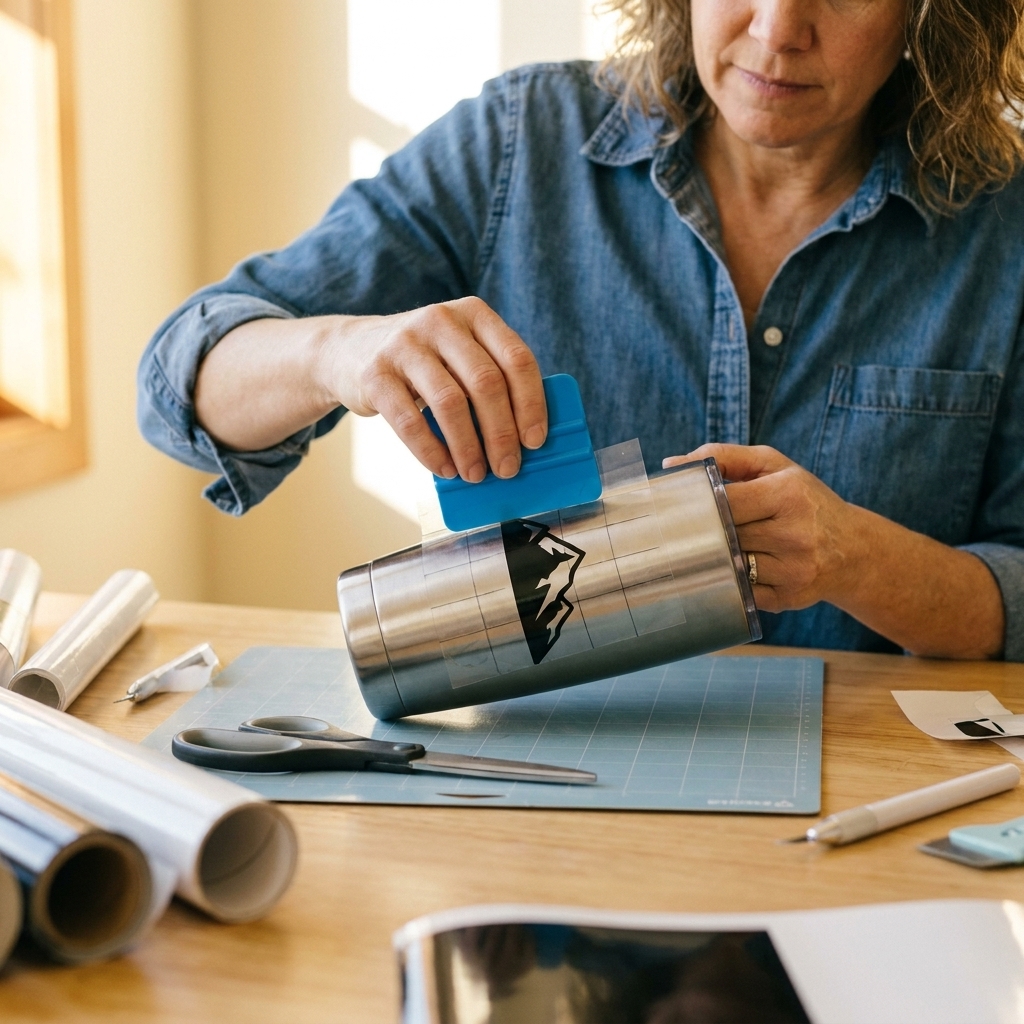
- Start in the center. Pull the parchment out a little at a time from the middle area while you squeegee the vinyl down in short strokes.
- Work outward in sections. Move left, then right, keeping your strokes firm and overlapping. The goal is controlled contact, not a full-pressure, all-at-once stick down.
- Peel the transfer tape slowly. Peel back on itself at a low angle. If any vinyl lifts, lay the tape back down and burnish again.
Harper tip: On tumblers, I rotate the tumbler with my non-dominant hand while squeegeeing with my dominant hand. Think of it like applying a label to a bottle, not pressing a sticker onto a page.
Method 2: Relief slits
Relief slits are tiny cuts in the transfer tape (and sometimes the extra backing or carrier sheet around the decal) that let the tape overlap itself slightly instead of wrinkling. This is the secret sauce for ornaments, rounded mugs, and curved spots where transfer tape wants to buckle.
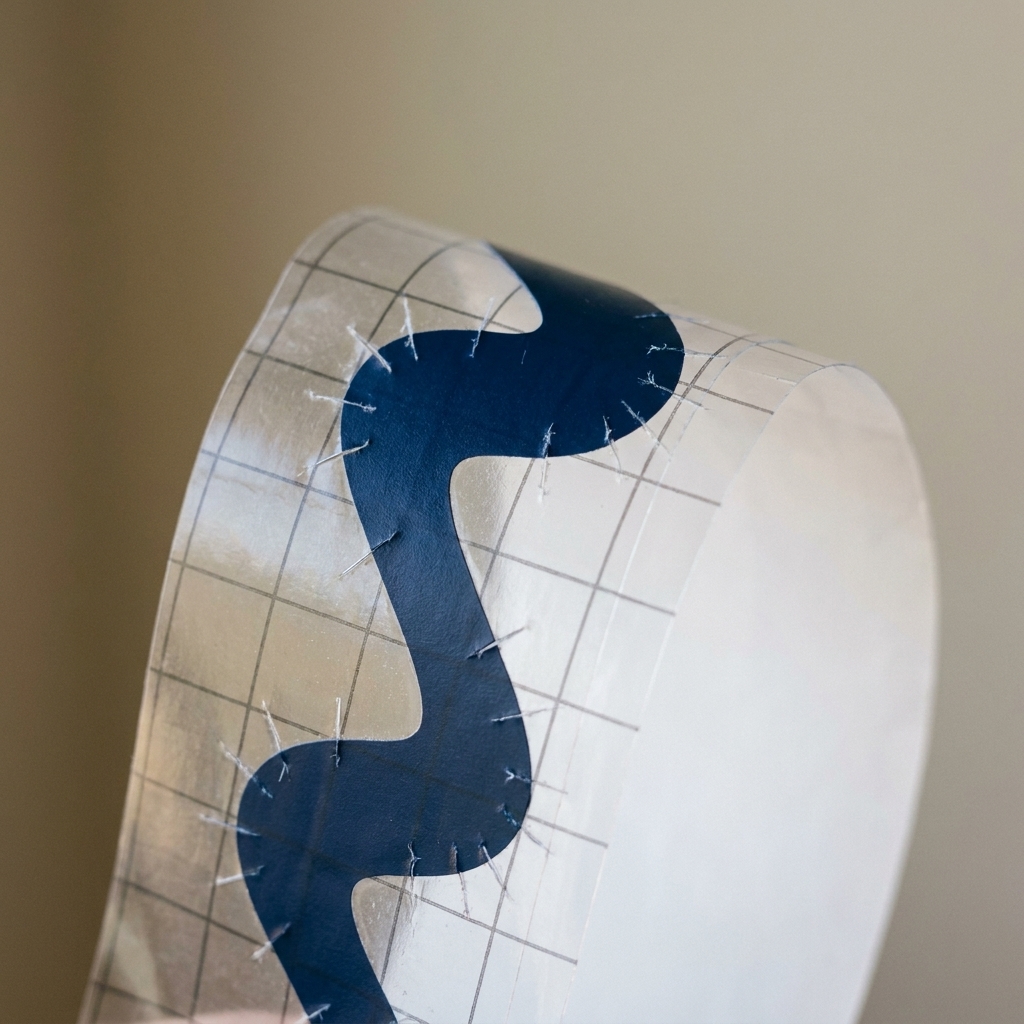
How to do relief slits
- After taping your weeded design, look at the outer edge of the transfer tape around the decal.
- Snip small slits from the outside edge inward, stopping well before you reach the vinyl design. You are creating flexible “tabs.”
- Place the decal and tack the center first. Light pressure at first.
- Lay down the tabs gradually as you burnish outward. Overlap the tabs if needed. That overlap prevents big wrinkles.
Where relief slits shine:
- Ball ornaments and round baubles
- Very curved mug sides (especially near the bottom curve)
- Decals that must sit on a narrow portion of a tapered tumbler
Important: Do not cut into your design. If your decal is very close to the edge of your taped area, add a slightly larger border of transfer tape next time so you have room to snip.
Design choices for curves
If a design fights you on a curve, it is not always your technique. Sometimes the design is just asking too much of a round surface.
- Avoid huge solid fills on domes. Big, solid shapes show wrinkles and tiny air pockets more than line art does.
- Go thinner and smaller. Script fonts with chunky thick strokes can ripple on tight curves, while cleaner lines tend to lay down easier.
- Break long designs into pieces. Two smaller decals often look cleaner than one long wrap on a heavy taper.
- Leave breathing room. Give text a little extra spacing if it is going on a cone-shaped tumbler, because the curve makes uneven spacing more noticeable.
Mugs
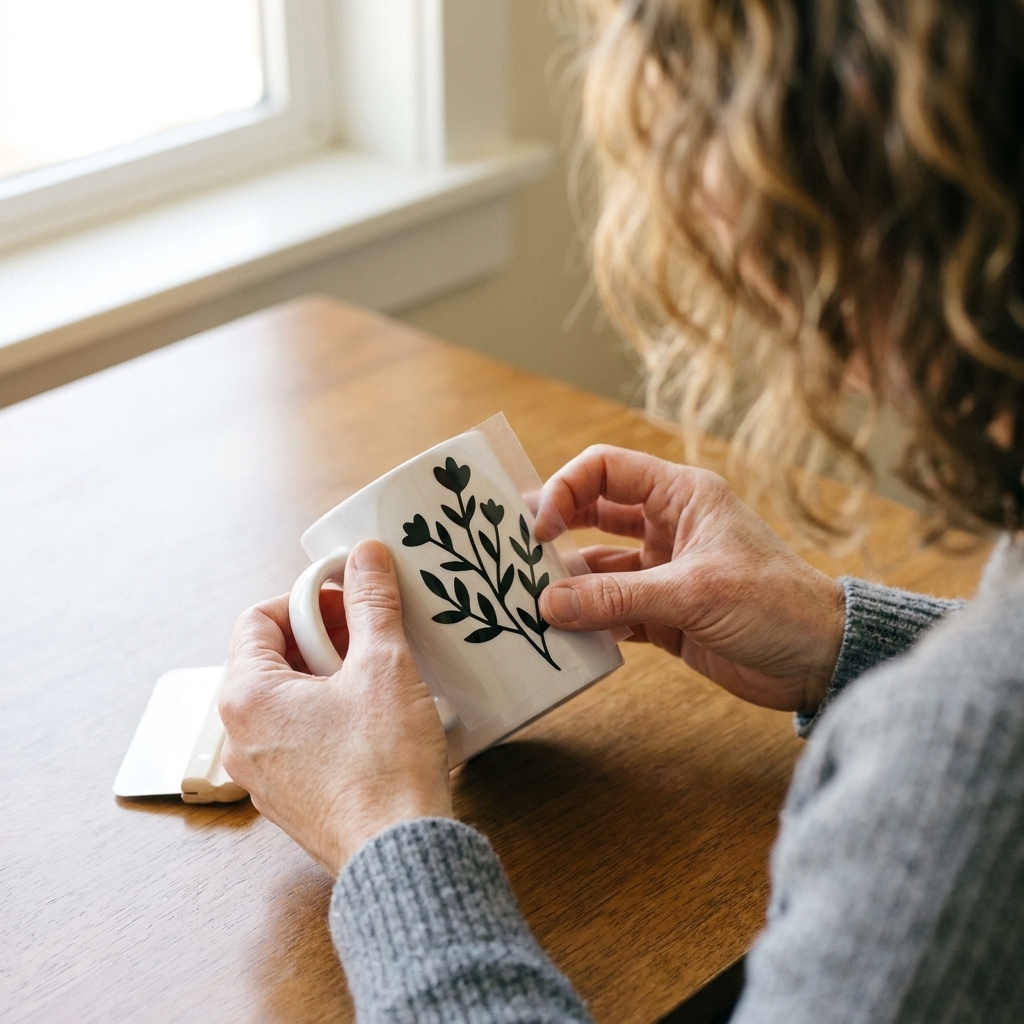
Most ceramic mugs have a gentle curve that behaves nicely. Here is my mug routine when I want a clean result fast.
- Clean with alcohol and dry.
- Center the design visually using the handle as your reference.
- Tack the middle first, then burnish outward in short strokes.
- Use light heat if needed: warm the vinyl slightly so it relaxes, then burnish again. Keep the heat moving and low. You should be able to touch the mug comfortably.
Tumblers
Taper is what makes tumblers feel tricky. A straight decal wants to sit on a straight surface, but a tapered tumbler is basically a soft cone.
Options that make life easier
- Use smaller designs instead of one long wrap if your tumbler has a strong taper.
- Curve your text slightly in Cricut Design Space to visually match the taper (especially for long names).
- Use the parchment hinge method so you can apply in controlled sections.
If you must do a long, straight word
Place it where the diameter changes the least, usually mid-body. If you place it too close to the top or bottom, the vinyl will fight you and you will see it in the spacing.
Ornaments
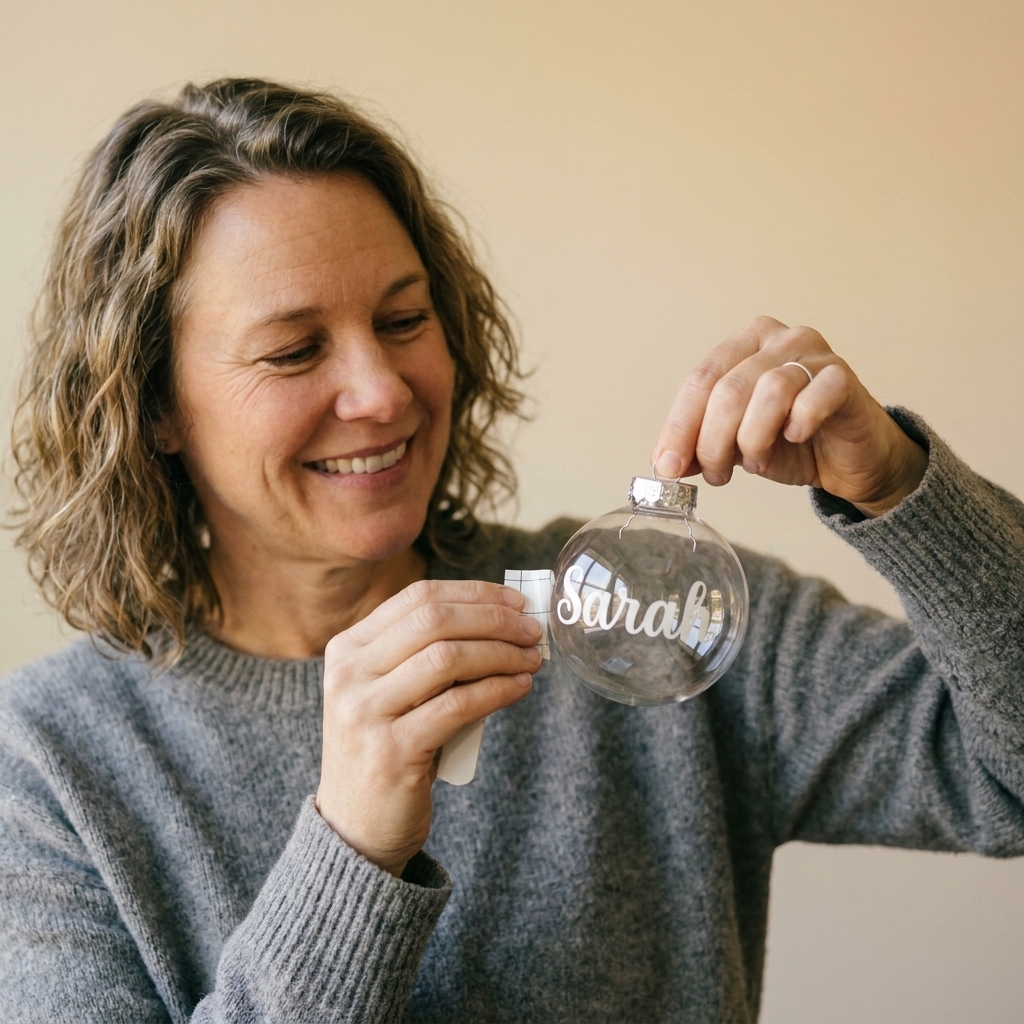
Ornaments are adorable and they are also tiny round troublemakers. I recommend:
- Go smaller than you think with text and details.
- Use relief slits most of the time.
- Apply in micro steps: center tack, then gently smooth around the curve.
- Let it rest: give the adhesive time to bond before handling a lot.
Tough surfaces
Some blanks just have more attitude. Powder-coated tumblers, matte finishes, heavily textured ceramics, and certain silicone-coated surfaces can reduce adhesion. If you are working on one of those, plan on extra burnish, slower application, and a realistic expectation that permanent vinyl may not last as long as it does on smooth glossy surfaces.
Transfer tape release
If your vinyl wants to stay on the transfer tape, do not panic and do not yank.
- Peel low and slow, folding the tape back against itself.
- Burnish through the tape as you peel. I often chase the peel line with my scraper.
- Warm it slightly with a hair dryer on low, then try again.
- Next time, reduce tape tack: stick your transfer tape to a clean cotton shirt once or twice before picking up the vinyl (works great for delicate decals).
Troubleshooting
Wrinkles forming as you apply
- Stop and lift back gently before it fully bonds.
- Switch to parchment hinge so you can apply in sections.
- Add relief slits to the transfer tape for tight curves.
Bubbles under the vinyl
- Small bubbles may settle in 24 to 48 hours as the adhesive relaxes, especially on smooth surfaces.
- For stubborn bubbles, poke with a fine pin and burnish outward. Use the tiniest hole possible.
Edges lifting
- Re-clean next time. Oils are the main culprit.
- Burnish the edges firmly with a scraper, then warm slightly and burnish again.
- Avoid heavy washing for the first 24 to 48 hours so the adhesive can cure.
Vinyl is not sticking at all
- Check the surface: powder-coated, heavily textured, or silicone-coated blanks can resist adhesive vinyl.
- Make sure you used permanent vinyl, not removable.
- Try a different brand. Some blanks are picky and you are not doing anything wrong.
Care and curing
Permanent vinyl is water-resistant, not magic. Give it time and treat it kindly.
- Cure time: Avoid washing or soaking for 24 to 48 hours after application.
- Hand wash is best, especially for tumblers that get lots of handling.
- Dishwasher reality: Some decals survive the top rack, many do not. Results vary by vinyl brand, cure time, detergent, and heat level. If you sell items, be honest and recommend hand washing.
- Sealing: Most of the time I do not seal permanent vinyl on drinkware. Many sealers can peel, cloud, or look bumpy. If you want extra durability, look into blanks that can be engraved, or use methods designed for long-term wear like sublimation (when the blank is made for it).
Heat safety
If you use heat, keep it low and keep it moving. Do not park a heat tool in one spot, and do not overheat insulated tumblers. Warm is the goal, not hot. Work away from flammables like paper scraps and vinyl backing sheets.
FAQ
Can I use the parchment method with paper transfer tape?
Yes. Parchment works with clear or paper tape because it creates a barrier between the adhesive vinyl and the blank. Keep the parchment flat and pull it out slowly so you stay aligned.
Do I cut relief slits in the vinyl too?
Usually no. Start with slits in the transfer tape only. If you are applying a large solid shape to a very round ornament, you may need to trim extra backing around the design so the whole piece can flex, but try tape slits first.
What is the best way to center a design on a tumbler?
I pick one reference point and commit to it. For example, center the design opposite the seam or opposite the handle position if there is one. Lightly tape the design in place, step back, and eyeball it before you press anything down.
How long should I wait before using the mug or tumbler?
For best adhesion, wait at least 24 hours before washing or heavy handling. If it is a gift, I apply vinyl a day or two before I need to wrap it.
No wasted vinyl checklist
- Clean with alcohol and let dry
- Align using a hinge (tape is your friend)
- Parchment paper for controlled contact on curves
- Relief slits for domes and tight radius curves
- Burnish, peel low and slow, then burnish again
- Let it cure 24 to 48 hours before washing
If you try these two techniques on your next curved project, you will feel the difference immediately. And if you still end up with one stubborn wrinkle, welcome to the club. The goal is not perfection. The goal is a finished project you are proud to use, gift, and show off.