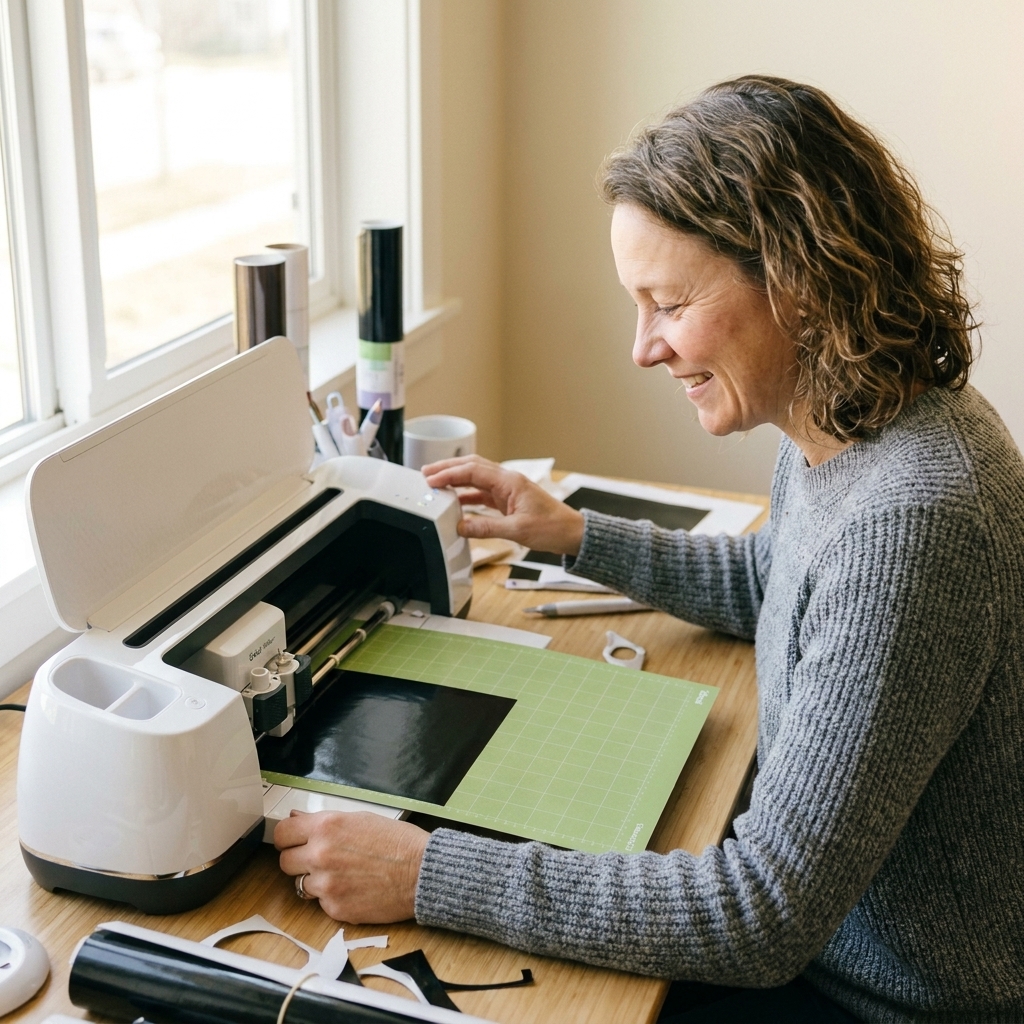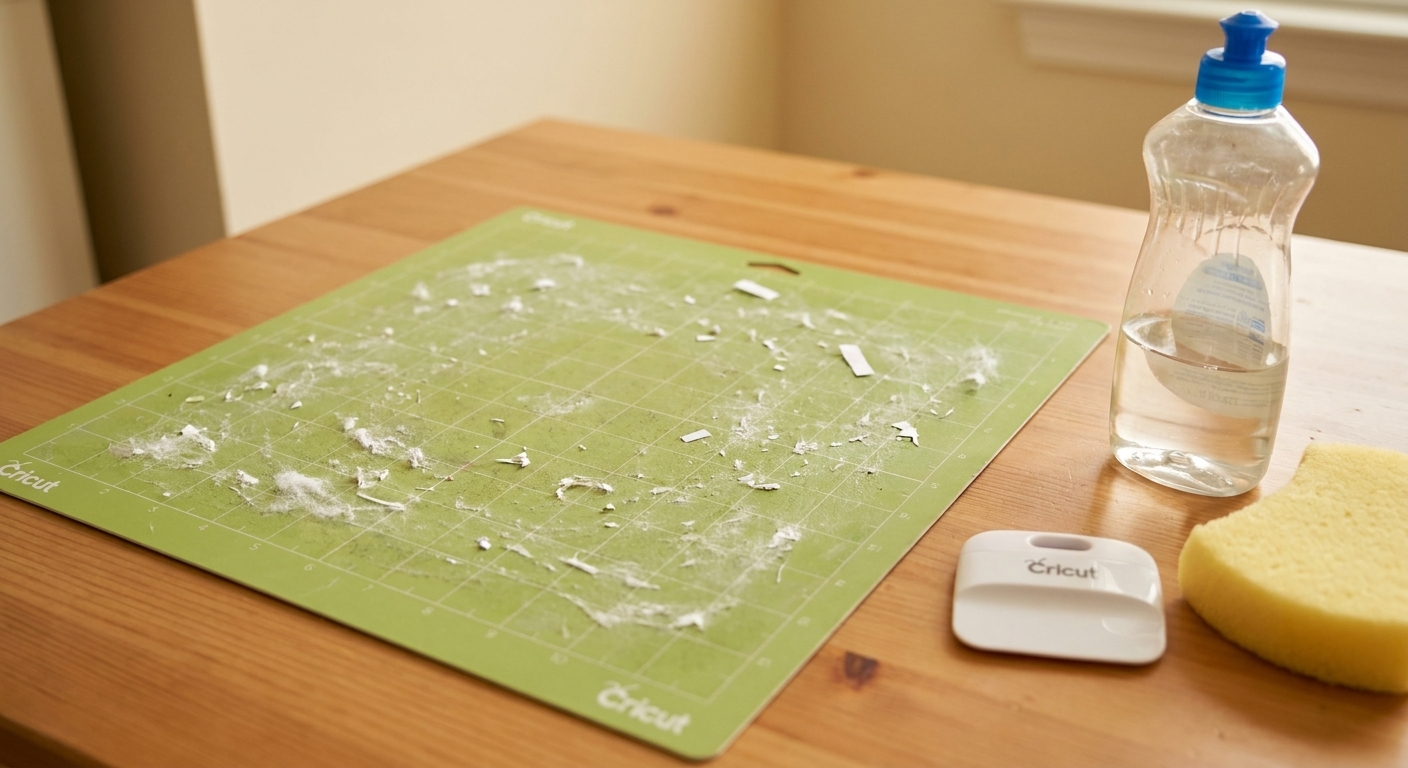
Money-saving, beginner-friendly steps to clean Cricut mats the right way and keep your fine-point blade sharper longer. Includes mat-specific methods, do-not...
Maker Vinyl
Updated October 18, 2026
Cricut Cuts Shifting on the Mat
When your Cricut cut drifts across the mat, the cause is usually material slippage or a tracking problem. Use this two-pass alignment test, check loading and clearance, and know when to stop for roller or belt issues.

Harper Davis
Harper Davis is a lifelong DIY enthusiast and cutting-machine expert who loves helping beginners conquer Cricut Design Space. With over six years of experience running a custom vinyl shop, she shares practical tutorials, material guides, and creative inspiration.
If your Cricut starts cutting in the right place and then suddenly the design “walks” across the mat, you are not imagining it. Something is slipping. The tricky part is figuring out what is moving: the material on the mat, or the mat through the machine.
This guide helps you diagnose shifting cuts without taking anything apart. We will separate material slippage from tracking and feed problems, do a quick alignment test, and cover the “stop now” signs that point to a roller, belt, or feed fault that needs service.
Applies to: Cricut Maker, Maker 3, Explore series, and Cricut Joy Xtra. Button labels vary by model (Load or Load/Unload; Go or C), but the troubleshooting process is the same.
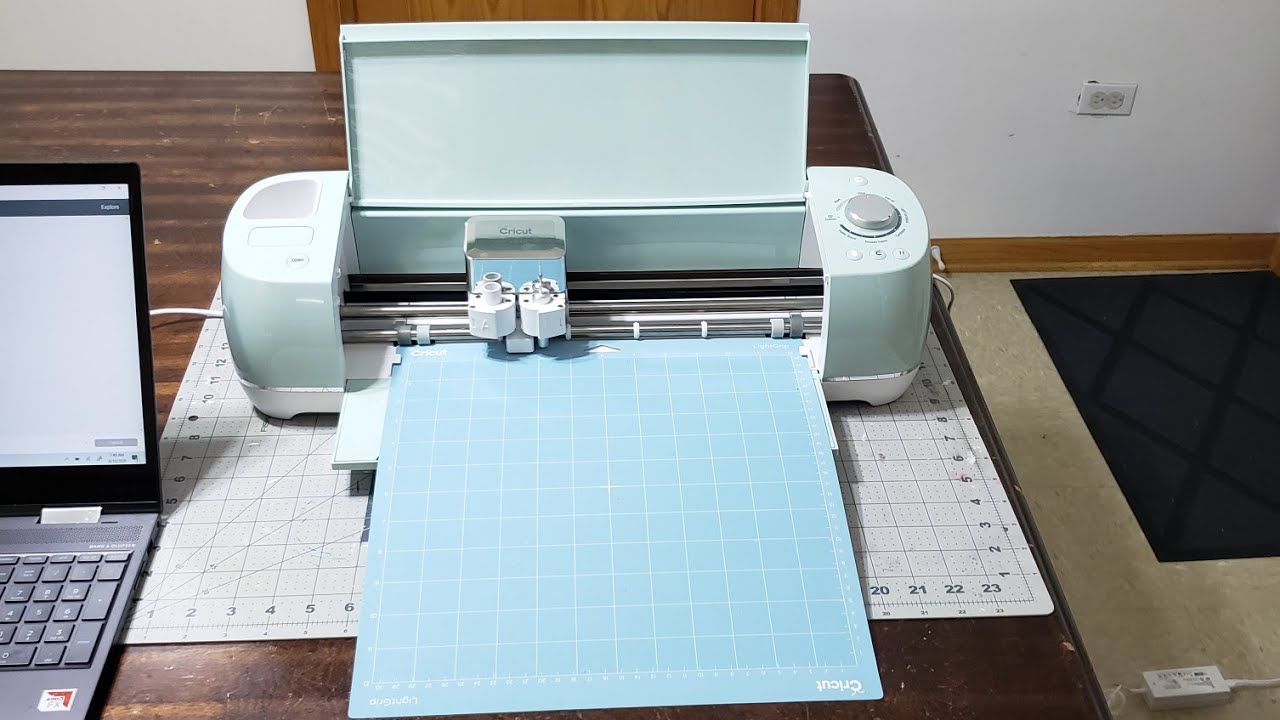
First: name the shift
Before you change settings, look at the cut lines and ask one question:
Did the Cricut lose its place because the material moved on the mat, or because the mat tracking shifted during travel?
Signs the material is slipping
- Edges curl up, especially near the leading edge of the mat, then the next part of the cut is slightly off.
- Small pieces snag on the blade housing and get dragged.
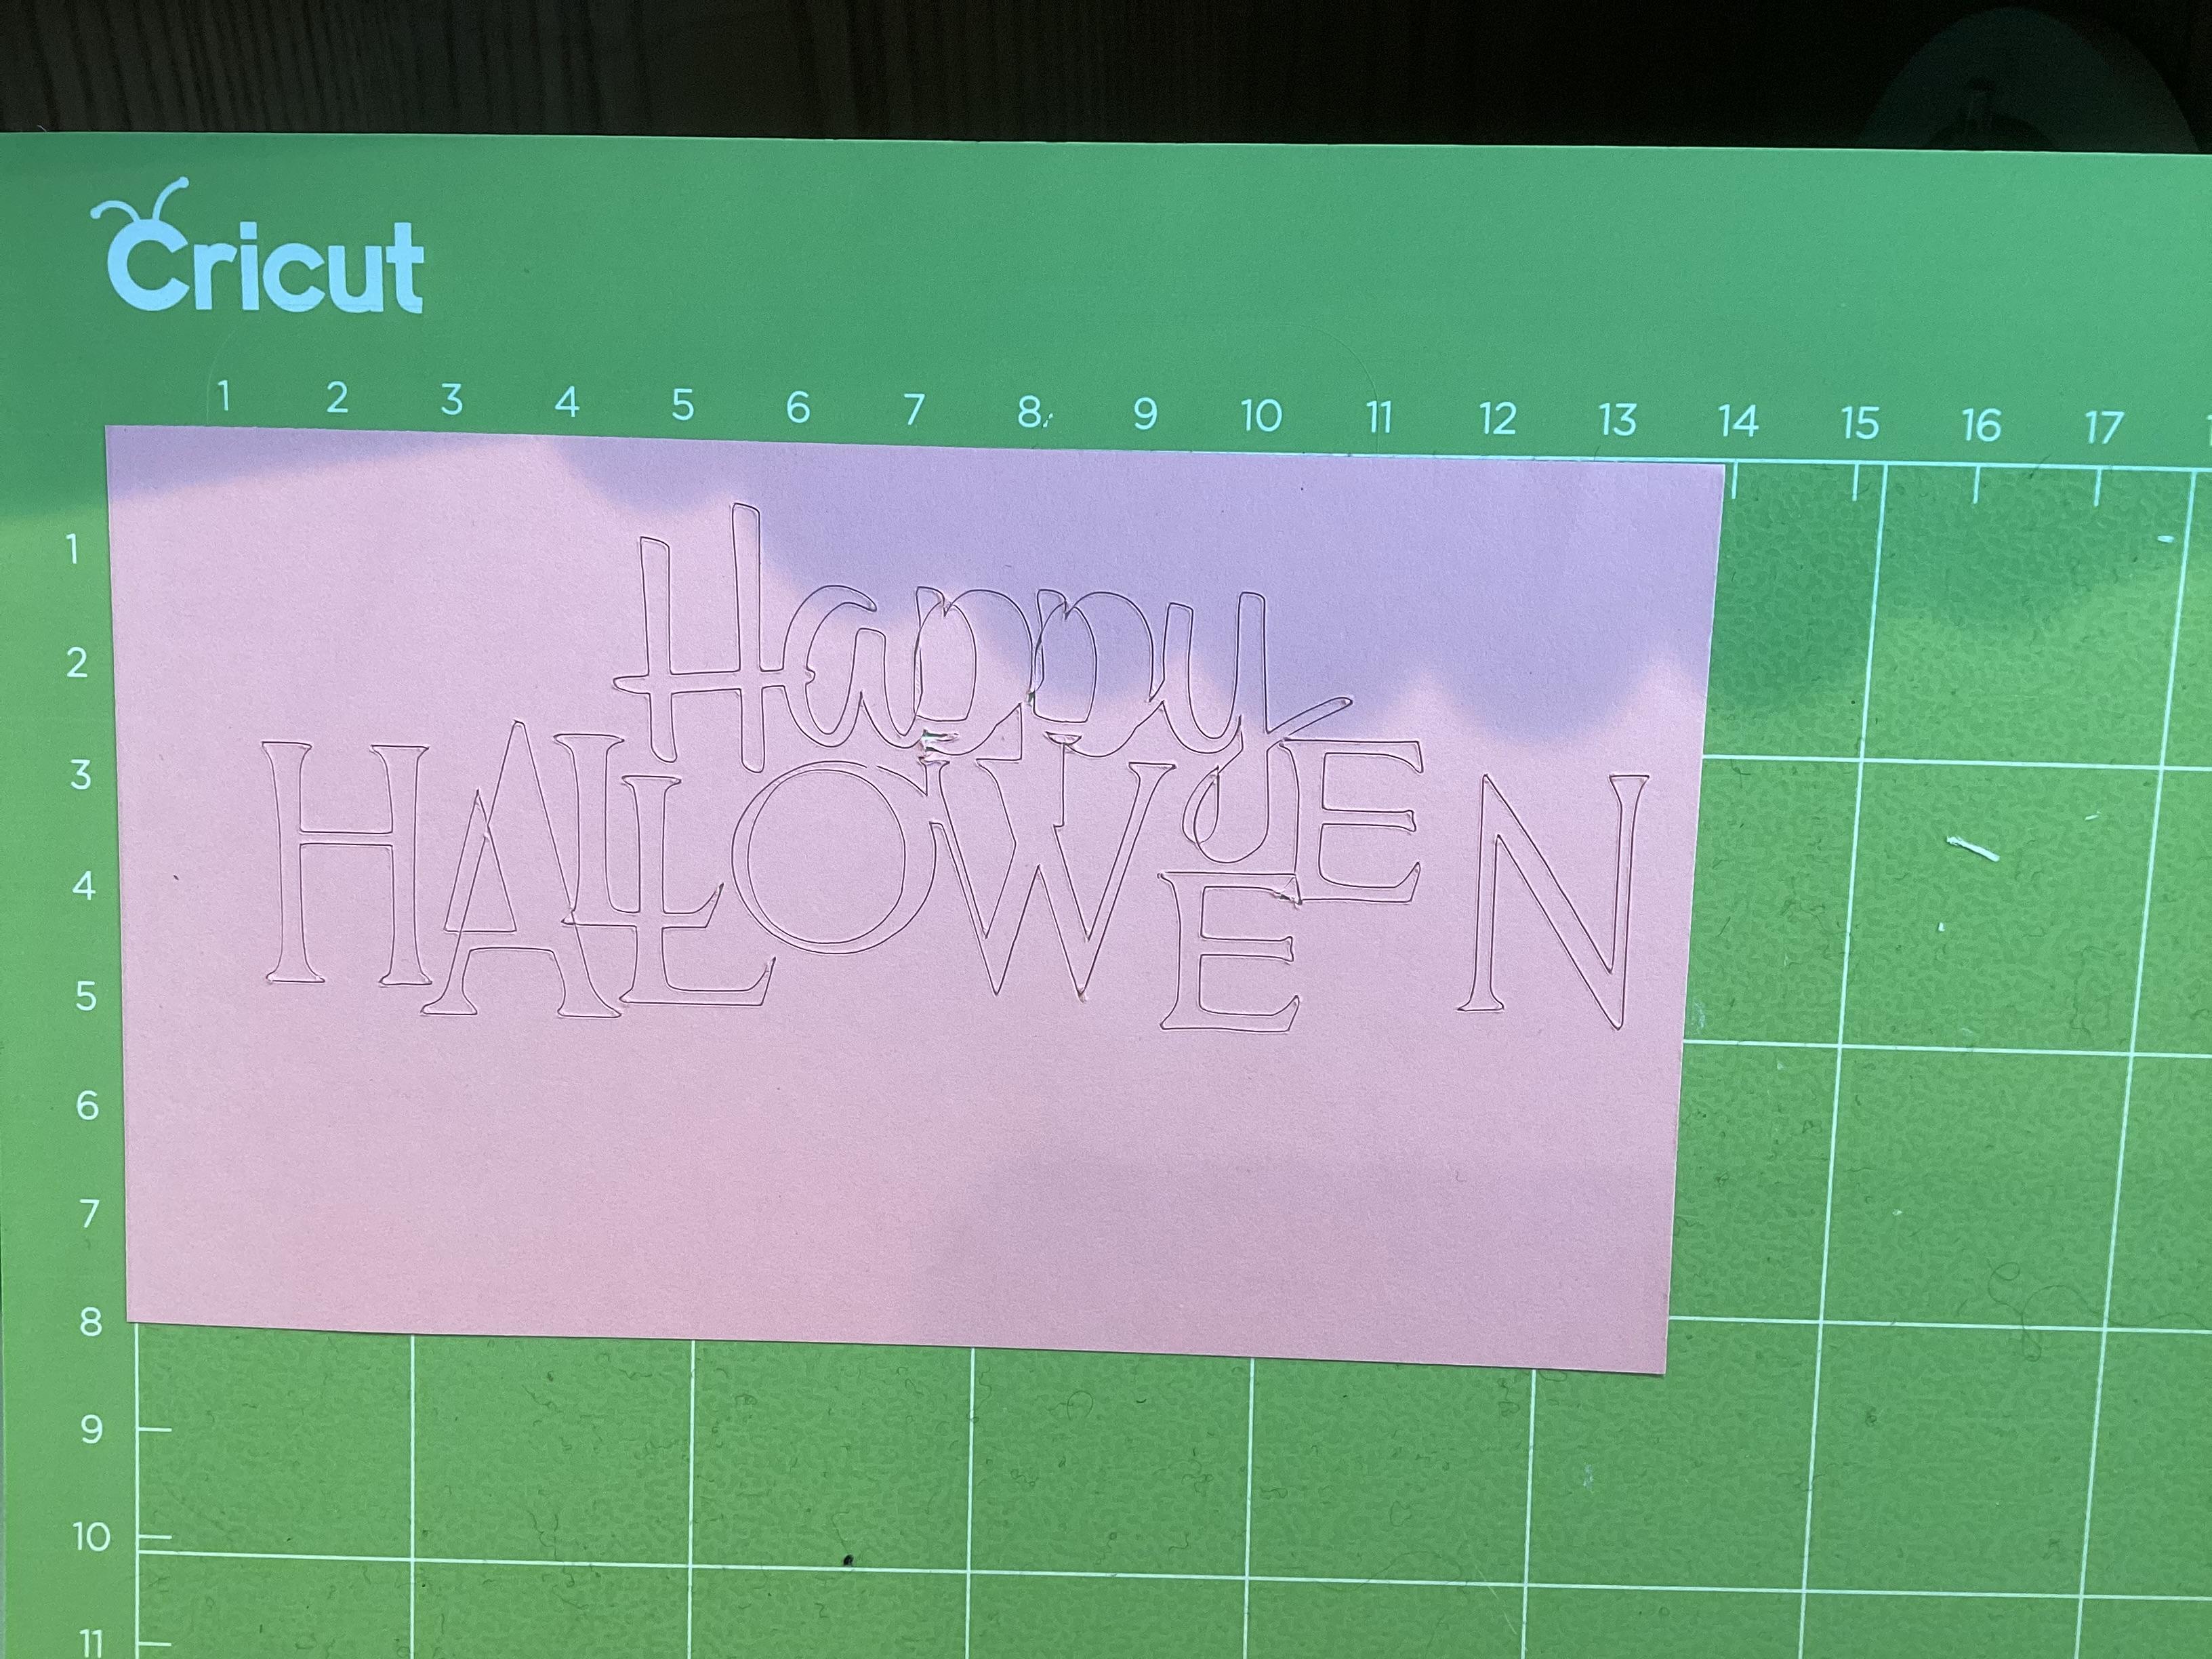
- The cut looks “smeared” in one direction, like the vinyl shifted but the mat stayed steady.
- The mat grid still looks square relative to the machine, but the material looks skewed compared to earlier cuts.
Signs tracking or feed is the issue
- The whole design shifts at once, even in areas where the material is firmly stuck.
- You hear a slight thump or chatter during feed in or feed out, then the cut position changes.
- The mat edges drift left or right as it travels, instead of staying centered in the guides.
- Multiple projects drift in a similar direction, even after you change materials. This can point to tracking, but it can also be consistent loading habits or a repeat obstruction, so keep reading.
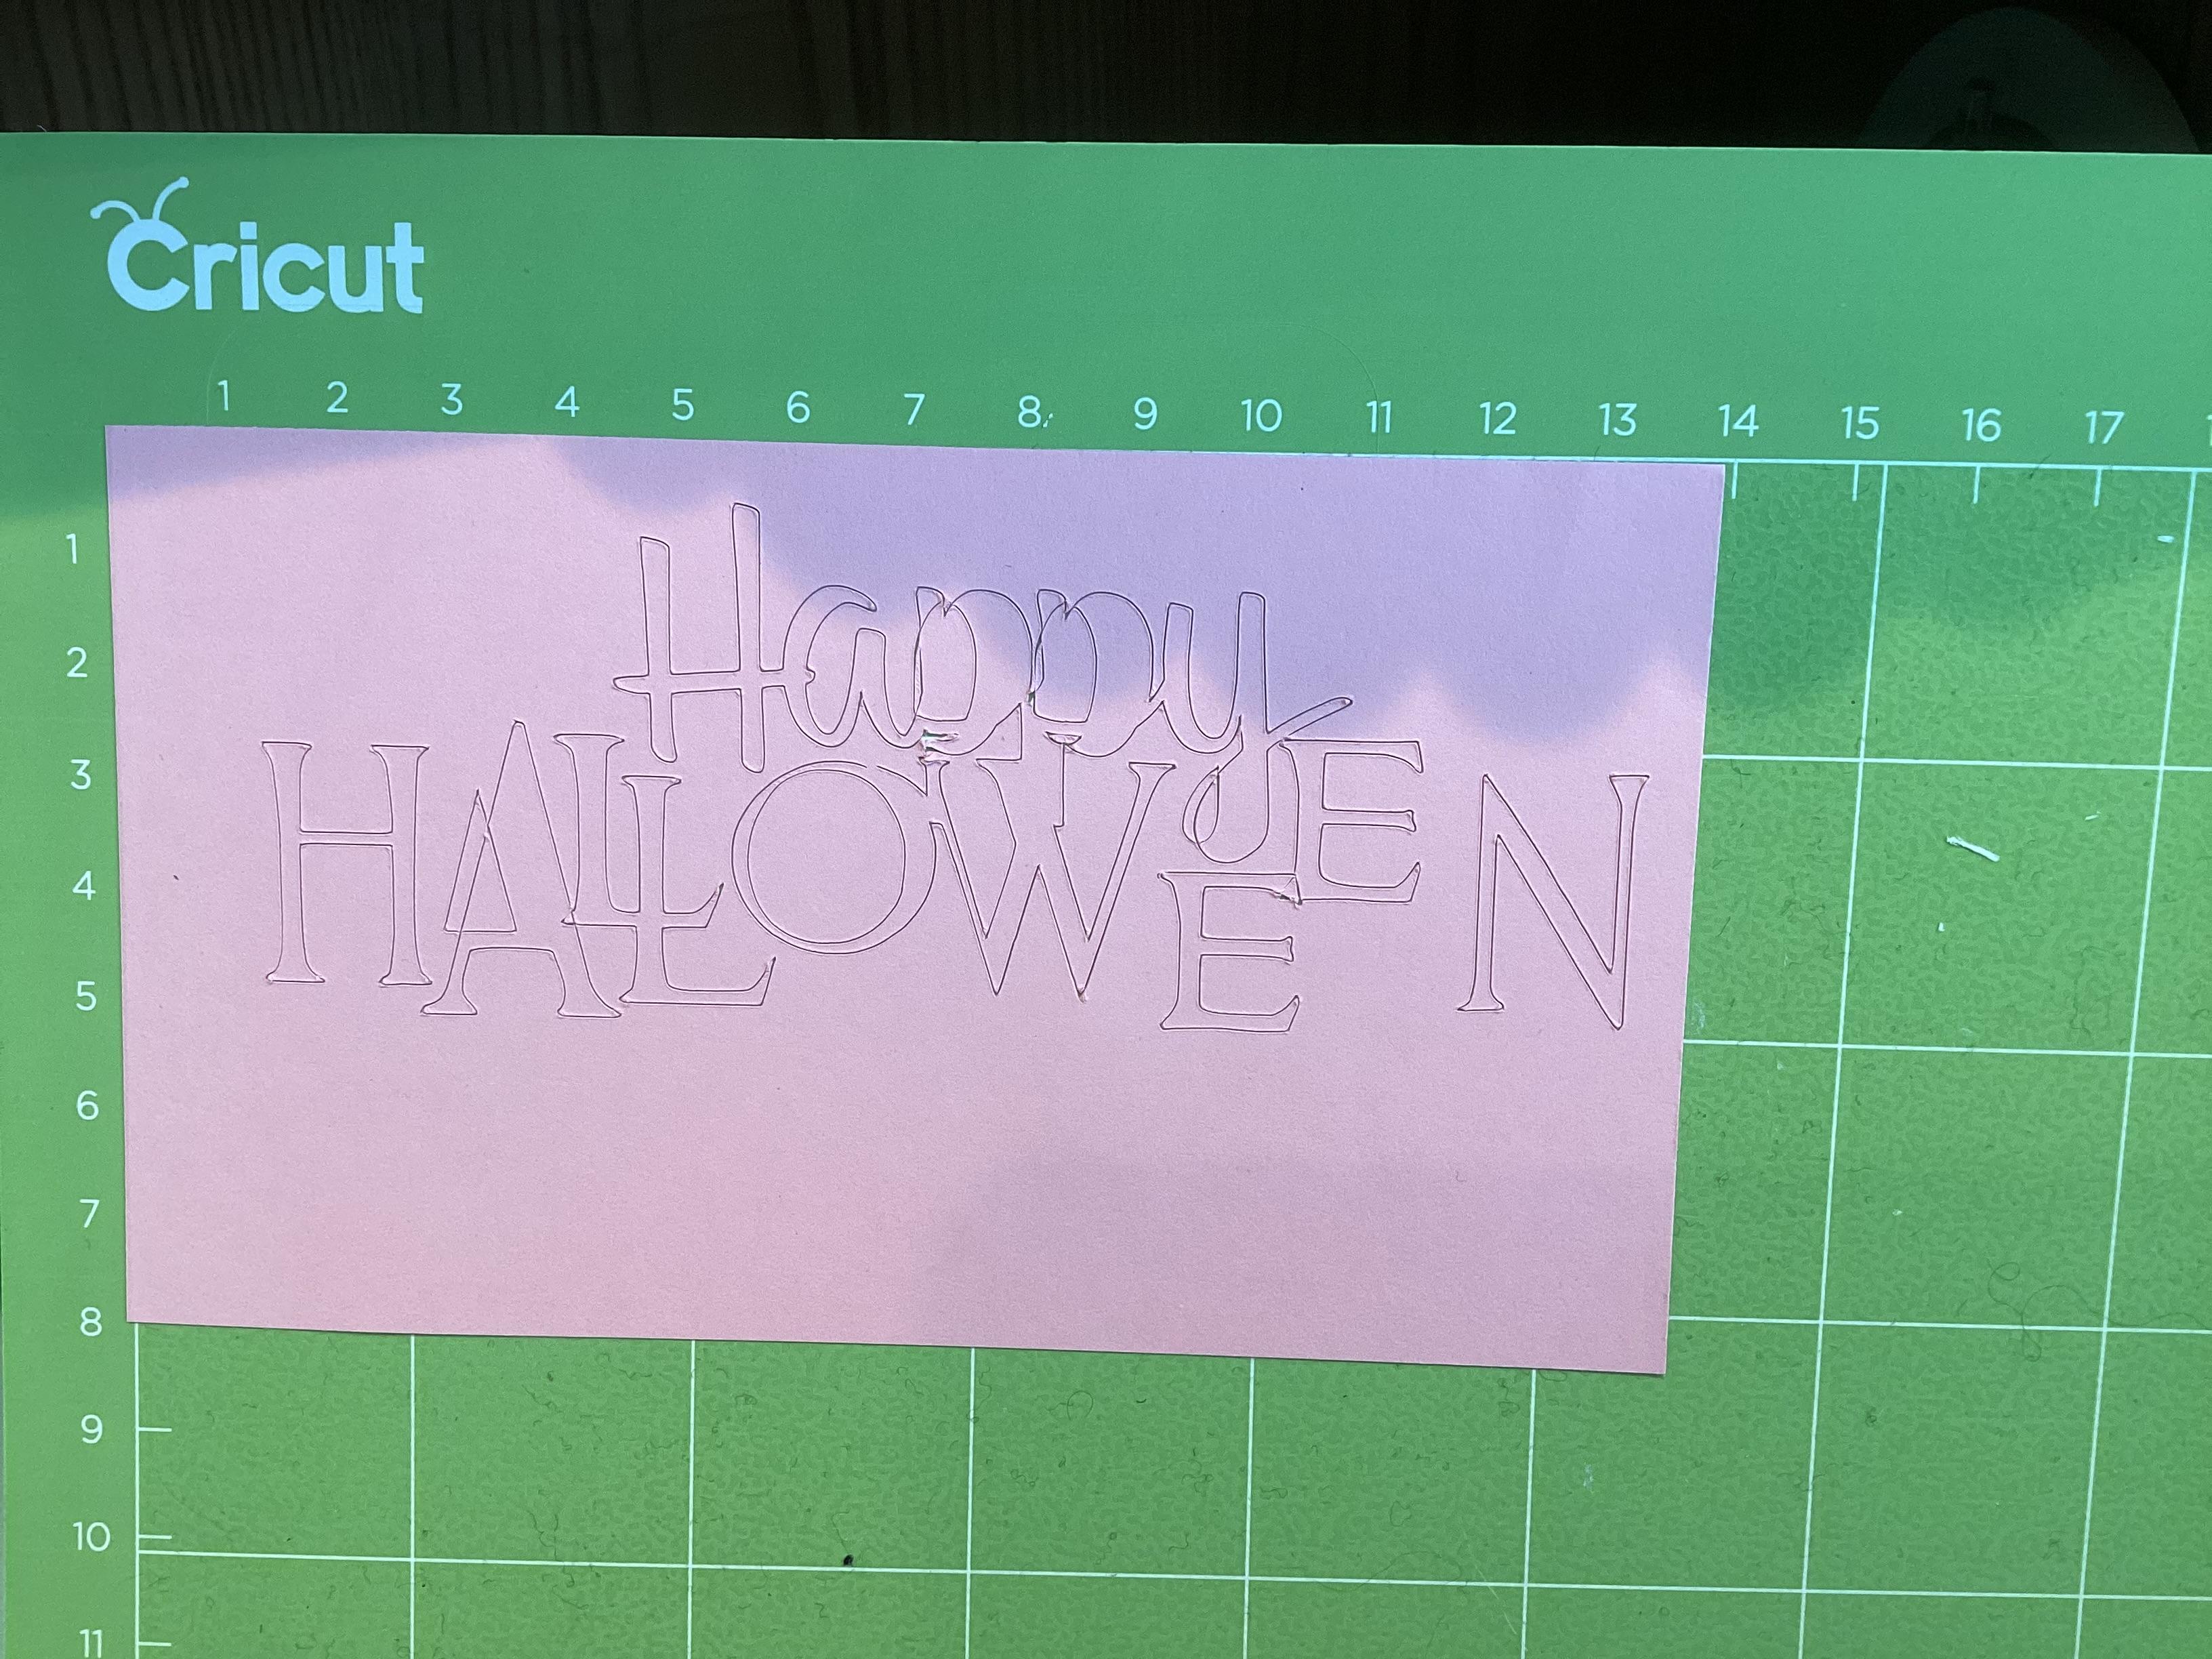
Rule out easy loading issues
When cuts shift, the first checkpoint is always: “Is the mat traveling freely and straight?” A surprising number of tracking issues are just loading and clearance.
1) Load straight, then hands off
- Push the mat in until it lightly meets the rollers, then press Load or Load/Unload.
- Once the machine grabs it, do not keep holding or pushing. Guiding is fine, steering is not.
- Make sure both mat corners enter at the same time. If one corner goes in first, the whole trip can start slightly skewed.
2) Clear space front and back
Your Cricut needs a clear runway.
- Clear at least the full mat length in front and behind so it does not bump a wall, a tool caddy, or the edge of your table.
- Watch for a mat that droops off the table and “tugs” as it feeds. That gentle pull can change tracking on longer cuts.
- If you use a longer mat, support it. A stack of books or a mat extender works great.
3) Confirm the mat is right and flat
- A bowed or creased mat can change roller pressure and cause inconsistent feeding.
- If the mat has deep cuts or gouges along the roller paths (often near the outer areas the rollers contact), it can slip or “pulse” through.
- If it looks wavy on a flat surface, swap mats for testing.
Simple alignment test
This is the quickest way to tell whether you have a material slip problem or a machine tracking problem.
What you need
- One Cricut mat
- Plain printer paper (or cheap cardstock)
- A pen or fine marker
- Design Space
Step-by-step
Place paper on the mat and press it down well with your hand.
Draw two small registration marks on the paper with a pen: one near the top left area and one near the bottom right area. Keep them simple like little crosses.
In Design Space, create two small shapes (tiny squares or plus signs) and position them to match where your hand drawn marks are located on the mat preview.
Cut once. When it finishes, do not unload the mat.
Run the exact same cut again without unloading. On most machines, press the C button or the Go button again (wording varies by model).
How to read the results
- If the second cut lands exactly on the first cut, your tracking system is behaving. Your shifting issue is more likely material lifting, drag, or snagging during real projects.
- If the second cut is offset, something is slipping in the tracking system. That can be mat feed (rollers), belt or gear slip, an obstruction, or occasionally a sudden software or firmware glitch. Start with the non hardware checks below, then treat persistent offset as a service issue.
Why this works: cutting twice without unloading removes reloading error and isolates repeatability. If your Cricut cannot repeat the same cut in the same spot, the problem is not your material placement on the preview.
If material is slipping
Material slippage usually looks like gradual drifting or a sudden jump right after a corner catches.
Hold-down first, not pressure hacks
It is tempting to crank pressure or add extra passes, but if the material is moving, more cutting can make it worse.
- Burnish the material down firmly, especially along the edges where lifting starts. A brayer is ideal for slick or heavy materials.
- Avoid oily fingerprints on vinyl backing or sticker paper. Handle glossy media by the edges.
- Trim material to fit so it is not hanging off the mat and tugging as the mat moves.
- Reduce curl by gently reverse rolling the material before placing it down, especially with vinyl stored tightly rolled.
- Use the right mat tack for the job. Too little grip causes creeping, but too much grip can cause buckling and then lifting.
- Watch static and debris on lightweight materials. Static can make scraps cling to the blade housing, and glitter or paper dust can increase drag. Keeping the mat and material clean helps more than people expect.
Check for snagging at the blade housing
When tiny pieces lift, they can stick to the blade housing and get pushed around. Before you chase settings, do these quick checks:
- Confirm the correct blade and clamp. On most models, the fine point blade housing goes in Clamp B and should be fully seated and locked.
- Check for wobble. The housing should not wiggle in the clamp. A loose clamp or an unseated housing can contribute to snagging and drag.
- Keep the blade area clean. Remove stuck bits from the housing and the tip area carefully.
- Simplify confetti cuts for fussy materials, or choose a setting that cuts more deliberately rather than one that flies through.
If tracking is the issue
If your alignment test shows the machine cannot repeat the same cut position, treat it like a tracking problem until proven otherwise.
1) Recheck guides and centering
- Make sure the mat is between the left and right guide walls as it feeds.
- If you see it rubbing one side consistently, stop and reload.
2) Try a different mat
Rollers grab the mat surface differently depending on wear. A mat with rough, nicked areas where the rollers contact can “pulse” through.
- Test with a newer mat if you have one.
- If you only have older mats, avoid peeling materials aggressively along the same roller contact areas every time.
3) Look for debris and obvious roller damage
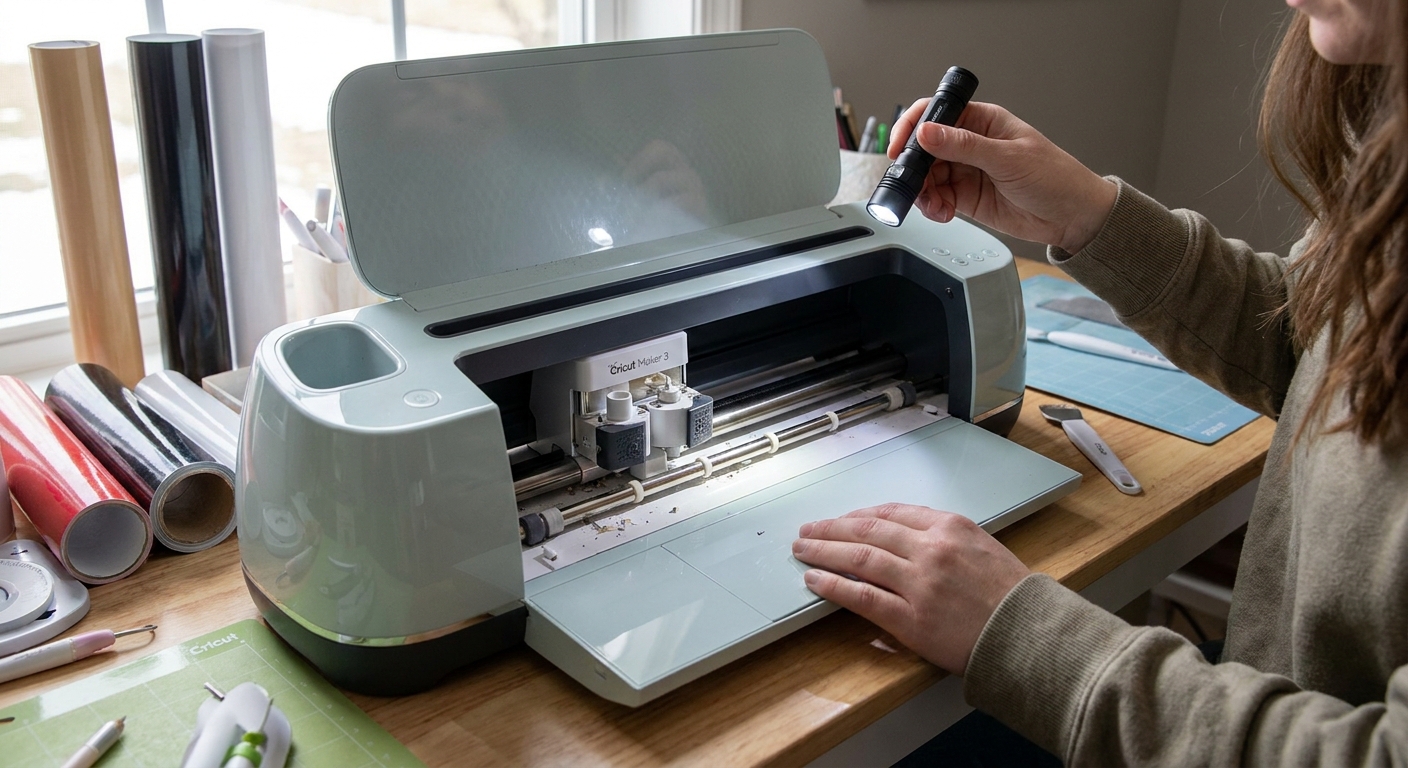
No tools, no taking covers off. Just a flashlight and your eyes.
- Look for stuck bits of paper, backing, or glitter debris in the roller area.
- Look for uneven roller surfaces, cracks, or spots that look flattened.
- Listen for rhythmic ticks when the mat moves. That can point to a roller spot that is not rolling smoothly.
If you see something loose and easy to remove without poking into the machine, you can carefully lift it away. If removing it requires digging or force, stop.
4) Do the quick software reset
If repeatability suddenly got worse with no other changes, rule out the easy software side before assuming hardware failure.
- Close and reopen Design Space, then resend the cut.
- Power cycle the machine (off, wait a moment, then on).
- Check for firmware updates in Design Space if you have not updated recently.
When to stop
Troubleshooting is useful, but there is a point where continuing to cut just wastes materials and can stress the machine.
Stop at-home troubleshooting if:
- Your alignment test fails repeatedly across different mats and simple paper.
- The mat visibly walks sideways during feed, even when you reload carefully and the area is clear.
- You see damaged rollers (cracks, missing pieces, severe unevenness) or the machine makes new grinding or knocking sounds.
- The machine cannot load consistently or ejects the mat unpredictably.
At that point, the most productive move is to contact Cricut Support or your retailer if you are within a return window. Describe the results of your two-pass alignment test. It is specific, repeatable, and it helps support teams troubleshoot faster.
Quick checklist
- Material lifting? Burnish (use a brayer for slick media), trim, flatten curl, and confirm mat tack matches the material.
- Blade snagging? Confirm correct blade in Clamp B, fully seated, no wobble, and clean the housing.
- Mat loading straight? Even corners in, then hands off once the rollers grab.
- Clear travel path? Space front and back, and support the mat so it does not droop.
- Run the two-pass alignment test. Perfect overlap suggests material slip. Offset suggests tracking.
- Inspect rollers visually. Look for debris or obvious damage, no disassembly.
- Restart and update. Power cycle, reopen Design Space, and check firmware if behavior changed suddenly.
- Persistent tracking failure equals stop. Switch to support before you sacrifice more vinyl.
FAQ
Why does my Cricut cut fine at first, then shift halfway through?
That mid-job shift is usually either (1) material lifting and catching on the blade housing once enough small cuts loosen it, or (2) a tracking slip after the mat hits resistance like table edge droop or a tight spot in the feed path. The two-pass alignment test helps you separate those quickly.
My first cut is correct, but the second cut (without unloading) is off. What does that mean?
That points to a repeatability problem in the tracking system, not your placement on the mat preview. Recheck straight loading and clearance first. If it still happens with different mats and plain paper, try the power cycle and firmware update. If the offset persists, treat it as a hardware issue (rollers, belts, or related drive components) and contact support.
Can a dull blade cause shifting?
A dull blade usually causes incomplete cuts or tearing, but it can contribute to shifting if it snags and drags material during tight corners. If your alignment test passes but real projects drift, swapping to a fresh blade makes sense after you address lifting and hold-down.