A step-by-step prep guide for flawless adhesive vinyl on glass, wood, and plastic blanks, plus the top mistakes that cause lifting and bubbles.
Maker Vinyl
Updated October 18, 2026
Can Vinyl Labels Survive in a Freezer?
Yes, but not all vinyl and adhesives are freezer-friendly. Learn how to check temperature ratings, prevent condensation issues, and run a simple freeze-thaw test before labeling a whole batch.

Harper Davis
Harper Davis is a lifelong DIY enthusiast and cutting-machine expert who loves helping beginners conquer Cricut Design Space. With over six years of experience running a custom vinyl shop, she shares practical tutorials, material guides, and creative inspiration.
If you have ever pulled a container out of the freezer and found your label curled up like a potato chip, you already know the truth: cold storage is a completely different game than pantry labeling.
The film is usually less of the problem than the adhesive, plus the sneaky troublemaker we forget about until it happens: condensation. The good news is you can test freezer performance in a way that is quick, inexpensive, and does not put adhesive on food-contact surfaces.
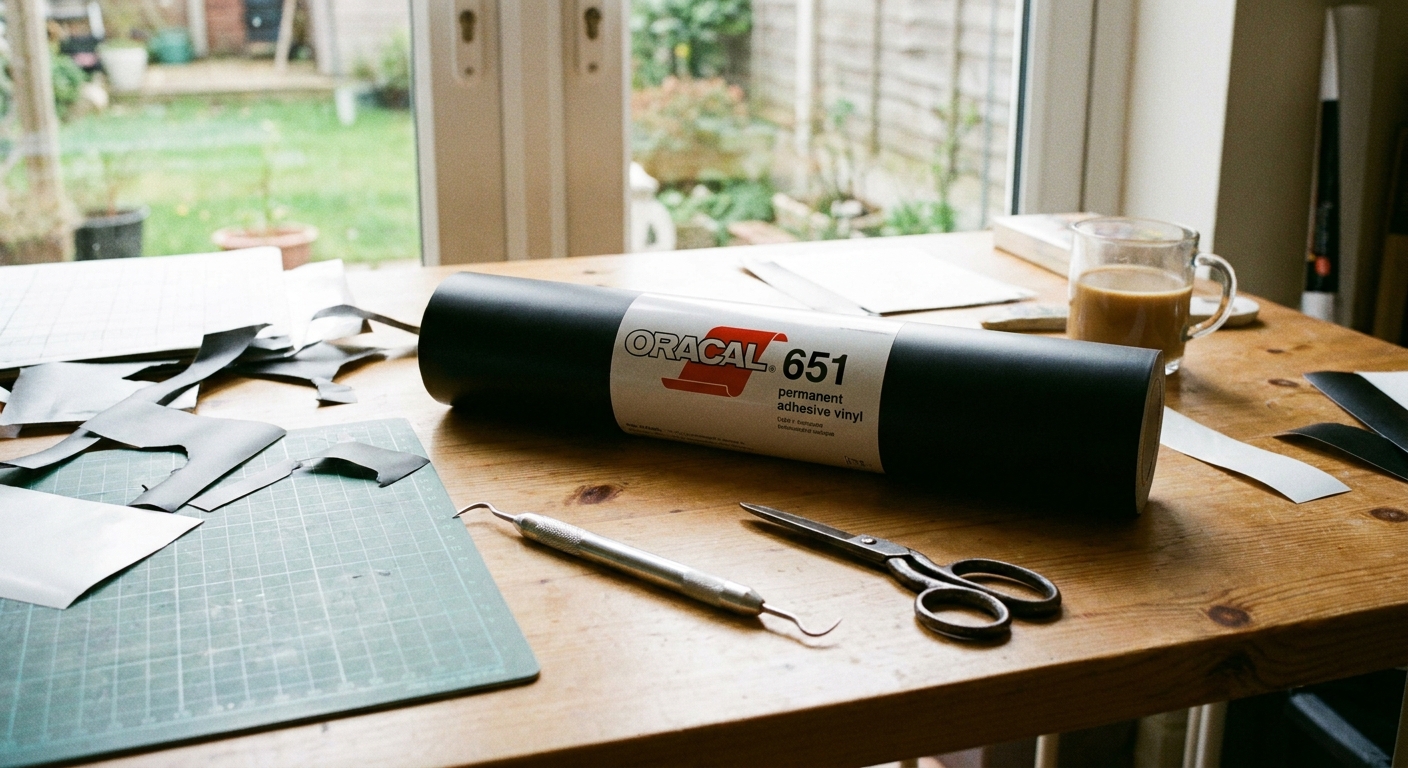
What happens to vinyl labels in the freezer
When a labeled container goes into the freezer, a few things happen at once:
- The adhesive stiffens. Many pressure-sensitive adhesives get less tacky at low temperatures, especially if they were applied when the surface was cold.
- Plastic shrinks and flexes. Thin deli containers and some meal-prep plastics change shape slightly as they chill. That movement can lift edges.
- Condensation shows up during thawing. When you take the container out, moisture forms on the outside. Water at the label edge is a fast track to peeling.
- Frost and freezer residue can build up over time, especially if containers are stored long-term or in a frost-prone freezer.
So if a label fails, it is not always because the vinyl is “bad.” It is often because the adhesive never had the right conditions to bond in the first place, or the container and label are being pushed outside their comfort zone.
Start with the product sheet
This is the step that saves the most frustration and the most vinyl.
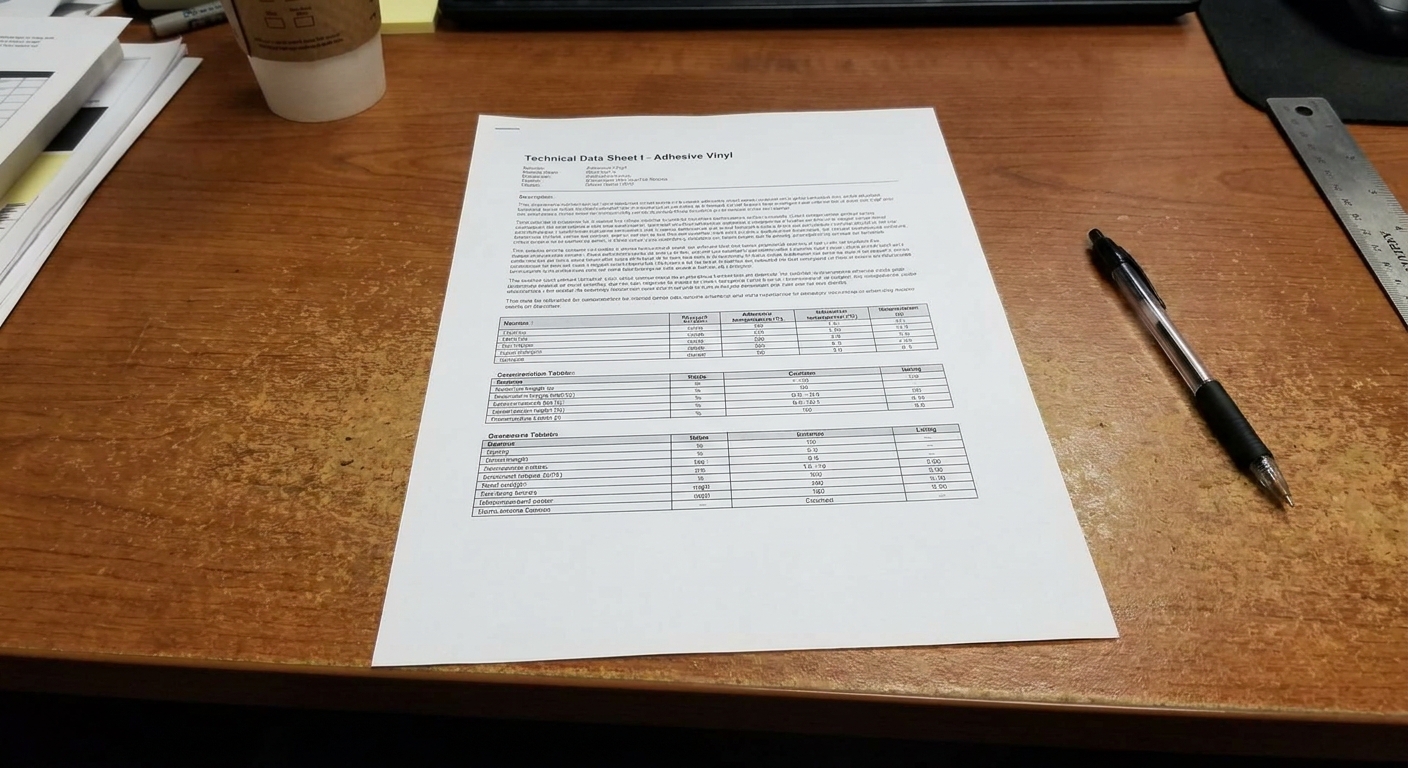
Most branded permanent vinyl (and many printable sticker films) have two temperature specs on the technical data sheet:
- Minimum application temperature: how warm the surface should be when you apply the label so the adhesive can wet out and bond.
- Service temperature range: the temperatures the label can tolerate after the adhesive has properly bonded.
Here is the common trap: a vinyl might advertise a very cold service temperature, but still require a relatively warm application temperature to form a strong bond.
How to read it in real life
- If the product sheet says the minimum application temp is 50°F and you are labeling containers straight from the fridge, you are setting yourself up for edge lift.
- If the service range does not go below freezing, the label may look fine at first, then start losing adhesion over time. Depending on the film and laminate, it may also stiffen, haze, or crack when cycled colder than it was designed for.
If you cannot find a product sheet (mystery off-brand rolls), treat it like untested material and do the freeze-thaw trial described below before committing to a batch.
Labeling mistakes to avoid
Once you know the temperature specs, the next step is matching them with real-life prep. Most freezer label problems come down to one issue: the surface was not warm, clean, and dry when the label went on.
The biggest mistake: labeling a damp or cold container
I know the temptation. You just washed the containers, you are meal-prepping, you want the labels on now. But moisture is the enemy of pressure-sensitive adhesive.
Best practice before labeling
- Dry completely: towel dry, then air dry. Pay attention to seams, lips, and textured areas where water hides.
- Label at room temperature: apply labels when the container is warm and dry, not straight from the dishwasher, fridge, or a cold garage.
- Give it cure time: adhesives build bond strength over time. If you can, label the night before freezing. Even a few hours helps.
Quick cleaning note
Make sure the outside is free of oils and residue (including cooking splatter and greasy fingerprints). If you use rubbing alcohol for test containers, use a small amount, let it fully evaporate, and spot-test first to make sure the plastic is compatible.
If you have ever seen a label slide, bubble, or peel within a day of freezing, condensation during application or too-cold application is often the reason.
Surface and placement
For freezer use, where you place the label matters almost as much as what it is made of.
Better spots for freezer labels
- Flat sides of containers rather than curved corners.
- Smooth plastic rather than heavily textured or rubberized areas.
- Away from the lid rim and seal zone, where flexing and washing wear are highest.
A note on hard-to-stick plastics
Some common food containers are made from lower surface-energy plastics like polypropylene (PP) and polyethylene (PE), which can be harder for many adhesives to grip. Other plastics (like PET or PS) are often easier. If one container brand keeps failing while another works, the plastic type and texture may be the reason.
Food safety note for crafters
For anything that will touch food, I keep it simple: do not place adhesive vinyl where it can contact food. Craft vinyl and its adhesives are not generally sold as direct food-contact materials. Follow your container and label manufacturer guidance, and label the outside only. Avoid the inside of lids, inner walls, and any area where sticky edges could end up near food during scooping or washing.
Freeze-thaw test
If you are about to label 10 to 50 containers (soup season, breastmilk storage, meal prep, bulk freezer jams), do this mini test first. It takes a couple of days and can save you a lot of re-labeling.
What you need
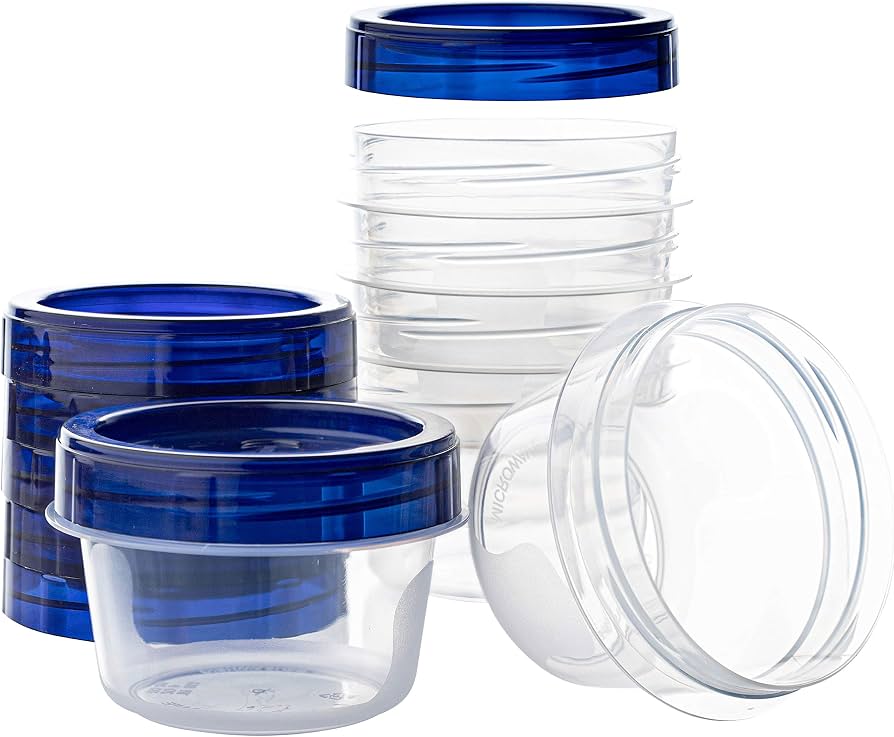
- Your container type (the exact brand and size, if possible)
- Your vinyl or label material (permanent vinyl, removable vinyl, printable sticker paper, laminated sticker film, etc.)
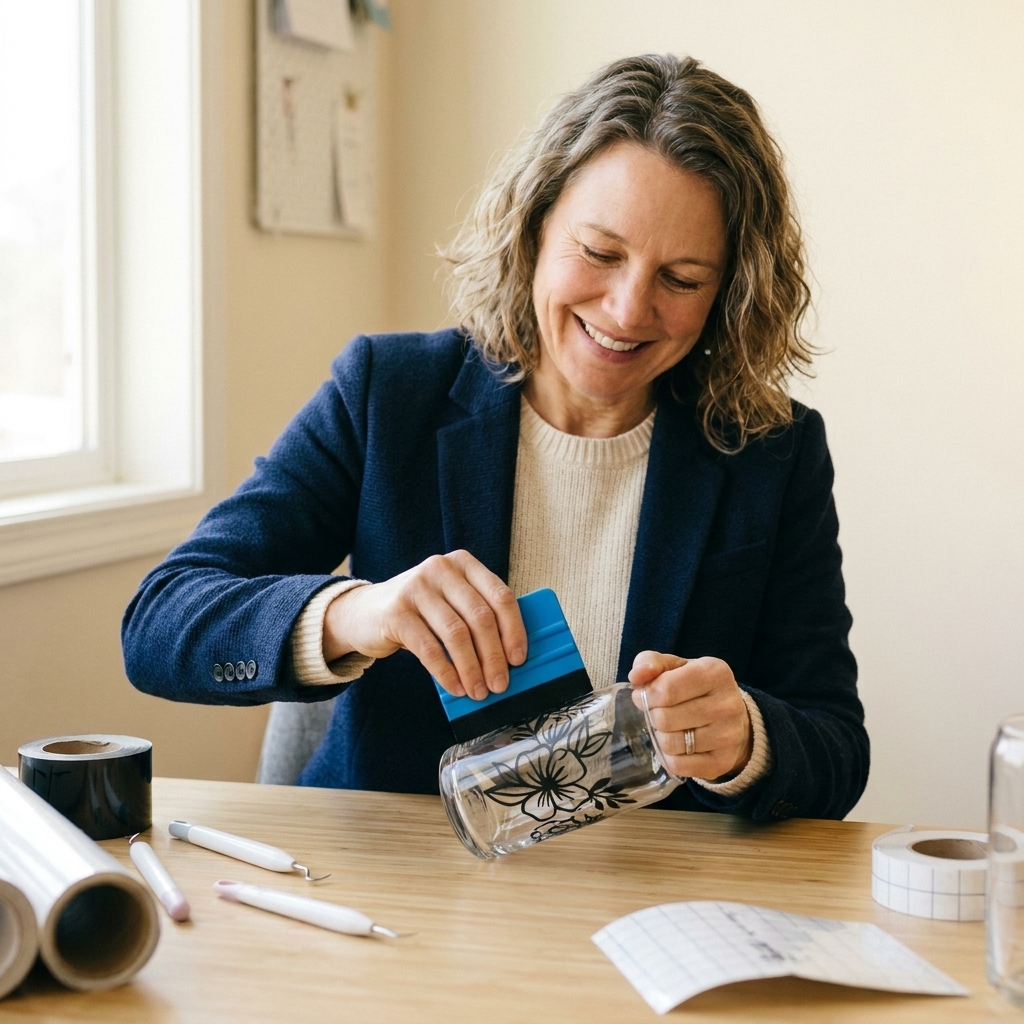
- A squeegee or scraper tool
- Paper towel
- Optional: rubbing alcohol for the test containers only
Step-by-step freeze-thaw test
- Prep two identical containers. Wash, rinse, and dry completely.
- Apply two test labels on the outside, on a flat area. Burnish firmly with a scraper, especially edges and corners.
- Let them sit at room temperature for at least 6 to 12 hours (24 hours is even better).
- Freeze for 24 hours.
- Thaw on the counter until condensation forms and fully evaporates. Do not towel it off. You want to test real-world moisture exposure.
- Repeat the cycle 2 to 3 times.
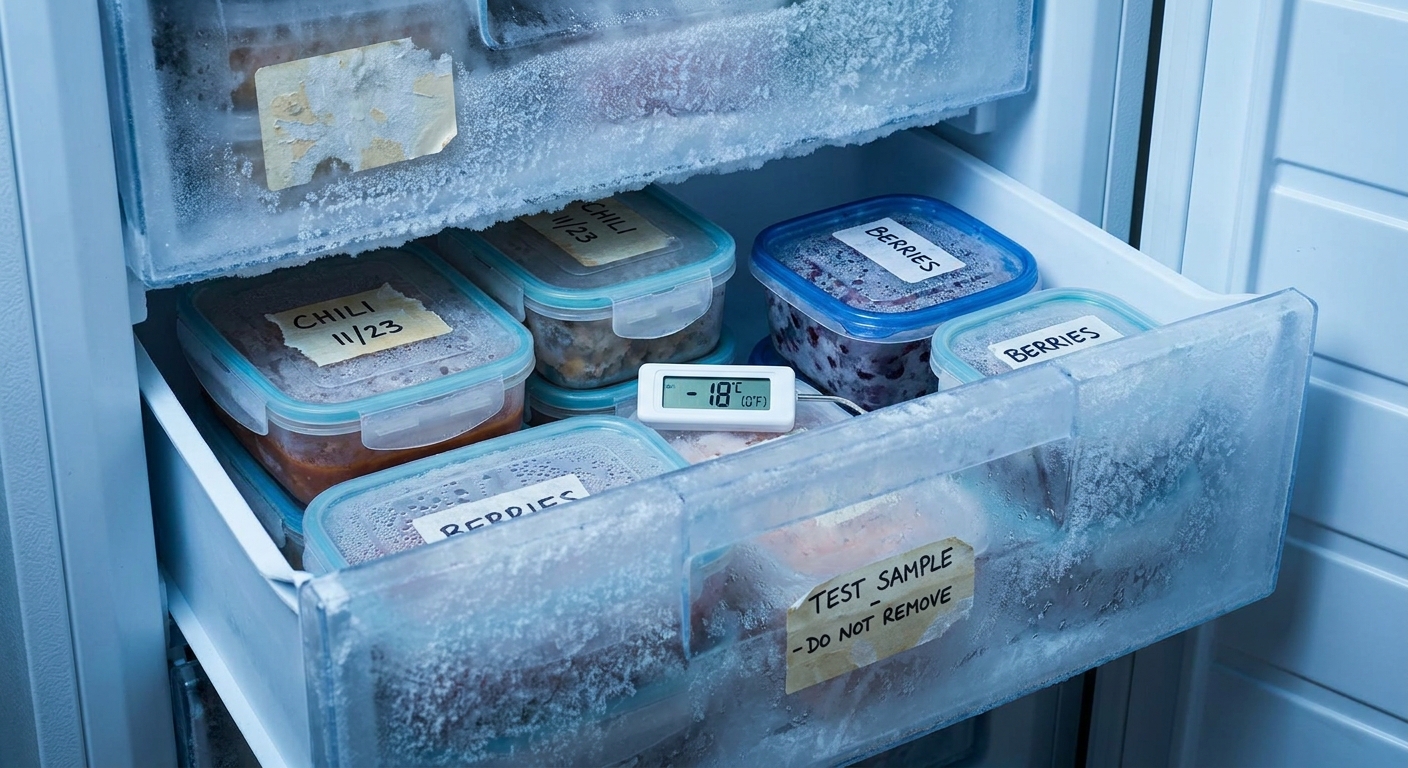
- Inspect closely: check for edge lift, corner curl, bubbling, shrinking, cracking, and whether the label slides when rubbed.
How to judge the results
- Pass: edges stay tight after multiple cycles, no bubbles develop, and rubbing does not shift the label.
- Borderline: small corner lift only after the second or third cycle. You might fix this by rounding label corners, moving placement, or giving more cure time before freezing.
- Fail: significant curling, large bubbles, or the label peels when condensation shows up. Switch material or change approach before doing the whole batch.
Common problems and fixes
Problem: Corners peel first
- Cause: sharp corners catch during handling and washing, and are the first place moisture sneaks in.
- Fix: round your label corners before cutting or applying, or choose a more oval label shape. Burnish edges firmly.
Problem: Label looks fine frozen, then lifts during thaw
- Cause: condensation during thawing, plus a bond that was not fully cured.
- Fix: apply at room temp, let cure longer before freezing, and avoid placing labels near lid seams where water sits.
Problem: Bubbles appear after a day or two
- Cause: trapped moisture, textured plastic, low-surface-energy plastic, or the container flexing as it chills.
- Fix: apply to smoother areas, use stronger burnishing pressure, and avoid thin, very flexible containers for “permanent” freezer labeling.
Problem: Printable labels smear or get cloudy
- Cause: ink not sealed well enough, or water exposure during thaw.
- Fix: use a waterproof label film, laminate, or seal with a cold-safe overlaminate. Then freeze-thaw test again.
Materials: what usually works best
“Permanent” describes the adhesive category, not a guarantee that a label will survive freezing, thawing, and wet hands. If you are choosing materials, these quick distinctions help:
- Calendared permanent vinyl (common craft rolls): often works well if applied warm, cured, and placed on a friendly surface. It can be a little stiffer than cast films.
- Cast vinyl: typically more conformable and stable, and often performs better on curves, but you still need an adhesive rated for your conditions.
- Removable vinyl: convenient for temporary labels, but it is more likely to lift with condensation and handling.
- Printable paper labels: usually the first to fail in freezer conditions unless they are specifically designed for cold and moisture.
- Printable waterproof films (often with laminate): a strong choice when you need printed info to stay crisp through thaw cycles.
Non-adhesive options
Sometimes the best solution is not fighting condensation with adhesive at all.
- Write directly on the container with a freezer marker or oil-based paint pen on the outside.
- Use hang tags tied to handles (great for baskets or bagged items).
- Slip a label into a pocket if your container has a built-in label window.
If you are labeling for resale or gifting, adhesive labels can still work beautifully. Just do the trial first so you are not re-labeling everything at midnight with cold hands.
Quick checklist
- Check product sheets for minimum application temperature and service temperature range.
- Apply labels only to clean, dry, room-temp containers.
- Allow cure time before freezing whenever possible.
- Place labels on flat, smooth exterior surfaces and away from lid seals.
- Round corners by default for better durability.
- Run a 2 to 3 cycle freeze-thaw test before labeling a whole batch.
- Keep adhesive off food-contact surfaces.
FAQ
Is permanent vinyl freezer-safe?
Often, yes, but “permanent” does not automatically mean “freezer-proof.” The adhesive must be able to handle cold and moisture during thawing. Check the technical sheet and do a freeze-thaw trial on your exact container.
Should I apply vinyl to a container that is already cold?
Try not to. Adhesive vinyl bonds best when applied to a dry surface at or above the material’s minimum application temperature. Label at room temperature, then freeze after the bond has had time to build.
Will vinyl labels survive dishwashing after freezing?
Dishwashing adds heat, detergent, and water pressure. Some freezer-safe labels still fail in the dishwasher. If dishwashing is part of your routine, include it in your test cycle: thaw, wash, dry, then refreeze and check edges.
Can I put vinyl on freezer bags?
It is hit-or-miss. Many freezer bags are made from low-surface-energy plastic (often polyethylene), and the bag flexes constantly. If you want labels on bags, test first and keep labels away from areas that fold or crease.