A step-by-step prep guide for flawless adhesive vinyl on glass, wood, and plastic blanks, plus the top mistakes that cause lifting and bubbles.
Maker Vinyl
Updated October 17, 2026
Vinyl on Wood Signs: Best Types and How to Seal
Get crisp vinyl lettering on wood signs without wasted cuts. Learn which vinyl works best, how to prep rough boards, and how to seal without bubbles or edge lift.

Harper Davis
Harper Davis is a lifelong DIY enthusiast and cutting-machine expert who loves helping beginners conquer Cricut Design Space. With over six years of experience running a custom vinyl shop, she shares practical tutorials, material guides, and creative inspiration.
If you have ever tried putting vinyl on a wood blank and watched the letters turn into a tiny forest of air pockets, you are not alone. Wood is gorgeous, but it is also thirsty, textured, and sometimes downright fuzzy. The good news is you can get clean, professional-looking vinyl on both sanded and unsanded wood. The trick is choosing the right vinyl, prepping the surface like you mean it, and sealing in the right order.
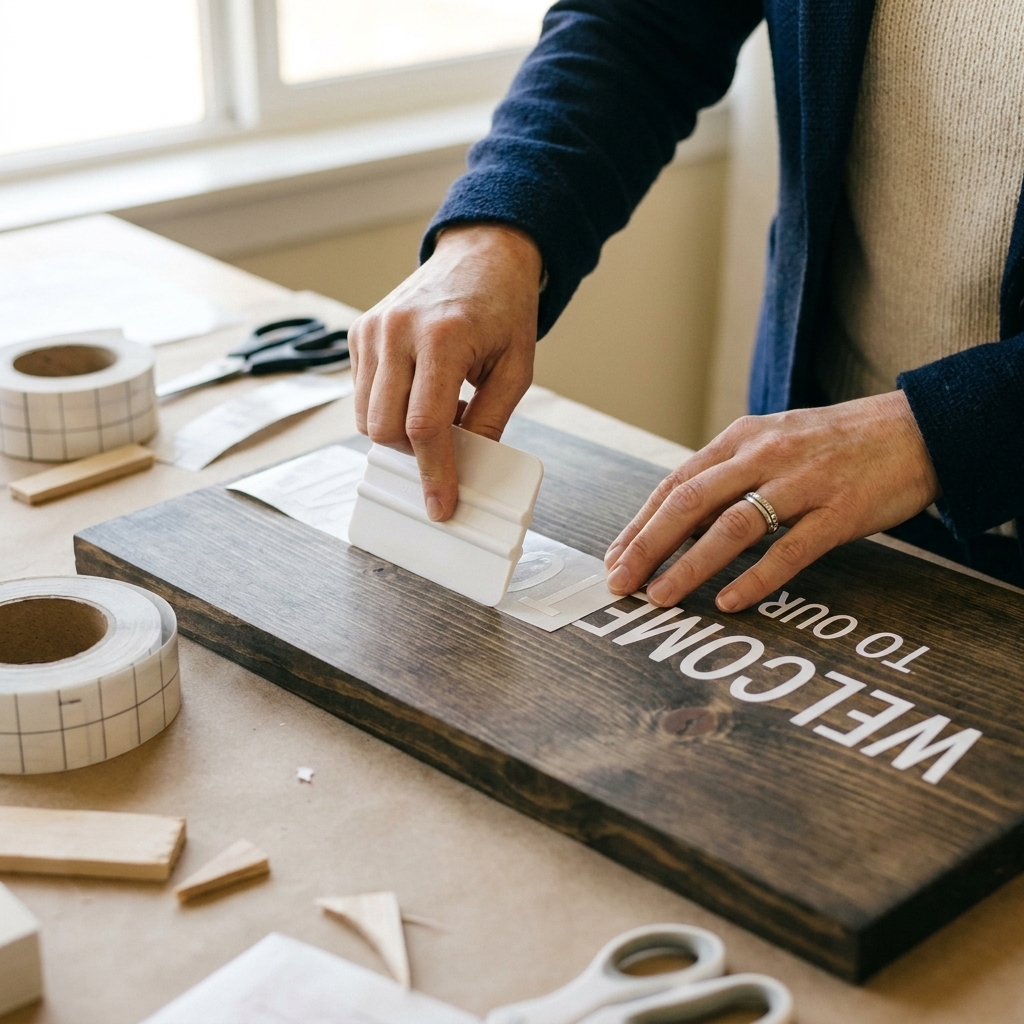
Below is my shop-tested method for making vinyl lettering stick to wood grain and stay there, whether your sign lives in a cozy entryway or on a covered porch.
Tools and materials
You do not need anything fancy, but the right basics make the difference.
- Sandpaper: 120, 180, and 220 grit
- Dust removal: vacuum, tack cloth, or lint-free cloth
- Vinyl: permanent adhesive vinyl (my default)
- Transfer tape: medium tack (usually)
- Burnishing tool: scraper, squeegee, or an old gift card
- Sealer/topcoat: water-based polyurethane, polycrylic, spray acrylic, or spar urethane (project-dependent)
- Optional but helpful: painter’s tape and a ruler for alignment
Quick safety note: sanding and spray sealers create dust and fumes. Work in a ventilated area, wear eye protection, and use a dust mask or respirator as needed.
Why wood is tricky
Vinyl adhesive performs best on smooth, stable, low-porosity surfaces. Wood is workable, but it adds a few challenges:
- Open grain and pores reduce contact between vinyl and the surface.
- Sawdust and fuzz sit between the adhesive and the board.
- Seams and knots create uneven pressure and lift points.
- Wood movement from humidity changes can stress edges, especially on signs that live outdoors.
Your goal is simple: increase the amount of smooth, stable surface area the adhesive can grab, then protect the finished design with a compatible finish.
Best vinyl for wood
Not all vinyl behaves the same on textured surfaces. Here is what I reach for most often when I am making Cricut wood signs.
Permanent adhesive vinyl (my default)
Use it for: painted or sealed wood, lightly sanded wood, and most indoor signs.
Why it works: It has a stronger adhesive than removable vinyl and holds up better over time, especially around wood grain.
My tip: Permanent vinyl still needs a smooth-ish surface. If your board feels like a rustic fence plank, plan to seal the wood first or use a stencil method instead.
Removable vinyl (temporary or stencil work)
Use it for: short-term decor or making stencils for paint.
Why: It is easier to reposition, but it is also more likely to lift at the edges on wood grain.
Smart Vinyl (Cricut) on wood
Use it for: the same situations as permanent adhesive vinyl, if you like cutting without a mat.
Note: The surface prep matters more than the brand. Smart Vinyl will not magically stick to a rough, dusty board.
Printable vinyl or sticker paper (not my first choice)
Use it for: smooth, sealed wood only.
Why it is tricky: Printables are thinner and can show texture underneath. Many need a protective laminate and a gentle, compatible topcoat.
HTV on wood (yes, sometimes)
Use it for: certain painted or sealed wood projects when you want a super smooth, “painted on” look.
Why it can work: Heat transfers can bond beautifully to a properly sealed surface.
Big caution: Raw wood can scorch or warp, and moisture in the wood can turn to steam under heat, which can weaken the bond. Some paints and finishes can also soften with heat. If you try HTV on wood, do a test on a scrap piece, use moderate heat, and press with firm, even pressure. I also recommend sealing and letting paint fully cure first if the board is painted.
Prep: sanded vs unsanded
This is where most sign projects are won or lost. I know prepping is not the fun part, but it is cheaper than re-cutting a whole design because your “E” lifted with the transfer tape.
If your wood is already sanded
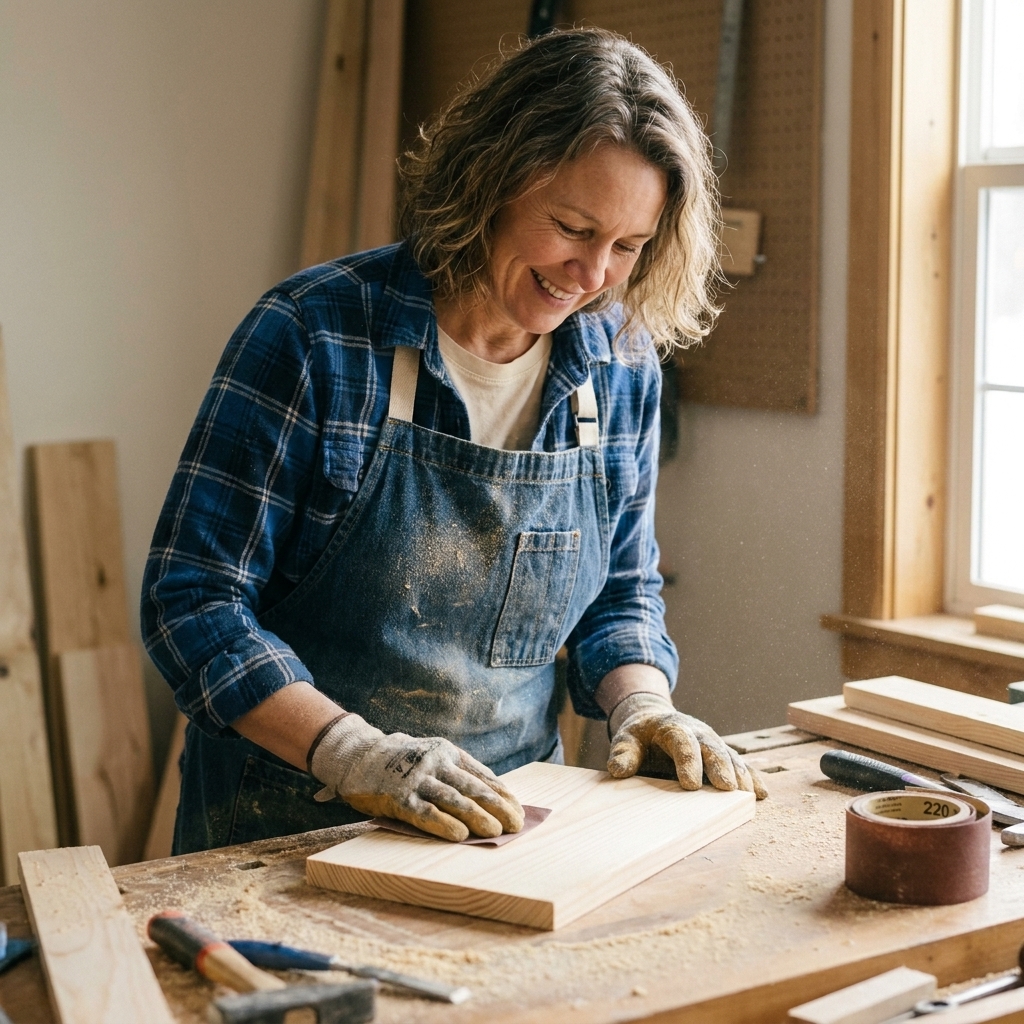
- Lightly re-sand the face with 180 to 220 grit to knock down fuzz and high grain.
- Remove dust completely. Vacuum first, then wipe with a tack cloth or a lint-free cloth. If you use a damp cloth, let the board dry fully.
- Decide if you need a sealer coat. If the wood still feels porous or textured, sealing first will make vinyl application dramatically easier.
If your wood is unsanded or very rough
If you can feel deep ridges with your fingertips, you have two good paths:
- Option A: Sand it smoother. Start at 120 grit, then 180, then finish at 220. This is best if you want crisp vinyl edges.
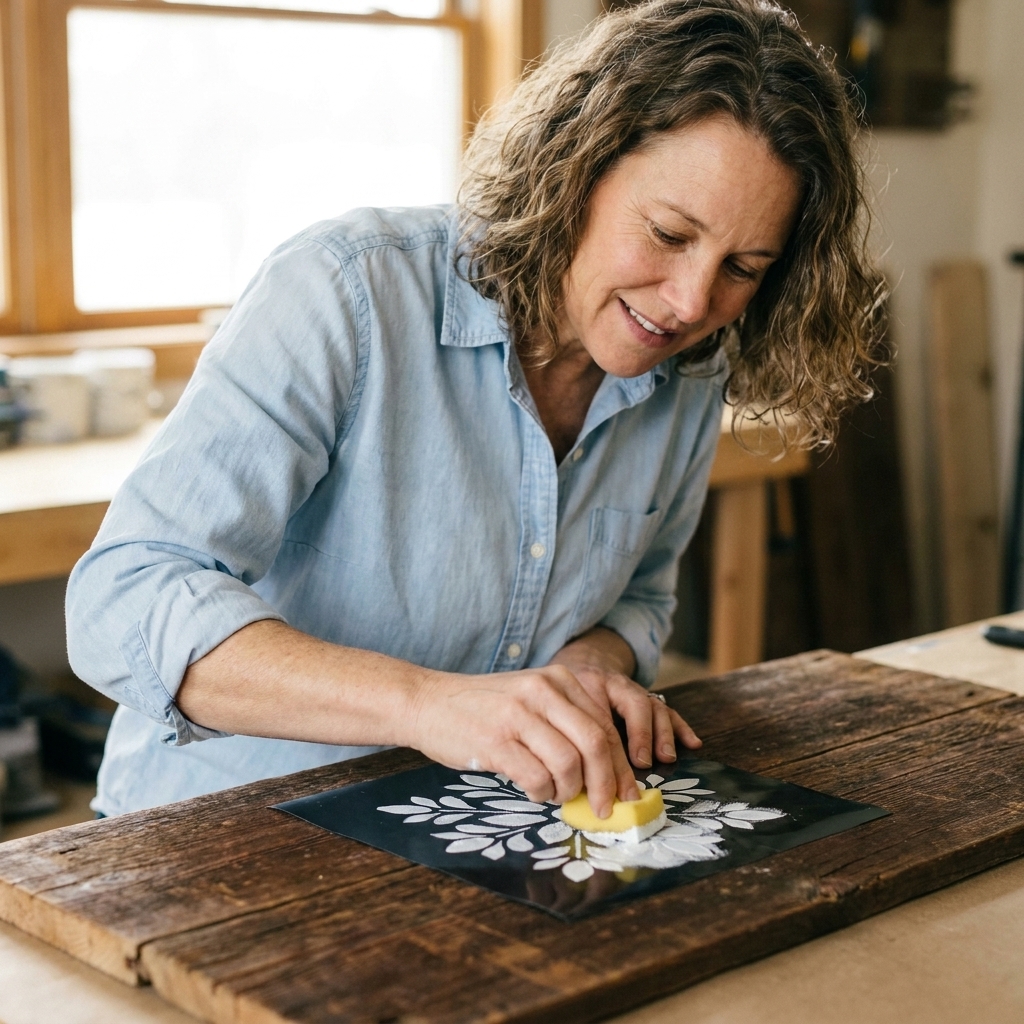
- Option B: Embrace rustic and switch techniques. Use vinyl as a stencil and paint the letters instead of applying vinyl as the final design. On very rough boards, paint will look better and last longer than trying to force vinyl into valleys.
If you still want vinyl lettering on a textured board, you will need to seal the wood first to create a smoother top layer.
MDF note
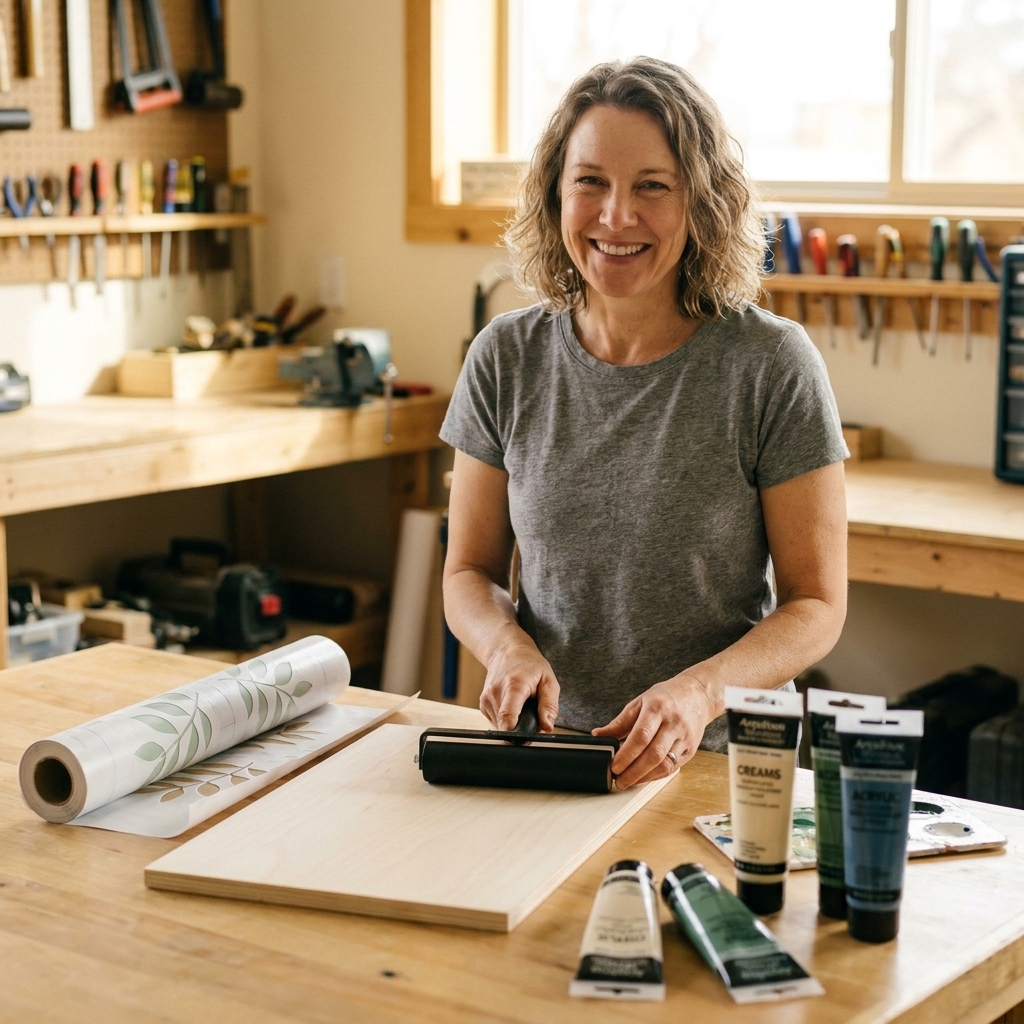
If you are working with MDF, sand lightly and seal early. MDF faces can be smooth, but the cut edges get fuzzy fast and will drink paint and sealer. I like a thin sealer coat, a light sand, then another thin coat before vinyl, especially if the design crosses an edge or wraps around a side.
Seal first or vinyl first
Here is the rule I use:
- If the wood is raw or very porous: seal first, then apply vinyl, then topcoat if desired.
- If the wood is painted, stained, or already sealed smooth: apply vinyl first, then topcoat if you want extra protection.
Why seal first on raw wood: vinyl adhesive sticks to the sealer layer, not to loose wood fibers. This helps prevent edge lift and makes transfer tape removal cleaner.
Why topcoating needs care: some finishes can cause vinyl edges to curl, trap bubbles, or create a cloudy halo if they react with the adhesive or get applied too heavily. The product choice matters, and so does application technique.
Topcoats that play well with vinyl
These are the finishes I have had the most consistent results with in a vinyl shop environment. Always follow the product label for dry and cure times.
Water-based polyurethane
Best for: indoor signs, kids rooms, kitchens, and most painted projects.
Why I like it: low odor, dries faster, and it is less likely to yellow on light paints than oil-based options.
Application tip: use thin coats. Thick coats are where brush marks and pooling happen, especially along vinyl edges.
Polycrylic (water-based)
Best for: light-colored signs where you want minimal color shift.
Watch for: overworking it with the brush can cause streaks. Soft synthetic brush, light pressure.
Spray acrylic sealer
Best for: delicate vinyl details, layered vinyl, or when you want to avoid brushing over small pieces.
Why it helps: spraying reduces the chance of catching an edge and lifting it.
My method: several light passes instead of one heavy coat. Heavy coats are the fastest way to get drips and cloudy spots.
Spar urethane (outdoor helper)
Best for: signs that will deal with humidity swings, like a porch or patio.
Reality check: spar urethane can help, but true outdoor longevity depends on the vinyl rating (some craft vinyls are not meant for long-term UV exposure), surface prep, and how much sun and rain the sign gets. If your sign will live in full weather, choose an exterior-rated vinyl and expect that direct sun still shortens life.
Note: spar products are often oil-based and can amber over time. Test on a scrap if your sign is white or pastel.
Mod Podge (use with care)
Mod Podge can work for indoor crafts, but it is not my first pick for a “nice” sign finish.
- Pros: easy to find, easy cleanup, works in a pinch.
- Cons: some formulas can stay tacky in humidity, and brush strokes can show. It is generally less durable than polyurethane-style topcoats.
If you love Mod Podge, keep coats thin and give it extra time to fully cure.
How to apply vinyl to wood
1) Prep and seal if needed
If the board is raw and porous, apply a thin coat of your chosen sealer and let it dry fully. Lightly sand with 220 grit if it feels raised after drying, then wipe dust away.
2) Cut and weed your design
For wood signs, I recommend avoiding extremely tiny text unless your surface is very smooth. Tiny serifs and thin lines are the first thing to fail on wood grain.
3) Use the right transfer tape
Medium tack is usually the sweet spot for wood signs. Extra strong transfer tape can lift fresh paint or grab at uncured finishes, and it can also fight you when you are trying to release vinyl onto a lightly textured surface.
4) Apply with firm pressure and a slow peel
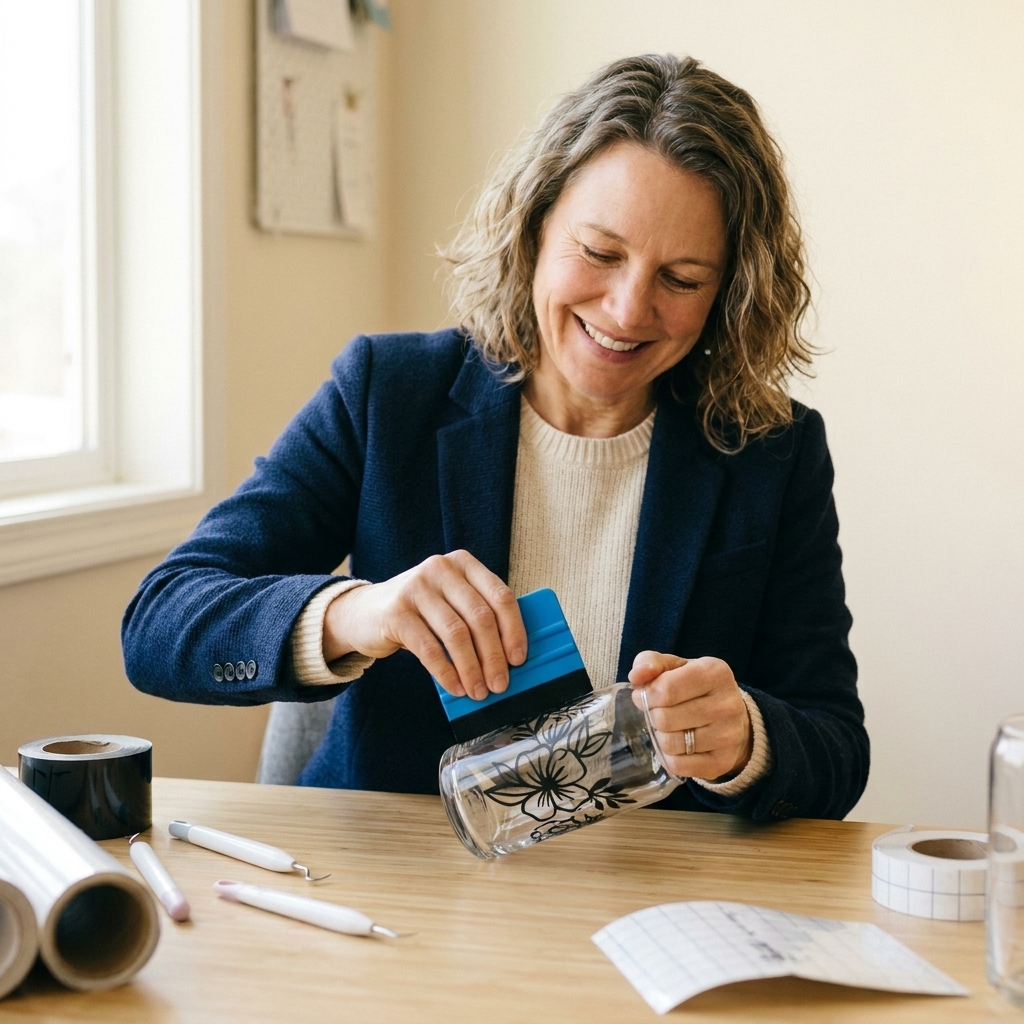
- Burnish the vinyl down with a squeegee or scraper tool using overlapping strokes.
- Pay extra attention to edges and thin strokes of letters.
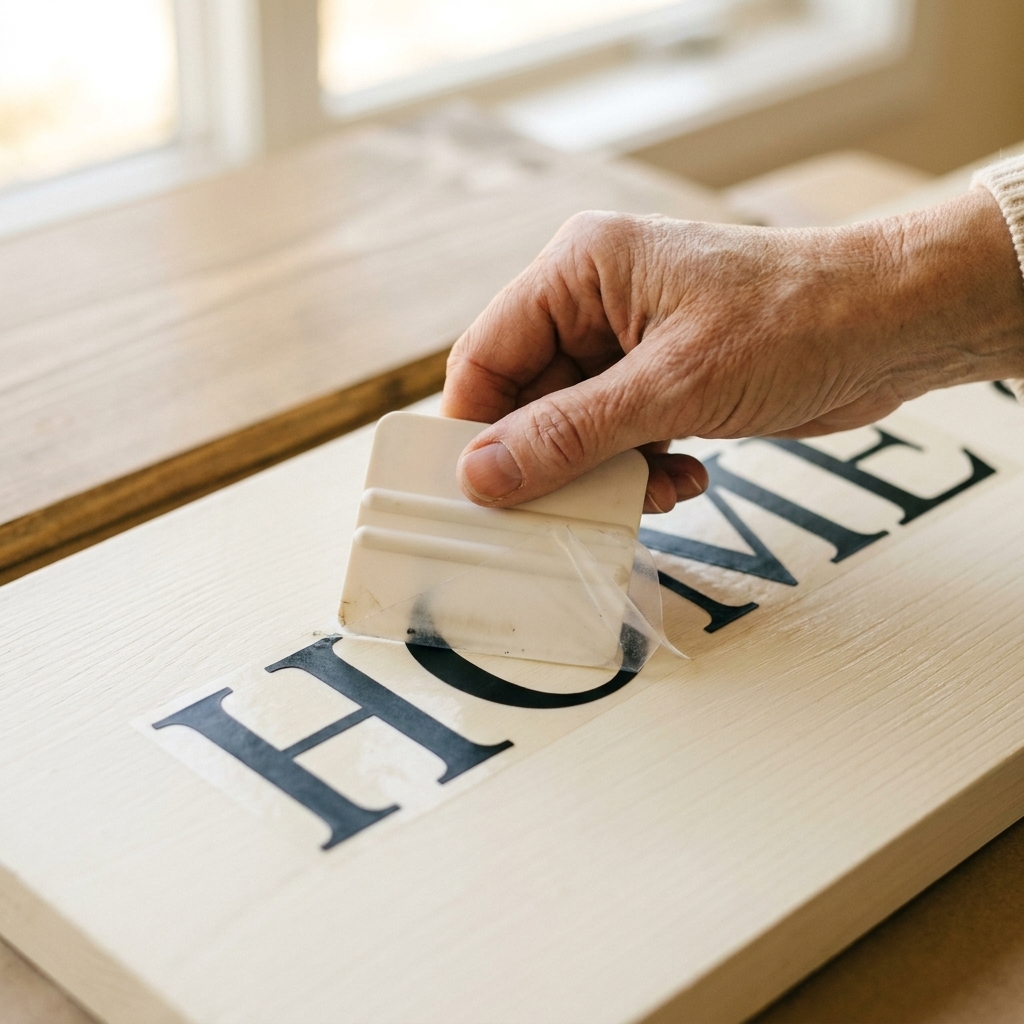
- Peel the transfer tape back low and slow, almost parallel to the surface.
If a corner lifts, lay the tape back down, burnish again, and try peeling from a different direction.
5) Let the vinyl set before topcoating
This is the patience step that saves projects. If you can, let the vinyl sit for a few hours before sealing over it. Overnight is even better for strong adhesion.
Sealing over vinyl
Sealing is where people accidentally create bubbles, cloudy patches, or lifted edges. Here is my simple, low-stress method.
Use thin coats and gentle strokes
If you are brushing on a water-based poly or polycrylic:
- Load the brush lightly and apply a thin coat.
- Brush in one direction with minimal back-and-forth.
- Do not press hard along vinyl edges.
Try a mist coat first
If you are nervous about edge lift, start with a light spray acrylic coat first. Let it dry, then do your main protective coats. That first mist coat helps lock down edges before you brush anything heavier on.
Avoid pooling around letters
Pooling along vinyl edges can dry as a visible ridge. Multiple thin coats look smoother than one thick coat every time.
Dry vs cure
Dry to the touch is not the same as cured. As a general guide, many clear coats feel dry in a few hours but need 24 to 72 hours to harden more fully, depending on the product, coat thickness, and humidity. Check your can for the real timeline and handle the sign gently until it is cured.
When vinyl should be a stencil
If your board is deeply grooved or you love that super rustic pallet look, you will often get a better result by painting the design instead of leaving vinyl on the sign.
Quick stencil workflow:
- Sand splinters down (you still want a reasonably safe surface).
- Seal raw wood lightly if it is very fuzzy.
- Apply removable vinyl as your stencil.
- Seal the stencil edges with a tiny amount of your base color or clear sealer to help prevent paint bleed.
- Stencil paint your design with a nearly-dry sponge or brush using pouncing motions.
- Remove vinyl while paint is slightly wet for the crispest lines.
This is my go-to when someone brings me a beautifully rough board and wants tiny script. Stencil paint wins that battle.
Troubleshooting
My vinyl will not stick
- Wipe dust off again. Wood dust is sneaky.
- Seal the surface first, then re-apply vinyl.
- Switch from removable to permanent adhesive vinyl.
- Warm the surface slightly to room temp and burnish firmly.
My transfer tape will not release
- Peel slower and at a lower angle.
- Burnish the vinyl onto the wood from the top of the tape.
- Try a lower tack transfer tape next time, especially on painted boards.
My vinyl lifted when I sealed
- You likely brushed too hard or did too thick of a first coat.
- Next time, let vinyl sit longer before topcoating.
- Use a light spray coat first to lock edges, then brush coats.
Paint bled under my vinyl stencil
- This is a stencil issue, not a “vinyl as final lettering” issue.
- It usually comes from surface texture or too-wet paint.
- Seal and smooth the wood more before applying the stencil.
- Seal stencil edges with clear or the base color before adding your contrasting paint.
Material combos I trust
- Painted and sealed wood + permanent vinyl + water-based poly: clean, durable, beginner-friendly.
- Stained wood (fully dry) + permanent vinyl + spray acrylic: great when you want low risk of brushing up edges.
- Rough rustic wood + removable vinyl stencil + stencil paint + topcoat: crisp lettering with the rustic texture still shining.
FAQ
Can I put permanent vinyl directly on raw wood?
You can, but results depend on the wood texture. On smooth, well-sanded wood it can work. On porous or textured wood, sealing first gives you a much stronger bond and cleaner edges.
Should I use oil-based polyurethane over vinyl?
Oil-based poly is durable, but it can amber and it has a stronger odor. It can be a good choice for darker stained signs or outdoor pieces, but I still recommend testing on a scrap to make sure you like the look.
Can I seal a sign before applying vinyl?
Yes, and on raw wood I actually recommend it. Seal, let it dry, lightly sand if needed, then apply vinyl to that smoother sealed layer.
What is the best Cricut setting for vinyl on wood?
The Cricut cut setting is based on your vinyl, not your wood. For most sign projects you are cutting standard permanent adhesive vinyl, so use the matching vinyl setting and do a small test cut when you switch brands.
Wrap-up
If you remember nothing else, remember this: wood needs prep. A quick sand, a dust-free surface, and the right sealer layer turn wood from “vinyl’s worst enemy” into a reliable blank you can actually trust.
If you tell me what kind of wood blank you are using (pine, birch, MDF, pallet wood) and whether it is painted or stained, I can help you pick the best vinyl and sealer combo for your specific sign.