A step-by-step prep guide for flawless adhesive vinyl on glass, wood, and plastic blanks, plus the top mistakes that cause lifting and bubbles.
Maker Vinyl
Updated October 17, 2026
Prep Wood and Glass for Vinyl That Stays Put
Stop vinyl from peeling on wood and glass with the right cleaning, sanding, and sealing steps. A beginner-friendly prep routine for adhesive vinyl projects.

Harper Davis
Harper Davis is a lifelong DIY enthusiast and cutting-machine expert who loves helping beginners conquer Cricut Design Space. With over six years of experience running a custom vinyl shop, she shares practical tutorials, material guides, and creative inspiration.
If adhesive vinyl is peeling, lifting at the corners, or sliding around while you burnish (press it down firmly with a scraper or squeegee), it is usually not “bad vinyl.” Most of the time it comes down to prep, pressure, and patience. Wood is thirsty and uneven. Glass is smooth and sneaky because fingerprints and residue are basically invisible until your decal starts lifting.
I learned this the hard way back when I was cranking out custom onesies and then got brave enough to try wood signs and glass tumblers for orders. The difference between “wow, that looks professional” and “why is this corner popping up again” came down to a simple routine: clean, correct the surface, and give the adhesive something stable to bite into. For wood, “correct” usually means sand and seal. For glass, it means degrease.
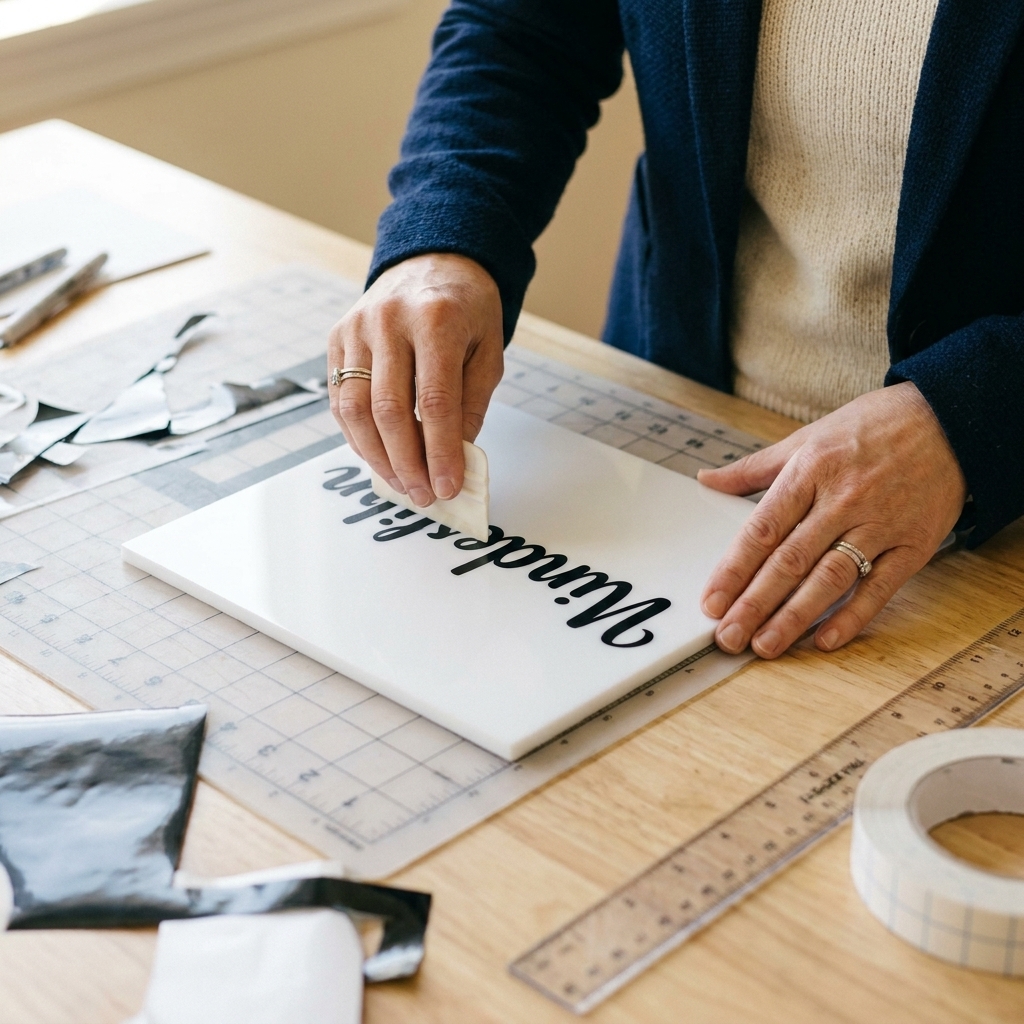
Before You Start: The Goal of Prep
Permanent adhesive vinyl is pressure-sensitive adhesive. It bonds best when:
- The surface is clean (no oils, dust, polish, or soap film).
- The surface is stable (no loose fibers, chalky paint, or flaking stain).
- The surface has the right texture (wood needs smoothing and sealing; glass needs degreasing, not sanding).
- You give it time (bond strength typically improves over 24 to 72 hours, depending on brand, temperature, and surface).
So the mission is not “make it shiny.” The mission is “make it predictable.”
What to Use (and What to Avoid)
My go-to prep kit
- Lint-free cloths or shop towels
- Isopropyl alcohol (70% is fine, 91% works faster)
- Mild dish soap (for first-pass cleaning on very dirty items)
- Fine sandpaper (220 and 320 grit) or a sanding sponge (wood only)
- Tack cloth or a clean, slightly damp cloth (wood dust removal)
- Water-based polycrylic or clear acrylic sealer (for wood signs)
- Paint brush or foam brush (for sealer)
- Painter’s tape (helps with placement and reducing touch points)
Avoid these common vinyl killers
- Many household glass cleaners: they can leave surfactants or fragrance residue behind. Isopropyl alcohol is usually more reliable for a final wipe.
- Oily “wood conditioners” or furniture polish: they can soak in and keep adhesive from grabbing.
- Heavy hand lotion before crafting: your blank will remember. Ask me how I know.
- High-shed paper towels: little fibers can get trapped under vinyl edges.
How to Prep Wood for Adhesive Vinyl
Wood is porous, textured, and full of tiny dust pockets. Vinyl can look stuck at first, then lift later because the adhesive is bonding to dust, loose fibers, or an uneven finish instead of a sealed surface.
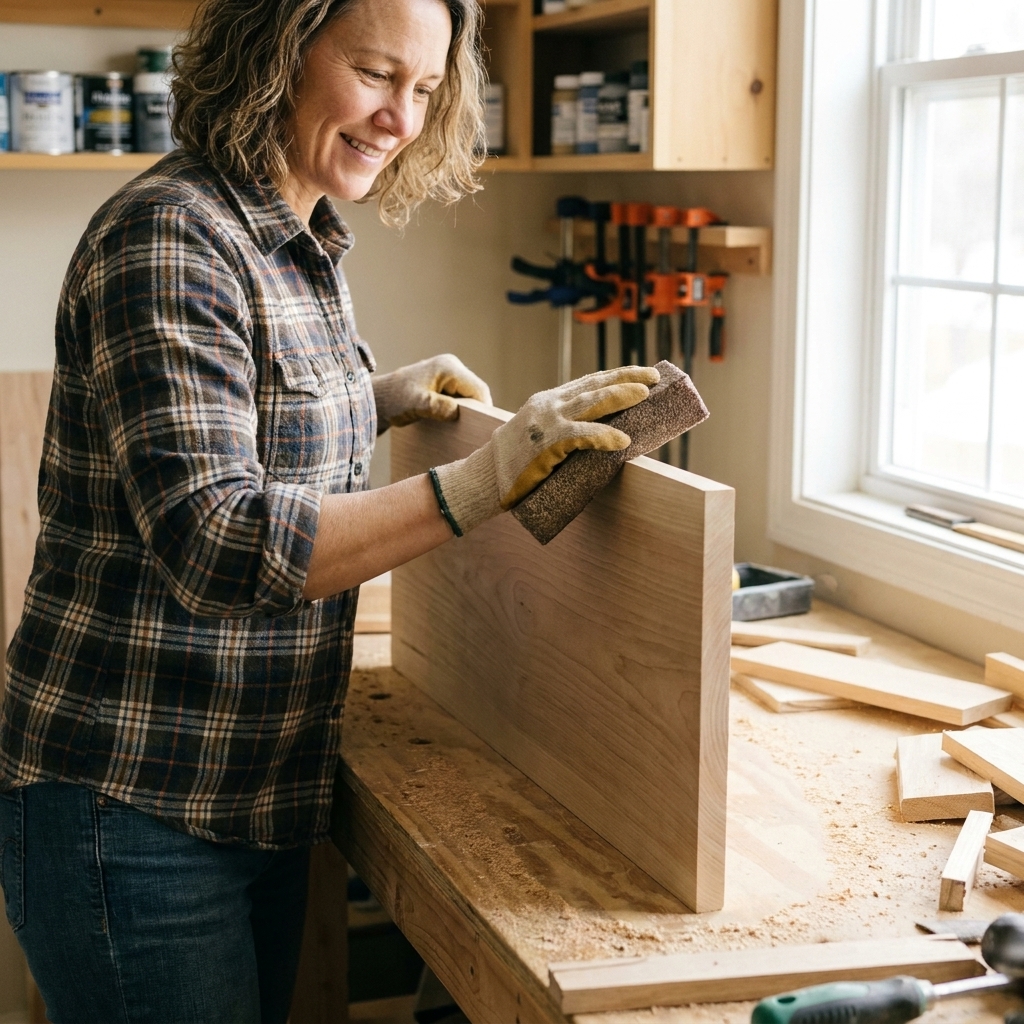
Step 1: Inspect and plan
If you can feel grain lines, knots, or rough patches with your fingertips, vinyl will struggle, especially small text and sharp corners.
- Raw wood: almost always needs sanding plus sealing.
- Painted wood: needs to be fully cured and smooth (not chalky).
- Stained wood: needs to be fully cured and sealed, or it can stay slightly oily and cause lift.
Quick reality check on “cure”: lots of finishes feel dry in hours, but take days to fully harden. Follow the label, and add time if it is humid or cool.
Step 2: Sand smooth (220, then 320 for picky vinyl)
Sand with the grain using 220 grit to level fuzz and texture. If you want a really crisp decal, do a quick pass with 320 grit after.
- Focus on edges and corners where lifting starts first.
- Wipe away dust often so you are not grinding it back in.
Step 3: Remove dust thoroughly
Dust is the silent edge-lifter. Remove it thoroughly:
- Wipe with a tack cloth, or
- Wipe with a clean cloth barely dampened with water, then let it fully dry.
On bare wood, I do not rely on alcohol as a “dust remover.” It flashes off fast and does not pull fine dust out of porous grain very well. Save alcohol for the final wipe once the wood is sealed.
Step 4: Seal the wood (the reliability step)
For most wood blanks, I recommend a water-based clear sealer like polycrylic because it dries hard and gives vinyl a consistent surface. Like any clear coat, it can amber over time (especially with UV), but it is usually a solid choice for craft signs.
- Apply a thin coat with a foam brush.
- Let it dry per label directions.
- Lightly sand with 320 grit if it feels bumpy.
- Wipe dust, then apply a second thin coat.
Let the sealer cure. Dry and cured are not the same thing. If it still feels “soft” or tacky, vinyl may bond poorly or slide during placement.
Step 5: Final clean right before vinyl
Once sealed and cured, do a final wipe with isopropyl alcohol on a lint-free cloth. Let it evaporate completely, then avoid touching the surface with your fingers.
Best vinyl types for wood
- Oracal 651-style permanent vinyl: my default for sealed wood signs.
- Thicker craft permanent vinyl: can work fine, but tiny details may fight textured grain.
My tip: If you are working with small script on wood, you will get cleaner results sealing first, then applying vinyl, then sealing over the top only if the project will be handled a lot. If you seal over vinyl, use very light brush pressure so you do not catch edges.
How to Prep Glass for Adhesive Vinyl
Glass feels easy because it is smooth. The problem is that smooth surfaces make it harder for adhesive to grip, and oils from hands, candles, cooking, or dish soap leave residue that vinyl absolutely hates.
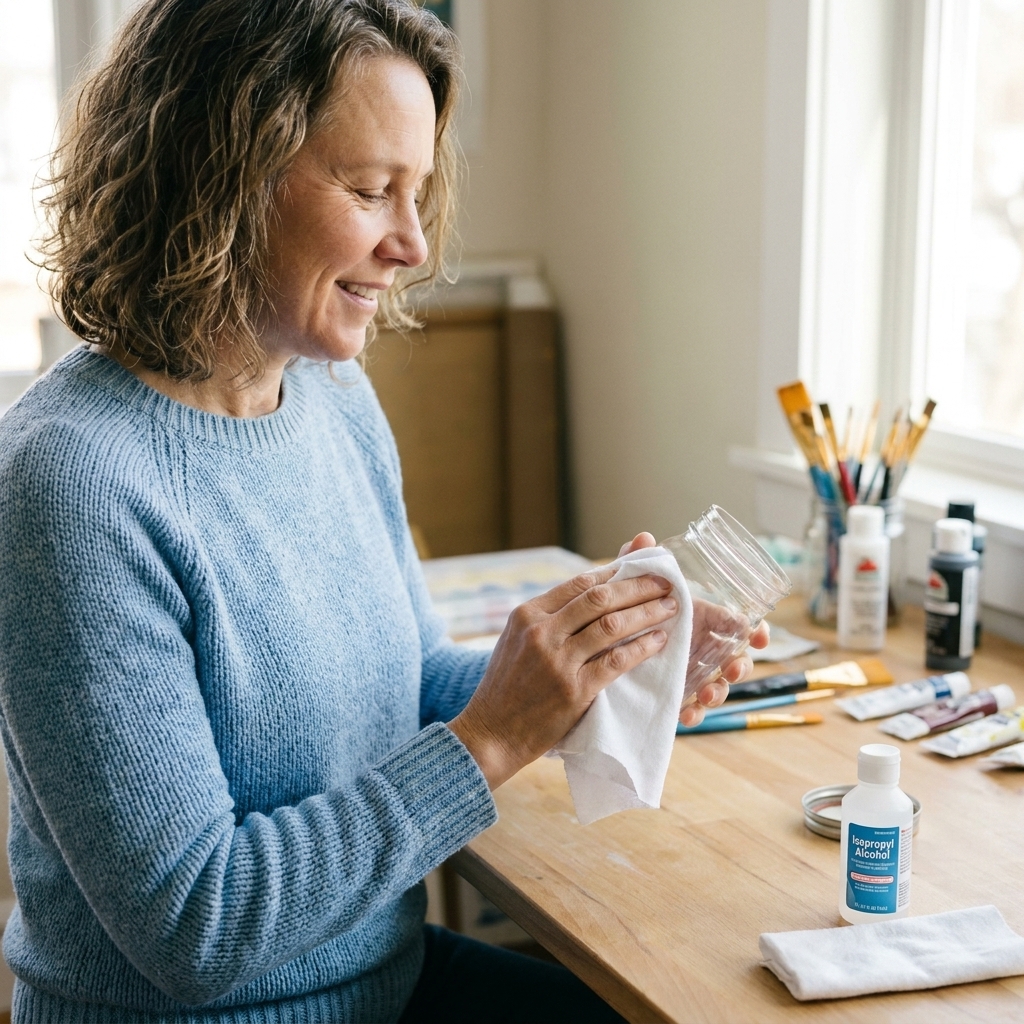
Step 1: Wash, then rinse well
If the glass is new, thrifted, or handled a lot, start with warm water and a drop of dish soap. Rinse like you are trying to remove every molecule of soap. Then dry with a lint-free towel.
Step 2: Degrease with isopropyl alcohol
This is my non-negotiable. Wet a lint-free cloth with isopropyl alcohol and wipe the area where the vinyl will go. Let it air dry. Do not touch the cleaned area afterward.
Step 3: Warm the glass slightly (optional)
If your craft room is chilly, warm the glass with your hands for a minute or set it in a warmer room. Adhesive likes moderate temps. As a general rule, avoid applying vinyl to very cold surfaces, and expect slower bonding if your workspace is cool.
Step 4: Apply with pressure and time
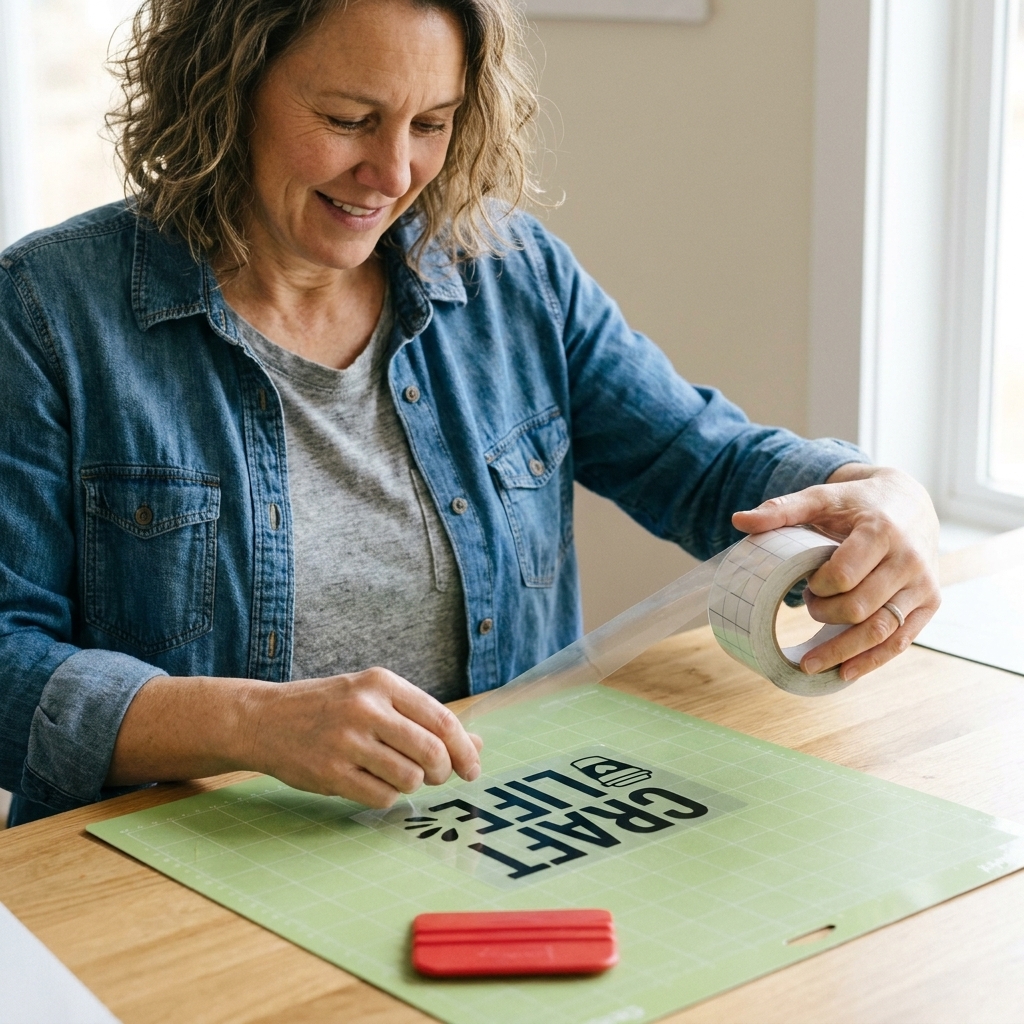
- Use transfer tape to place the decal.
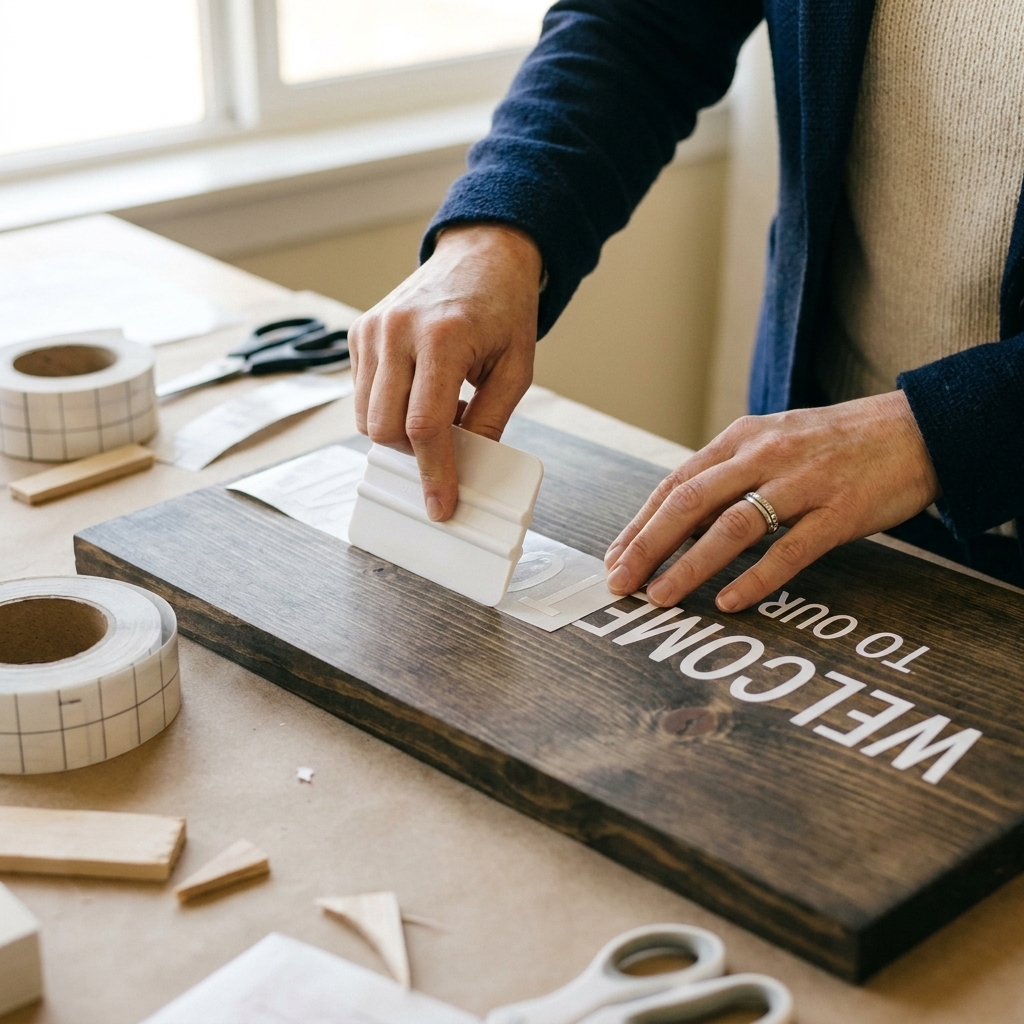
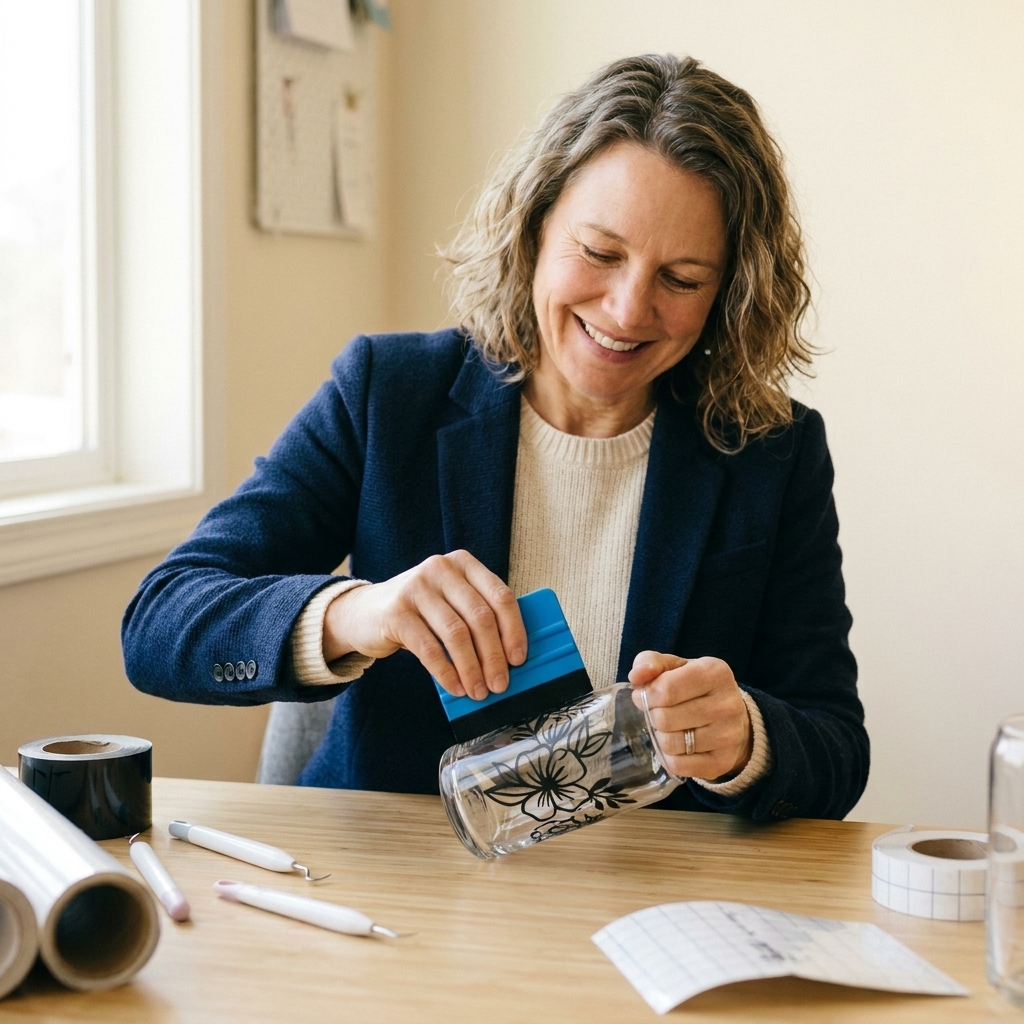
- Burnish firmly with a scraper, focusing on edges and skinny strokes.
- Peel transfer tape back slowly at a low angle.
Then let it sit. The adhesive bond typically improves over the next 24 to 72 hours. If your vinyl brand provides guidance, follow that.
Should you seal vinyl on glass?
Usually, no. Vinyl on glass is often best left alone. Sealers and “dishwasher-safe” top coats can cloud or peel over time, and many are not appropriate for drinkware unless the product is explicitly labeled as food-contact safe and you allow full cure time per the label.
If the item will be washed, the more durable option is often:
- Use permanent vinyl
- Hand wash only and avoid soaking
- Keep vinyl away from heavy abrasion zones (like the bottom edge of a tumbler that hits the sink)
Quick note on tricky glass
Textured, etched, frosted, or coated glass (and many powder-coated tumblers) can be hit or miss with adhesive vinyl. The same cleaning steps help, but adhesion depends on the coating and surface texture. When in doubt, test a small scrap first.
Wood vs. Glass: Quick Checklist
Wood (porous)
- Sand smooth (220 then 320)
- Remove all dust
- Seal with water-based clear sealer (1 to 2 coats)
- Let cure fully
- Final alcohol wipe after sealing
Glass (slick)
- Wash if dirty, rinse well
- Alcohol wipe immediately before application
- Avoid touching the cleaned area
- Burnish firmly, peel tape slowly
- Allow 24 to 72 hours for the bond to build
Application Moves That Prevent Peeling
Even perfect prep can be undone by a rushed application. These are my “save the decal” habits:
- Use the hinge method with painter’s tape for straight placement on signs and jars.
- Burnish twice: once on the transfer tape before you peel the backing, then again after the vinyl is on the surface.
- Peel transfer tape low and slow, almost parallel to the surface.
- Chase edges: spend extra burnishing time around corners, serifs, and tiny dots.
- Hands off: oils from skin can weaken edge adhesion, especially on glass.
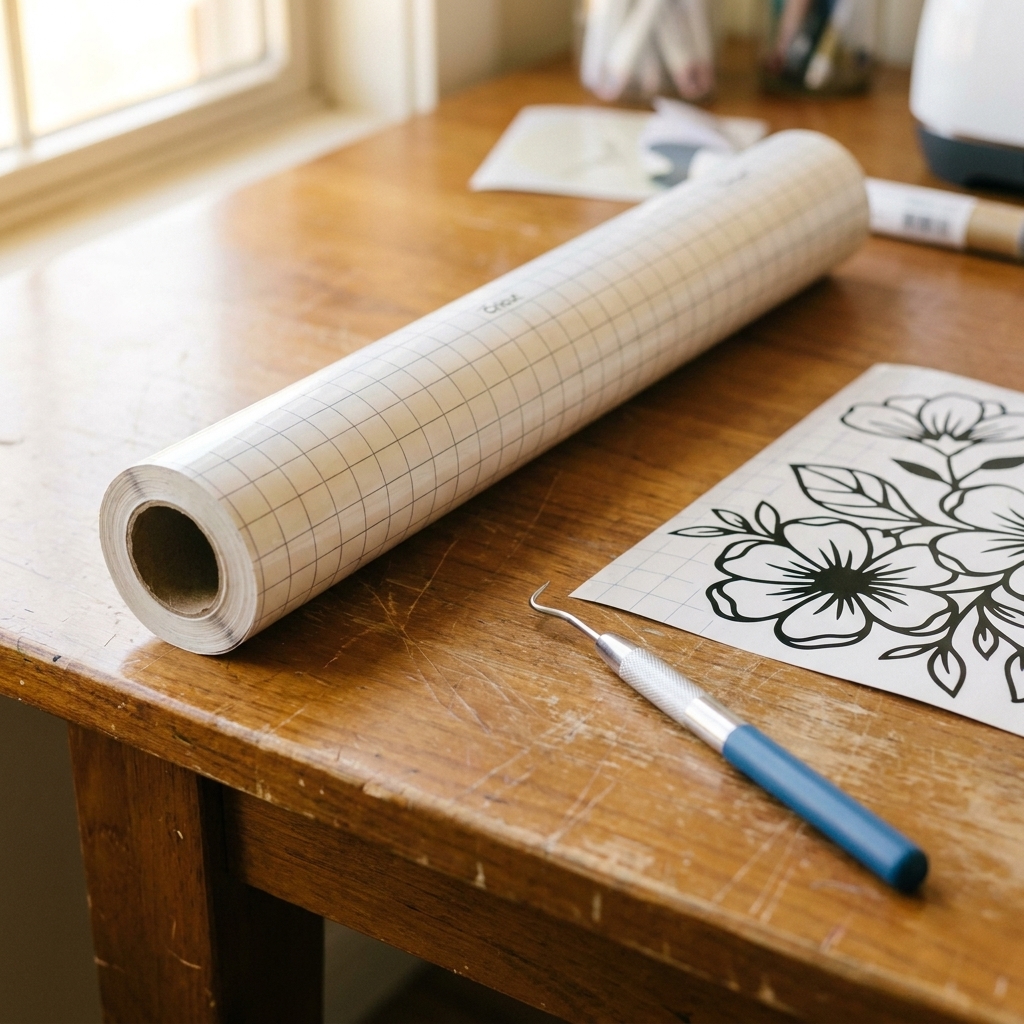
One more sneaky one: transfer tape can cause problems. If your tape is too sticky, it can pull up paint, lift delicate vinyl details, or fight you on textured surfaces. For painted wood and intricate designs, a lower-tack transfer tape can make life easier.
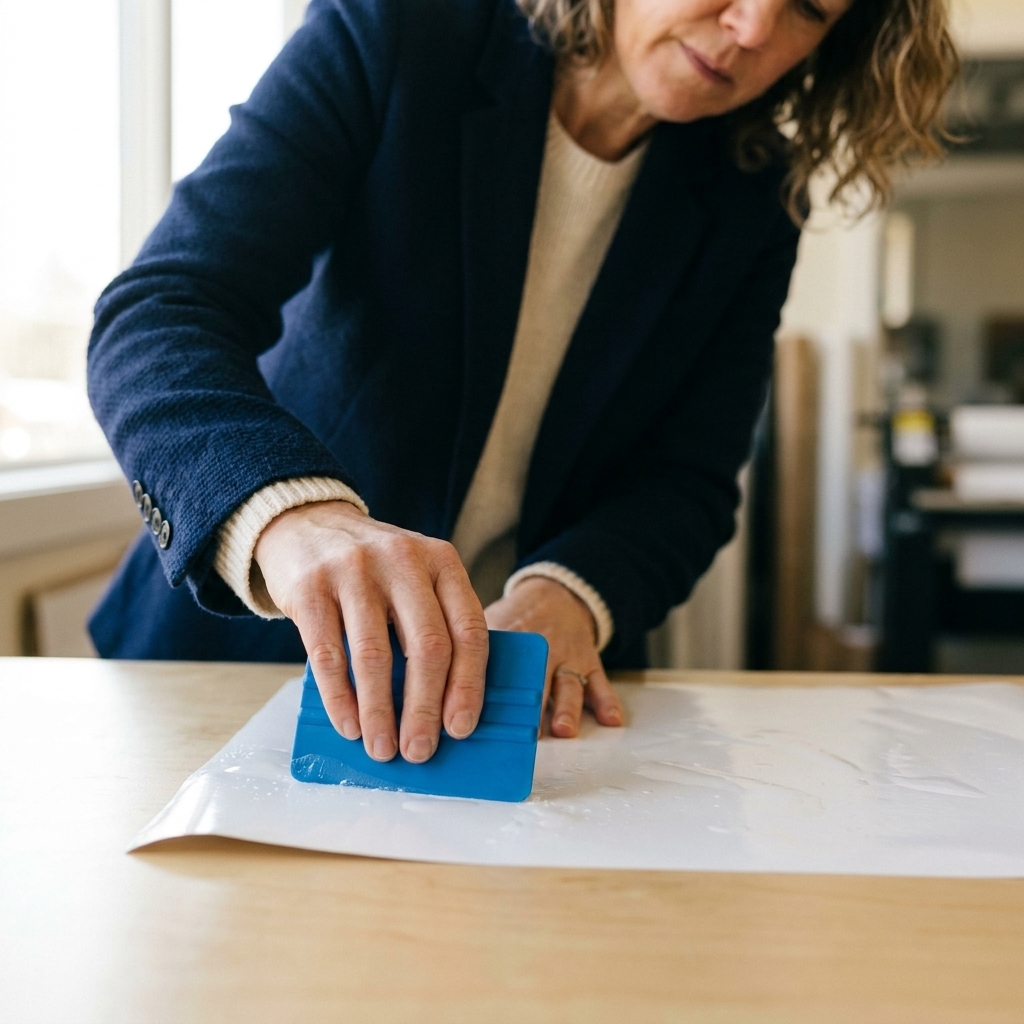
My craft room rule: If a decal looks perfect but you can still lift an edge with a fingernail, it needs more burnishing, more cure time, or a cleaner surface. It does not need more hope.
Troubleshooting: Why Vinyl Still Lifts
The corners lift first
- Cause: Not enough burnishing or too much texture under the edge.
- Fix: Re-burnish edges firmly. On wood, you likely need more sanding and sealing next time.
It stuck, then peeled the next day
- Cause: Residue (soap film, polish, oils), the finish was not cured, or the surface was too cold during application.
- Fix: Clean again with alcohol (sealed surfaces only). If it is wood and the finish feels soft, give it more cure time before reapplying.
It will not stick at all on glass
- Cause: Invisible grease, silicone residue, you touched the surface after cleaning, or the vinyl is old or damaged.
- Fix: Wash, rinse, alcohol wipe, then apply without touching the area. Swap to a fresh piece of vinyl if the adhesive picked up lint or skin oils.
Painted wood pulls up when you remove transfer tape
- Cause: Paint not cured, paint is too matte and chalky, or the transfer tape is too aggressive.
- Fix: Allow longer cure time, then apply a clear sealer to create a tougher surface before trying again. Use lower-tack transfer tape and peel it back slowly at a low angle.
You are doing everything right and it still fails
- Cause: It really can be the materials. Expired or heat-damaged vinyl, a bad batch, removable vinyl on a high-touch item, or an incompatible transfer tape can all cause lifting.
- Fix: Confirm you are using permanent adhesive vinyl for permanent projects, store vinyl flat in a moderate environment, and test a different roll or brand if problems persist.
FAQ
Can I apply vinyl to unfinished wood?
You can, but it is the fastest path to peeling, especially with small text. If you want it to last, sand and seal first so the adhesive bonds to a stable surface, not loose fibers and dust.
Do I need to sand glass before vinyl?
No. Sanding glass is messy, risky, and unnecessary for adhesive vinyl. Clean and degrease instead.
Is rubbing alcohol enough for wood?
Alcohol is great after the wood has a sealed finish, right before you apply vinyl. For raw wood, sanding and dust removal matter more than alcohol.
How long should vinyl cure before use?
Try to give permanent adhesive vinyl 24 hours minimum before heavy handling, and 48 to 72 hours before washing glass items. Bond strength typically improves over time, but exact timing depends on the vinyl brand, temperature, and the surface.
What about Mod Podge as a sealer?
It can work for some crafts, but it is not my first choice under adhesive vinyl because it can stay tacky depending on humidity and thickness. For consistent results, a water-based polycrylic or clear acrylic sealer is usually more predictable on wood signs.
My Routine in One Minute
If you only remember one thing, make it this:
- Wood: sand smooth, remove dust, seal, cure, alcohol wipe, apply, burnish hard.
- Glass: wash if needed, alcohol wipe, do not touch, apply, burnish hard, let it sit.
Prep feels like the boring part, but it is the part that saves your vinyl, your time, and your sanity. And once you do it a couple times, it becomes as automatic as loading a mat.