A beginner-friendly list of the Cricut tools that matter most for vinyl, HTV, and sticker projects, plus what to skip until you’re sure you’ll use it.
Maker Vinyl
Updated October 17, 2026
How to Cut and Assemble Faux Leather Earrings with Your Cricut
Learn exactly how to cut faux leather earrings with a Cricut: the best blade, mat setup, pressure tips, and foolproof assembly steps for clean cuts and polished hardware.

Harper Davis
Harper Davis is a lifelong DIY enthusiast and cutting-machine expert who loves helping beginners conquer Cricut Design Space. With over six years of experience running a custom vinyl shop, she shares practical tutorials, material guides, and creative inspiration.
Faux leather earrings are one of my favorite "big payoff, low material" Cricut projects. You can turn a single sheet into multiple pairs, test new shapes fast, and end up with something that looks boutique even if your craft room is a little chaotic (hi, same).
In this tutorial, I’ll walk you through the exact setup I use to get clean cuts in faux leather, plus the assembly steps that make the finished earrings hang nicely and feel secure.
This is a basic cut project (no Print Then Cut needed), which makes it a great confidence-builder if you are still getting comfortable with Design Space.
What you need
Materials
- Faux leather sheets (Cricut Faux Leather, Siser, and many Amazon brands work well)
- Transfer tape (optional but helpful for textured faux leather)
- Painters tape (blue or green, low tack)
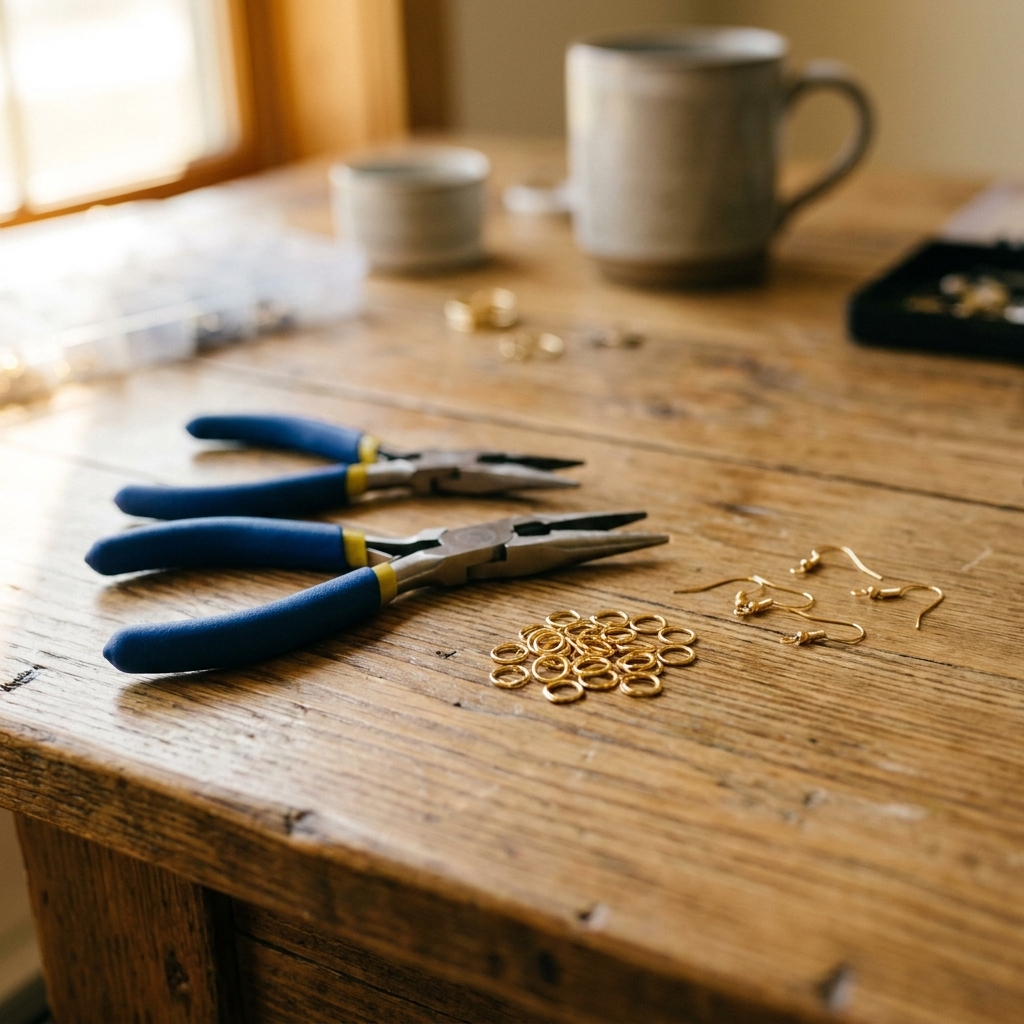
- Jewelry hardware: earring hooks or posts, jump rings, and earring backs
- Optional: felt sheets for backing, glitter faux leather for layered looks
Tools
- Cricut machine: Explore Air 2, Explore 3, Maker, or Maker 3 (Joy models can work for smaller earrings, but you may be more limited by mat size and thicker materials)
- Blade: Fine-Point Blade (most faux leather) or Deep-Point Blade (thicker, fibrous, or heavily textured faux leather)
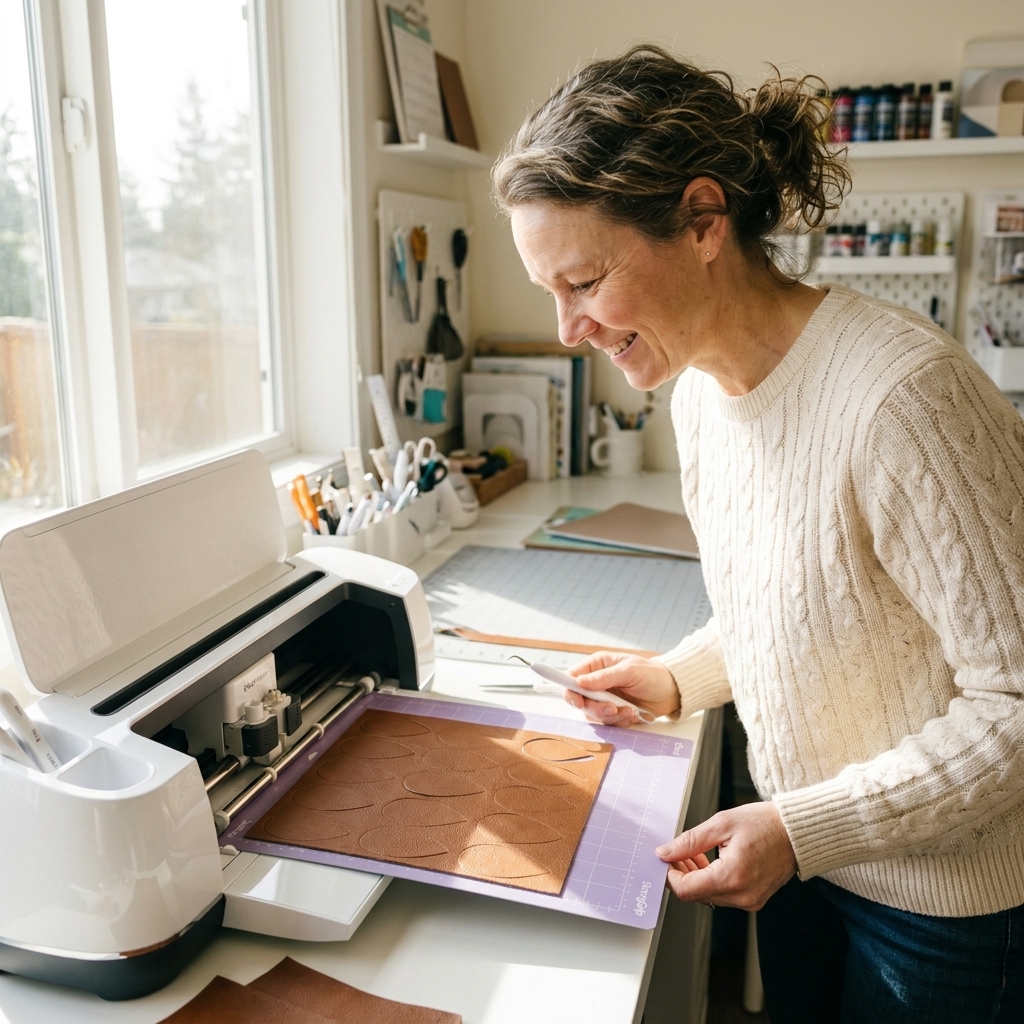
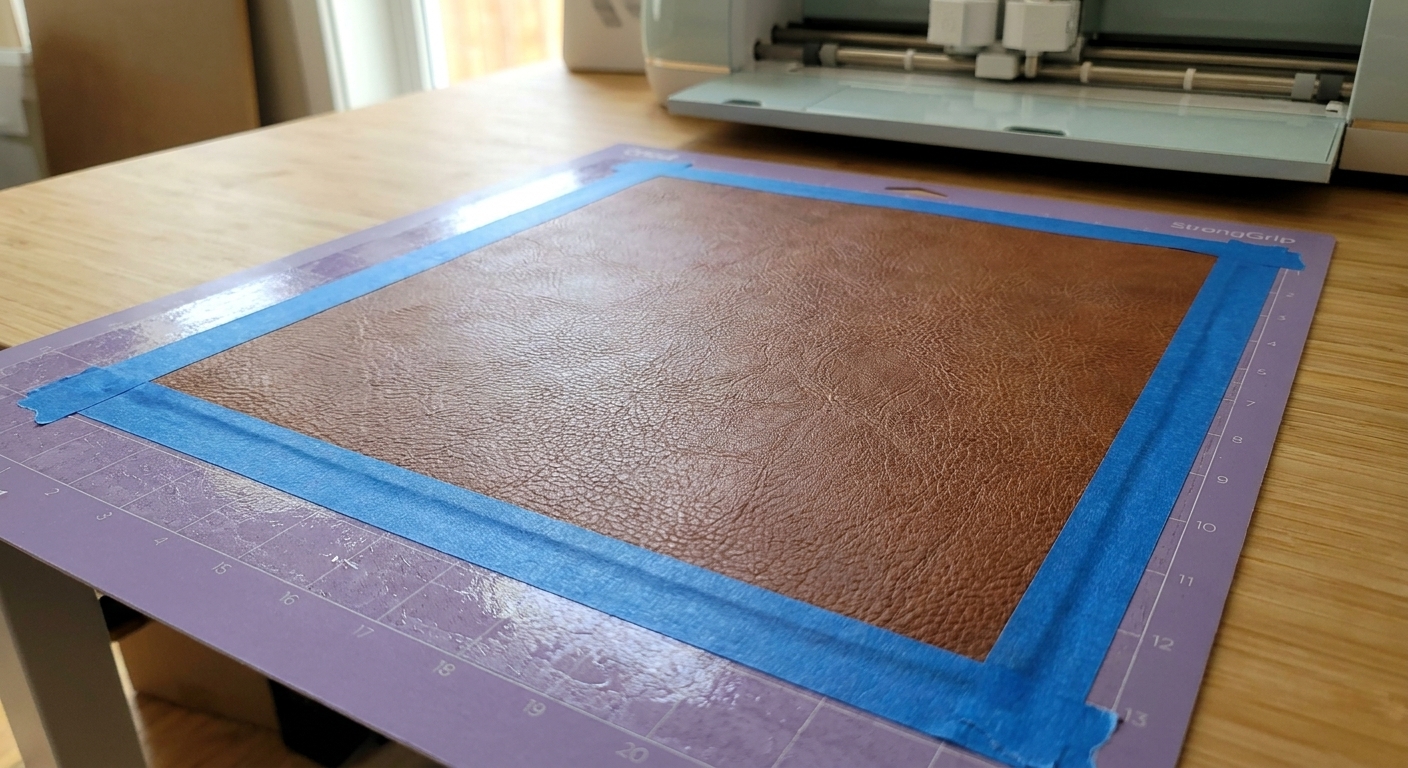
- Mat: StrongGrip (purple) for best hold, or a LightGrip (blue) mat plus painters tape on the edges to prevent shifting
- Brayer (highly recommended for full contact)
- Weeding tool or pin tool (for tiny cutouts)
- Small scissors (to snip fuzzies if needed)
- Hole punch pliers (optional, for adding holes after cutting)
- Jewelry pliers: two flat-nose pliers or one flat-nose and one chain-nose
If you have sensitive ears, do yourself a favor and choose nickel-free or hypoallergenic hooks (stainless steel, titanium, or gold-filled are popular choices).
Blade, mat, and orientation
Blade: Fine-Point vs Deep-Point
Start with the Fine-Point Blade for most craft faux leather sheets that feel smooth and flexible. Switch to Deep-Point if you notice any of these:
- The cut is incomplete even after increasing pressure.
- The faux leather has a thick fabric backing that wants to fray.
- You see tugging or dragging around tight corners.
Quick blade sanity check: faux leather is unforgiving with a dull blade. If your blade has seen a lot of cardstock, glitter vinyl, or mystery materials, swap to a fresh one. Clean cuts start here.
Mat: StrongGrip usually wins
StrongGrip (purple) is my go-to because faux leather loves to shift. The tradeoff is that some faux leather sheets can curl when you remove them.
To reduce curling:
- Use a not-brand-new StrongGrip mat if yours is super sticky.
- Roll firmly with a brayer for full contact instead of pressing hard with your hands.
- Tape the edges with painters tape so the sheet cannot creep during the cut.
If your faux leather is delicate, you can try a LightGrip (blue) mat and tape all four sides. The key is: no shifting during the cut.
Which side faces down?
Place faux leather on the mat with the pretty side down and the backing side up in most cases. This helps the blade start its cut through the backing cleanly and reduces scuffs on the front.
If your faux leather has a very textured front that you do not want pressed into the mat, do a quick test square both ways and pick the cleaner result.
Design in Design Space
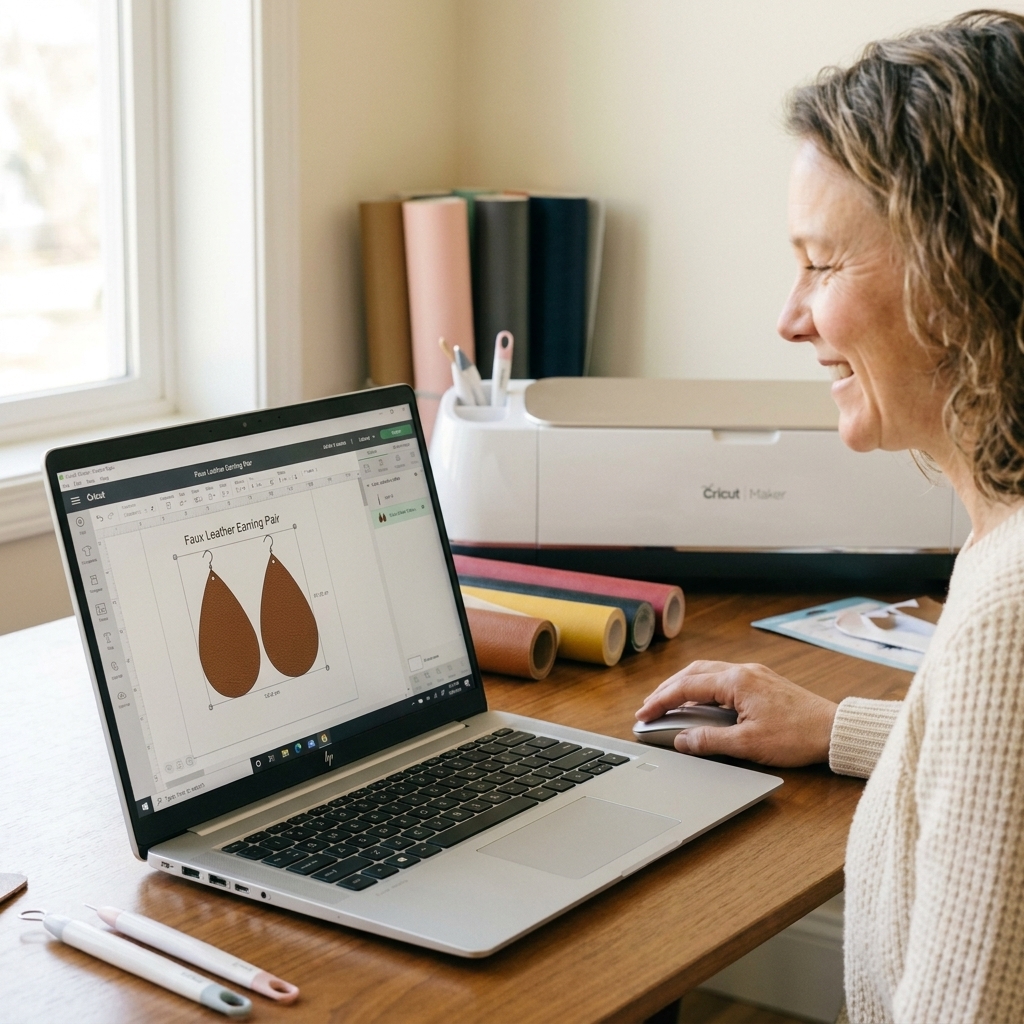
Pick an easy shape
If you are new, start with simple shapes like teardrops, arches, or rounded rectangles. Intricate lace patterns can cut beautifully, but they are less forgiving if your settings are even slightly off.
Size that wears well
Here are sizing ranges that typically wear well:
- Medium statement dangle: 2.0 to 2.5 inches tall
- Large statement dangle: 2.75 to 3.25 inches tall
- Mini dangle: 1.25 to 1.75 inches tall
Tip from someone who has made too many “oops they are huge” earrings: cut one pair from scrap first and hold it up to your ear in a mirror.
Add holes the smart way
You have two options for the hole where your jump ring will attach:
- Cut the hole with the Cricut: great when your material cuts cleanly and you want consistency.
- Punch the hole after cutting: great when your faux leather is stretchy or you want to fine-tune hole placement.
If you cut the hole in Design Space, start around 0.08 to 0.10 inches (about 2 to 2.5 mm), which works well for many small jump rings. If you use thicker jump rings, size up and test with your exact hardware. Tiny holes can also “reseal” a bit in some faux leathers, so a slightly larger hole is often easier to work with.
Mirror and duplicate
Duplicate your earring piece so you cut a pair. If your shape is directional (like a leaf with a curve), create a left and right by duplicating and using Flip to mirror one piece.
Cut settings
Faux leather varies a lot by brand and backing type, so think of these as starting points. The best thing you can do is a small test cut that includes a curve and a tiny circle.
Material setting to use
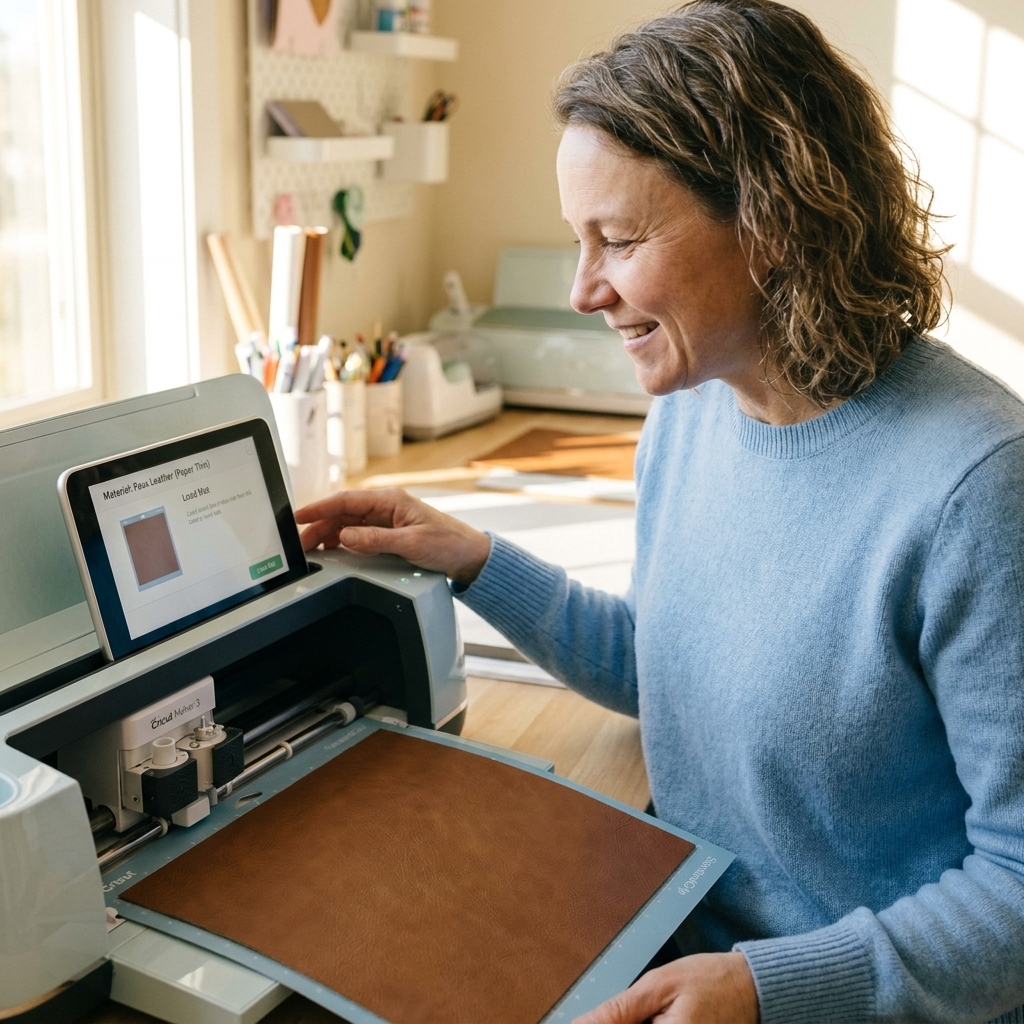
- Explore and Maker: look for a Faux Leather preset, often labeled something like Faux Leather (Paper Thin) for standard craft faux leather sheets.
- For thicker sheets: look for a heavier faux leather preset (often labeled something like Faux Leather (Thick)) or switch to the Deep-Point Blade with a similar faux leather setting.
Design Space menus can look a little different depending on your machine, app version, and region. If you do not see those exact names, pick the closest faux leather preset and fine-tune with pressure and multi-cut.
Pressure adjustments
If your cut does not separate cleanly:
- Increase pressure one step (for example, from Default to More) and run again.
- Or use the Custom material option and bump the pressure slightly.
If your cut looks chewed, leaves drag marks, or lifts the material:
- Reduce pressure.
- Make sure your faux leather is fully stuck down with a brayer.
- Check blade sharpness and that your mat is not overly sticky.
Multi-cut
Some faux leather benefits from a second pass. If your machine offers it, try 2x cut before you crank the pressure way up. Two gentler passes often look cleaner than one aggressive pass.
Step by step
1) Prep the mat
- Lint roll your mat if it has fuzz or glitter.
- If the mat is too sticky, press a clean cotton shirt to it once to reduce tack slightly.
2) Place faux leather pretty side down
Lay it gently, then roll firmly with a brayer from the center outward. Tape the edges with painters tape if the sheet wants to curl.
3) Load the mat and cut
Double-check that the correct blade is installed, then cut.
4) Check before unloading
When the cut finishes, do not unload the mat yet. Gently lift a corner of one earring shape with a weeding tool. If it is not fully cut, press the Go or Cut button again to run another pass (this only works if your mat stays loaded).
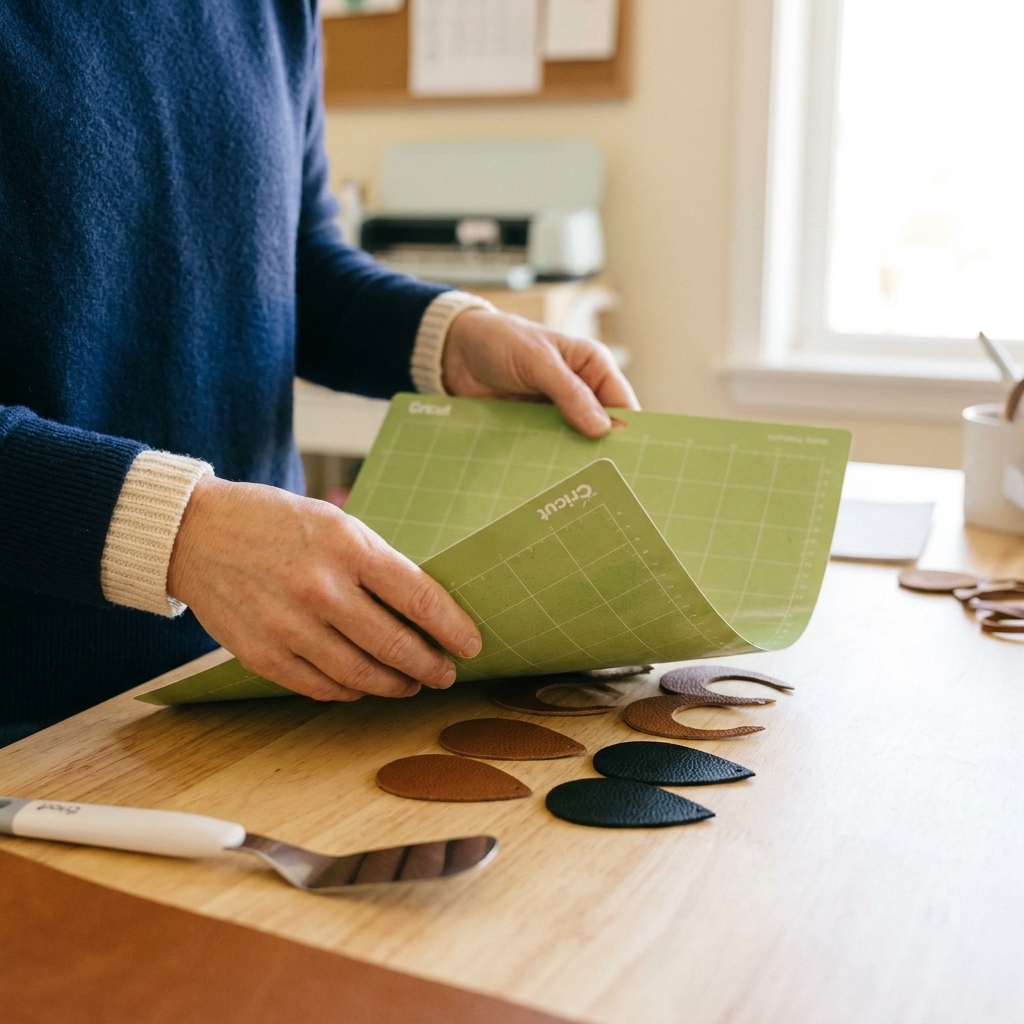
5) Remove without curling
Flip your mat upside down and peel the mat away from the faux leather, not the other way around. This helps prevent curling.
Troubleshooting
Cuts not going through
- Run a second pass without unloading.
- Increase pressure slightly.
- Switch to a fresh blade.
- Try Deep-Point Blade for thick or fibrous backing.
Material shifting
- Use StrongGrip mat.
- Roll firmly with a brayer.
- Tape all edges with painters tape.
- Reduce intricate details until your setup is dialed in.
Fuzzy or jagged edges
- Replace a dull blade.
- Reduce pressure a notch if it is tearing rather than cutting.
- Choose a simpler design or enlarge tiny cutouts.
- For fuzzy backing, try smoothing a piece of transfer tape onto the back before cutting to help stabilize fibers (test first).
Curling after removal
- Use the upside-down mat removal method.
- Use a less sticky mat plus edge tape.
- Place finished pieces under a heavy book for 10 to 20 minutes.
Assemble the earrings
Hardware order
You will usually assemble in this order:
- Earring piece
- Jump ring (or two, if you want more movement)
- Earring hook (or post component)
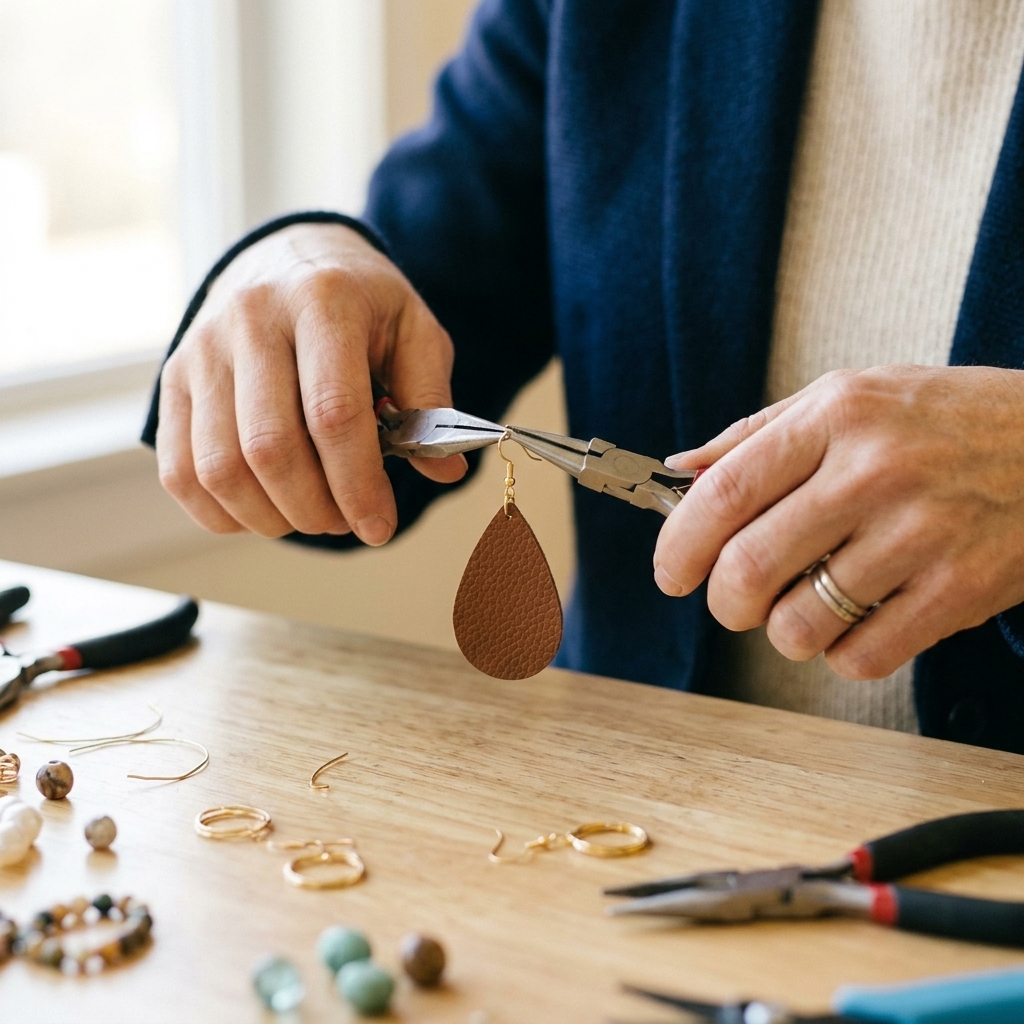
1) Open the jump ring
Use two pliers. Hold the jump ring at the split and twist one side forward and the other side back. Do not pull the ring open sideways like a C shape, because it weakens the metal and never closes neatly again.
2) Attach the faux leather piece
Slide the hole of the earring piece onto the open jump ring.
3) Add the hook
Slide the loop of your earring hook onto the jump ring too. Make sure the hook faces forward when the earring hangs. If you are unsure, hold it up and check orientation before closing.
4) Close it flush
Twist the ends back together until they meet. I like to do a tiny over-close and then back it off so the seam clicks into place. Your goal is no gap, because gaps can snag hair and let pieces slip off.
Optional: add a backing
If you want a more finished look, cut the same shape from felt or a second faux leather and glue it to the back. Use a thin layer of a strong craft glue like Beacon Fabri-Tac or B-7000, then press under a book until fully set. If you use a stronger industrial glue, follow the label directions and use good ventilation.
Pro tips
- Use two jump rings between the earring and the hook for extra swing and a more professional drape.
- Keep holes consistent: if you punch holes after cutting, use a ruler or a simple marking jig so pairs match perfectly.
- Mix textures: smooth faux leather on top, glitter faux leather behind, or a tiny accent layer. Just keep your layers light so they do not get too heavy.
- Round your corners: curves and rounded points tend to look more polished than sharp angles in faux leather.
- Skip heat tricks: faux leather can warp or melt, so I avoid trying to heat-seal edges. If you want a cleaner edge, keep designs a little simpler and rely on a sharp blade and the right pressure.
- Test for weight: if a pair feels heavy in your hand, it will feel heavy on your ears. Choose smaller shapes or thinner material.
Quick FAQ
Can I cut faux leather on an Explore, or do I need a Maker?
You can absolutely cut faux leather on the Explore series using the Fine-Point Blade or Deep-Point Blade and the right mat. The Maker series just gives you more tool options overall, but faux leather earrings are very Explore-friendly.
Do I need StrongGrip for faux leather?
Most of the time, yes. Faux leather shifting is the number one reason earrings cut poorly. If you cannot use StrongGrip because your material is delicate, use a LightGrip mat and tape the edges securely.
Why is my faux leather tearing instead of cutting?
Usually it is a dull blade, too much pressure, or the sheet is not fully adhered to the mat. Try a new blade first, then reduce pressure slightly and brayer the material down firmly.
Should I cut holes with the Cricut or punch them after?
If your material cuts cleanly, cutting holes in Design Space is fast and consistent. If the holes are stretching, not weeding cleanly, or you want perfect placement every time, punching after cutting is often easier.
Before you hit Make It
If you are nervous about wasting material, start with a small test cut. Faux leather can be picky, but once you dial in your blade, mat, and pressure, it becomes one of those projects you can crank out confidently while you watch a show.
When you make your first pair, snap a photo and celebrate it. Handmade earrings are such a fun win.