A beginner-friendly, start-to-finish tutorial for Cricut Print Then Cut sticker sheets, including kiss-cut vs die-cut, size limits, borders, calibration, set...
Maker Vinyl
Updated October 17, 2026
Free Printable Sticker Sheets: How to Master Print Then Cut
Download free printable sticker sheets and learn how to get clean cuts every time with Cricut Print Then Cut. Includes paper settings, bleed tips, test cuts, and calibration fixes.

Harper Davis
Harper Davis is a lifelong DIY enthusiast and cutting-machine expert who loves helping beginners conquer Cricut Design Space. With over six years of experience running a custom vinyl shop, she shares practical tutorials, material guides, and creative inspiration.
If Print Then Cut has ever made you feel personally attacked, you are in the right place. I love stickers, but I love not wasting sticker paper even more. In this guide, you will get free printable sticker sheet files (PNG and SVG) plus my real-world, craft-room-tested steps for nailing Cricut Print Then Cut calibration so your cuts land exactly on the lines.
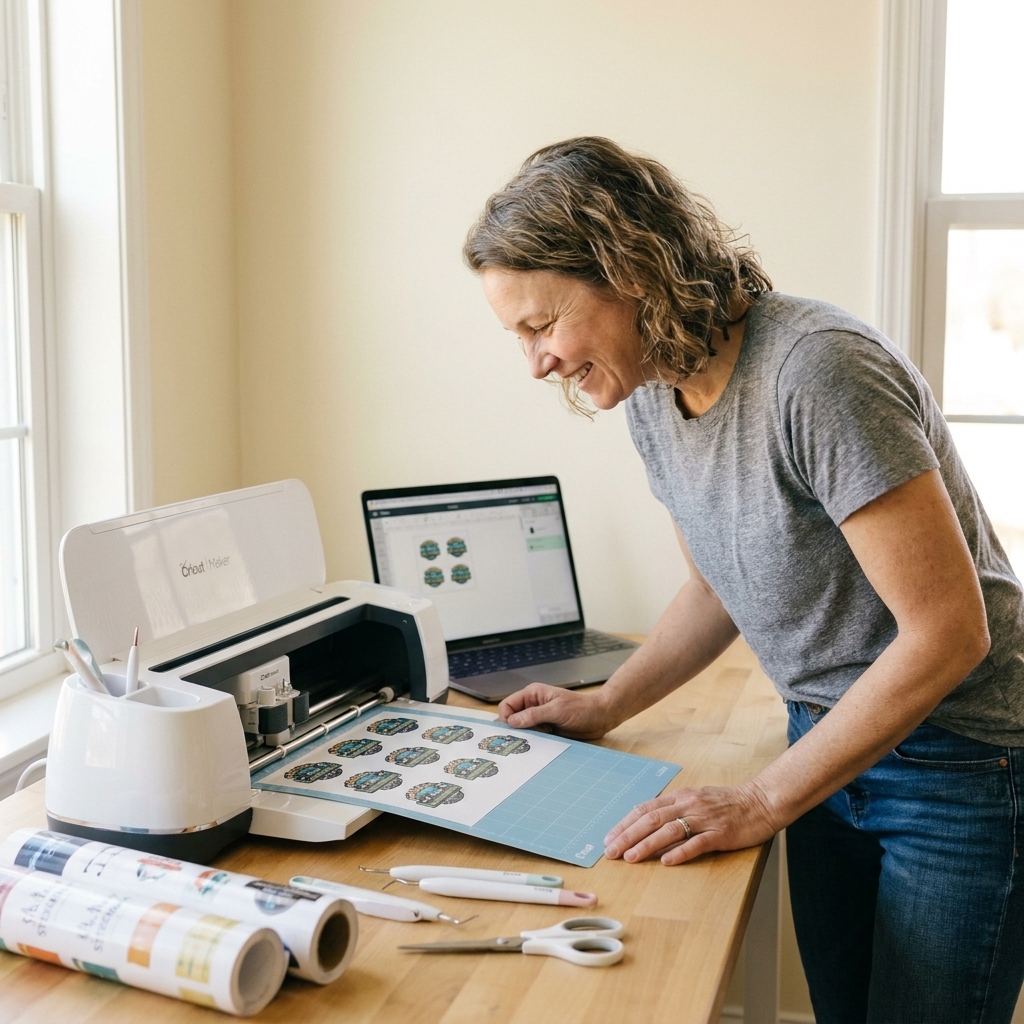
Quick heads up: Print Then Cut success is a mix of good files, correct printer settings, and a calibrated machine. When one piece is off, the whole thing feels off. We will fix it in order.
Free printable sticker sheets (PNG + SVG)
These are designed for Cricut Print Then Cut and sized to work well on common sticker paper (US Letter). You can print and cut as-is, or customize colors and text in Design Space before you hit Make It.
What you get
- PNG versions for easy Print Then Cut (best for beginners).
- SVG versions for customization and crisp cut paths (great if you want to tweak layouts). Your printer still prints raster, so print quality will always come down to your printer, settings, and paper.
- Two cut styles: kiss-cut sticker sheets and die-cut singles.
Download the free files
Sticker Sheet Set 1: Cozy Planner Icons (PNG + SVG)
Includes hearts, stars, checkmarks, coffee cups, and reminder icons.
Sticker Sheet Set 2: Midwest Maker Labels (PNG + SVG)
Includes “handmade”, “thank you”, “happy mail”, “fragile”, and “made with love” labels.
Sticker Sheet Set 3: Classroom and Teacher Pack (PNG + SVG)
Includes “great job”, “check your work”, “read more”, stars, and simple reward stickers.
License note: These freebies are for personal use unless the download page you use explicitly says otherwise. If you need commercial use, check the terms listed on the download page before you list anything for sale or share the files.
If you only download one file: grab the PNG sticker sheet first. PNGs tend to behave better for Print Then Cut because they come in as a single piece of artwork and you are less likely to accidentally separate layers.
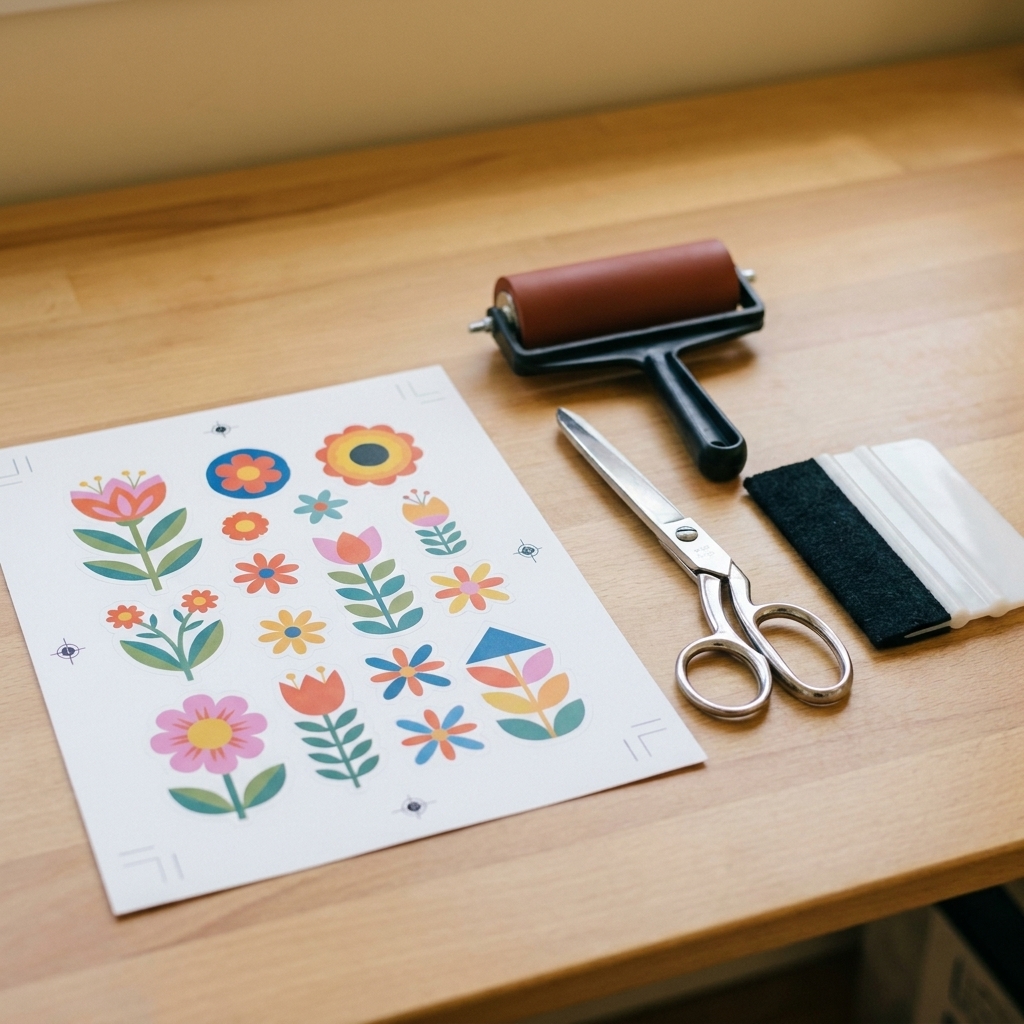
Before you cut
1) Use the right file type
- PNG: Best for full-color stickers, watercolor looks, and anything “printed.” Upload it, add it to your canvas, and make sure it stays a Print Then Cut layer. If your upload comes in as multiple pieces for any reason, select everything and Flatten so it prints as one sheet.
- SVG: Best when you want editable shapes and clean cut paths, or you plan to rearrange a sheet. SVGs often import as multiple layers. To use them for Print Then Cut, you will usually need to arrange your design, then Flatten to combine layers into a single printable (Print Then Cut) layer, and use Attach when you need multiple items to keep their positions on the mat.
2) Know your cut type
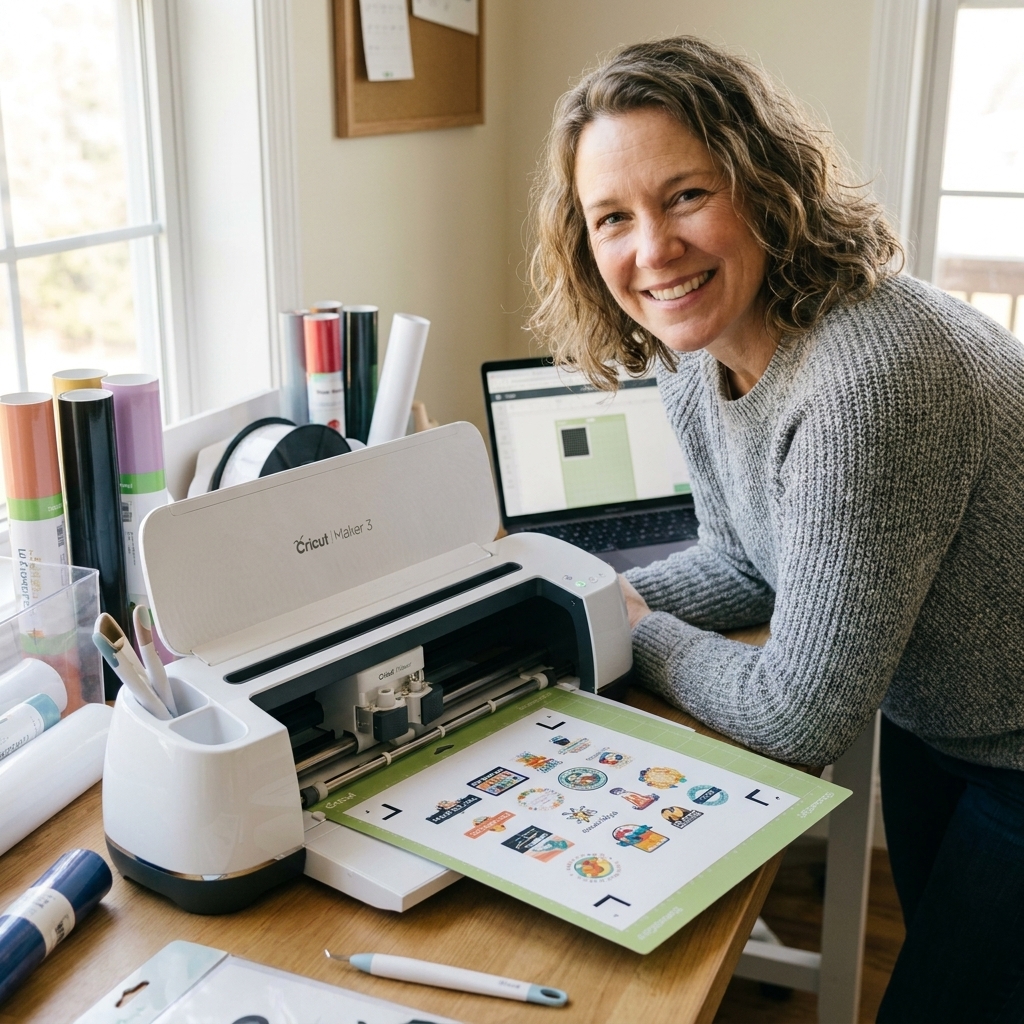
- Kiss cut: Cuts through the sticker layer but not the backing. You peel each sticker off the sheet. This is what most people want for sticker sheets.
- Die cut: Cuts through sticker paper and backing. Great for single stickers, but you will usually need a heavier cut setting and a strong mat hold.
3) Bleed: when to use it
Bleed slightly extends the printed ink beyond the cut line so tiny print shifts do not leave white halos.
- Turn Bleed ON for most stickers, especially anything with a colored edge.
- Turn Bleed OFF if you have very fine details and you notice fuzziness at the edges.
4) Print Then Cut size limits
Print Then Cut uses a registration box around your design, and that box limits the maximum printable area. The exact max size can vary by machine model (for example, Maker and Explore vs Joy Xtra), paper size (Letter vs A4), and Design Space updates.
Real-world reference point: on US Letter with many Maker and Explore setups, your maximum design area often lands somewhere around 6.75 x 9.25 inches, give or take based on Design Space version and settings. If Design Space warns you the printable area is too large, believe it. Shrink the design slightly or remove anything that expanded the boundary (offsets and shadows are the usual suspects).
One more detail that trips people up: printer settings can affect it too. If your printer dialog sneaks in scaling (fit to page) or borderless expansion, your print can shift or size-change, which makes the usable area feel unpredictable.
5) Flatten vs Attach
- Flatten: Combines multiple layers into a single printable layer for Print Then Cut. This is what keeps your sticker sheet printing as one piece of artwork instead of a pile of parts.
- Attach: Keeps items positioned together on the mat. Use this when you have multiple elements and you want them to stay exactly where you arranged them on the canvas.
In other words: Flatten makes it a single printable layer. Attach keeps your layout from scrambling.
Design Space: print and cut
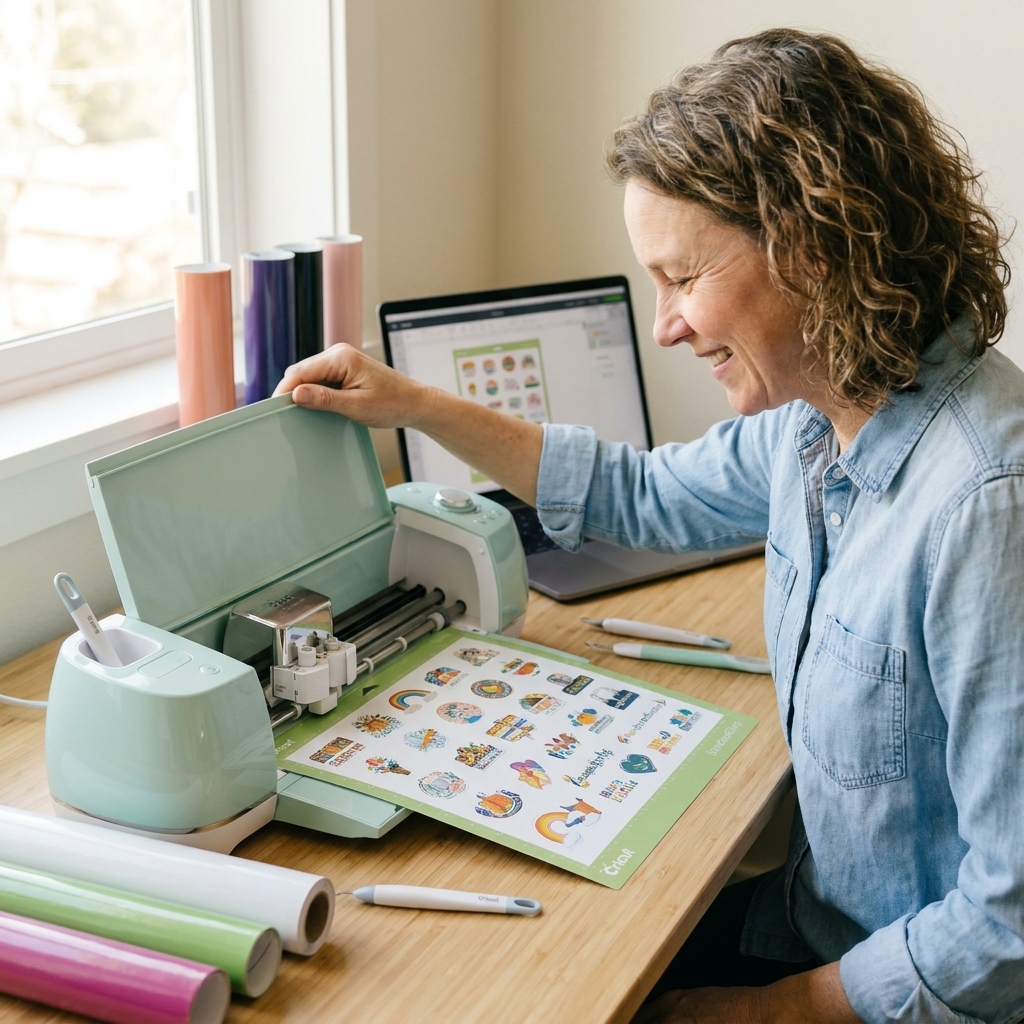
Step 1: Upload your sticker PNG
- Open Design Space and click Upload.
- Select your PNG.
- Choose Complex if prompted (it usually gives the best edge detail).
- Follow the prompts to upload and save it to your library, then add it to your canvas.
- It should come in ready for Print Then Cut. If anything imports as separate pieces, select the layers and Flatten so it prints as one sheet.
Step 2: Add an offset (optional)
If your stickers have no border and you want a clean outline:
- Select the design.
- Click Offset.
- Start small (try 0.04 to 0.08 in) with rounded corners. Tiny icons often look better with a smaller offset, so do not be afraid to dial it down.
- Make the offset color white (or match your aesthetic).
- If your design plus offset is made of multiple layers, select them and Flatten so it prints as one sheet.
Step 3: Make It, then print correctly
- Click Make It.
- Confirm your paper size (usually 8.5 x 11).
- Turn Bleed on or off based on your design.
- Click Print.
- If you see it, click Use System Dialog so you can access your printer’s real quality and scaling settings.
- In your printer dialog, choose Best or High Quality, pick a media type that matches your sticker paper (matte, photo paper, premium presentation, etc.), and make sure scaling is 100%. Keep Fit to Page and any borderless expansion features OFF.
- If your printer has ink saving or economy mode, turn it off. Dull sticker colors are usually a settings problem, not a you problem.
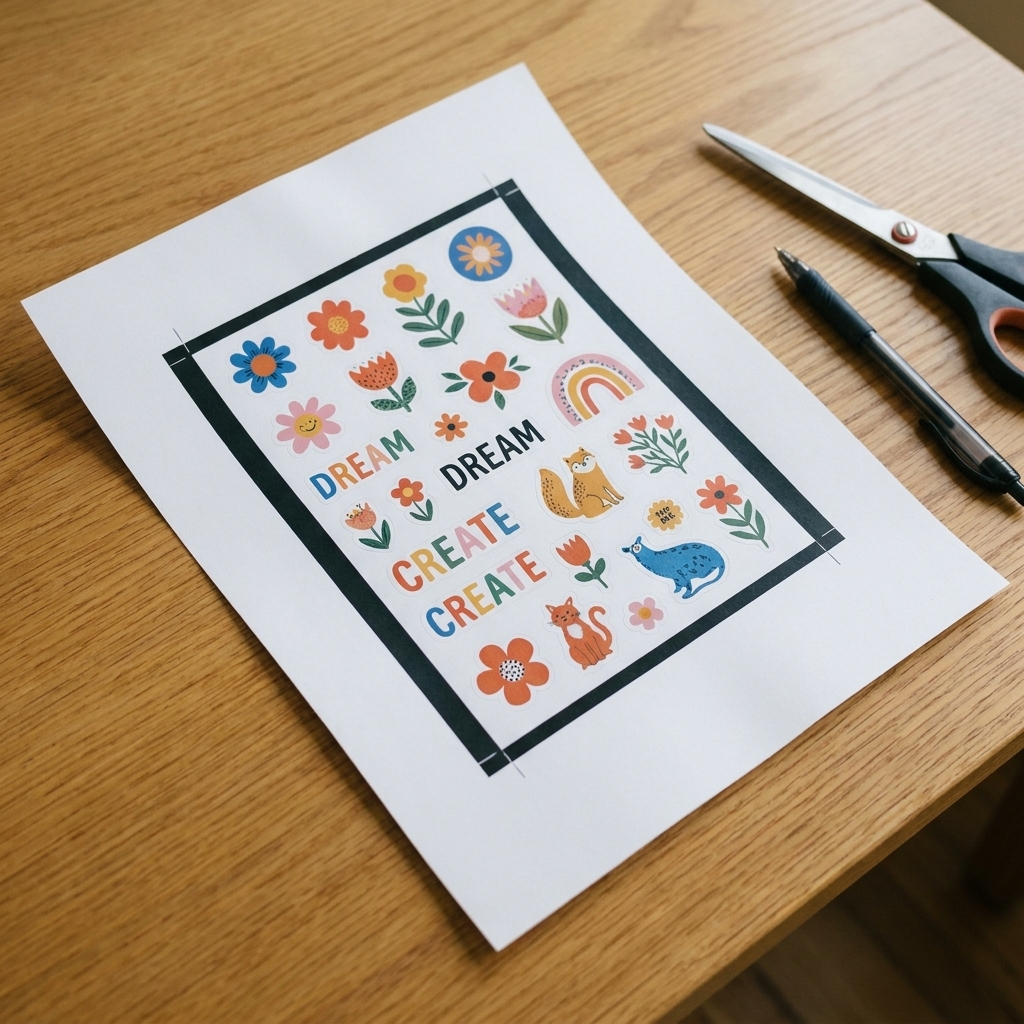
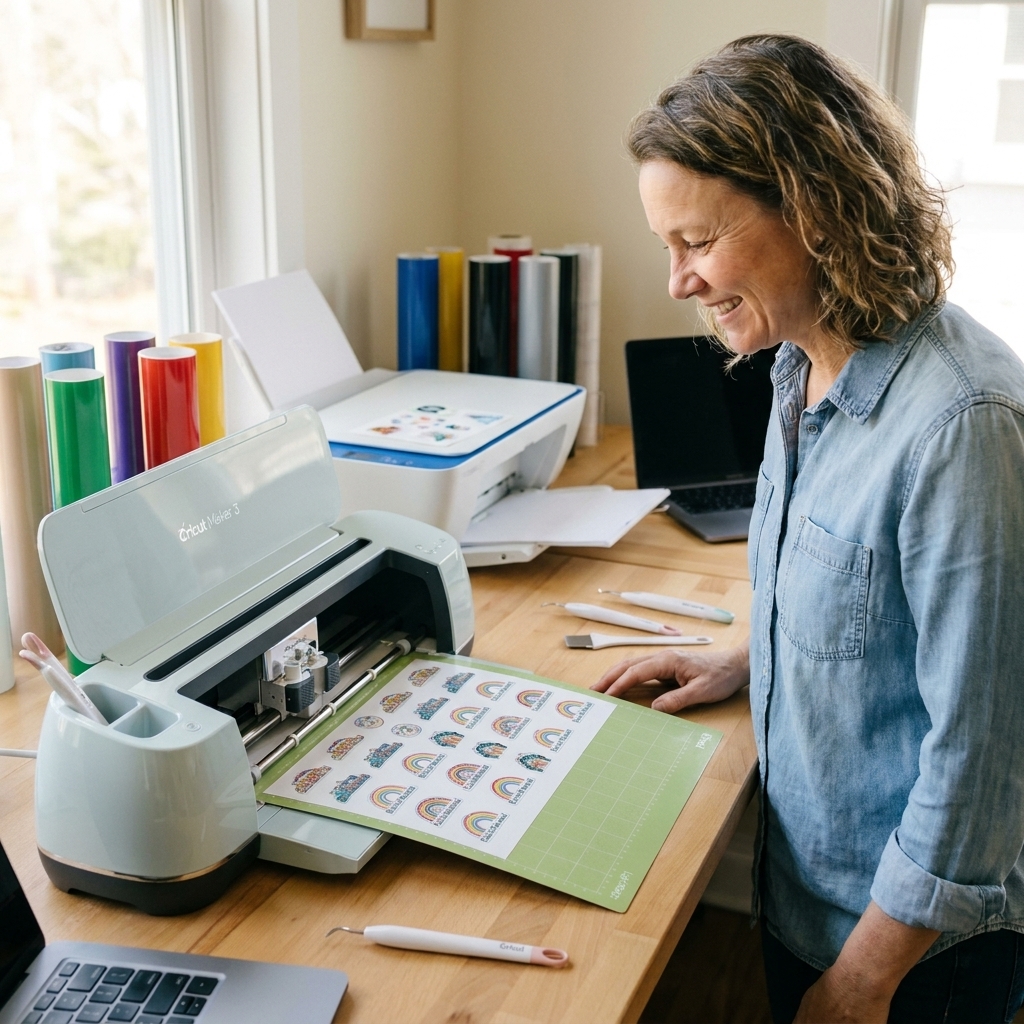
Step 4: Place the sheet on the mat
- Use a brayer if you have one. If not, burnish with a scraper.
- Line the sticker sheet up with the top left corner of the mat’s grid, snug into that corner so the page is straight.
- Use the grid lines as a quick check: the paper edges should run parallel to the grid, not slowly drift as they go down the mat.
- Make sure the paper is flat. Any curl can mess with sensor reading.
Step 5: Pick a cut setting that matches your paper
Sticker paper brands vary wildly, so consider these starting points (and always test a small shape when you can):
- Matte sticker paper: start with “Sticker Paper” or “Printable Vinyl” if you need a touch more pressure.
- Glossy sticker paper: often works best with “Printable Vinyl” or a custom setting with a bit more pressure.
- Vinyl sticker paper (printable vinyl): “Printable Vinyl” is usually spot-on.
- Laminated stickers: you may need more pressure and sometimes a second pass, especially for die cuts.
My golden rule: if your kiss cuts are too deep, lower pressure first instead of switching to a totally different material setting.
Mini test cut (saves sheets)
If you want a quick reality check before you commit a whole sheet of sticker paper, do it as a separate micro project:
- In Design Space, create a new canvas and add just one sticker or a small icon from your file.
- Print it on plain paper and cut it to confirm alignment.
- Then cut it on a small piece of your actual sticker paper to dial in pressure for kiss cut vs die cut.
- Once it is cutting cleanly, run the full sticker sheet with the same material setting.
Calibration
If your cuts are consistently offset (up, down, left, right) or drifting, calibration is your best friend. Cricut calibration tells the machine exactly where your printed lines are so it can cut accurately.
Do this before you calibrate
- Update Design Space (desktop app if possible).
- Restart your computer and Cricut.
- Use the same printer you normally print stickers with.
- Print at 100%. No scaling. No “fit.”
- Use plain printer paper for calibration sheets (save the good sticker paper).
How to calibrate Print Then Cut
- Open Design Space and find Calibration.
- On desktop, the most common path is Menu ≡ → Settings → Calibration → Print Then Cut.
- On mobile, look for Calibration under Menu → Machine Setup (labels vary by version).
- Print the calibration sheet on your printer.
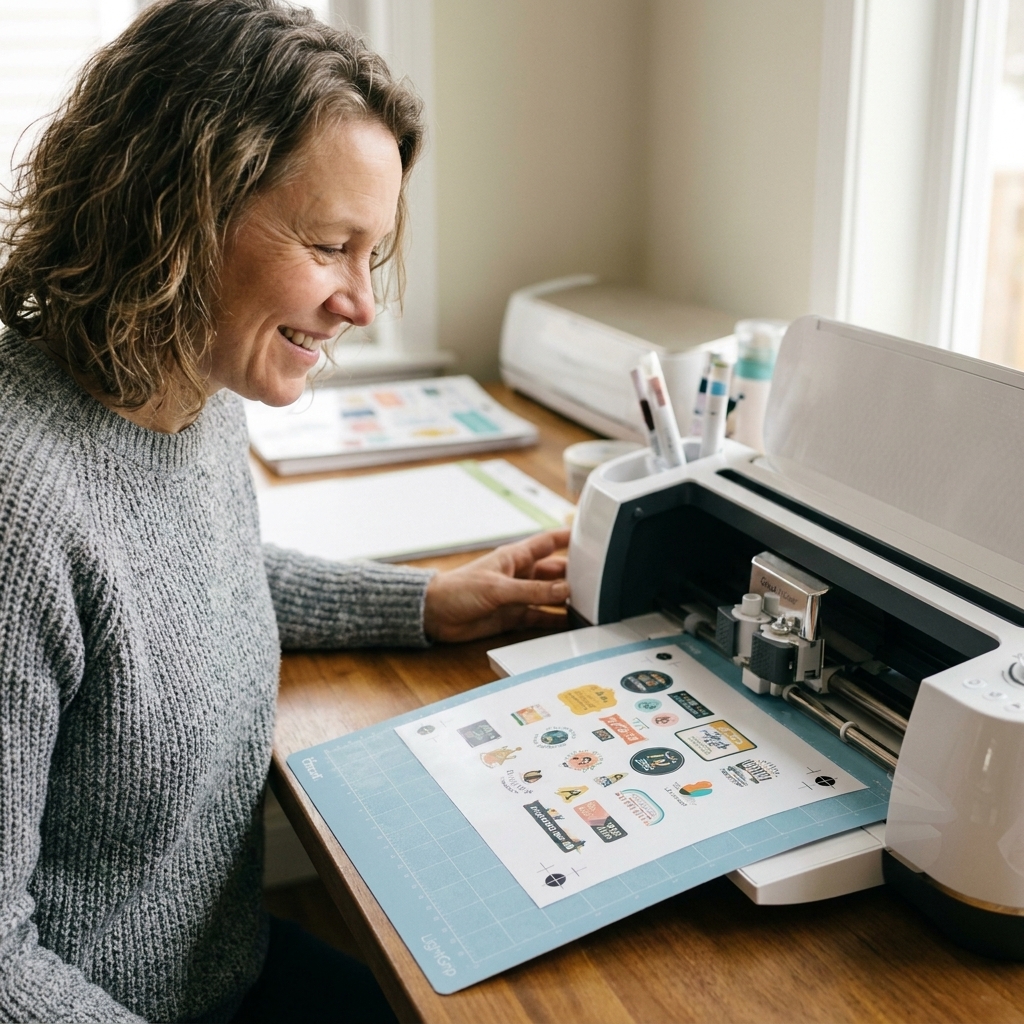
- Place it on your mat, load it, and let the machine scan.
- When prompted, select the line that is cut most accurately. Take your time here, because your choice matters.
- Repeat until the final cut box is centered and clean.
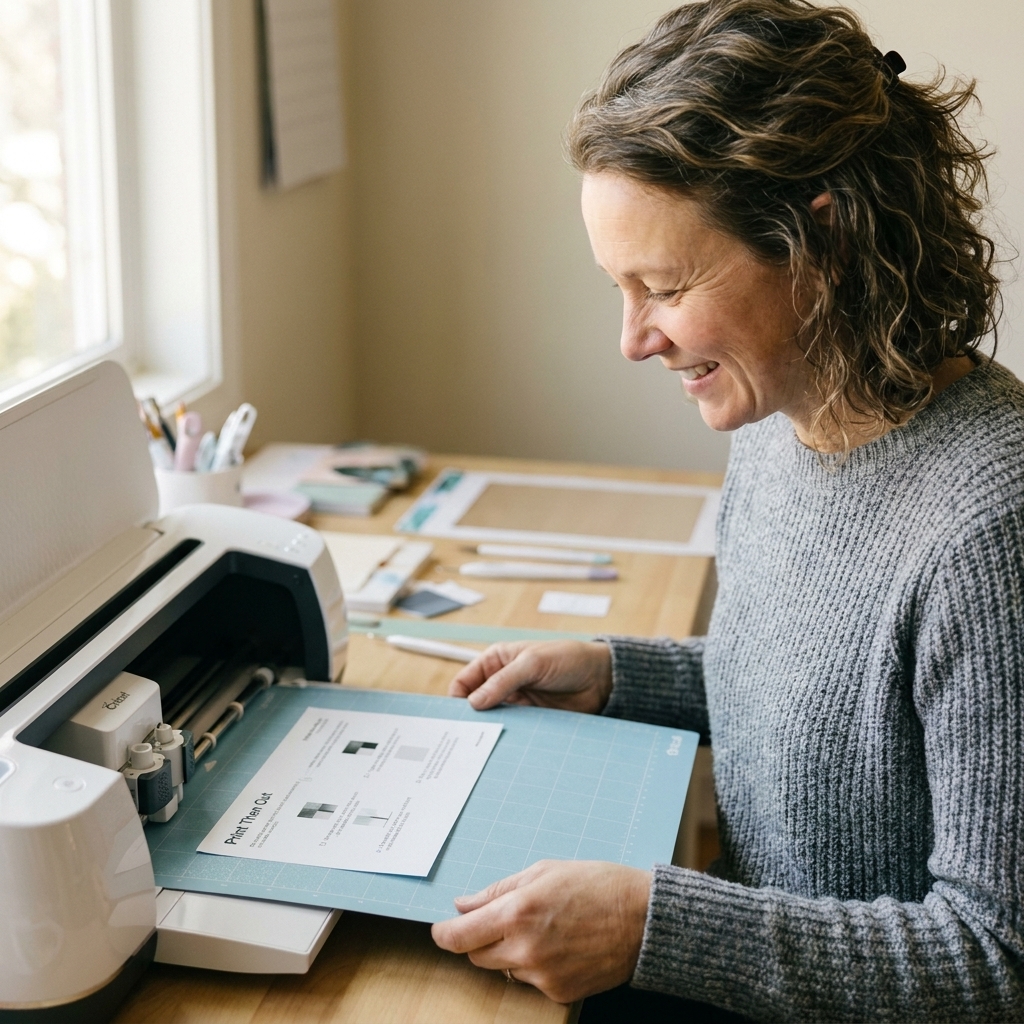
Calibration sanity tips
- Calibrate with steady lighting. Avoid harsh glare and direct sunlight on glossy paper near the machine.
- Do not use fast draft printing. Crisp printed lines help the sensor read properly.
- Keep the mat clean. Debris under the page can lift it and throw off cuts.
- Calibrate again if you switch printers. Even two printers of the same model can print slightly differently.
Fix common problems
Cuts are offset every time
- Run Print Then Cut calibration.
- Double-check printer settings: scale 100%, no fit-to-page, and no borderless expansion.
- Make sure your page is placed straight on the mat, snug to the top-left corner, aligned with the grid lines.
Machine cannot read the registration marks
- Close the lid (if your model uses one) and avoid bright overhead glare and sunlight hitting the page. Consistent, boring lighting is the goal.
- Use matte tape to hold down curled corners (keep tape outside the registration box).
- If you laminated or are using glossy paper, a common workaround is placing truly matte transparent tape over the black registration lines to reduce glare. Test first, keep the tape flat (no wrinkles), and do not cover the corner squares. Keep tape on the lines only and do not change the shape of the marks. Results vary by machine and lighting.
- Gently clean the sensor area with a dry, soft cloth.
One thing I do not recommend: re-drawing, thickening, or “darkening” the registration marks with a marker. Changing the mark shape or thickness can confuse the sensor and make things worse.
White border shows up around my stickers
- Turn Bleed ON.
- Add a small Offset in the same color as your border.
- Make sure your artwork has enough “edge color” so small shifts are not obvious.
Kiss cut is cutting through the backing
- Reduce pressure or choose a lighter sticker paper setting.
- Check blade condition. A damaged blade can cut unpredictably.
- If your mat is extremely sticky, your paper can lift during cutting. Use a less aggressive mat or lightly de-stick a brand-new mat with a clean cotton shirt.
Die cuts are not cutting through
- Increase pressure slightly or use “More” pressure.
- Try two passes (some settings offer this, or you can repeat the cut without unloading).
- For laminated sticker paper, a fresh blade makes a bigger difference than people think.
Favorite materials and tools
You do not need a craft room full of gadgets, but a few things make stickers easier and more consistent.
Materials
- Matte sticker paper: forgiving, easy to cut, minimal glare.
- Printable vinyl: more durable, great color payoff, often cuts cleanly.
- Lamination sheets: adds water resistance and a pro finish (but may require cut setting tweaks).
Tools worth it
- Brayer: helps your page stick flat to the mat so cuts stay accurate.
- Scraper: burnishing and smoothing bubbles.
- Good light: makes weeding tiny sticker bits less annoying.
- Spare blade: sticker paper can dull blades faster than you think.
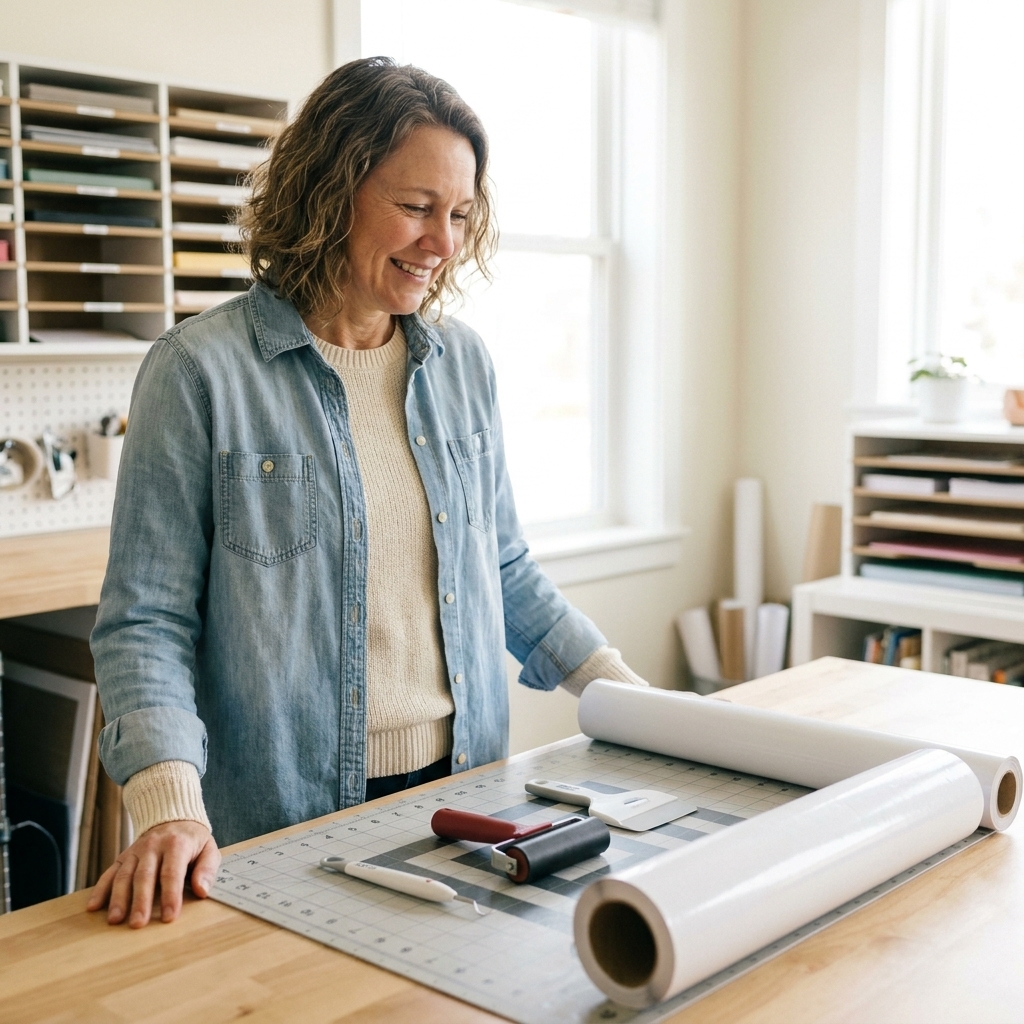
If you are making stickers to sell or to survive a water bottle life, printable vinyl plus laminate is the combo. If you are making planner stickers for fun, matte sticker paper is the low-stress starting point.
My workflow
- Design: Keep a consistent margin around the sheet so nothing is too close to the registration box.
- Test print: Plain paper first if it is a new file or new printer setting.
- Final print: High quality, 100% scale, no borderless.
- Laminate (optional): Apply slowly with a scraper to avoid bubbles.
- Cut: Start with a conservative pressure setting and adjust up.
- Notes: I write down the exact material setting and pressure that worked for that brand. Future-me deserves nice things.
FAQ
Desktop or mobile?
Desktop is my pick, especially for calibration and troubleshooting. Mobile works for simple projects, but desktop gives you more control when something is finicky.
Do I have to calibrate every time?
No. Calibrate when cuts are off, after major Design Space updates, if you change printers, or if you notice the sensor struggling to read marks consistently.
Can I do Print Then Cut without a mat?
For most Print Then Cut setups, it is a mat-based workflow. That said, Cricut models and features change, so follow the guidance for your specific machine (especially if you have a Joy Xtra or newer model with its own quirks).
Why do my sticker colors look dull?
Usually it is the printer set to draft mode, a plain-paper setting, economy mode, or the wrong media type. In your printer dialog, choose the closest match to your sticker paper, use a higher quality option, and avoid any automatic scaling or borderless expansion that can mess with both color and size. If your printer offers a “let printer manage colors” option, try that first for a quick win.
What is the easiest first sticker project?
A simple PNG sticker sheet on matte sticker paper, kiss cut, with bleed on. No laminate for the first run. Get a win, then level up.
Grab the freebies
Start with one of the free PNG sticker sheets above, run a quick calibration if your machine has been acting up, and do a test cut before you feed your favorite sticker paper into the Cricut. If you run into a specific issue, take a photo of your cut result and your material settings. Those two clues usually tell me exactly what went sideways.
When you get that first sheet that peels like butter and lines up perfectly, please celebrate it. Print Then Cut wins deserve a little happy dance.