A step-by-step prep guide for flawless adhesive vinyl on glass, wood, and plastic blanks, plus the top mistakes that cause lifting and bubbles.
Maker Vinyl
Updated October 17, 2026
Crafting with Acrylic Blanks
New to acrylic blanks? Learn how to remove protective film, prevent scratches, and apply vinyl cleanly on clear keychains, signs, and ornaments using Cricut Design Space tips that actually work.

Harper Davis
Harper Davis is a lifelong DIY enthusiast and cutting-machine expert who loves helping beginners conquer Cricut Design Space. With over six years of experience running a custom vinyl shop, she shares practical tutorials, material guides, and creative inspiration.
Acrylic blanks are one of those supplies that look intimidating until you make your first one… and then suddenly you want to label every bin in your house and make matching keychains for your entire group chat.
Clear acrylic is also unforgiving. Every fingerprint shows. Every speck of lint looks like a dust bunny trapped in amber. The good news is you do not need fancy tools to get clean, professional results. You just need the right order of operations, a gentle touch, and a couple habits that prevent scratches before they happen.
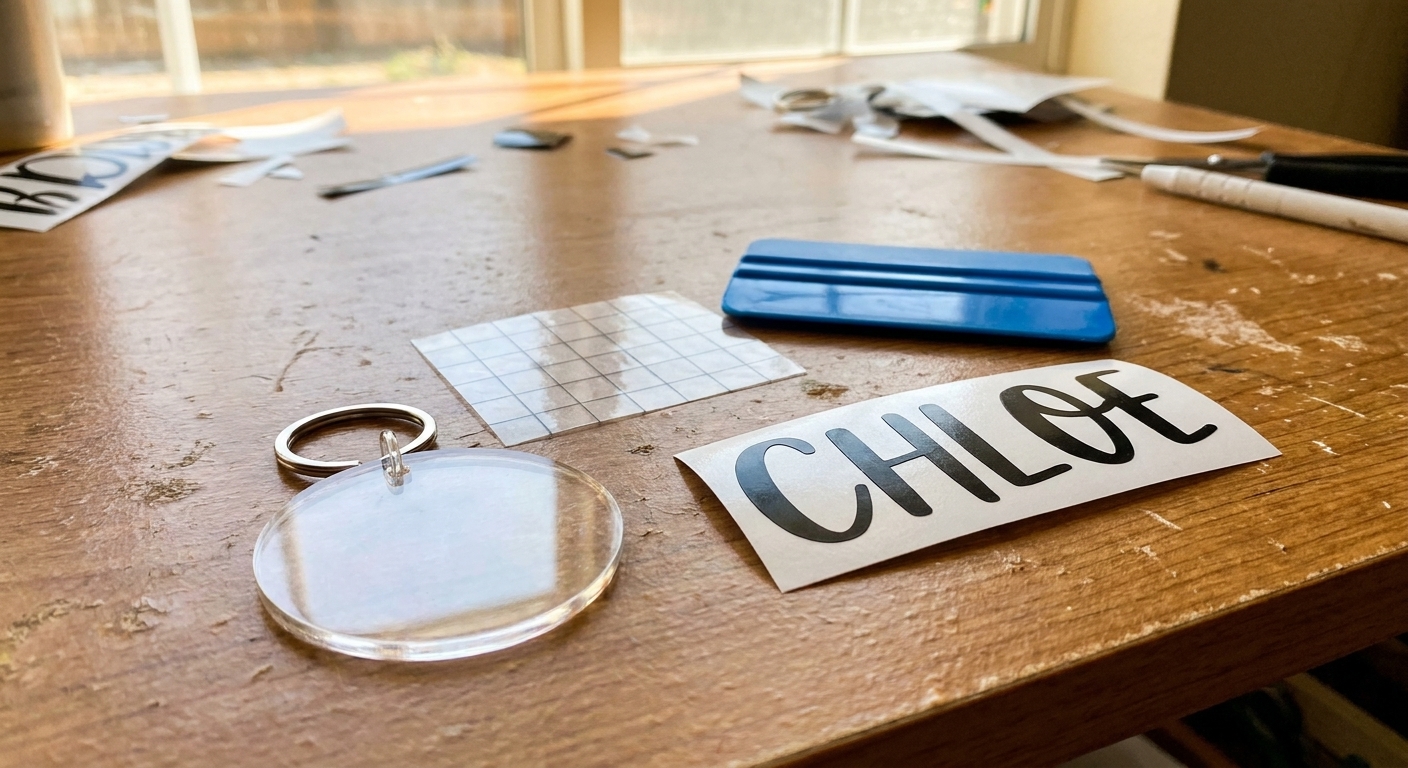
Meet acrylic blanks (and why they come with that annoying film)
Acrylic blanks are pre-cut shapes made from clear or colored acrylic sheets. Many are laser-cut, but depending on the supplier, you may also see blanks that are CNC-routed or die-cut. You will find them as keychains, bag tags, ornaments, cake toppers, signage, photo props, and more.
Most clear blanks arrive with a protective film on one or both sides. That film is not packaging fluff. It is there to protect the acrylic from scratches during cutting, shipping, and handling. If your blank looks cloudy, dull, or slightly “frosted,” it is most often the film, not the acrylic. (If it is still hazy after peeling, you may be looking at light scuffs or a bit of adhesive residue, which is fixable in most cases.)
Common types of blanks
- Keychains and bag tags: Small, often pre-drilled holes for hardware. These get handled the most, so scratch prevention matters.
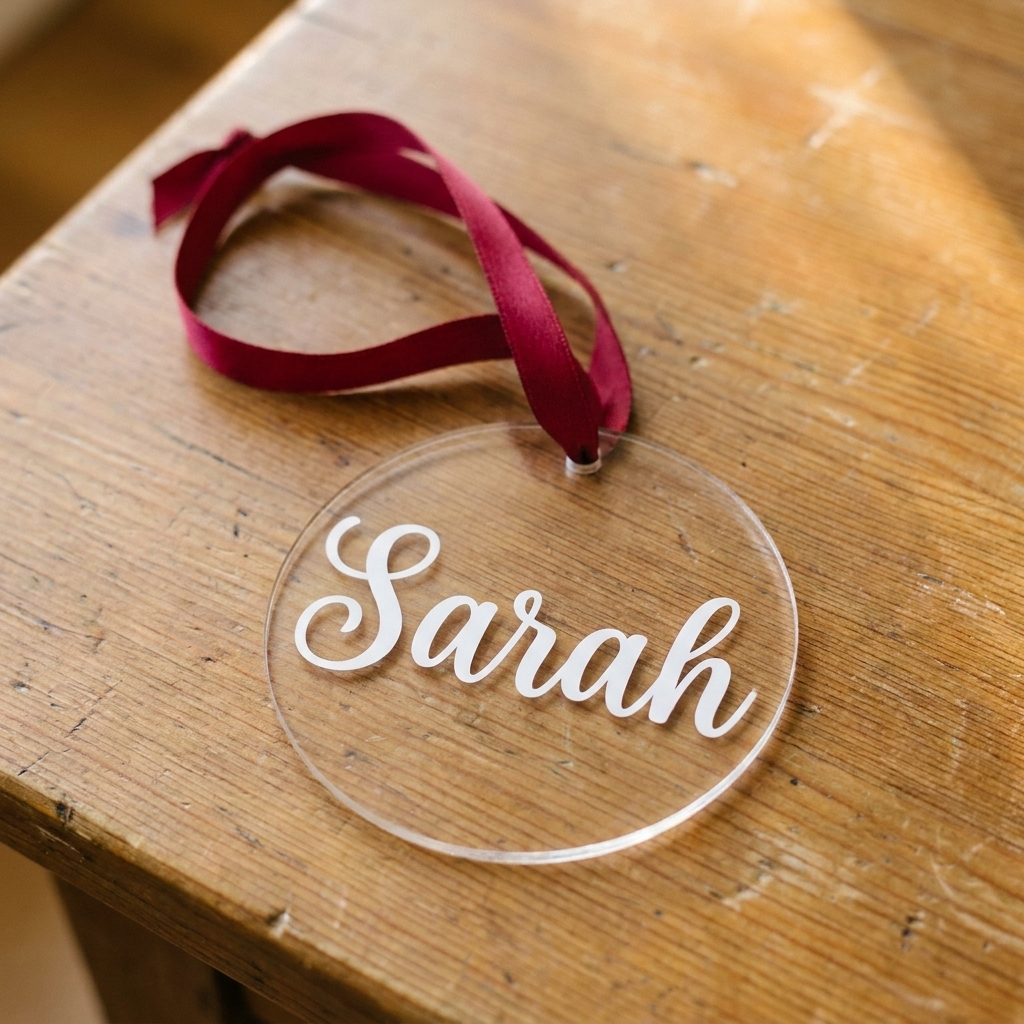
- Ornaments: Seasonal shapes, often drilled or slotted for ribbon.
- Signs: Larger pieces like rectangles, arches, circles, and name plaques.
- Colored acrylic: Opaque or translucent sheets. Many still have film.
Tools and supplies that make acrylic feel easy
You can absolutely craft acrylic with what you already have, but these are my “less waste, fewer tears” essentials.
- Transfer tape: Standard grip for most permanent vinyl. Use strong grip only when you must.
- Squeegee or scraper tool: A felt edge squeegee is extra kind to acrylic, but your Cricut scraper works too.
- Microfiber cloth: For dust and fingerprints without scratching.
- Cleaner option: Isopropyl alcohol (70% or higher) can work for quick wipe-downs, but use it lightly and spot-test first. Some acrylic (especially extruded acrylic or stressed edges) can be more prone to crazing with alcohol. An acrylic-safe plastic cleaner is a great alternative.
- Weeding tools: Hook, tweezers, or whatever you love.
- Painter’s tape: Great for hinges and alignment on signs.
- Soft surface: A clean towel, craft mat, or cardstock to rest acrylic on while you work.
- Optional but helpful: A pin or needle tool for popping tiny trapped air bubbles.
Vinyl note: For most acrylic blanks, I recommend permanent adhesive vinyl (not HTV). Acrylic can warp with heat, and it is hard to press evenly on small shapes.
How to remove protective film without scratching
If you only take one thing from this guide, let it be this: do not fully peel the film off both sides right away. The film is your built-in scratch protection while you’re measuring, test-fitting, and burnishing.
Step-by-step film removal (my low-stress method)
- Start on a soft surface. Lay a microfiber cloth or towel down first.
- Find an edge. Use a fingernail to lift a corner. If it is stubborn, use a piece of painter’s tape: press it to the corner and lift.
- Peel slowly, low and flat. Pull the film back over itself at a low angle. This helps prevent static and reduces the chance of snapping the film (especially on intricate shapes).
- Remove film from the side you are decorating first. That is the side you will apply vinyl to (usually the front). Leave the back film on until the very end. It keeps your blank safer while you’re burnishing.
If you are not sure which side you peeled: Hold the blank at an angle under a light. Film edges usually catch the light and look slightly raised. Also, acrylic looks noticeably clearer and shinier once the film is off.
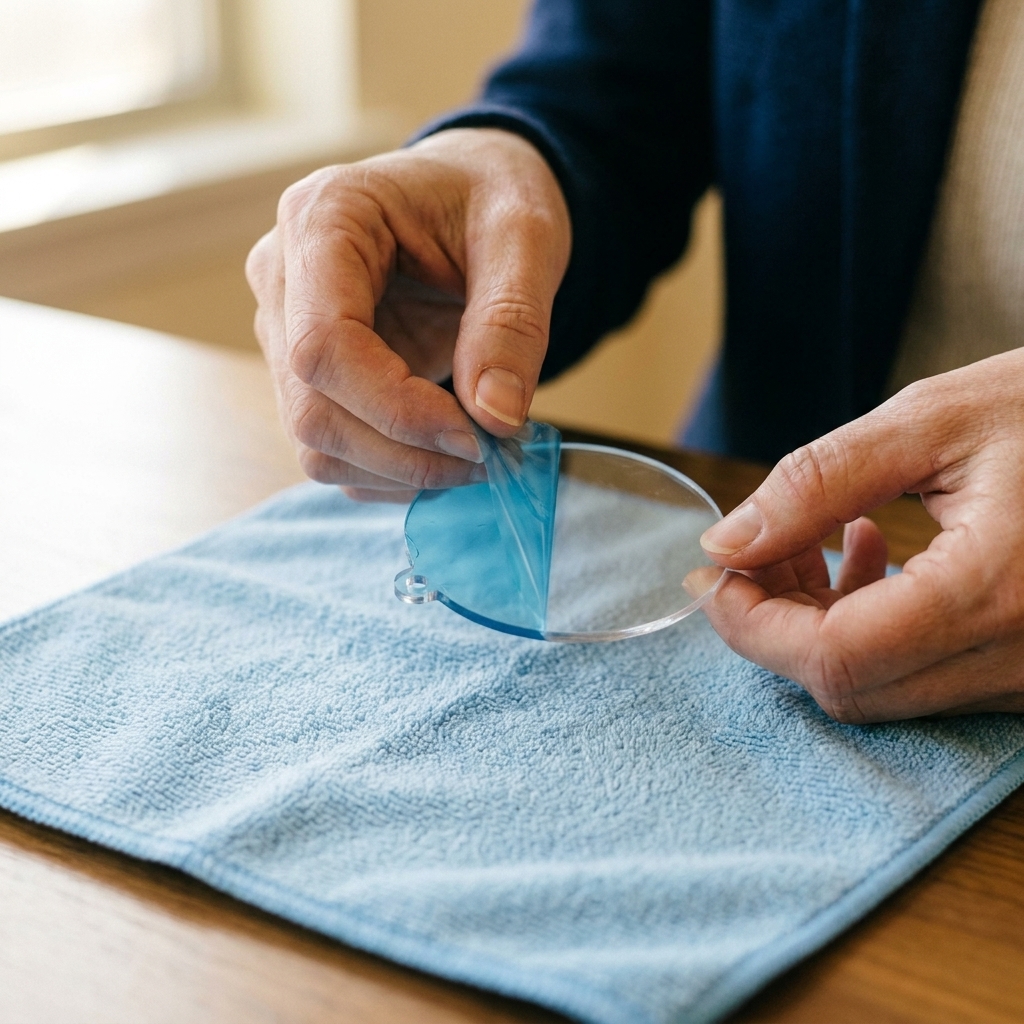
Preventing scratches and haze (before and after vinyl)
Acrylic scratches if you look at it funny. Okay, not literally, but it does scratch easily. Prevention is so much easier than trying to polish a finished keychain.
Habits that keep acrylic crystal clear
- Keep one side filmed as long as possible. I usually work front first, then peel the back at the very end.
- Skip paper towels. They can leave micro-scratches. Use microfiber or a very soft cotton cloth.
- Do not slide blanks on your table. Lift and place them. Tiny grit acts like sandpaper.
- Use steady, even pressure when burnishing. Firm is great. White-knuckle pressure is how you create scuffs.
- Store finished pieces properly. Separate with tissue, keep them in small bags, or use a divided box so they do not rub together.
Quick safety note
Some blanks have sharp edges (especially laser-cut ones). If an edge feels rough, handle carefully and consider lightly deburring with a very fine sanding sponge made for plastics. Go gently, and keep sanding dust off your adhesive area.
Cleaning acrylic the safe way
Right before applying vinyl, do a quick clean so you are not trapping dust under your decal.
- First: Blow off dust or use a microfiber cloth.
- Then: Use an acrylic-safe plastic cleaner, or lightly wipe with isopropyl alcohol and let it fully evaporate. Avoid soaking the edges and do not scrub hard. A quick spot-test on a corner is worth it.
- Avoid: Harsh cleaners and anything with ammonia. They can lead to crazing or microcracks over time.
Vinyl choices that look best on clear acrylic
Clear acrylic is basically a spotlight. It makes good vinyl look amazing, and it makes “almost lined up” look… very obvious.
My go-to vinyl types
- Permanent adhesive vinyl: Best all-around for keychains, signs, ornaments.
- Removable vinyl: Okay for temporary decor, but it can lift on items that get handled.
- Frosted or etched-look vinyl: Gorgeous for a luxe, subtle design on clear blanks.
- Transparent vinyl (tinted): Fun for layered color effects without losing the clear look.
What about glitter and holographic?
Totally doable. Just know that textured vinyl sometimes needs a little more burnishing and can be trickier to transfer cleanly. For those, I often use a slightly stickier transfer tape or peel the tape back extra slowly.
Design Space tips for acrylic blanks
If acrylic blanks are new to you, the design part can feel like the hardest part. It does not have to be.
Measure like you mean it
- Measure the flat area you actually want to decorate, not just the overall blank size.
- Account for holes and hardware. Leave breathing room so your design does not fight the keychain ring.
- Use a simple template. In Design Space, create a basic shape (circle, rectangle) the same size as your blank for layout. Set it to “Guide” so it does not cut.
Tiny text that weeds cleanly
- Choose chunkier fonts. Ultra-thin scripts are adorable but not beginner-friendly on small keychains.
- Increase letter spacing if letters want to merge.
- Weld when needed for script fonts so your letters cut as one piece.
- Do a test cut when you are using a new vinyl brand or a new tiny size. It saves material and sanity.
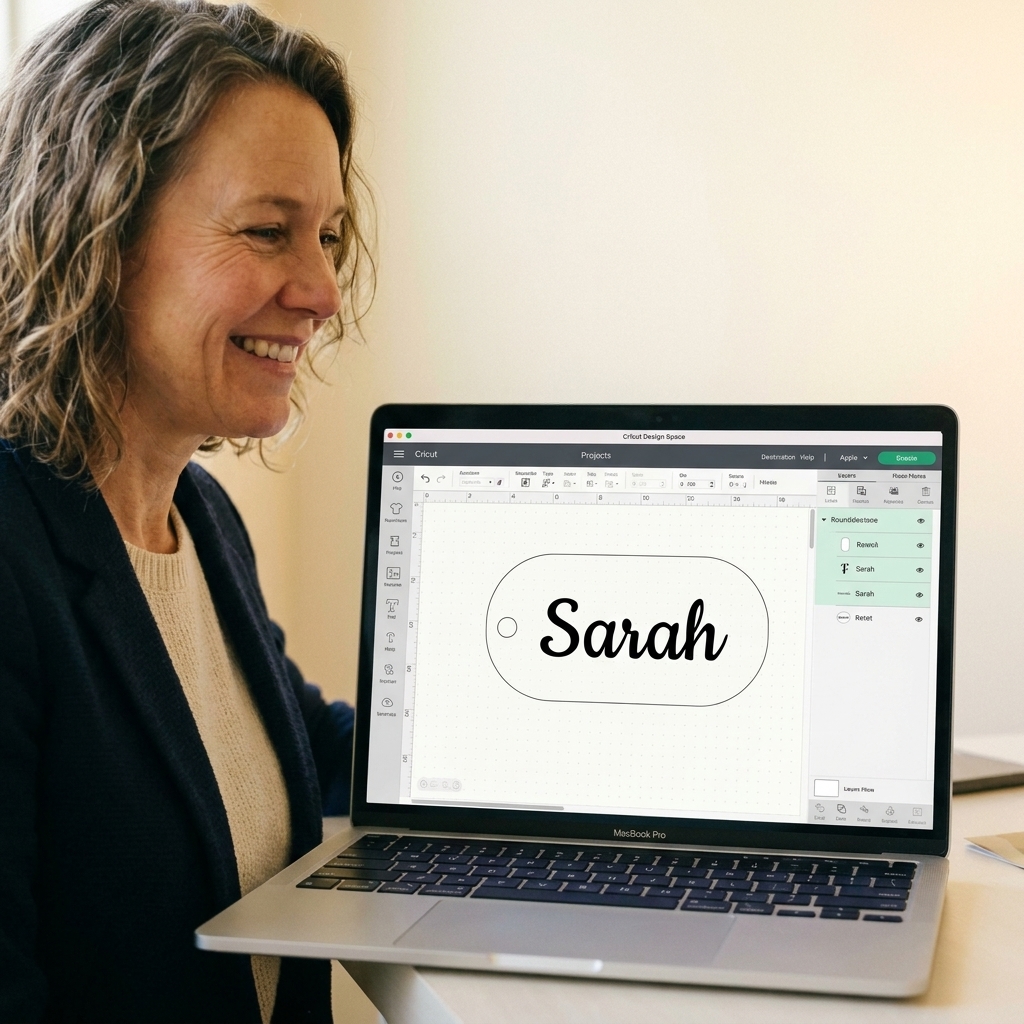
How to apply vinyl to acrylic
This is the method I teach beginners in my shop because it is forgiving and repeatable.
Method 1: Transfer tape hinge
- 1) Weed your design and apply transfer tape.
- 2) Position the decal on the acrylic (front film removed, back film still on).
- 3) Tape one edge of the transfer tape to the acrylic using painter’s tape, creating a “hinge.”
- 4) Flip up the decal on the hinge, peel the backing off the vinyl.
- 5) Lay the vinyl down slowly from the hinged edge outward, smoothing as you go.
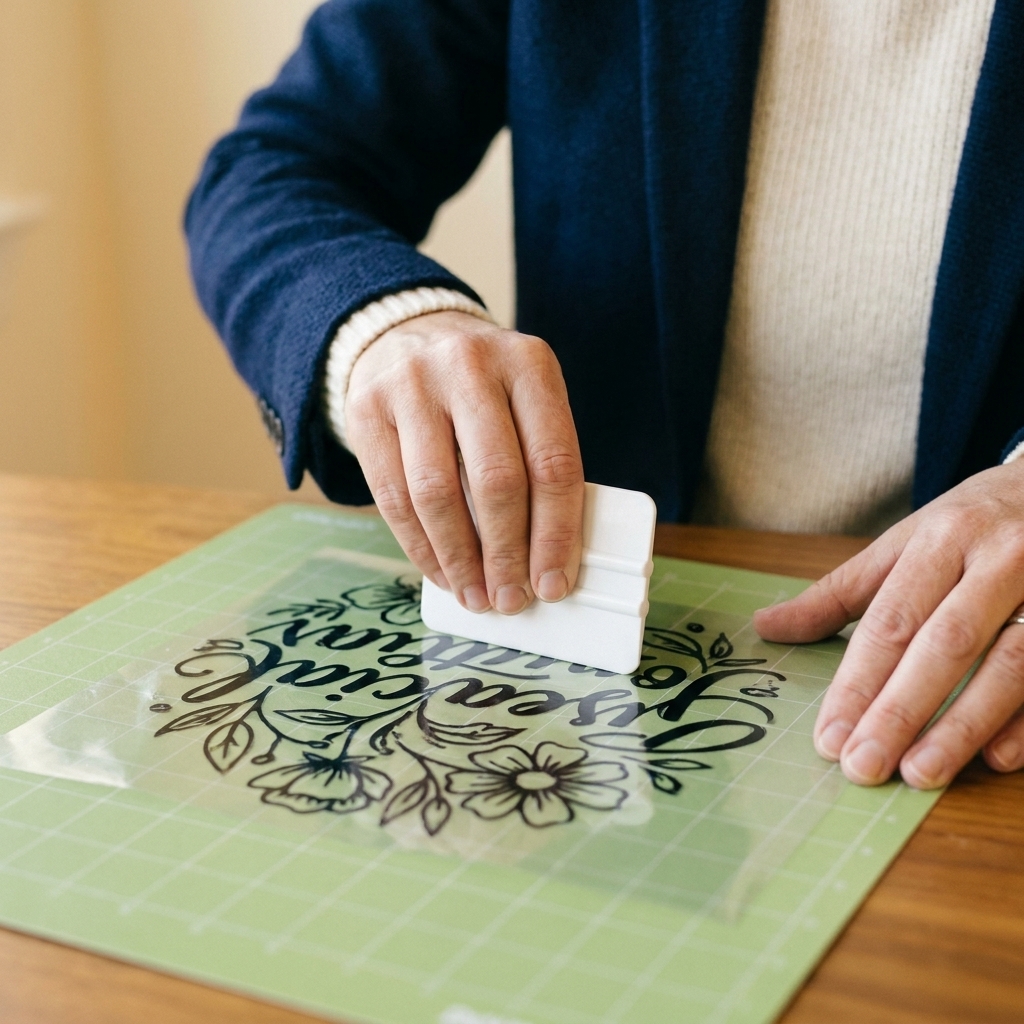
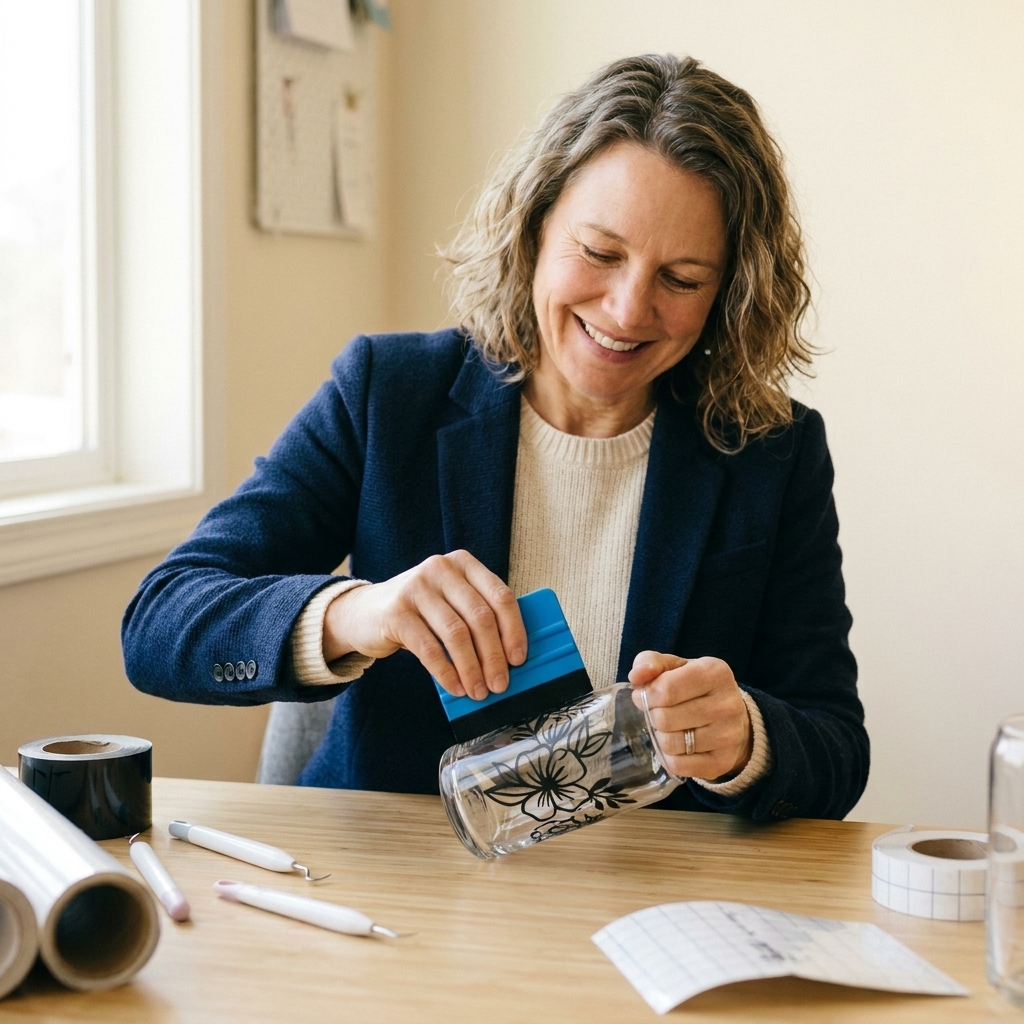
- 6) Burnish gently but thoroughly with a scraper or felt squeegee.
- 7) Peel transfer tape back low and steady. If vinyl lifts, lay it back down and burnish again.
Method 2: Center-first application
- 1) Rest the decal in place without pressing. Think of it like you are “floating” it: lightly set it down, adjust until it looks centered, then commit.
- 2) Tack the center of the design down first with a finger.
- 3) Work outward in small strokes to push air toward the edges.
- 4) Peel the transfer tape back slowly at a low angle.
Bubble rescue: If you trap a tiny bubble, prick it with a pin and burnish lightly. On clear acrylic, tiny bubbles are more noticeable, so do not be afraid to fix them.
Layering vinyl on clear acrylic
Layering is where acrylic projects go from cute to custom. It is also where most beginners accidentally misalign things or trap lint between layers.
Here are two beginner-friendly ways to keep layers lined up.
Strategy A: Registration marks
- 1) Add two small squares (or triangles) outside your design in Design Space.
- 2) Duplicate them so every color layer has the exact same marks.
- 3) Cut each color.
- 4) Stack layers on your table using the marks to align, then remove the marks before final application.
Strategy B: Build on transfer tape
- 1) Apply transfer tape to the bottom layer.
- 2) Add the next layer right onto that taped layer (align carefully).
- 3) Repeat until your full design is one decal.
- 4) Apply once to the acrylic blank.
Pro tip: On clear acrylic, I love a “shadow layer” look. Put a slightly offset layer behind the main text in a lighter color. It adds depth without turning into a thick pile of vinyl edges.
Keychains: durable finishes that survive pockets and purses
Keychains are handled constantly, so durability and edge lift prevention matter more than on wall decor.
Keychain best practices
- Keep vinyl away from the hole. Hardware rubs and can catch edges.
- Burnish edges extra well. The edges are what start lifting first.
- Give it cure time. Permanent vinyl adhesive typically strengthens over time. If you can, wait overnight or up to 24 hours (check your vinyl brand’s guidance) before heavy handling.
- If you seal, be picky. Many resin and sealer products can yellow, trap bubbles, or react with vinyl. If you want a topcoat, choose one specifically labeled for acrylic and spot-test on a scrap blank first for clarity and adhesion. For most everyday keychains, good vinyl plus good edge burnishing is plenty.
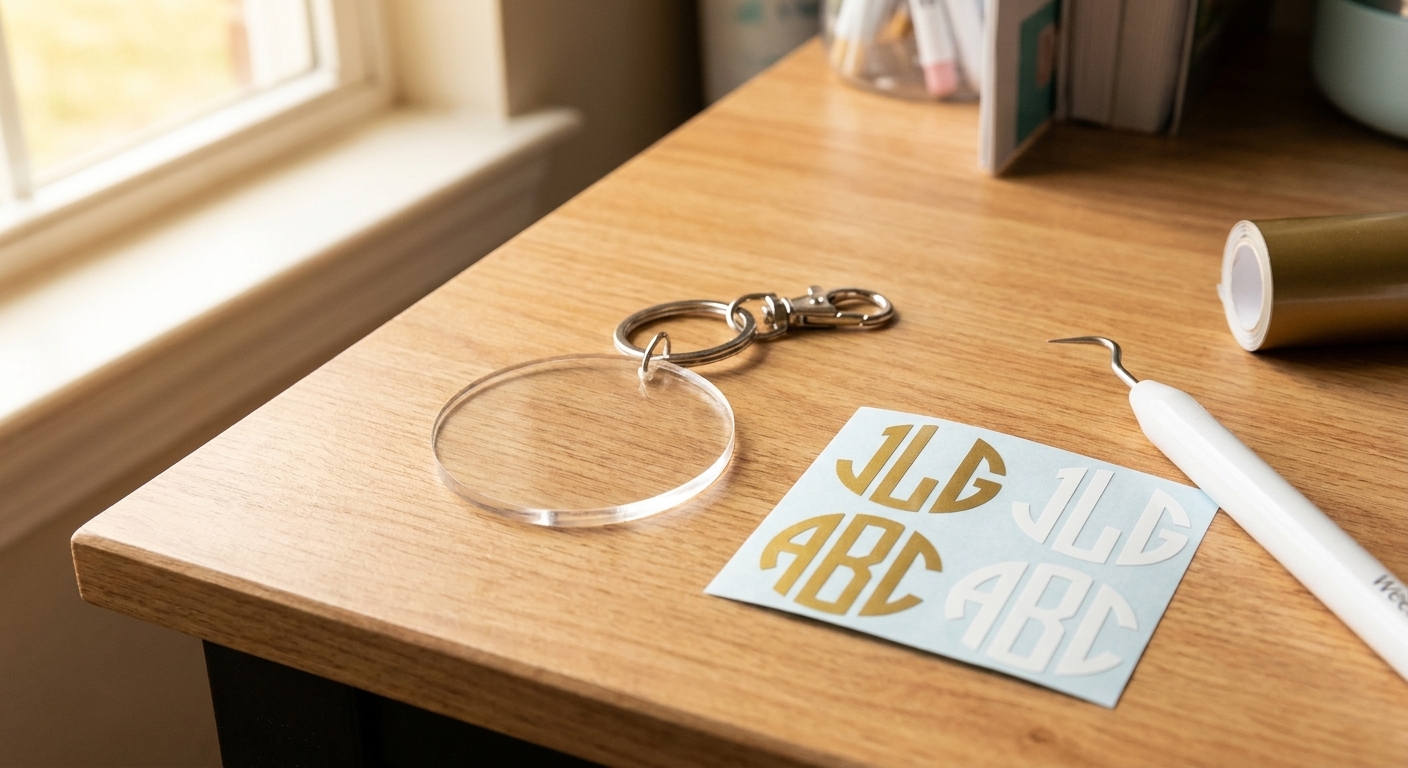
Signs: clean alignment and spacing
Acrylic signs look high-end fast, especially for home decor and party backdrops. The trick is clean spacing and straight lines.
How to keep long designs straight
- Use a level surface and good lighting.
- Make a center mark with a tiny piece of painter’s tape on the film, not on bare acrylic.
- Use the hinge method so your design does not shift mid-application.
- Work in sections for long names or phrases so you do not trap bubbles.
If you want vinyl on the back: Reverse your design (mirror it) so it reads correctly from the front. Backside application gives a super smooth front surface and can help protect the vinyl from scratches.
Ornaments: clean backs and no fingerprints
Ornaments are basically acrylic on hard mode because they catch twinkle lights and window light. Everything shows.
Ornament tips I swear by
- Wear cotton gloves or hold by the edges after cleaning.
- Apply vinyl to the back for a glassy front finish (mirror the design).
- Add a small name in a thicker font. Tiny thin letters are tough on curved ornament shapes.
- Finish with ribbon last. Keep the surface clean while you work.
Troubleshooting
My blank looks cloudy even after peeling
Double-check the other side. Many blanks have film on both sides, and one side is easy to miss. If the film is fully removed and it is still hazy, you may be seeing light scuffs or a little residue from the film adhesive.
- For residue: Try warm water with a tiny drop of dish soap, then rinse and dry with a microfiber cloth. If needed, use a plastic-safe adhesive remover and spot-test first. Avoid scraping with anything hard.
- For scuffs: An acrylic polish can sometimes improve minor haze, but deep scratches are tough to fully remove.
My vinyl will not stick to the acrylic
This is usually oil, dust, or static. Clean the surface, let it dry fully, and try again. Also confirm you are using adhesive vinyl, not HTV, and that you removed film from the side you are applying vinyl to.
My transfer tape will not release
- Burnish the vinyl onto the acrylic a bit more.
- Peel the tape back low and steady instead of pulling straight up.
- Try a less sticky transfer tape next time, especially with glossy permanent vinyl.
I scratched the acrylic while burnishing
For next time, keep the back film on, and consider using a felt edge. Lighten your pressure and make more passes instead of one aggressive pass.
My layered design is slightly off
Registration marks are your best friend. If you are already mid-application, a tiny offset can still look intentional if you commit to it and turn it into a shadow effect.
A simple beginner project: one-name keychain
If you want a confidence-boosting first acrylic blank, do this.
- Blank: 2 to 3 inch clear round keychain
- Vinyl: Permanent adhesive in one color
- Font: A clean sans serif or bold script
Steps
- Measure the usable space and size your name to fit.
- Cut, weed, and apply transfer tape.
- Peel film from the front only.
- Clean lightly (plastic-safe cleaner preferred, or minimal alcohol), let dry.
- Apply using the center-first method.
- Peel the back film off at the very end.
- Add hardware, then set it aside overnight or up to 24 hours before you toss it in a bag.
FAQ
Do I need to seal vinyl on acrylic blanks?
Not always. For ornaments and decor that are not handled much, permanent vinyl is usually enough. For keychains that get daily abuse, a topcoat can add protection, but it is optional and very product-dependent. If you seal, choose a product labeled safe for acrylic, and test on a scrap blank first for clarity and compatibility with your vinyl.
Can I use HTV on acrylic blanks?
I do not recommend it for beginners. Acrylic can warp with heat, and pressing evenly on small shapes is tricky. Adhesive vinyl is the easier, safer route.
Should I put vinyl on the front or the back?
Both work. Front application is simplest. Back application (with the design mirrored) gives a sleek finish and can protect the vinyl from scratches since the acrylic sits on top like a shield.
Why is my acrylic blank sticking to everything after I peel the film?
That is static. Wipe with a microfiber cloth, and keep your workspace lint-free. Peeling slowly at a low angle helps reduce static too.
If you make your first acrylic keychain and you get one tiny bubble or a slightly crooked layer, welcome to the club. Acrylic has a learning curve, but once you dial in your film-peeling and transfer tape routine, these projects get addictively satisfying. And yes, you are absolutely allowed to make a matching set.