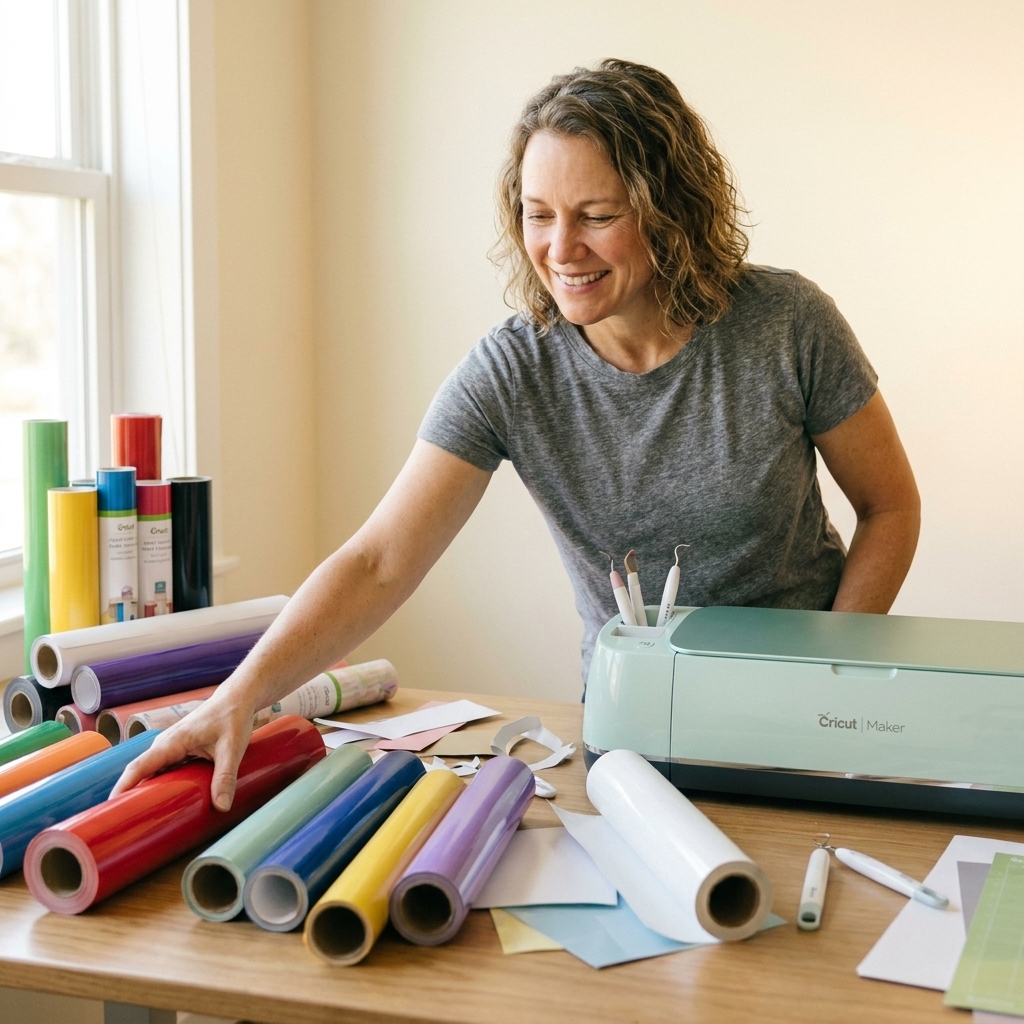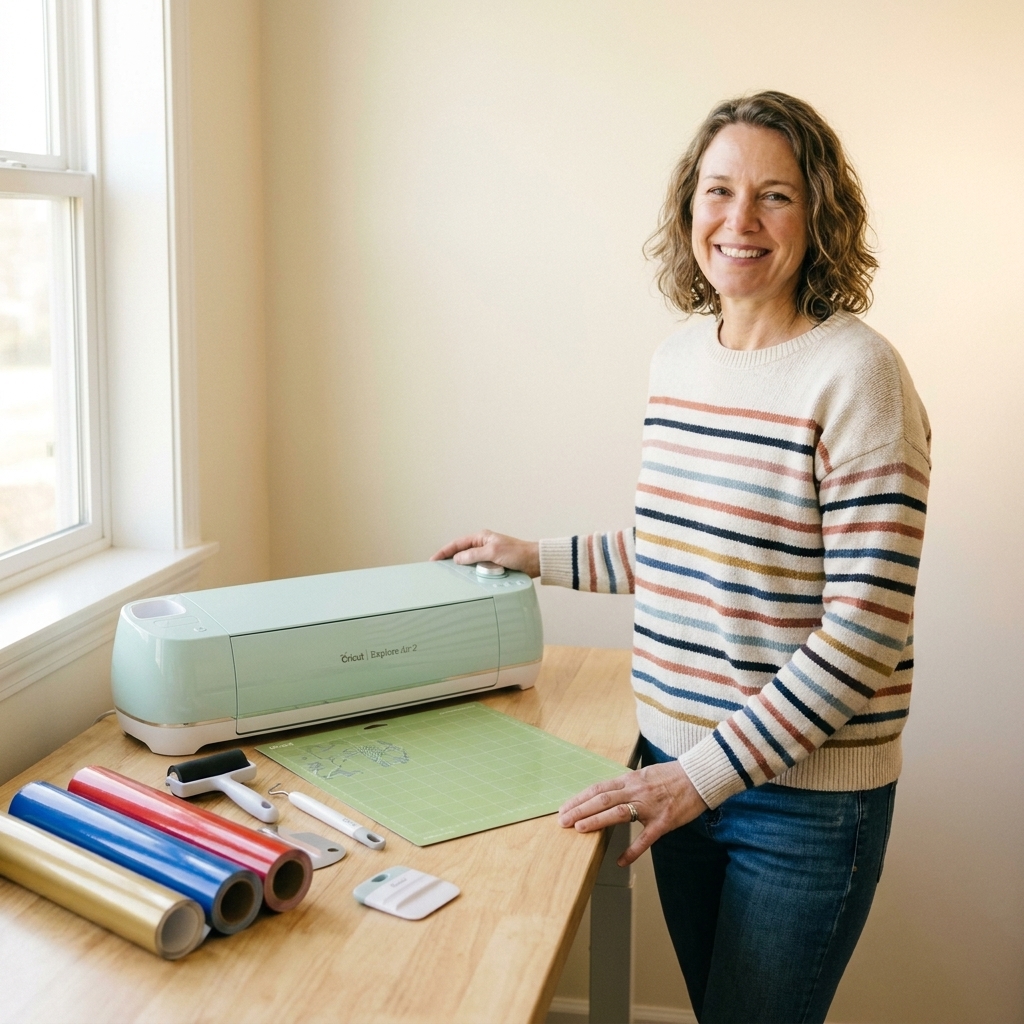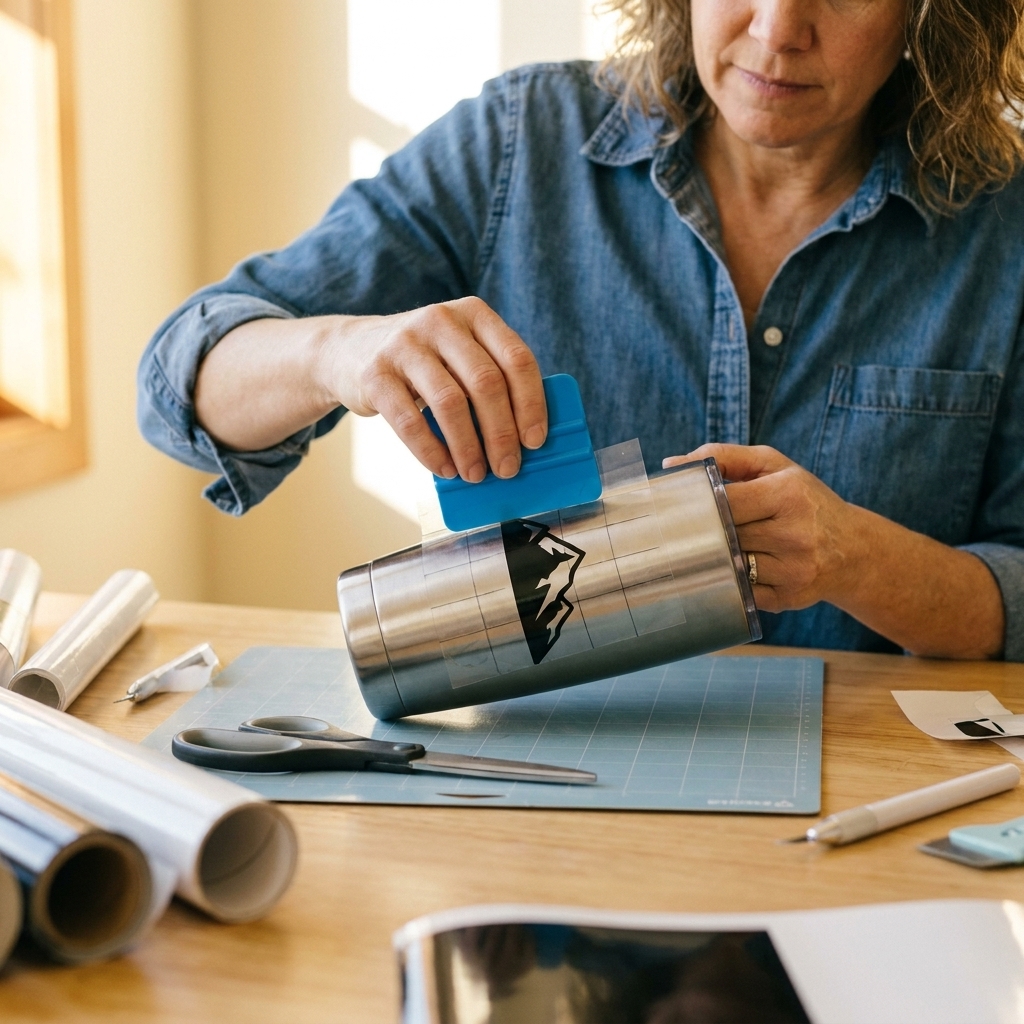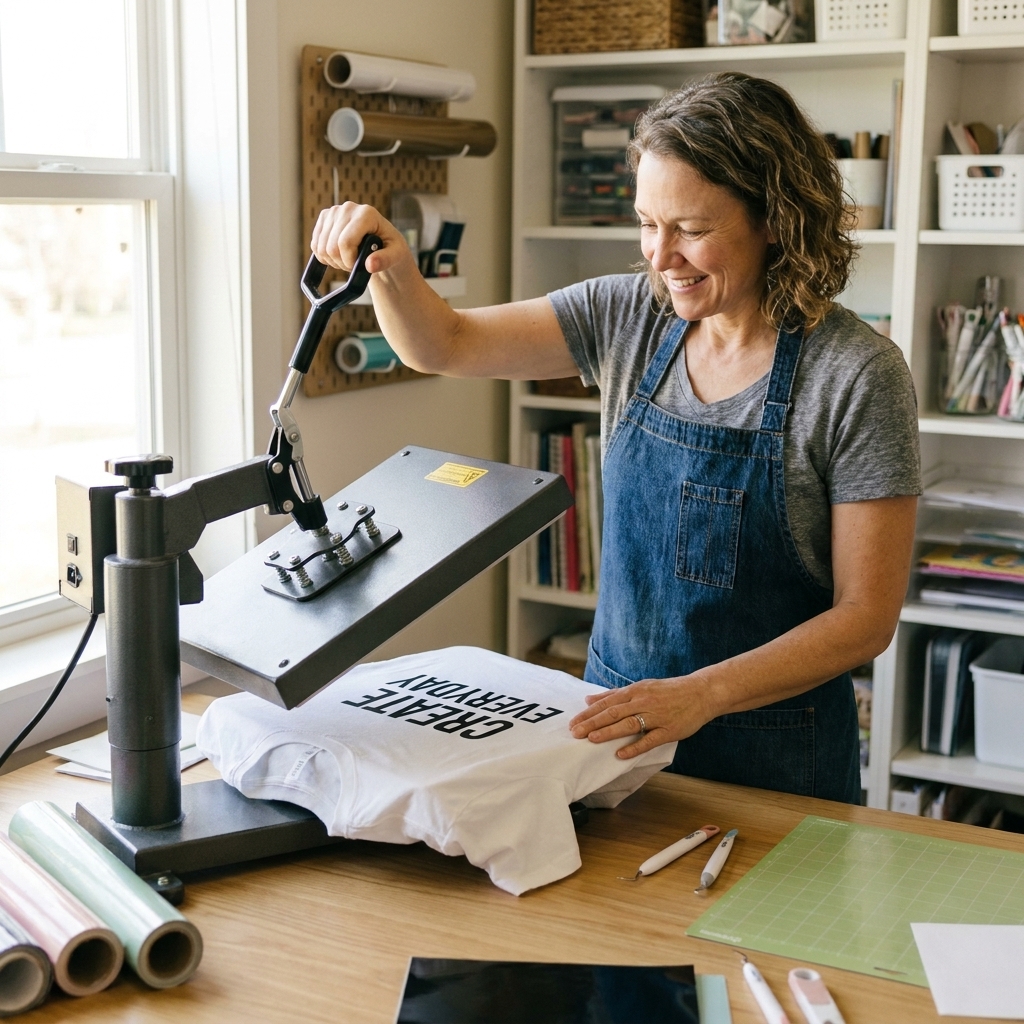
A beginner-friendly breakdown of heat transfer vinyl vs. permanent adhesive vinyl, with surface recommendations, real use cases, and my best tips to avoid bu...
Maker Vinyl
Updated October 17, 2026
15 Best Dollar Tree Blanks for Cricut Iron-On and Vinyl
The best Dollar Tree blanks for Cricut vinyl and iron-on (HTV): tote bags, glassware, signs, notebooks, and more, plus tips to spot the good stuff and avoid fails.

Harper Davis
Harper Davis is a lifelong DIY enthusiast and cutting-machine expert who loves helping beginners conquer Cricut Design Space. With over six years of experience running a custom vinyl shop, she shares practical tutorials, material guides, and creative inspiration.
If you are learning Cricut Design Space or trying a new vinyl brand, Dollar Tree is my favorite low-stakes testing ground. You can practice sizing, weeding, layering, and pressing without the heartbreak of ruining a $10 to $15 boutique blank. The trick is choosing items that take vinyl well and knowing a few prep moves that make budget blanks behave more like the expensive ones.
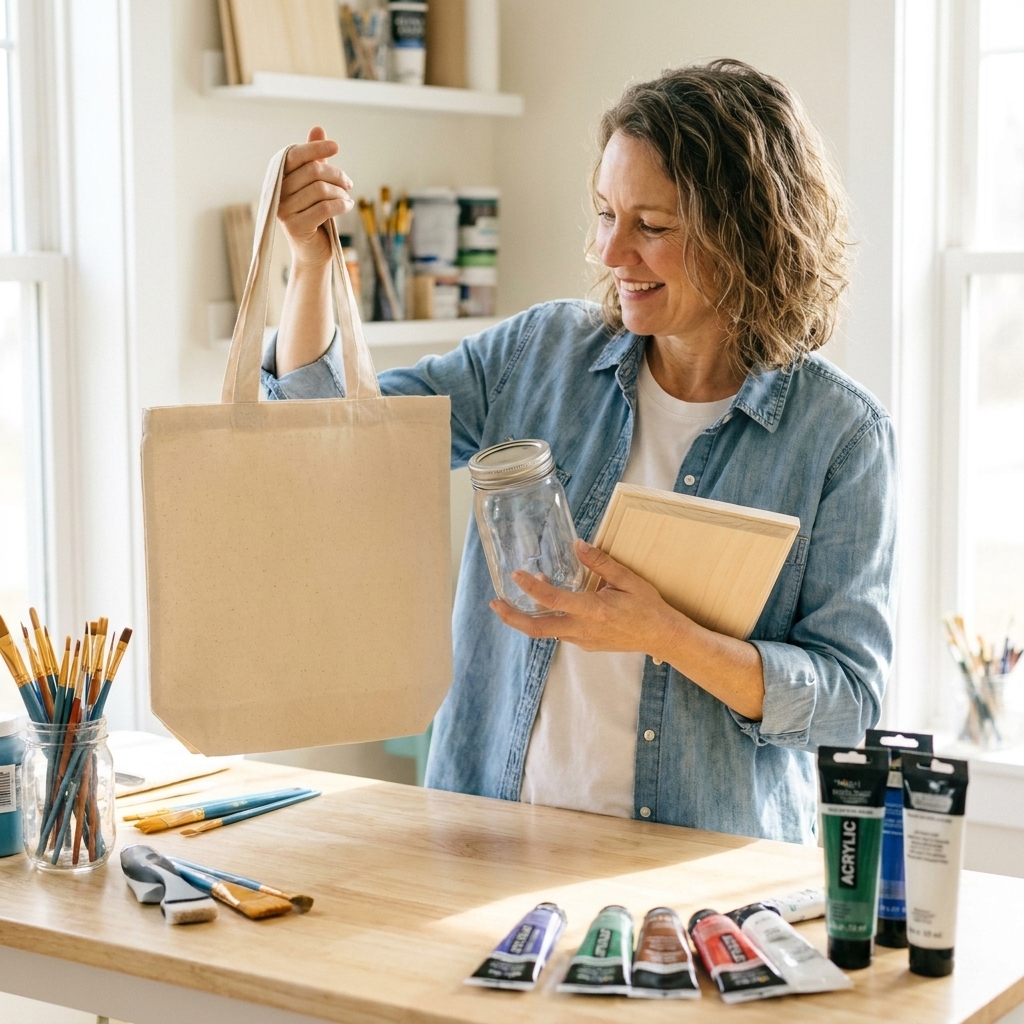
Below are my go-to Dollar Tree blanks for Cricut iron-on (HTV, or heat-transfer vinyl) and adhesive vinyl, plus exactly what to watch for so your project sticks, presses, and lasts.
Before you buy
- Check the surface: smoother is easier. Heavy texture, waxy coatings, or super porous materials fight adhesion.
- Look for seams and curves: big seams and tight curves can cause lifting. Totally doable, just plan smaller designs.
- Do a quick scratch test: if paint flakes off with a fingernail, adhesive vinyl may take the paint with it.
- Washable items: if it will be washed, HTV generally outperforms permanent vinyl on fabric.
- Plan your prep: glass and plastic need degreasing. Fabric needs lint removal. Wood often needs sealing.
My basic prep kit: lint roller, rubbing alcohol (or dish soap and warm water), a microfiber cloth, and a scraper tool for firm burnishing.
15 Dollar Tree blanks that work
1) Canvas tote bags
These are hands-down the best Cricut practice blank at Dollar Tree. They are usually a thinner canvas, but they press beautifully with HTV.
- Best for: HTV (iron-on)
- What to check: pick totes with the tightest weave and the flattest front panel
- My tip: slide a pressing pillow, a folded towel, or a sheet of butcher paper inside to protect the back side. If you use cardstock, keep an eye on heat and time since it can scorch.
2) Cotton dish towels
Dish towels are perfect for seasonal sayings, housewarming sets, and testing small fonts. Many Dollar Tree towels are a cotton or cotton-blend, and HTV bonds nicely if you press long enough.
- Best for: HTV
- What to check: avoid heavily ribbed towels for tiny details
- My tip: pre-press 5 to 10 seconds to flatten wrinkles and remove moisture
3) Microfiber cleaning cloths
These are sneaky good for quick gifts and labeling. They are not my first pick for long-term durability, but they are great for practice and for fun “car cleaning kit” bundles.
- Best for: HTV (simple designs)
- What to check: the fluffier the cloth, the more you should simplify the design
- My tip: do a tiny test decal first. Microfiber can be finicky, so you may need a slightly longer press (not hotter) and firm pressure. If your HTV allows it, a warm peel often helps.
4) Aprons
Dollar Tree aprons vary by store, but when you find a decent poly-cotton blend, they are amazing for beginner-friendly iron-on projects.
- Best for: HTV
- What to check: avoid super shiny, slick fabric that feels water-resistant
- My tip: keep designs away from thick seams and pockets so you get even pressure
5) Pencil pouches and cosmetic bags
These are great for teacher gifts and kids’ camp bags. Some are canvas, some are polyester. Both can work with HTV, but you will want to watch zipper placement.
- Best for: HTV (everyday designs)
- What to check: a flat front panel and a zipper you can press around
- My tip: put a pressing pillow or folded towel inside to lift the zipper out of your pressing area
6) Spiral notebooks and composition books
If you love planners, this is your moment. Permanent adhesive vinyl on notebook covers is quick, cute, and very forgiving for beginners.
- Best for: permanent adhesive vinyl
- What to check: glossy covers work best; very papery matte covers can bubble if they absorb moisture
- My tip: wipe covers with a barely damp cloth and let dry, then burnish firmly with a scraper
7) Plastic bins and organizing baskets
Labeling bins is the fastest way to make your craft room feel like you have your life together, even if you do not. Many smooth plastics take permanent vinyl well, but some common plastics (like polypropylene or polyethylene) can resist adhesion even when they look perfect.
- Best for: permanent adhesive vinyl
- What to check: choose the smoothest surface you can find. If it feels waxy, oily, or rubbery, treat it as a “test first” item.
- My tip: wash with dish soap, rinse well, dry, then do a final wipe with rubbing alcohol before applying vinyl. If a small test decal lifts at the corners after a day, swap to a different bin.
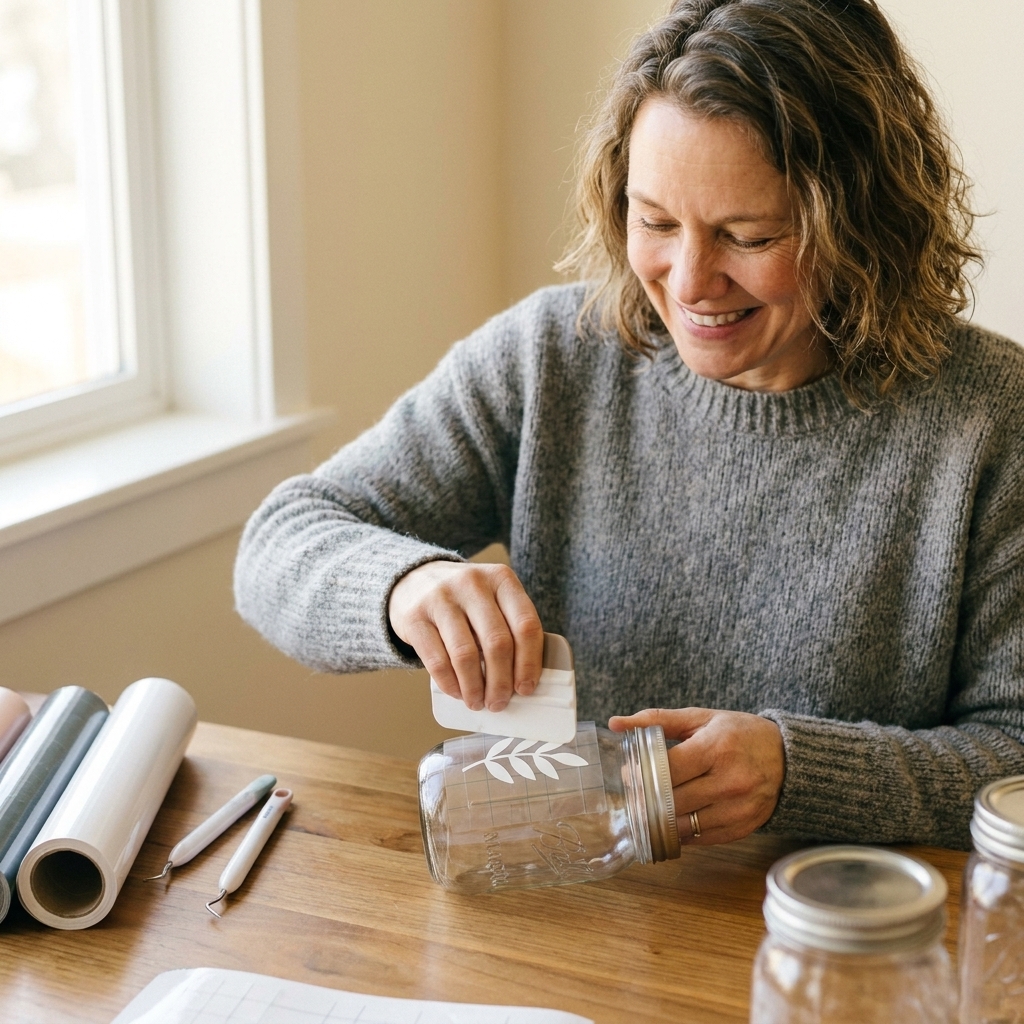
8) Glass jars (candle jars and storage jars)
Glass is one of the most satisfying surfaces for adhesive vinyl. You get crisp lines, great adhesion, and a very “boutique label” look for pennies.
- Best for: permanent adhesive vinyl
- What to check: avoid jars with bumpy seams where your design needs to sit
- My tip: degrease with rubbing alcohol and let it fully evaporate before applying vinyl
9) Drinking glasses and tumblers (basic glass shapes)
Dollar Tree has simple glassware that is perfect for monograms, holiday cups, and party favors. Keep expectations realistic for daily dishwasher use, but for hand-wash glasses, they are fantastic.
- Best for: permanent adhesive vinyl
- What to check: straight-sided glass is easiest; heavily curved glasses make alignment trickier
- My tip: use the hinge method with transfer tape so your decal lands exactly where you want it
10) Ceramic mugs (when you find plain ones)
Some Dollar Tree locations carry simple ceramic mugs. Adhesive vinyl works for decorative mugs, but it is not a substitute for sublimation or other truly dishwasher-safe methods.
- Best for: permanent adhesive vinyl (decorative or gentle use)
- What to check: look for a smoother glaze and a flatter spot for your design
- My tip: keep decals away from the rim and any place that touches lips. Vinyl is not considered food-safe, so I treat it as decoration only and recommend hand washing and no microwave or high heat.
11) Picture frames (glass or smooth plastic fronts)
Frames are a budget-friendly way to make signs for weddings, baby showers, and seasonal decor. Put vinyl on the glass and you can even layer it for a faux printed look.
- Best for: permanent adhesive vinyl
- What to check: confirm the front is glass or smooth plastic, not textured
- My tip: for a clean look, apply vinyl to the inside of the glass so it cannot be scratched
12) Foam board and poster board
Need party signs fast? Foam board is my favorite practice-project surface because it is cheap, flat, and forgiving. Apply cut vinyl for crisp lettering without paint bleed.
- Best for: permanent adhesive vinyl
- What to check: avoid boards with dents and creases
- My tip: use a lower-tack transfer tape for delicate fonts so you do not tear the paper surface
13) Wooden signs and plaques
Dollar Tree wood blanks are fun, but they can be rough and porous. With a little prep, they make adorable mini signs and shelf sitters.
- Best for: permanent adhesive vinyl (with prep)
- What to check: choose the smoothest boards and avoid flaky paint
- My tip: lightly sand, then seal with a thin coat of water-based polyurethane (or Mod Podge). Let it dry and cure fully before applying vinyl. If you seal over vinyl, use a light coat and test first since some topcoats can cause edges to lift.
14) Clipboards
Clipboards are an underrated blank for teacher gifts, chore charts, and office organization. They usually have a smooth coated surface that takes adhesive vinyl nicely.
- Best for: permanent adhesive vinyl
- What to check: test for a slick finish that does not feel rubbery
- My tip: keep vinyl away from the moving metal hardware so edges do not catch and lift
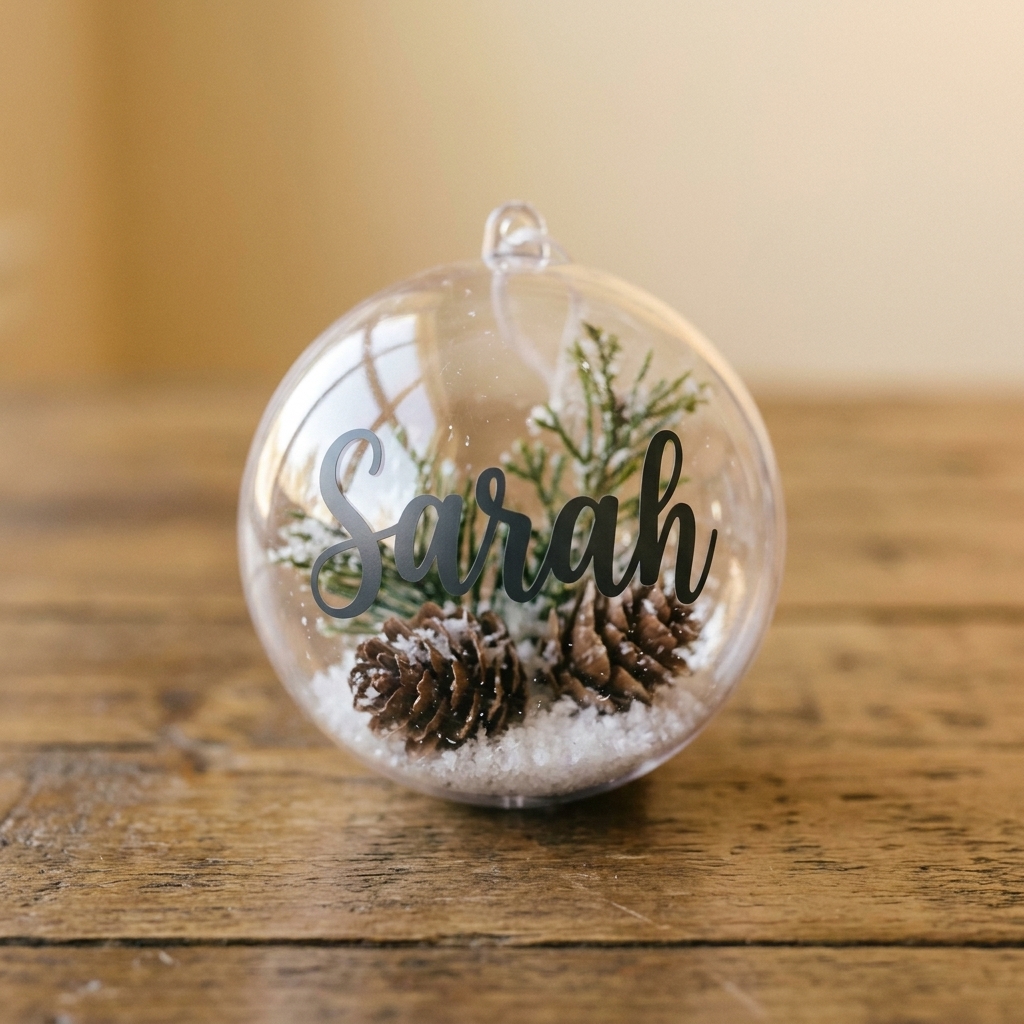
15) Seasonal ornaments and fillable plastic shapes
Dollar Tree seasonal aisles are full of ornament shapes and clear fillable options. These are perfect for names, dates, and quick holiday batches.
- Best for: permanent adhesive vinyl
- What to check: watch for heavy texture or glitter coating where vinyl will not bond well
- My tip: for tiny names, cut with a slower setting and use a sharp weeding hook under bright light
Dollar Tree blanks I skip
- Waxy coated bins and rubbery plastics: in my experience, vinyl often lifts at the edges even with strong burnishing.
- Heavily textured ceramics: adhesive vinyl cannot fully contact the surface, so it tends to fail early.
- Super fuzzy blankets: HTV can sink into the fibers and fine details disappear.
- Glitter-coated decor: the glitter layer sheds, so your decal can shed with it.
If you love the shape anyway, you can sometimes save it with a clear sealant base layer, but for beginner practice I would rather you get a win.
Troubleshooting
- If adhesive vinyl will not stick: clean again (soap and water, then alcohol on hard surfaces), then try a small test decal. If it still lifts, the plastic may be low-energy (like PP or PE) or coated. Switch blanks or use a different surface.
- If corners lift after a day: burnish again and give it time. Many permanent vinyls bond better after about 24 to 48 hours.
- If vinyl looks bumpy on wood: it is usually the grain. Sand a bit more and seal again, then apply vinyl to the sealed, fully cured surface.
- If HTV is not fully stuck: you likely need more pressure or a few more seconds. Pressing seams and zippers can steal pressure from your design.
Quick success tips
For adhesive vinyl
- Clean first: wash, dry, then wipe with rubbing alcohol for glass, plastic, and coated surfaces.
- Burnish like you mean it: especially on Dollar Tree plastics, firm pressure helps vinyl grab.
- Let it cure: give permanent vinyl about 24 to 48 hours before heavy handling or washing.
- Hand wash when possible: even permanent vinyl lasts longer with gentle washing and no soaking.
For iron-on (HTV)
- Pre-press: 5 to 10 seconds removes moisture and smooths wrinkles.
- Use the right heat: follow your HTV brand temp and time rather than guessing.
- Press evenly: avoid thick seams and zippers in your pressing zone.
- Cool down before stretching: let the adhesive set so you do not get early lifting.
Heat press vs. household iron
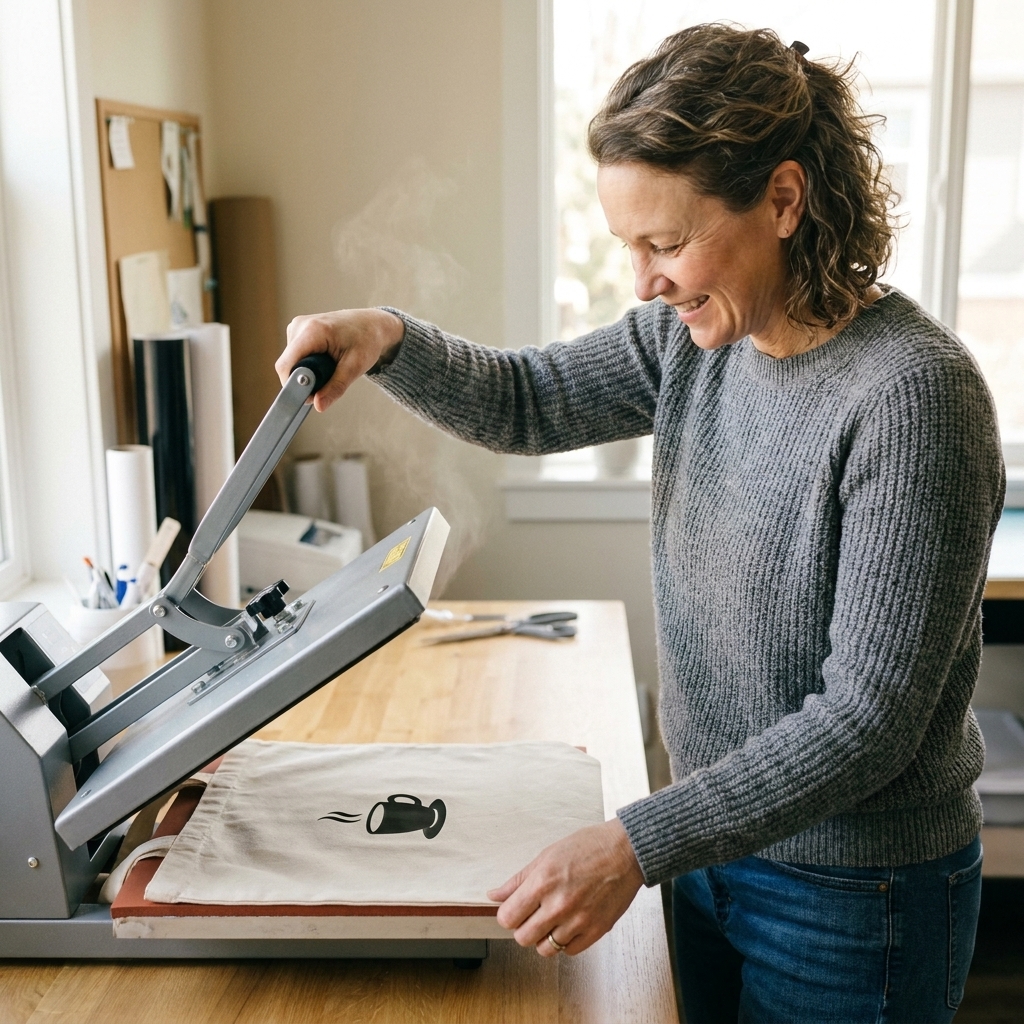
- Heat presses: give even heat and steady pressure, which is why HTV feels easier with one.
- Irons: can work, but focus on firm pressure and slow, consistent pressing (not sliding) so every part of the design gets the same heat.
FAQs
Is Dollar Tree vinyl good for Cricut projects?
Some stores carry adhesive vinyl and HTV, and it can be okay for basic crafts, but consistency varies. For learning, I would rather you use a reliable vinyl brand and practice on Dollar Tree blanks. That way if something goes wrong, you are troubleshooting one variable, not three.
Can I use permanent vinyl on fabric instead of HTV?
I do not recommend it for anything that will be washed. Adhesive vinyl is made to stick to hard surfaces. HTV is made to bond into fabric with heat, so it survives washing much better.
Do I need to seal adhesive vinyl on glass or plastic?
Usually, no. On glass, a well-applied permanent vinyl decal can last a long time with hand washing. On plastic, sealing can help if the item gets heavy use, but it can also peel if the plastic flexes. My favorite “sealant” is simply good prep, strong burnishing, and cure time.
What is the easiest Dollar Tree blank for a total beginner?
A canvas tote with a simple one-color HTV design is the most forgiving first win. For adhesive vinyl, start with a smooth glass jar.
Practice without waste
If you are testing a new cut setting, do a tiny design first. I like a 2 inch name decal or a simple icon. Once the cut weeds cleanly, scale up to the full project. Dollar Tree blanks make this approach feel fun instead of stressful, and you end up with a pile of cute, usable projects along the way.
If you tell me what machine you have and what blank you grabbed, I can help you pick a material setting and application method that is most likely to work the first time.